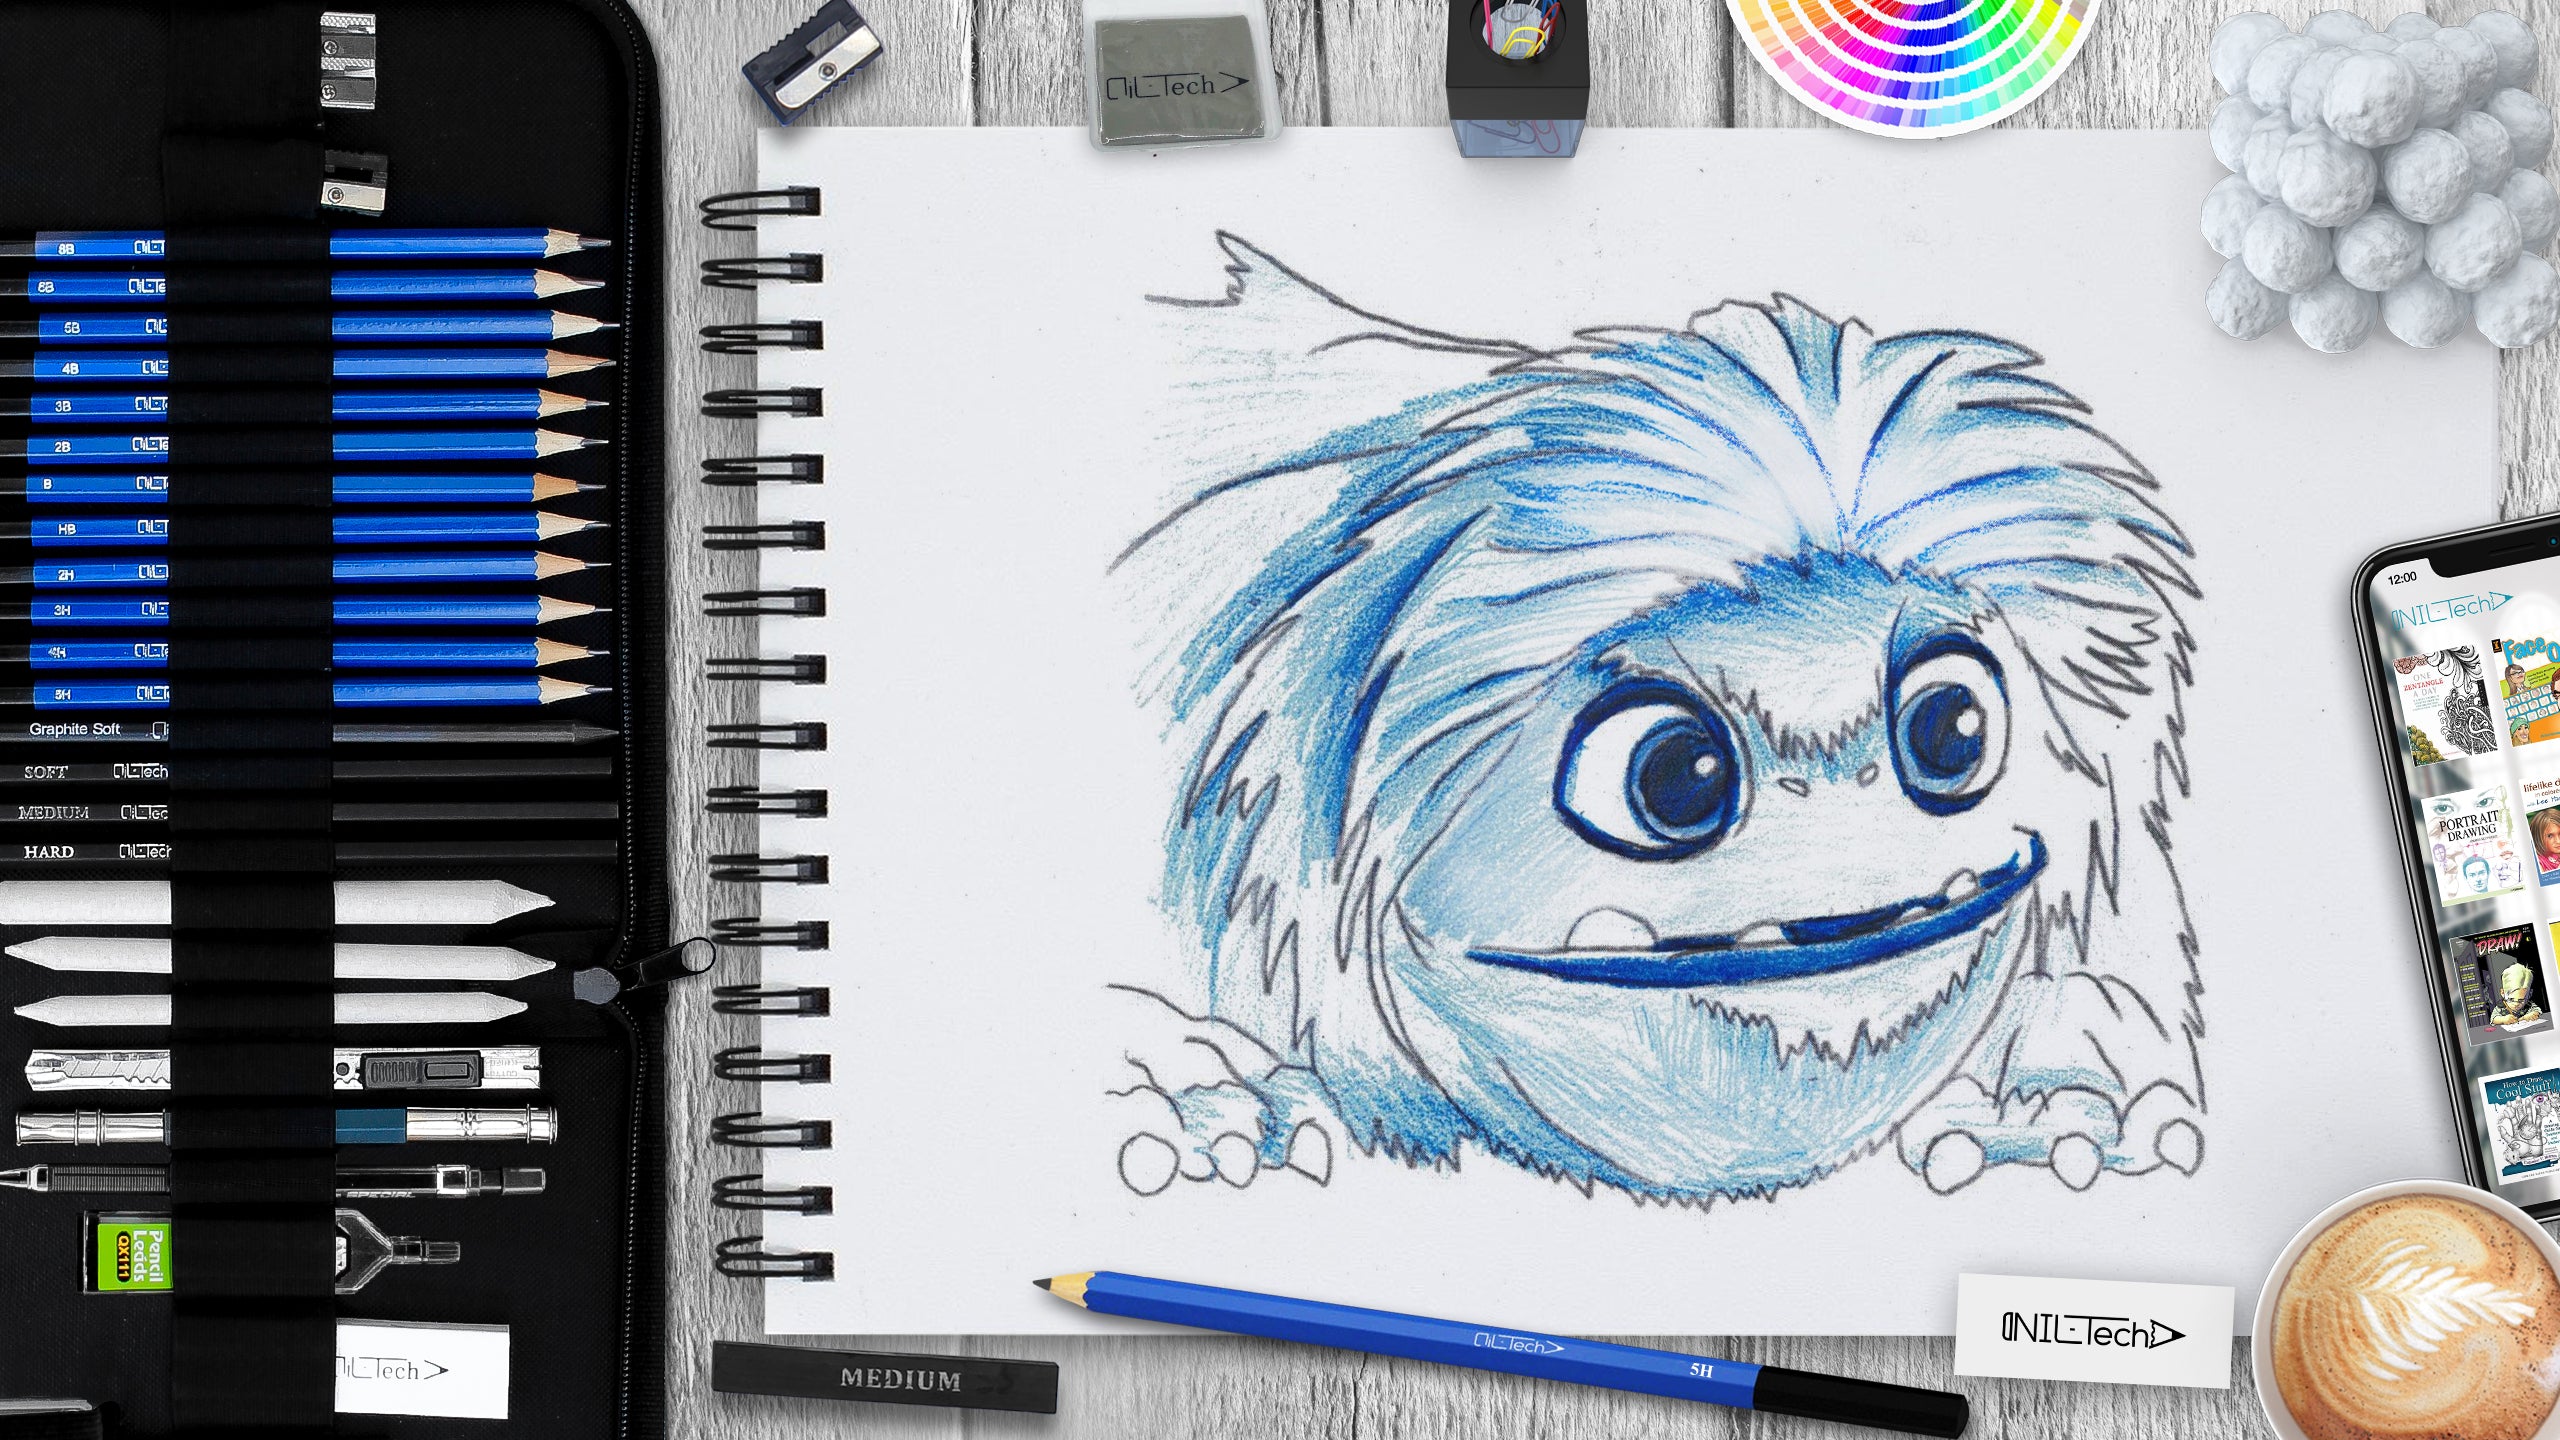
How to Draw Yeti from Abominable
Sep 28 , 2019

Hi everybody and welcome to a new tutorial. NIL-Tech has prepared a new awesome Drawing Tutorial for you: "Yeti from a cartoon Abominable". The Yeti, or the Abominable Snowman as it is known as in the west, is a legendary animal stated to live in the upper ranges of the Himalaya mountains. Rarely seen, however commonly believed to exist, the Yeti is referred to as really tall, long-haired, bad body smell, large feet and the ability to walk upright.
Here are some interesting facts about Yeti:
1. The Etymology of "Yeti" Is Very Uncertain. Many sources will inform you that "yeti" comes from "yeh-teh," or "little, man-like animal." Japanese researcher Makoto Nebuka isn't one of them. Instead, he thinks the word's come down from "meti," which implies "bear" in some dialects.
2. Yeti is a big service in Nepal. Visitors can remain at the glamorous Yak and Yeti hotel in Kathmandu and even travel with Yeti airline companies.
3. Before 1847 the gorilla was unnamed and known just through the report. Believed to be a misconception in the west and a supernatural being by African tribespeople, it was just when a missionary in West Africa was revealed a gorilla skull that the animal was accepted as real.
4. Yeti-Sightings Have Been Reported in Several Different Countries. China, India, Nepal, Tibet, Bhutan, and Russia are all members of the global "we-might-have-yetis" club (t-shirts pending).
5. The search to discover the Yeti can be traced back to the time of Alexander the Great, who in 326 BC set out to dominate the Indus Valley. Having heard stories of the Yeti, he demanded to see one for himself. However, regional individuals told him they were not able to present one because the animals could not survive at that low an elevation.
Let's Start drawing Yeti, step by step!
In this tutorial, we used the following supplies:
- 2B pencil
- 3B pencil
- 4B pencil
- 5B pencil
- HB Pencil
- H pencil
- 5H pencil
- colored pencils
- Light blue
- Dark blue
- Kneaded Eraser
- White Vinyl Eraser
STEPBYSTEP10

Step 1. Draw an oval of the face at a 45 degrees angle clockwise (pencil 5H).

Step 2. Draw the contours of the eyes (pencil 2B)and the mouth (pencil HB). Draw the nose (pencil 5B) and the second line below the cut of the mouth, drawing the lower lip (pencil 2B). Draw the contours of the nose (pencil 5H).

Step 3. Draw the pupils with a small circle of shine (pencil 5B), eyebrows (pencil HB) and teeth (pencil 3B).

Step 4. Draw the contour of the body and head (pencil 5H)

Step 5. Draw the paws with claws (pencil 2B), add lines around the eyes and at the right edge of the lips to give the effect of a smile. (pencil 3B).

Step 6. Draw the contours of the hair and the strokes of the growth direction (pencil 3B).

Step 7. Erase the excess lines with an eraser. Outdraw the main lines(pencil 4B) and lines of hair growth (pencil H).

Step 8. Using a light blue pencil, apply a hue throughout the drawing except for the right side, to create a lighting effect (light blue pencil).

Step 9. Add color to the lips, eye contours and pupils; also darken the hair drops (dark blue pencil). Erase the odd shades in the forehead.
STEPBYSTEP10

 |
Drawing Pencil SetExcellent GIFT IDEA - Non-Toxic and safe, easily portable and made with quality top-notch materials. Basic and innovative drawing supplies come together in NIL Tech set as an exceptional replacement for old-fashioned pencil boxes. The main attraction at any occasion from your drawing enthusiast friends, sketchers, artists to your kids or students boosting their creative projects and enjoy their ear-to-ear smile! |


