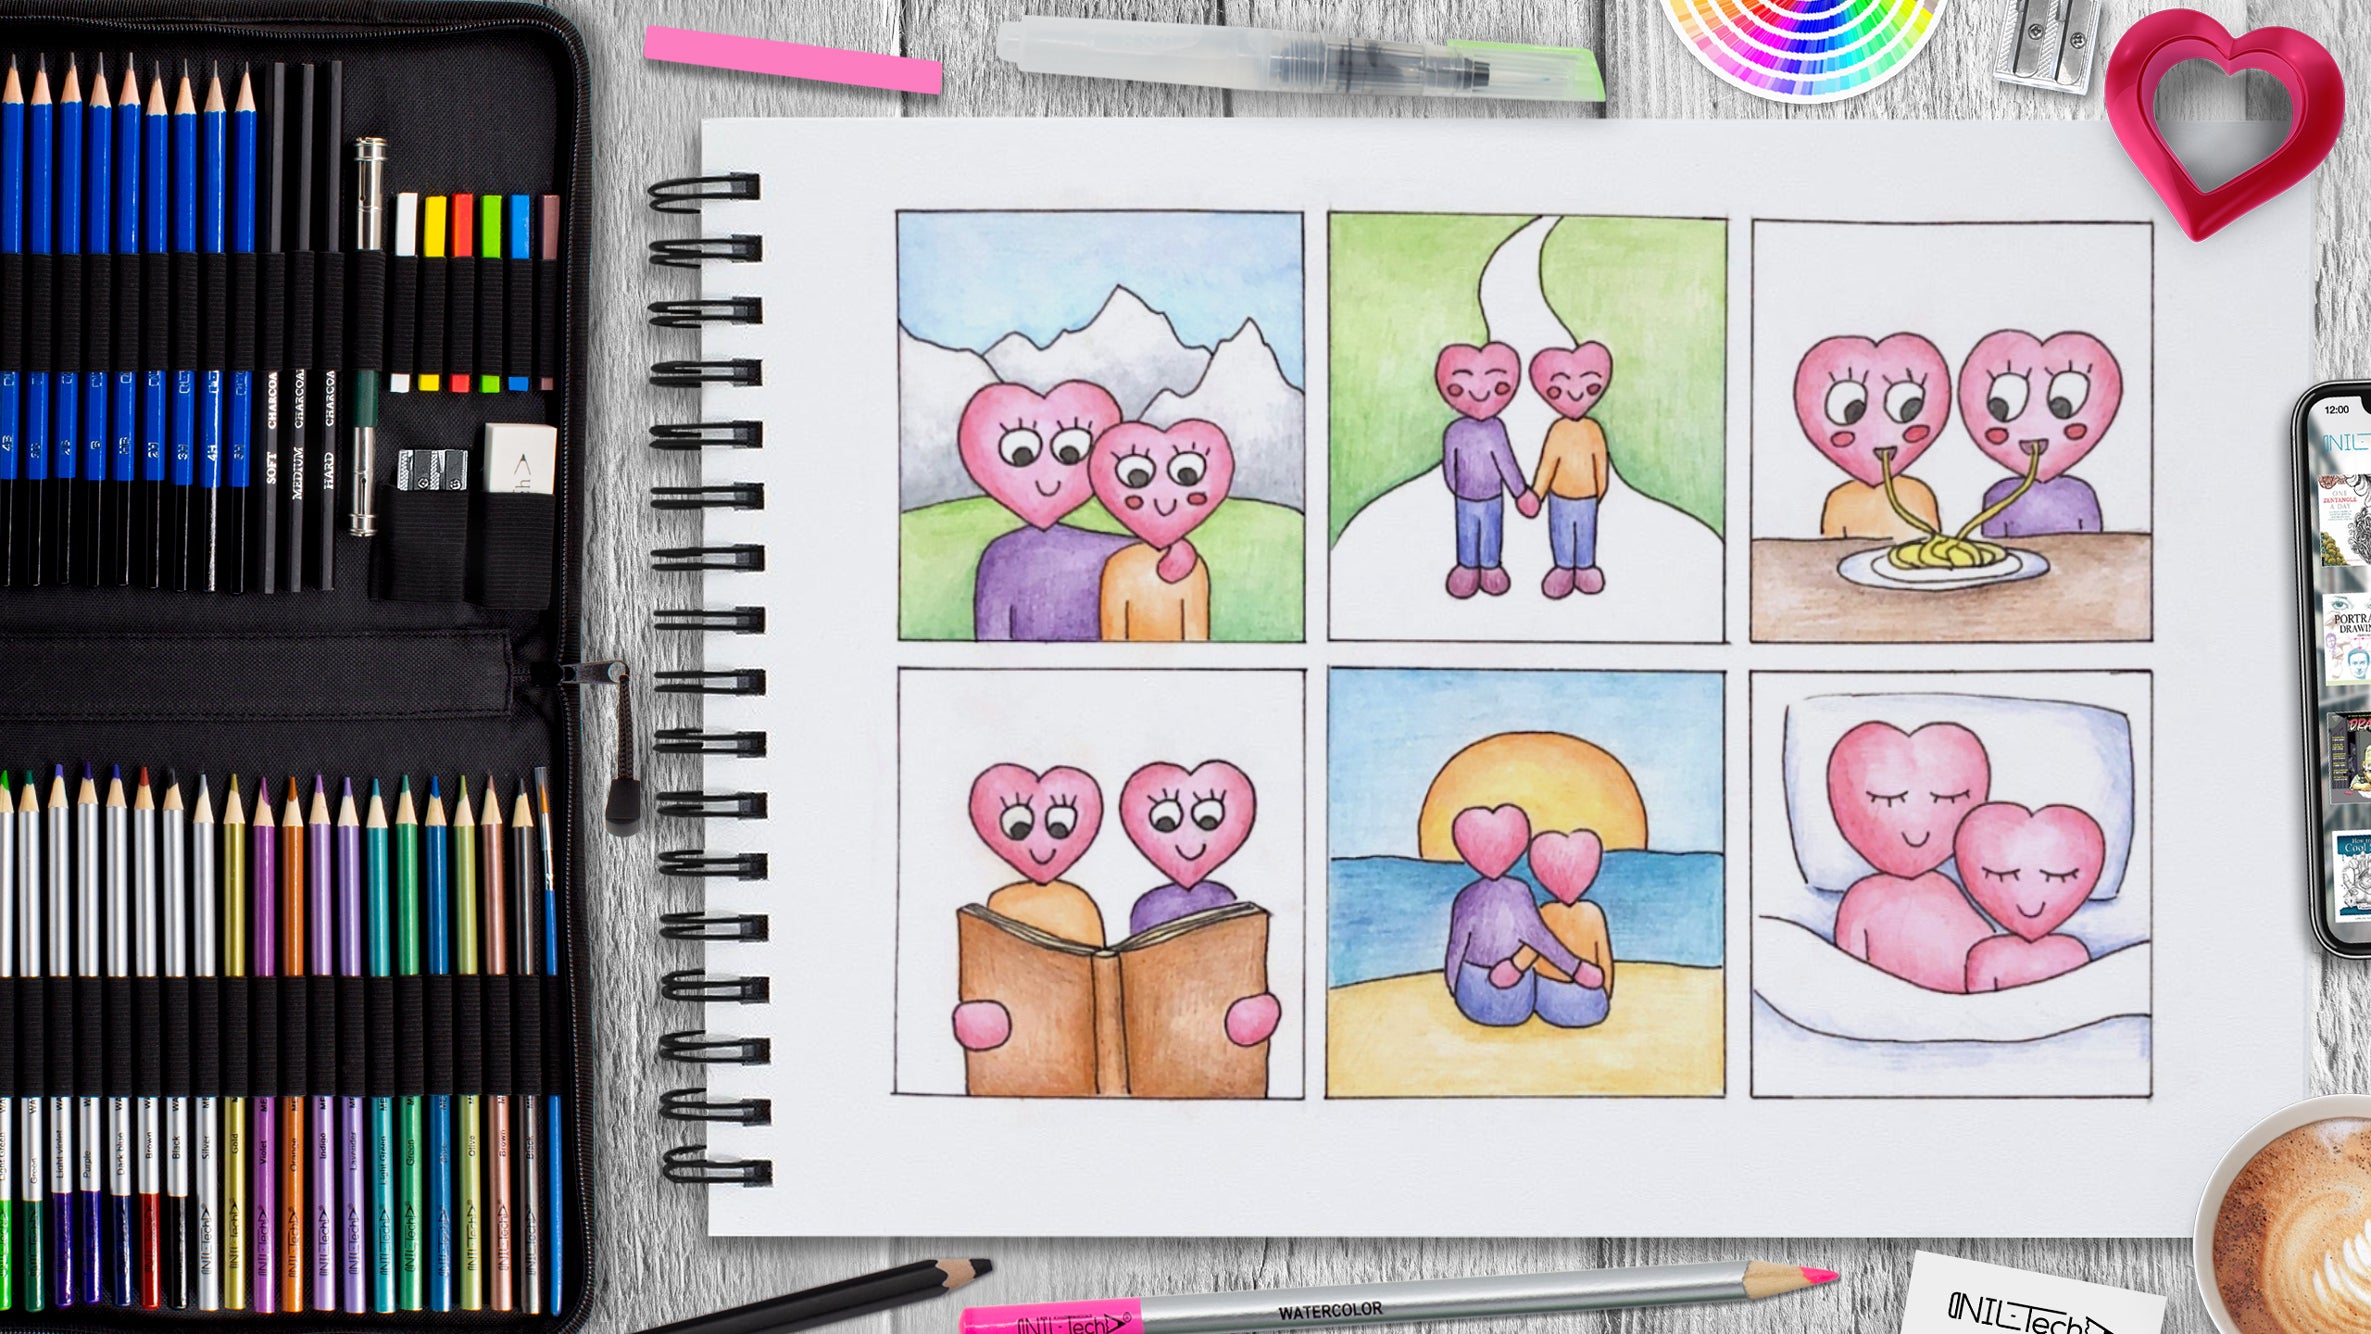
How to Draw Cute Heart Couple Comics
Feb 09 , 2021

This Valentine's Day we introduce the NIL Tech Heart Couple Comics Series. Check out their love story! On this day of affection it's common to be more focused on communicating love through chocolates, roses, and fancy dinners at high-end dining establishments. While that's not far from what's desired, there's a lot more to Valentine's Day than what is celebrated today.
Interesting Facts about Valentine’s Day:
1. Valentine's Day began with Romans.
One of the theories is that while the Roman Emperor Claudius II was trying to strengthen his military, he restricted young men to marry (since single men make better soldiers). St. Valentine opposed the restriction and performed secret marriages in the spirit of love, as per History.com records. For his disobedience, Valentine received a death sentence on February 14th.
2. Passing out Valentines is a 600-year-old tradition.
Annually, youngsters in class across America distribute Valentine's Day cards to their schoolmates. According to History.com, Valentine's oldest record was a poem Charles Duke of Orleans wrote to his wife when he was in jail in the Tower of London in 1415.
3. Esther Howland is the initial maker of Valentines.
She became called the "Mom of the American Valentine" for her layouts' artistry and sentiment, as Time Publication records. Before Howland marketed them, American Valentines were much less romantic as well as funnier. She decided to sell layouts inspired by England's thoughtful and sweet greeting card layouts, in the U.S. Needless to Day, they took off. Throughout the 1850s, she made $100,000 every year, which is about $3 million today, according to Time.
4. Today, numerous greeting cards are purchased every year.
According to Trademark, we're talking 144 million greeting cards being exchanged industry-wide yearly for Valentine's Day in the U.S. alone.
5. Wearing your heart on your sleeve is more than just a phrase.
In The Middle Ages, young men and females drew names to see who their Valentine would be, the LA Times reports. According to Smithsonian, they would wear the name pinned to their sleeve for one week so that everybody would recognize their supposed true feelings.
Let's Draw 'Cute Heart Couple Comics' Step by Step
In this tutorial, we used the following supplies:
- Pencil B
- Pencil 5B
- Colored Pencil:
- yellow
- green
- gray
- blue
- purple
- pink
- orange
- blue
- dark brown
- brown
- beige
- turquoise
- red
- black
- dark green
- cyan
- ocher
STEPBYSTEP10

Step 1. We start drawing by constructing six identical squares. (Pencil B)

Step 2. Remove all unnecessary construction lines and leave only the squares. With the help of circles and lines, we outline the shapes. (Pencil B)

Step 3. We draw hearts in the circles (these will be heads), and where there are straight lines, we draw the outlines of the shoulders or the whole body. (Pencil B)

Step 4. Remove all unnecessary construction lines and add backgrounds in the pictures. First, we draw the mountains and the horizon line behind, on the second leaving road, on the third a plate of spaghetti, on the fourth book and hands, on the fifth beach with the sun sixth a pillow with a blanket. (Pencil B)

Step 5. Add faces to all of the hearts, except for the fifth picture, and draw spaghetti sticking out of the mouths on the third. (Pencil B)

Step 6. Remove all unnecessary lines, make the outline clear and bright with a softer pencil. (Pencil 5B)

Step 7. We start coloring by making the general tone of the pictures. We use a pink pencil for hearts, for sweaters either orange or purple, blue for pants, and pink for boots. In the first picture, we make the mountains gray, the sky blue, and the earth green, just as in the second picture, we make the ground and leave the path white. In the third picture, we make the table dark brown, the spaghetti yellow, and leave the plate white. The fourth book will be brown, and the pages will be beige; on the fifth, we will make the sand beige, blue sky, yellow sun, and turquoise sea. (Colored pencils green, gray, blue, purple, pink, orange, blue, yellow, dark brown, brown, beige, turquoise)

Step 8. Working on the figurines themselves. Enhance all the colors accordingly, making a slight gradient effect, thereby creating volume. Make the shadows red on the hearts. We also paint over the eyes with black and paint the blush with red. (Colored pencils pink, blue, purple, orange, red, black)

Step 9. Move on to backgrounds. In the first picture, we enhance the blue color of the sky, with the help of gray, we make a gradient on the mountains, and for the ground, we use dark green and green pencils, we do the same with the ground in the second picture. In the third picture, we intensify the table's dark brown color, yellow spaghetti and blue add a small shadow to the plate. On the fourth dark brown, we make a shadow on the book. On the fifth, make the sun orange and yellow, intensify the sky with blue, intensify the sea with blue, and shadow the ocher on the sand. In the fifth picture, add small shadows on the bed linen in blue. (Colored pencils green, dark green, gray, cyan, orange, blue, yellow, dark brown, brown, ocher)
STEPBYSTEP10
 |
Drawing Pencil SetExcellent GIFT IDEA - Non-Toxic and safe, easily portable and made with quality top-notch materials. Basic and innovative drawing supplies come together in NIL Tech set as an exceptional replacement for old-fashioned pencil boxes. The main attraction at any occasion from your drawing enthusiast friends, sketchers, artists to your kids or students boosting their creative projects and enjoy their ear-to-ear smile! |


