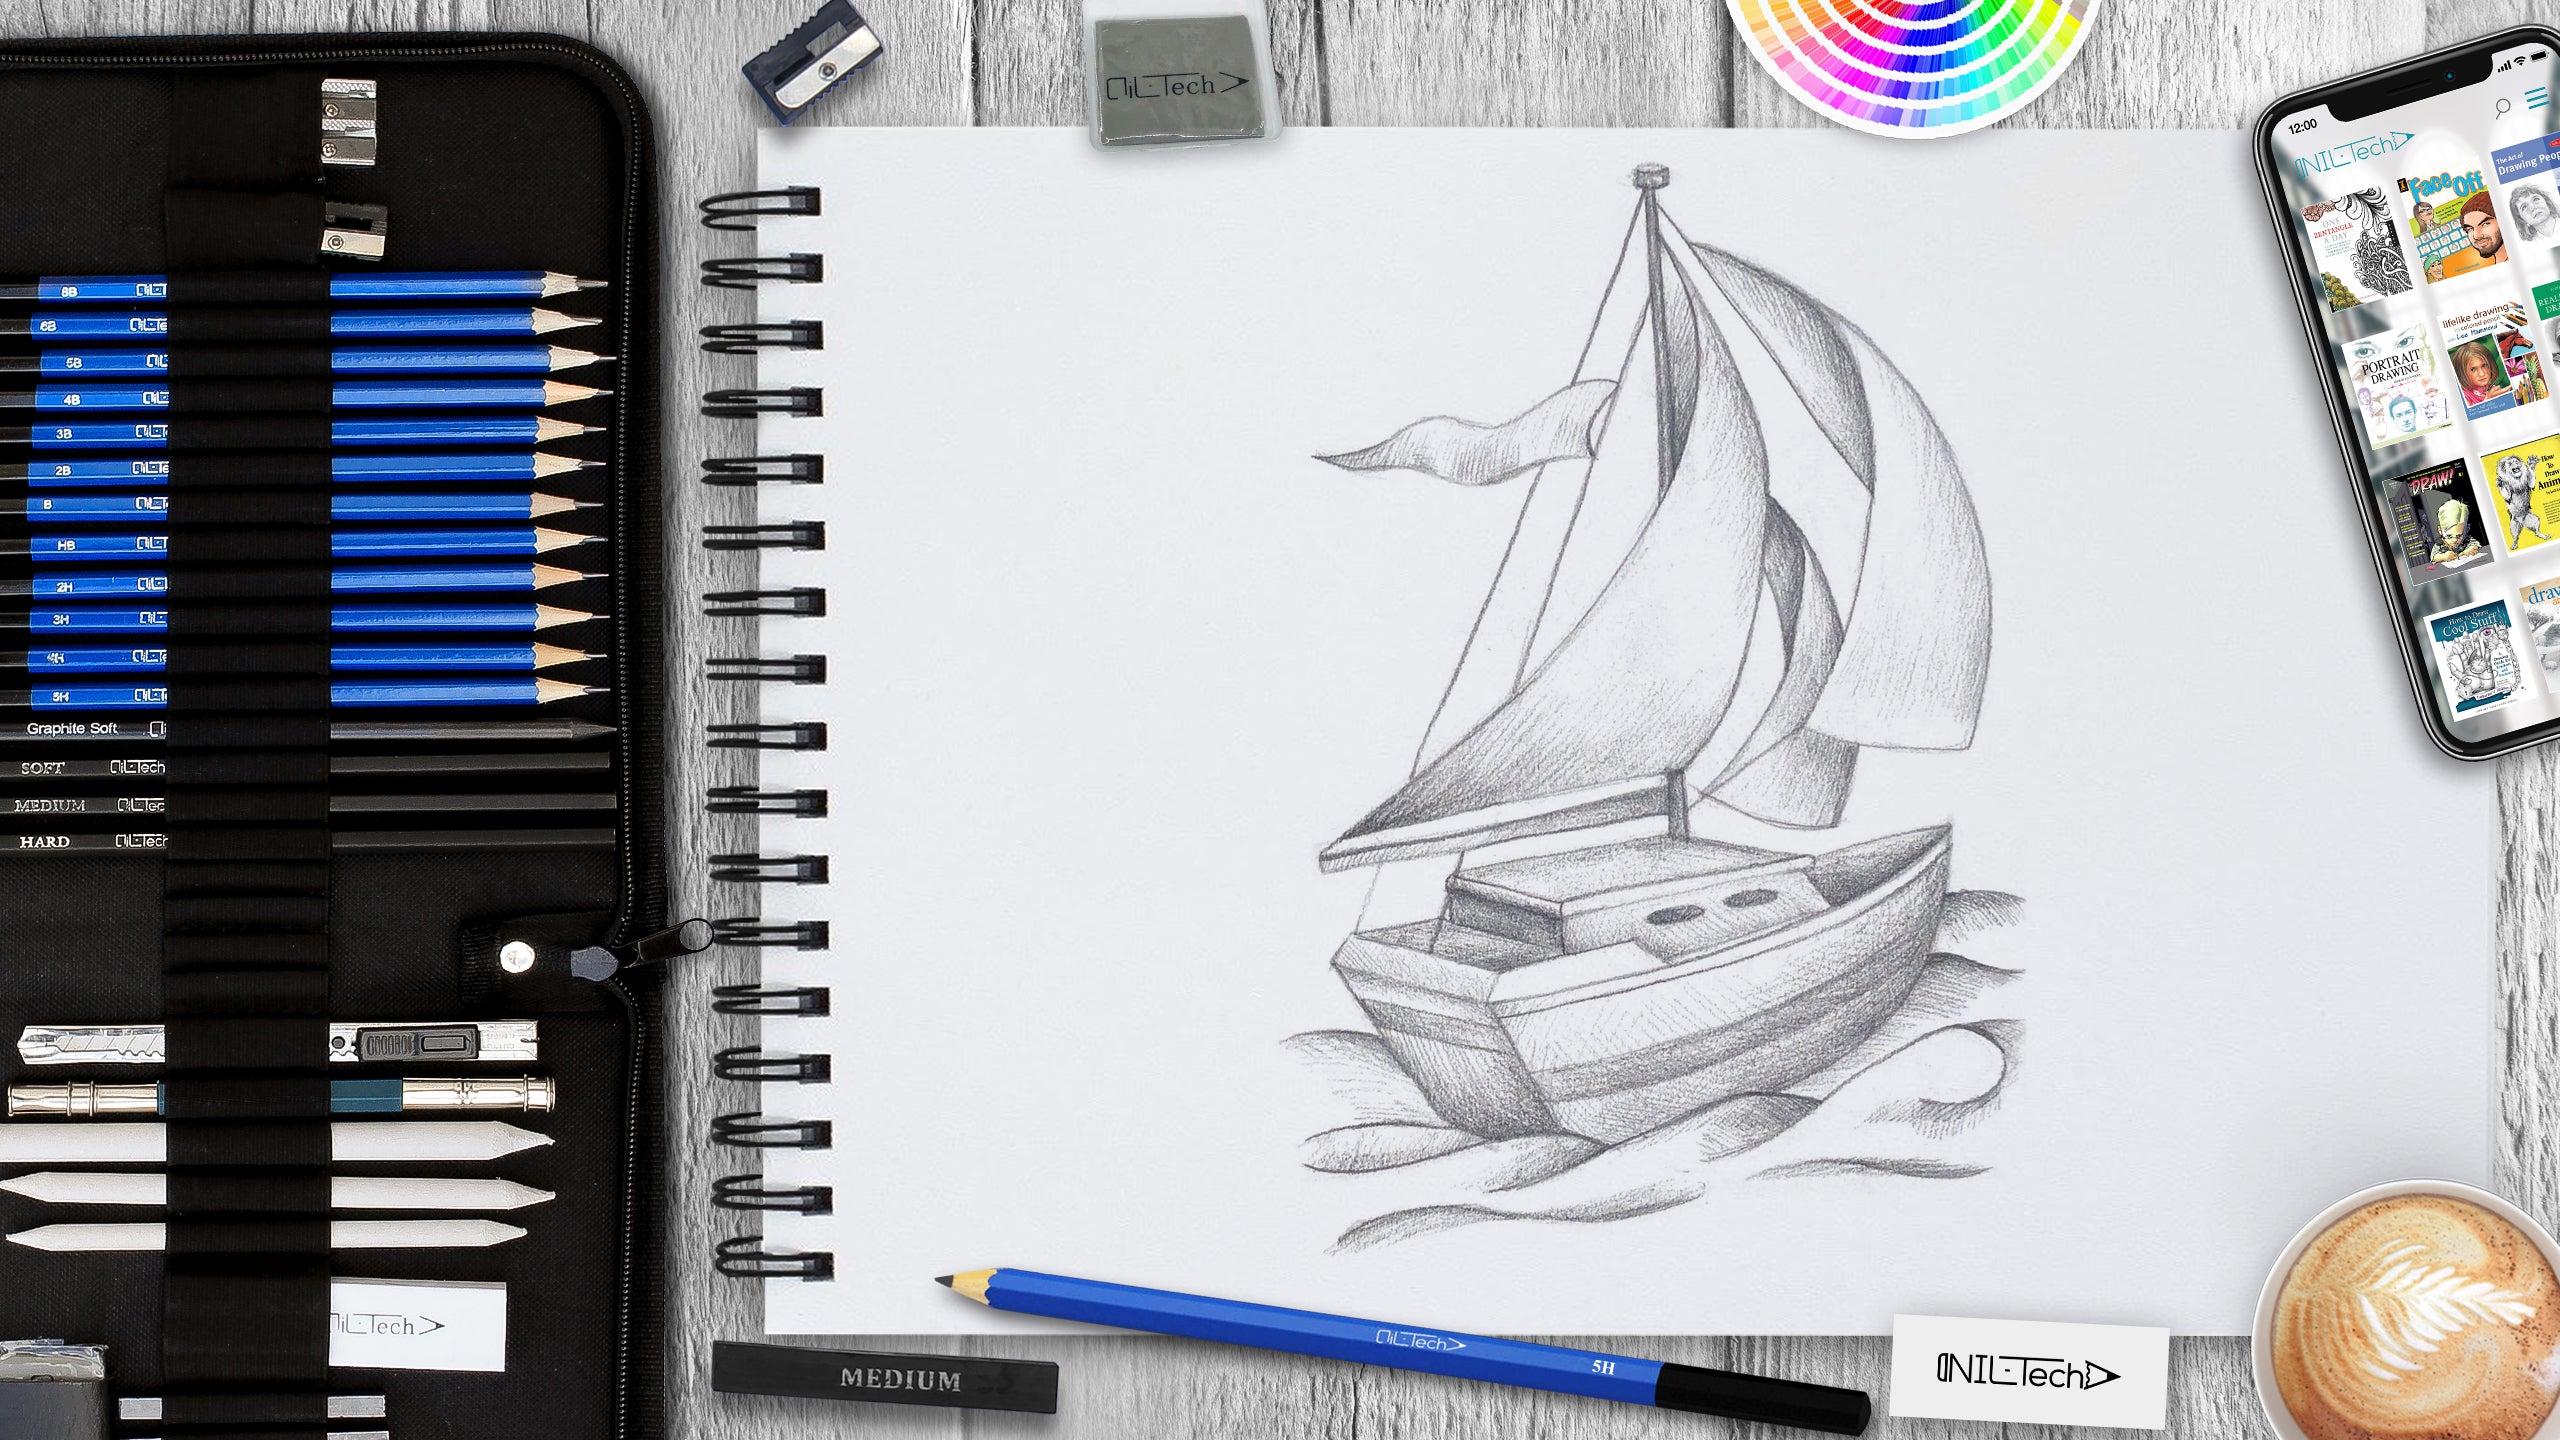
How to Draw a Boat
Oct 01 , 2020

Hi everybody, welcome to a new NIL-Tech drawing tutorial: "Boat". A boat is designed to drift on water and is used for travel, sports, transportation, military use, and rescue operations. Humans have used boats since the earliest times. In the beginning, they were merely made from logs and reeds tied together to make plethoras. Throughout history, they have been a vital method of transport and expedition.
Here are interesting facts about Boats:
1. Some of the smaller boats used by man today include canoes, kayaks, paddle boats, dinghies, and rowboats. Boats are typically made for inland waterways such as lakes, rivers, and also bays.
2. A few of the larger boats, sometimes referred to as ships, cargo ships, cruise ships, military ships, yachts, and sailing boats. Ships are usually designed for travel on seas and oceans.
3. Native Americans used to make boats by digging out the inside of a log. These are the earliest canoes.
4. The oldest boats discovered by archaeologists are called Pesse canoes. The oldest recovered boats are thought to be between 7,000 and 10,000 years old.
5. Proof from ancient references exists to confirm that boats were utilized 900,000 ago and in prehistoric times.
In this tutorial, we used the following supplies:
- B pencil
- 5B pencil
- White Vinyl Eraser
- Kneaded Eraser
STEPBYSTEP10
Let's draw a "Boat" step by step!

Step 1. Draw the base of the boat with simple lines. The drawing process will be similar to a parallelepiped since the boat is in turn (pencil B).

Step 2. Outline the direction of the mast. Draw the boat part where the cabins are (pencil B).

Step 3. Draw the mast, make the base more rounded, and add details to it (pencil B).

Step 4. Draw the sails on the mast. Imagine that the wind is blowing in the sails and draw them volumetric (pencil B).

Step 5. At the bottom, add lines in the form of waves, which seem to bend around the boat (pencil B).

Step 6. Erase all excess construction lines and add details such as portholes (pencil B).

Step 7. Start hatching by adding tone in the areas where the shadows will be (pencil B).

Step 8. Let's start working on the ship. The light goes from the right, so based on this, draw the light and shadow. For dark areas, use a darker pencil (pencil B, 5B).

Step 9. Go down the drawing and start working on the waves. You need to add a little volume to them to create a complete picture (pencil B).

 |
Drawing Pencil SetExcellent GIFT IDEA - Non-Toxic and safe, easily portable and made with quality top-notch materials. Basic and innovative drawing supplies come together in NIL Tech set as an exceptional replacement for old-fashioned pencil boxes. The main attraction at any occasion from your drawing enthusiast friends, sketchers, artists to your kids or students boosting their creative projects and enjoy their ear-to-ear smile! |


