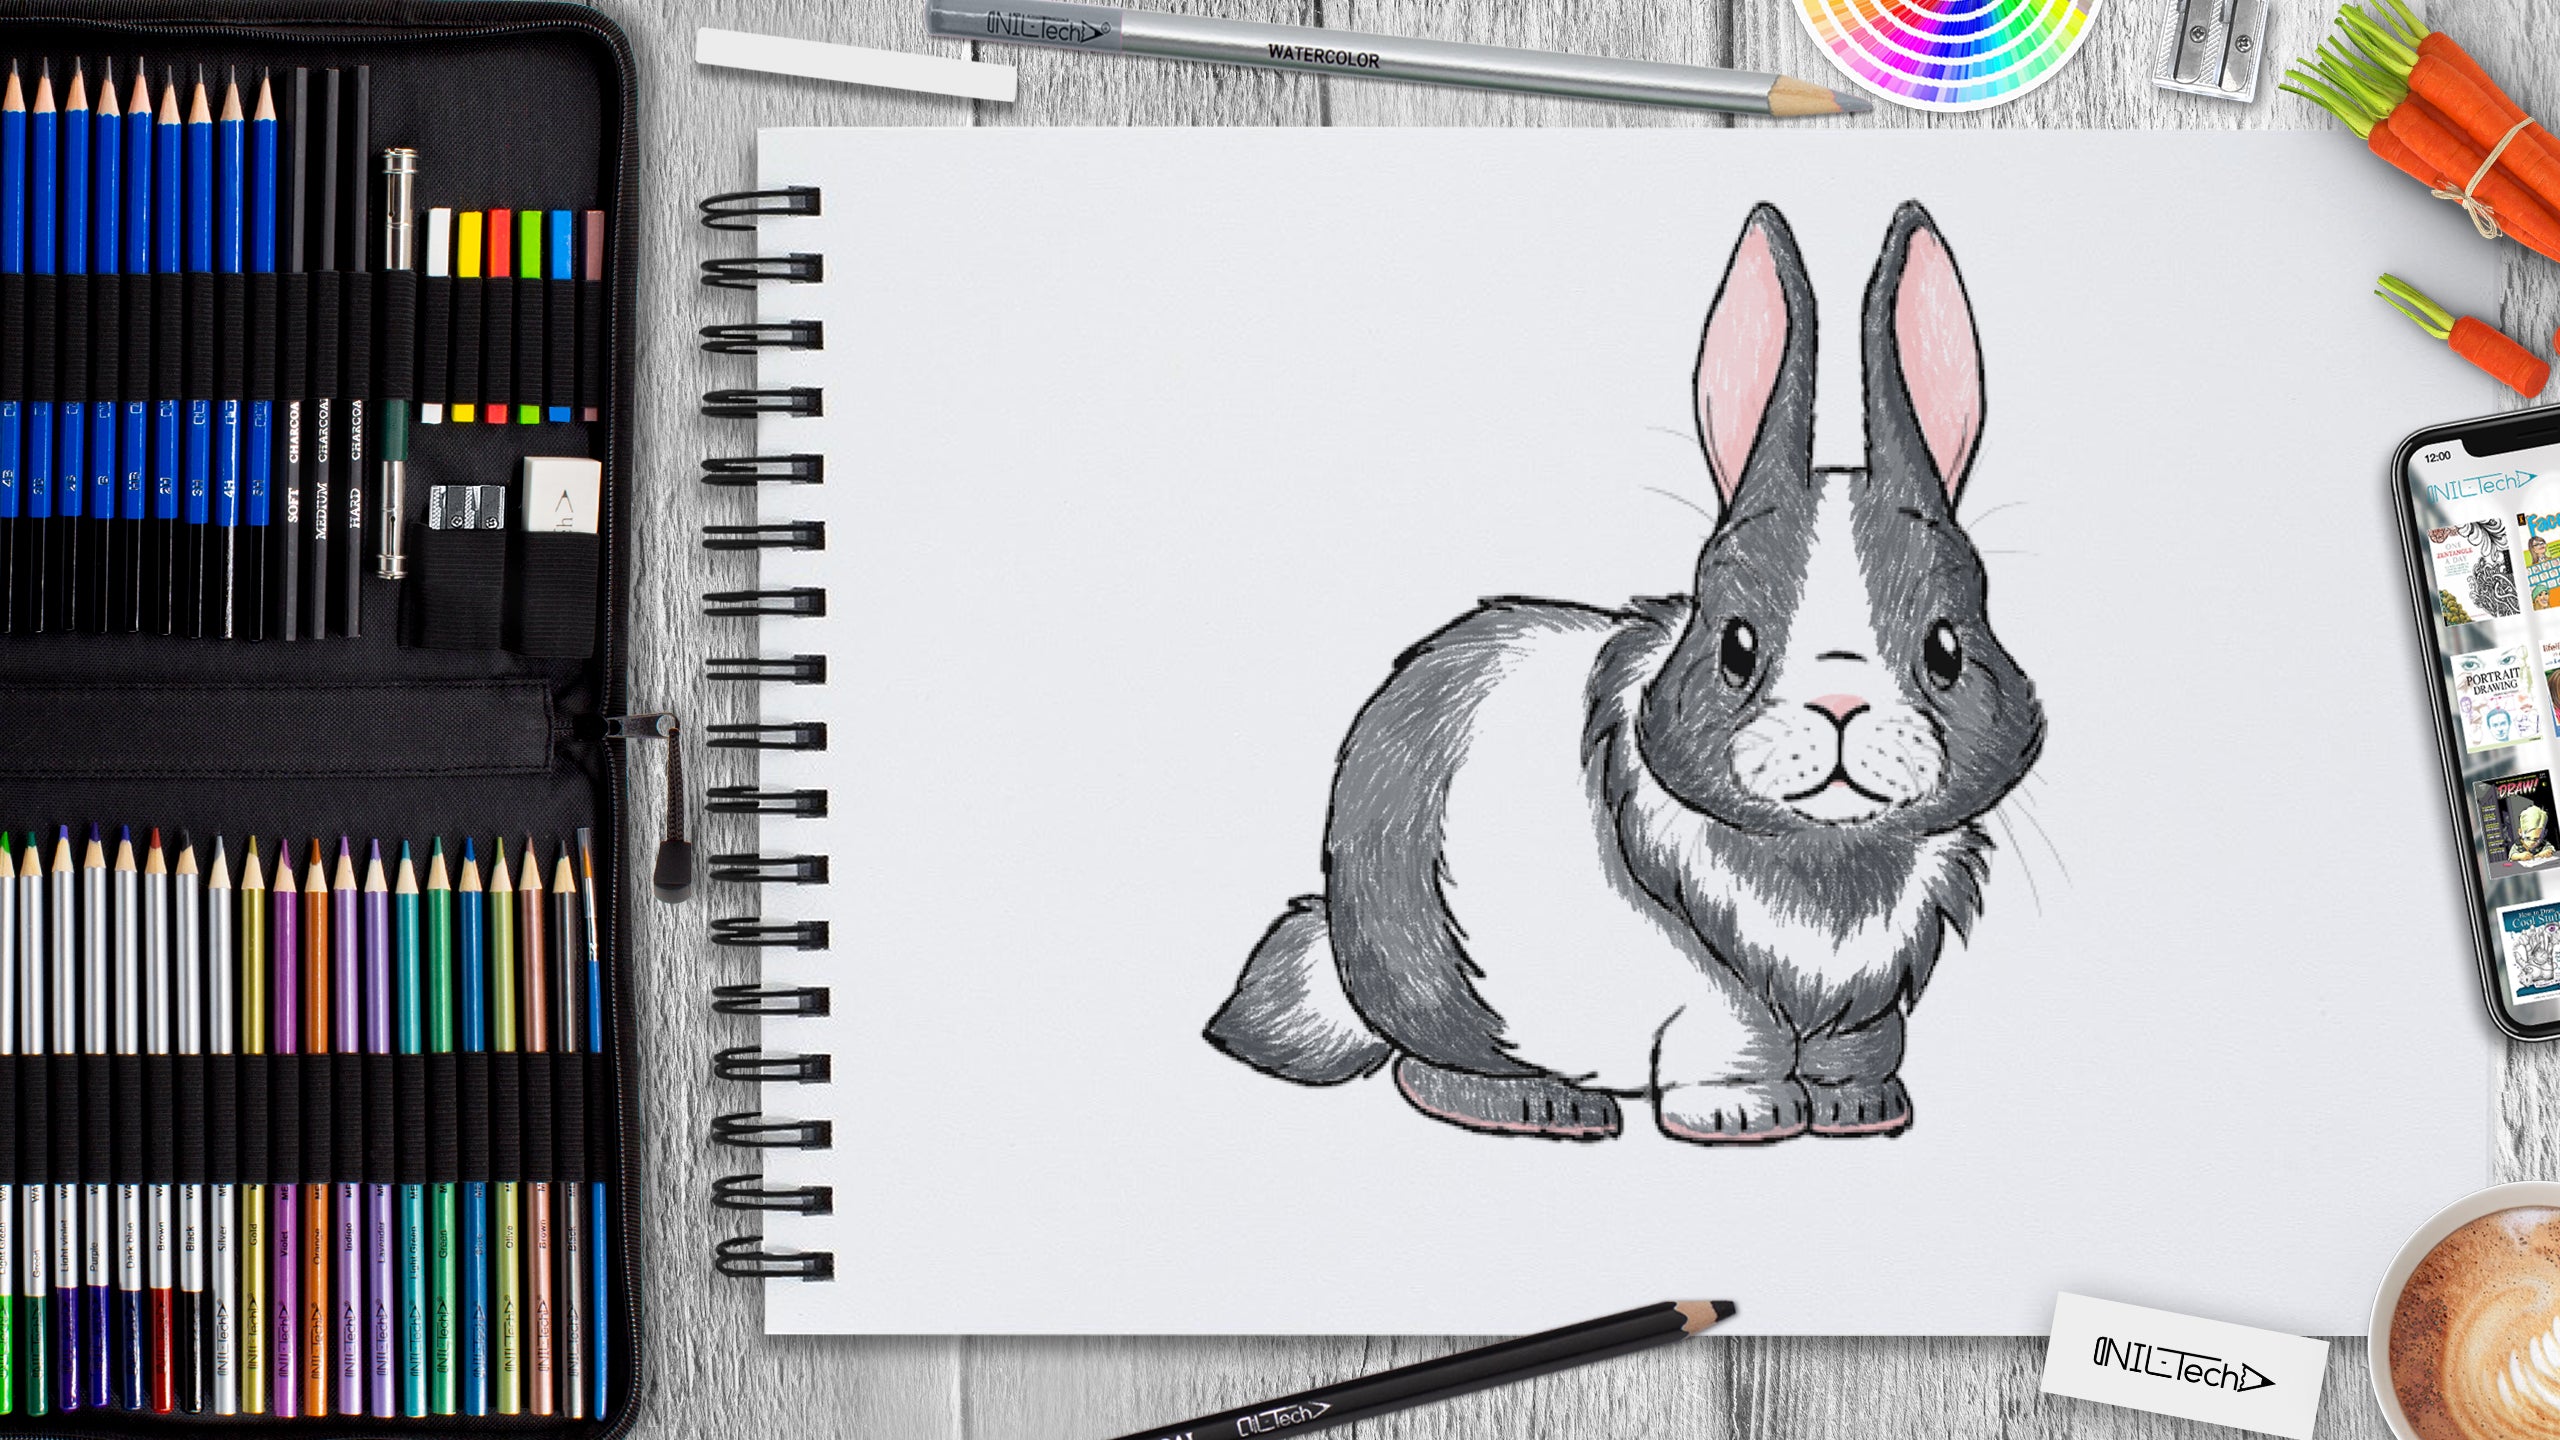
How to Draw a Bunny Rabbit
Apr 24 , 2020

Hi everybody, and welcome to a new NIL-Tech drawing tutorial: "Bunny". Do you want to draw something charming and easy? In this tutorial, you will learn how to draw a bunny from scratch, step by step. This will undoubtedly be easy and fun!
Here are some interesting facts about Bunnies and Rabbits:
1. A baby rabbit is called a kit, a female is called a doe, and a male is called a buck.
2. They are very social creatures that live in groups. They stay in warrens-- a series of passages and rooms that they dig underground.
3. A rabbit's teeth never stop growing! Instead, they're progressively worn down as the bunny chews on turfs, wildflowers, and vegetables - implying they never grow too long.
4. Rabbits carry out a sports leap, referred to as a 'binky' when they're happy - doing spins and twists in the air!
5. Bunnies' eyes are on the sides of their head. It means they can see almost everything around them. This helps them to keep a close watch for predators while they're doing their business!
In this tutorial, we used the following supplies:
- H pencil or mechanical pencil
- HB pencil
- 3B pencil
- colored pencils
- grey (light, medium, and dark)
- pink (light and bright)
- white
- Kneaded Eraser
- White Vinyl Eraser
STEPBYSTEP10
Let's start drawing a Bunny step by step!

Step1. Draw an oval - it's the sketch for the forehead. Draw the basic lines lightly - they will be erased later. Draw a circle below and slightly over the oval. Cross the circle with a "smile". Draw two circles on the sides - these will become cheeks.

Step 2. Draw a smaller circle inside the center circle. Draw two more circles on top. Then draw "butterfly wings" where the eyes will be and narrow ovals inside the "wings".
Outline the form of the head around the circles.

Step 3. Draw a small mouth and nose. Then draw two ovals on top of the bunny's head - this is the base of the ears. Draw 2 lines from the outer side of the circles, going towards the central line of the head, then turn outside with shorter lines.
Draw a similar short line at the base of the ears. Close the ear's shape with subtle curves. Then draw small curves at the suggestions of the ears and a line towards the inner side of the base circles.

Step 4. Draw a fat egg form for a half-realistic, half-cartoon design - it will be the body. Draw the oval paws under the body, then add horizontal lines under the paws.
Draw curves around the paws. Add ovals over the paws to make foot. Draw an oval behind the hind paw to make a foot.

Step 5. Draw a fluffy tail out of 3 circles. Then connect them with the external line. Add some ruff that covers the neck, and a curve around the body to add volume to the drawing.

Step 6. From this step, start drawing with a darker pencil. Outline the form of the eyes. Then the light dots inside them, and smaller light dots on the opposite side.

Step 7. Hatch the eyes with dark shading and subtly darken the smaller light dots. Outline the mouth and draw the fluffy muzzle around the mouth and eyes.
Draw the ears with quick, short lines and the entire head, yet don't close the shape completely.

Step 8. Outline the remaining fluff. Then add the whiskers.
After that, add a darker outline to the body and make some lines thicker for a more exciting look. You can take a softer pencil to do this.

Step 9. After outlining the final drawing, erase the primary lines on which the picture was built. Then add gray color to the bunny (light grey pencil).

Step 10. With a darker gray draw shadow to add volume to the picture (medium grey pencil). Hatch the nose and ears (light pink pencil).

Step 11. Add shadow on the ears and feet (bright pink pencil). Draw shadow on the fluff (dark grey pencil).

Step 12. Add texture to the fluff with white and light grey pencils.

 |
Drawing Pencil SetExcellent GIFT IDEA - Non-Toxic and safe, easily portable and made with quality top-notch materials. Basic and innovative drawing supplies come together in NIL Tech set as an exceptional replacement for old-fashioned pencil boxes. The main attraction at any occasion from your drawing enthusiast friends, sketchers, artists to your kids or students boosting their creative projects and enjoy their ear-to-ear smile! |


