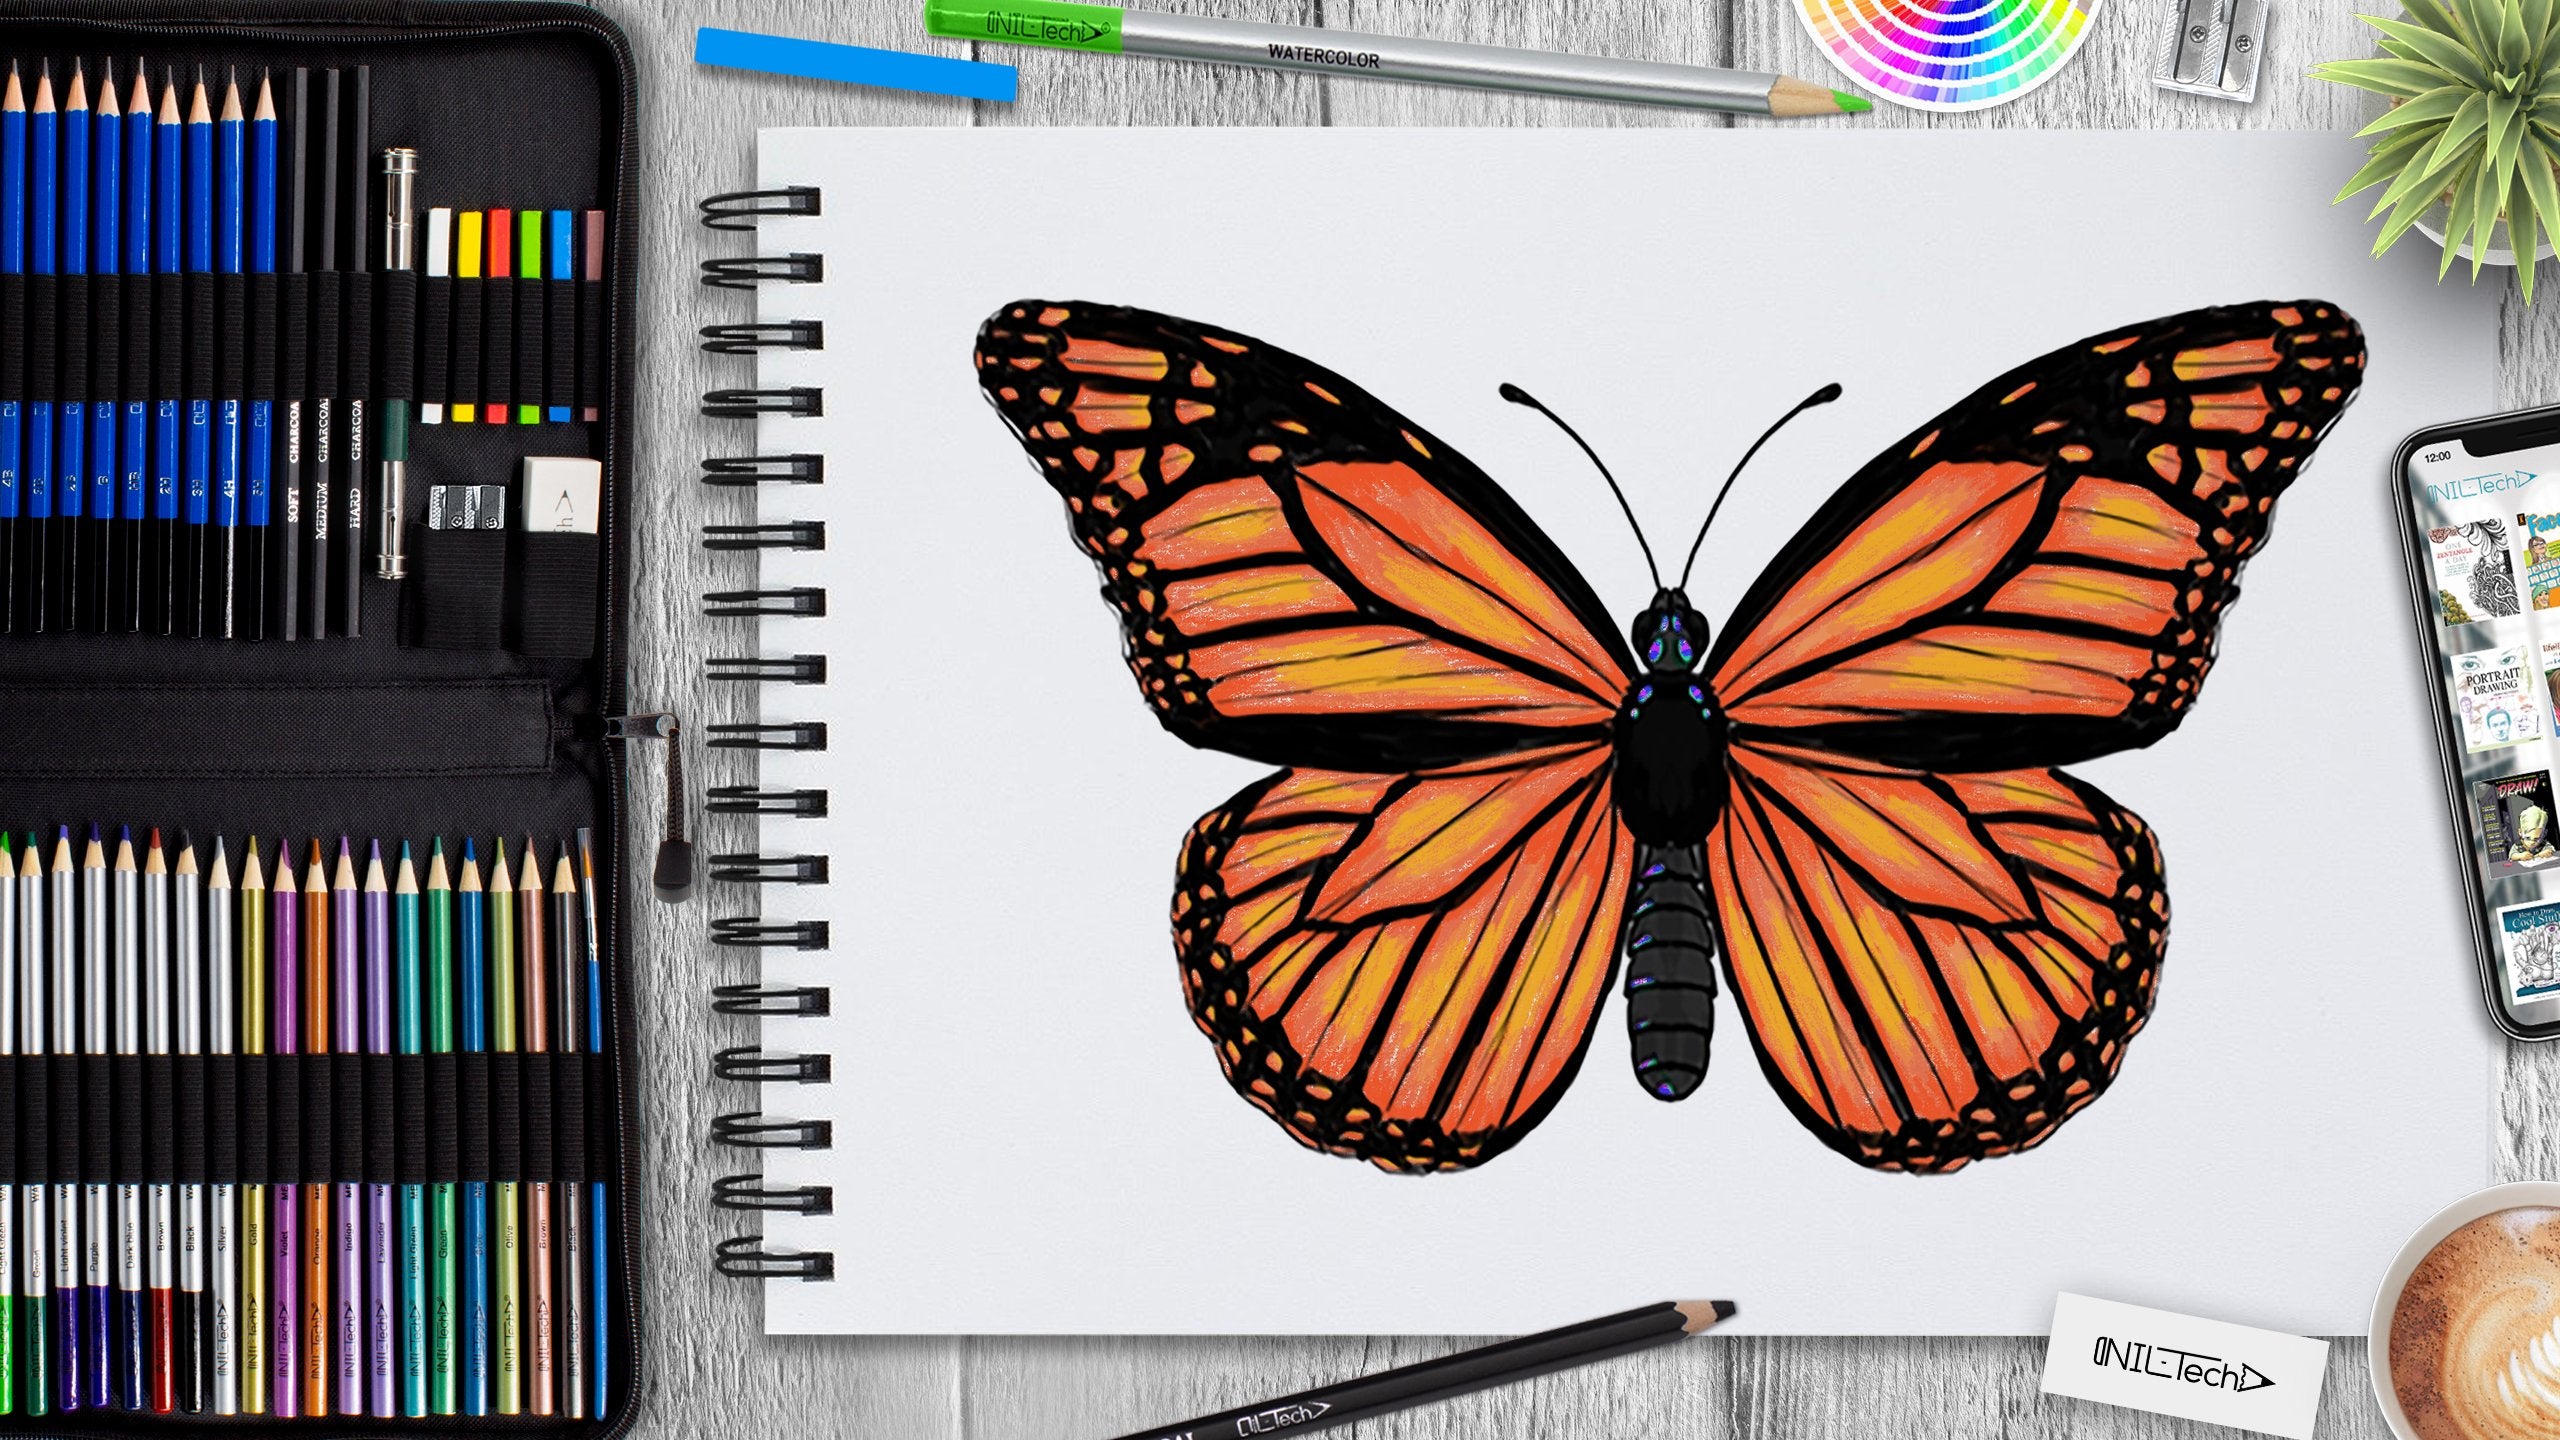
How to Draw a Butterfly Step by Step
Jun 04 , 2020

Hi everybody, and welcome to a new NIL-Tech drawing tutorial: "Butterfly". Butterflies are a fantastic creature to draw - their wings have a specific pattern that can be drawn easily with a few rules. When you know the rules, you can draw a realistic-looking butterfly step by step from scratch.
Here are some interesting facts about Butterflies:
1. Butterflies can see beyond the ultraviolet spectrum, and their eyes consist of a network of 6000 lenses.
2. Contrarily to popular opinion, the wings of butterflies are absolutely clear, and the colors we see are the result of light reflecting on the small scales covering them.
3. Butterflies can vary significantly in size. The biggest butterfly specie has a 12-inch wingspan, while the smallest ever before videotaped only covers half an inch.
4. Some butterfly species are incredibly fast. The Captain Butterfly can fly faster than a horse can run.
5. Many researchers thought butterflies were entirely deaf until they initially identified butterfly ears in 2012.
Let's draw a Butterfly step by step!
In this tutorial, we used the following supplies:
- HB pencil
- 3B pencil
- colored pencils
- black
- blue
- orange (light and medium)
- yellow
- White Vinyl Eraser
- Kneaded Eraser
STEPBYSTEP10
 Step 1. Sketch an oval for the torso. Then cross the torso in half with a vertical line - the length of the body, and draw a longer oval below - this will be the abdomen.
 Step 2. Connect the abdominal area to the upper body with a slim waist. Draw a circle (the head) on top of the body and two oval eyes inside it.
Add two tiny ovals on the front of the head and draw two curves for the big antennae. End each antenna with small "beans".

Step 3. Outline the body and add all the essential details - the torso is fluffy, and also the abdominal area is segmented.

Step 4. Mark a dot in the upper part of the torso and draw a straight line throughout the point. Each half should be about as long as the whole body (without antennae).
Add two longer lines about 30 degrees over the previous line and draw elongated drop forms around these lines, as in the example above. Draw the line from the end of the horizontal line to around 60% of the length of that "dragonfly wing".
 Step 5. Carefully detail the shape of the top wings.
The lower wing can be drawn similarly. Draw two lines down from the point, somewhat below the abdominal area. Then add a line between each end of the lines and the top wings.
 Step 6. Draw the line from the upper body point to close the triangular shape of the wing right under the top wing.
Mark a point in the center of the farthest triangle line and cross each point with a line originating from the torso. Outline the form of the lower wing.

Step 7. Let's draw the "cells" of the wings. Mark 3 points as in the example and draw lengthened cells through these marks. Same with the lower wings.
 Step 8. Mark another set of points and draw the cells as in the example.

Step 9. Draw the pattern on the wings with rounded lines and circles of different sizes, as in the example above. Outline the contour of the wings as well.
 Step 10. Draw the pattern of the wings with a black pencil. Hatch the wings - the colors are lighter in the center of the "cells" (light and medium orange pencil).
Hatch the lower body and the head (3B pencil), leaving the blank spaces. Hatch these blank spaces (blue pencil).

Step 11. Add hatching to the center of the "cells" (yellow pencil) and more color (medium orange pencil), outline the contour of the wings (3B pencil).
STEPBYSTEP10

 |
Drawing Pencil SetExcellent GIFT IDEA - Non-Toxic and safe, easily portable and made with quality top-notch materials. Basic and innovative drawing supplies come together in NIL Tech set as an exceptional replacement for old-fashioned pencil boxes. The main attraction at any occasion from your drawing enthusiast friends, sketchers, artists to your kids or students boosting their creative projects and enjoy their ear-to-ear smile! |


1 Comments
thanks it was great instrctions