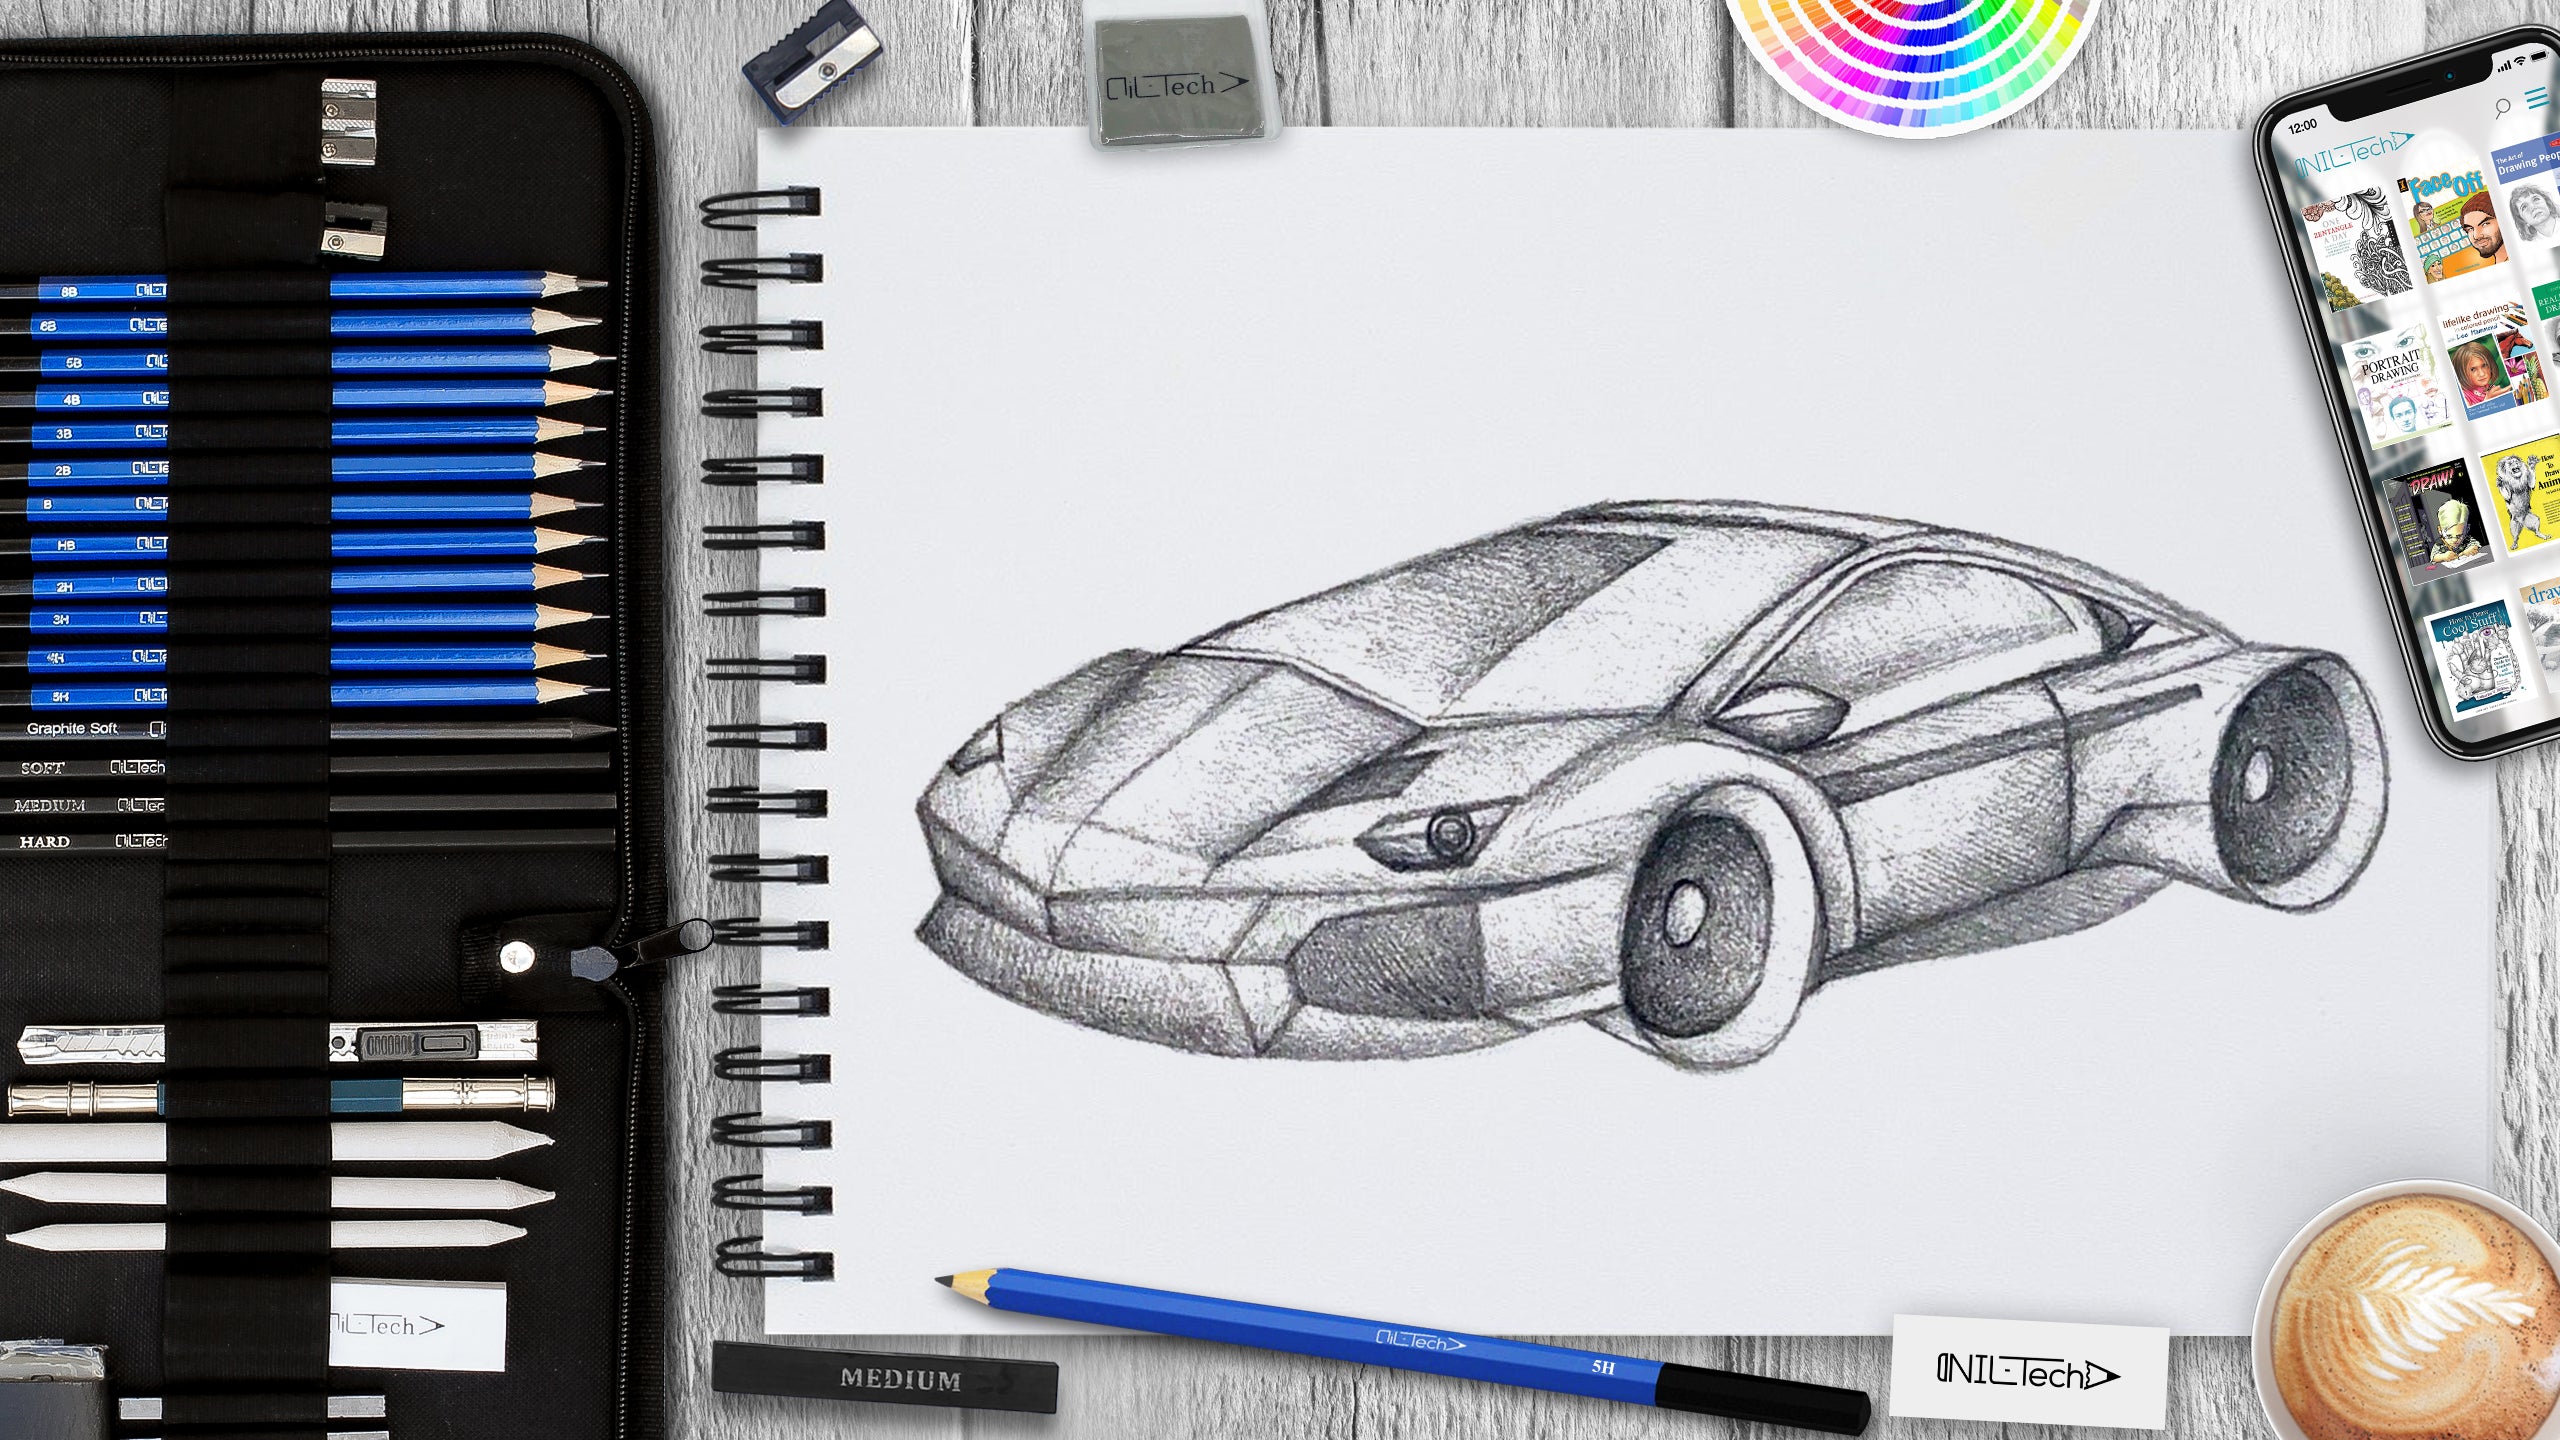
How to Draw a Car
Aug 26 , 2020

Hi everybody, and welcome to a new NIL-Tech drawing tutorial: "Car". Can you imagine the world with cars? Automobiles can be found in all sizes and shapes. However, they all serve a clear purpose - to get us from point A to point B. That being said, there's nothing quite like taking a fantastic drive and enjoying the fresh air. It's shocking how far we have come in such a quick time since using horse-drawn carts!
Here are some interesting facts about Cars:
1. The car's humble origin goes back to 1885. Carl Benz created a vehicle with a four-stroke engine and impressively big wheels. Fortunately, they have sped up and have gotten a bit sleeker in the design department since then!
2. Each year, it's thought that approximately 60 million vehicles roll off the production line. If you're checking out the mins, that's around 115 new cars and trucks every 60 seconds!
3. It's thought that commuters in Washington DC spend around 82 hours each year being stuck in traffic.
4. You'll discover that cars and trucks can drive on either side of the road around the globe. Nonetheless, the majority of countries require you to drive on the right side. That represents 65% of countries.
5. Volkswagen is likely to be among one of the largest car manufacturers in the world. They own brands as varied as Skoda, Audi, Lamborghini, Ducati, SEAT, Bentley, Porsche, and many more.
In this tutorial, we used the following supplies:
- B pencil
- 5B pencil
- White Vinyl Eraser
- Kneaded Eraser
STEPBYSTEP10
Let's draw a "Car" step by step!

Step 1. Start with drawing a parallelepiped. This way, it will be easier to draw the car in perspective(pencil B).

Step 2. Following the laws of perspective, draw the roof and wheels (pencil B).

Step 3. Start drawing from the hood since it consists of different planes. The main thing is not to forget that they are all in perspective (pencil B).

Step 4. Add details to the hood and draw the rest of the car (pencil B).

Step 5. Erase all excess construction lines. Add missing details on the front and side parts of the car (pencil B).

Step 6. Start hatching from the hood, adding the overall tone as in the example above (pencil B).

Step 7. Hatch the side part of the car (pencil B).

Step 8. Start working on the shadows and tone of the lower part of the car. Take into account the light that comes from left to the top (pencil 5B).
Step 9. Hatch the roof, windows (add a small shadow on them, making a shine effect), and the wheels (pencil 5B).

 |
Drawing Pencil SetExcellent GIFT IDEA - Non-Toxic and safe, easily portable and made with quality top-notch materials. Basic and innovative drawing supplies come together in NIL Tech set as an exceptional replacement for old-fashioned pencil boxes. The main attraction at any occasion from your drawing enthusiast friends, sketchers, artists to your kids or students boosting their creative projects and enjoy their ear-to-ear smile! |


1 Comments
Very nice