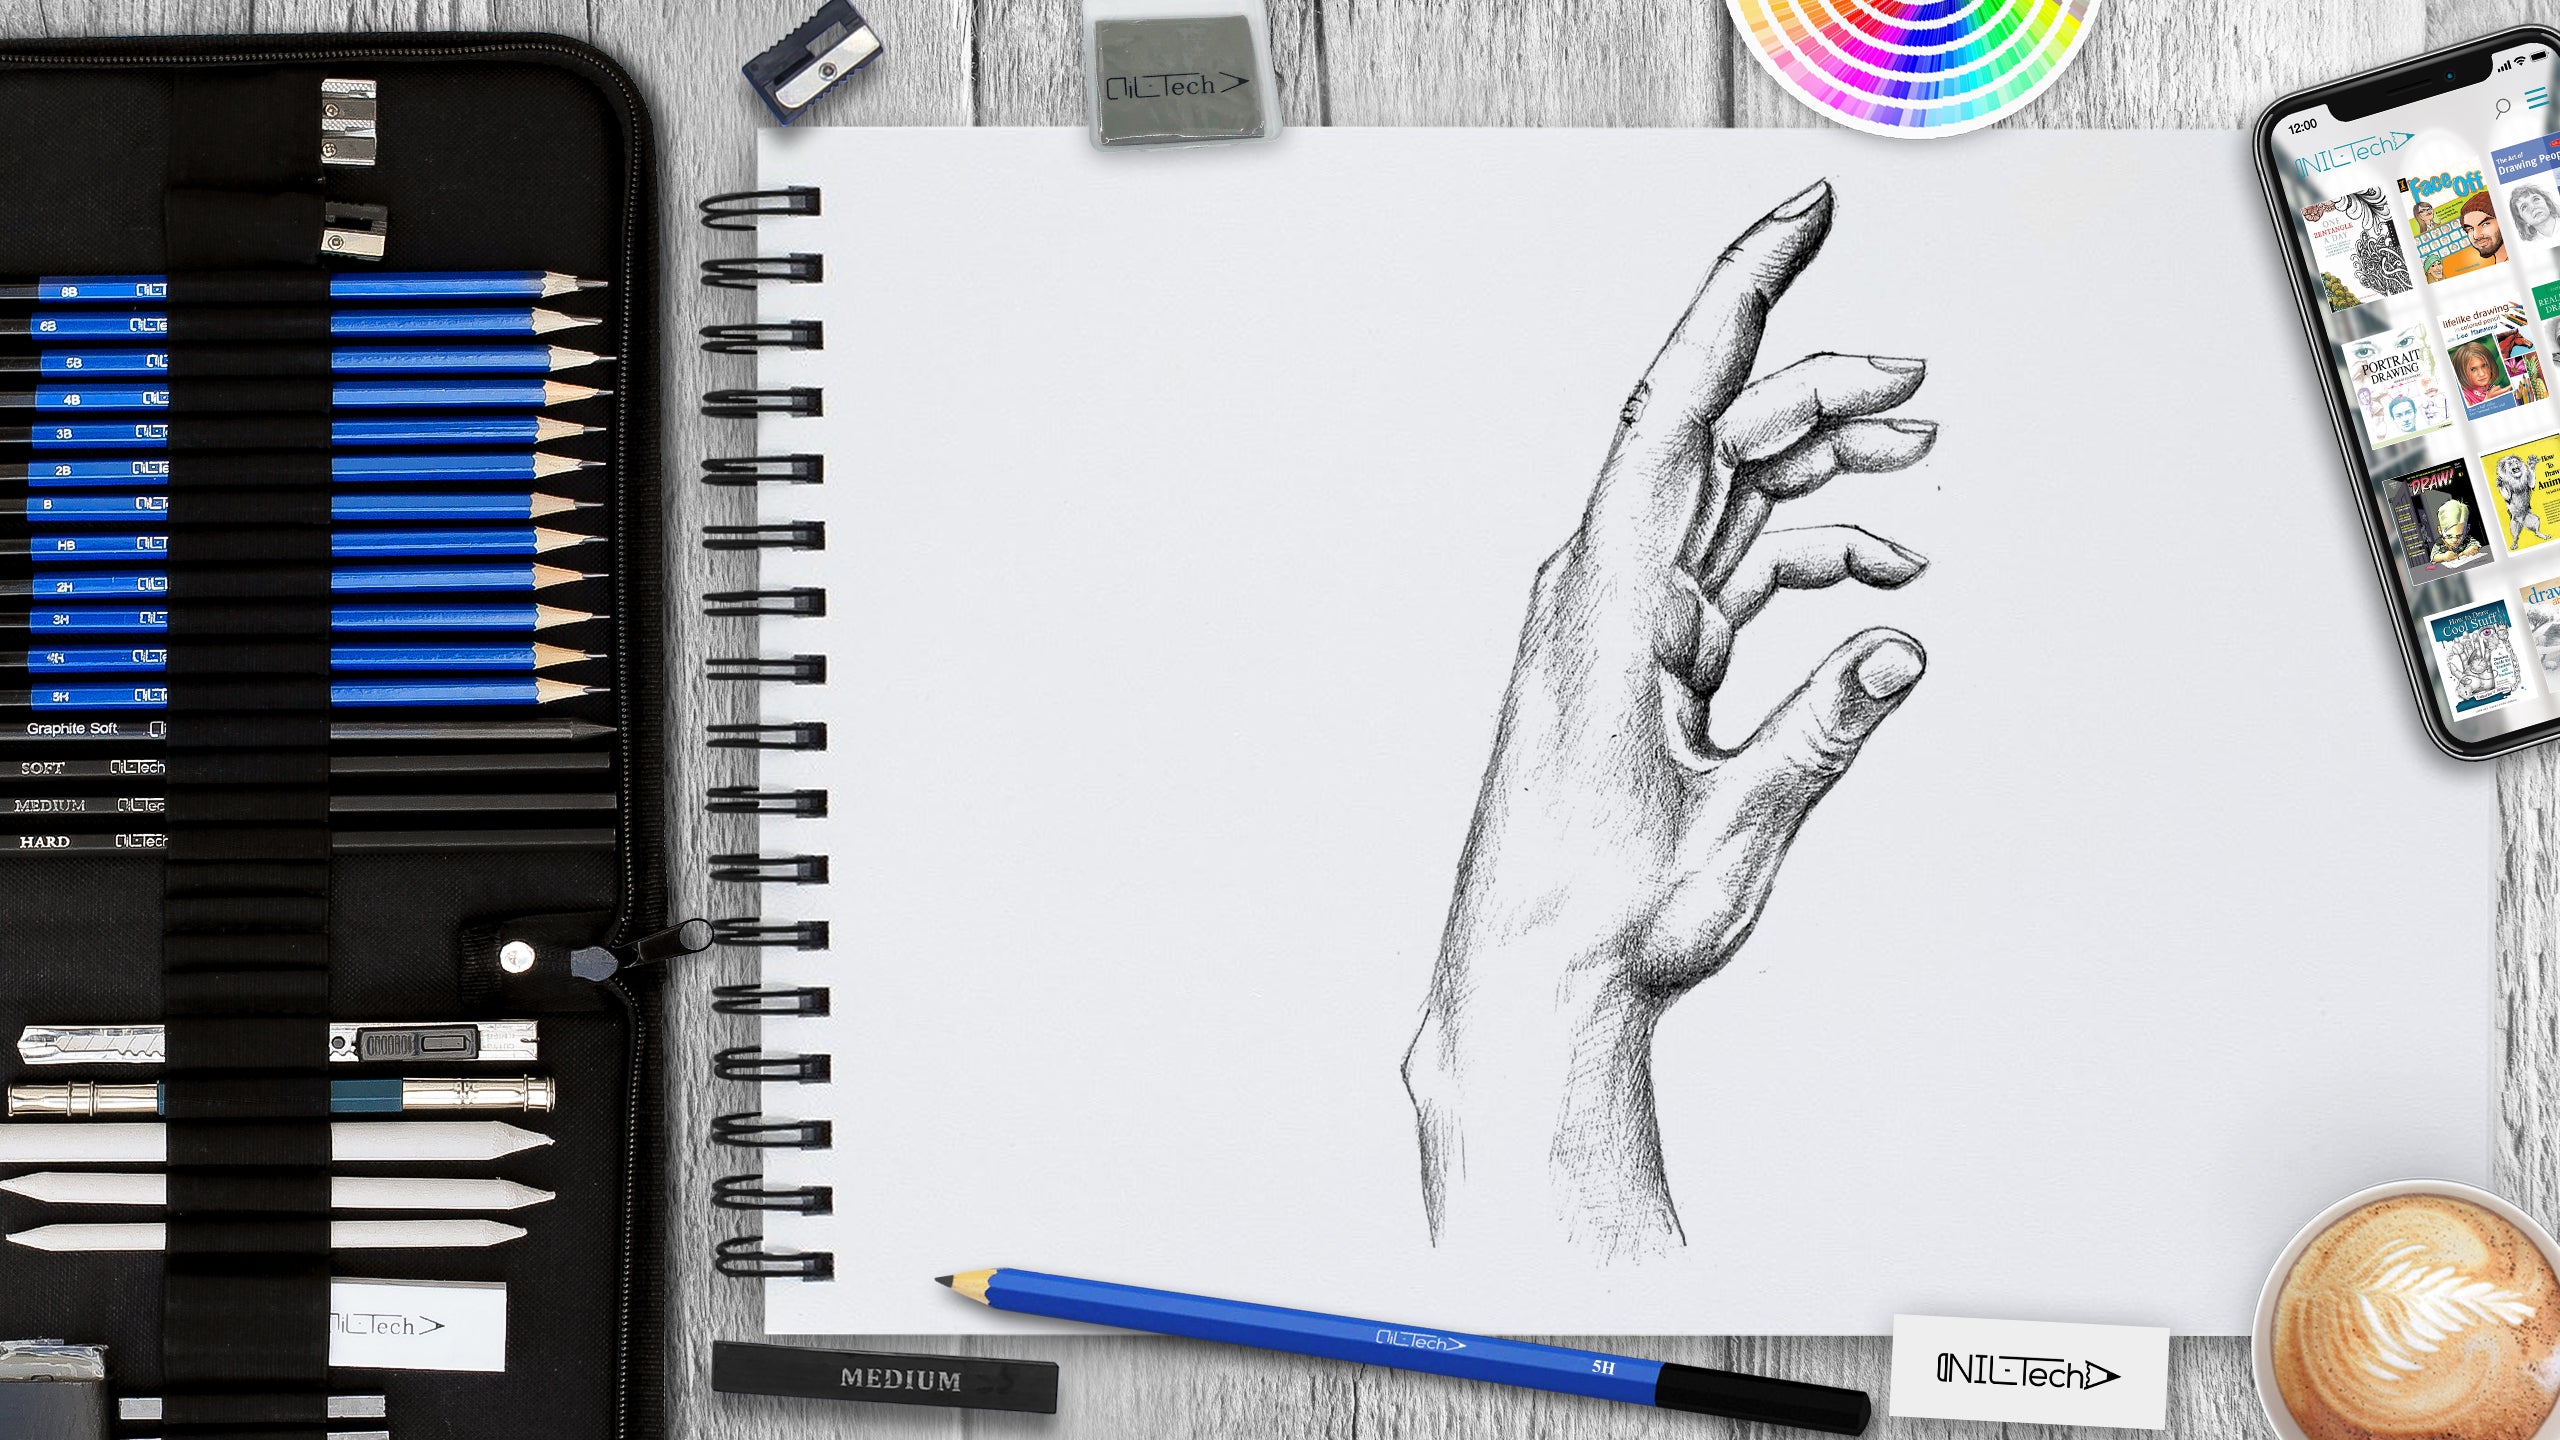
How to Draw a Hand
Jun 25 , 2020

Hi everybody, and welcome to a new NIL-Tech drawing tutorial: "Hand". Hands are one of the most vital parts of your body. Human hands are complex tools adapted over numerous years of evolution. And they are not easy to draw. However, our tutorial can help you draw a hand from scratch, even if you are not a professional artist.
Here are some interesting facts about your Hands:
1. Only 10 to 15% of the entire human populace is left-handed. Only one in one hundred is ambidextrous - it means they can use both hands similarly.
2. The fingers themselves have no muscles. Instead, the muscles that bend the fingers are located in the palm and mid-forearm. They are linked to the fingers through ligaments.
3. 1/4 of the brain's motor cortex, which is the area that controls all motion, is devoted to moving the hand muscles.
4. You can't get a tan on your palm as well as the underside of your fingers.
5. Your fingernails show your state of health and wellness - they can show problems such as mineral or vitamin shortages, liver decease, thyroid, or anemia. Some indication of shortages that show up on your nails might be that they are too brittle, pale, or spotted.
In this tutorial, we used the following supplies:
- H pencil
- B pencil
- 3B pencil
- 5B pencil
- White Vinyl Eraser
- Kneaded Eraser
STEPBYSTEP10
Let's draw a "Hand" step by step!

Step 1. Draw the base of the hand with a triangle and rectangle. Show the direction of the fingers with the simple lines (pencil B).

Step 2. Draw ovals over the lines (pencil B). With theses ovals, it will be easier to draw the shape of the fingers

Step 3. We do the same with the thumb and add the extension of the arm, drawing a rectangle below (pencil B).

Step 4. Start drawing the shape of the hand with smoother lines (pencil B).

Step 5. Outline the shape of the fingers, repeating the bending of the ovals to draw the fingertips (pencil B).

Step 6. Outline the shape of the thumb and erase the excess ovals (pencil B).

Step 7. Erase all the construction lines, draw the remaining details (nails, folds), and make the contour more clear (pencil B).

Step 8. Outline the light and shadow areas with a harder pencil (pencil H).

Step 9. Start hatching with the fingers, since they are on top and the pencil won't be shaded. Light falls on top, so all the shadows will be on the lower parts of the fingers, so do not forget that the stroke goes in the shape of a figure (pencil 3B).

Step 10. Next, go down below and hatch the hand (pencil 3B). To get a better shape, touch your hand and look at it from different perspectives.

Step 11. Now let's draw a thumb. When hatching it, do not forget about the joints that need to be shaded.

Step 12. Draw shadow below and slightly brightens the rest of it, brighten the details. Add glare with an eraser (pencil 5B).

 |
Drawing Pencil SetExcellent GIFT IDEA - Non-Toxic and safe, easily portable and made with quality top-notch materials. Basic and innovative drawing supplies come together in NIL Tech set as an exceptional replacement for old-fashioned pencil boxes. The main attraction at any occasion from your drawing enthusiast friends, sketchers, artists to your kids or students boosting their creative projects and enjoy their ear-to-ear smile! |


1 Comments
Great blog post and i love to watch this type of informative . great information and kindly create more blogs . and please also visit to vareesha and buy your fav wooden cutlery holder