How to Draw a Head
Jul 03 , 2020

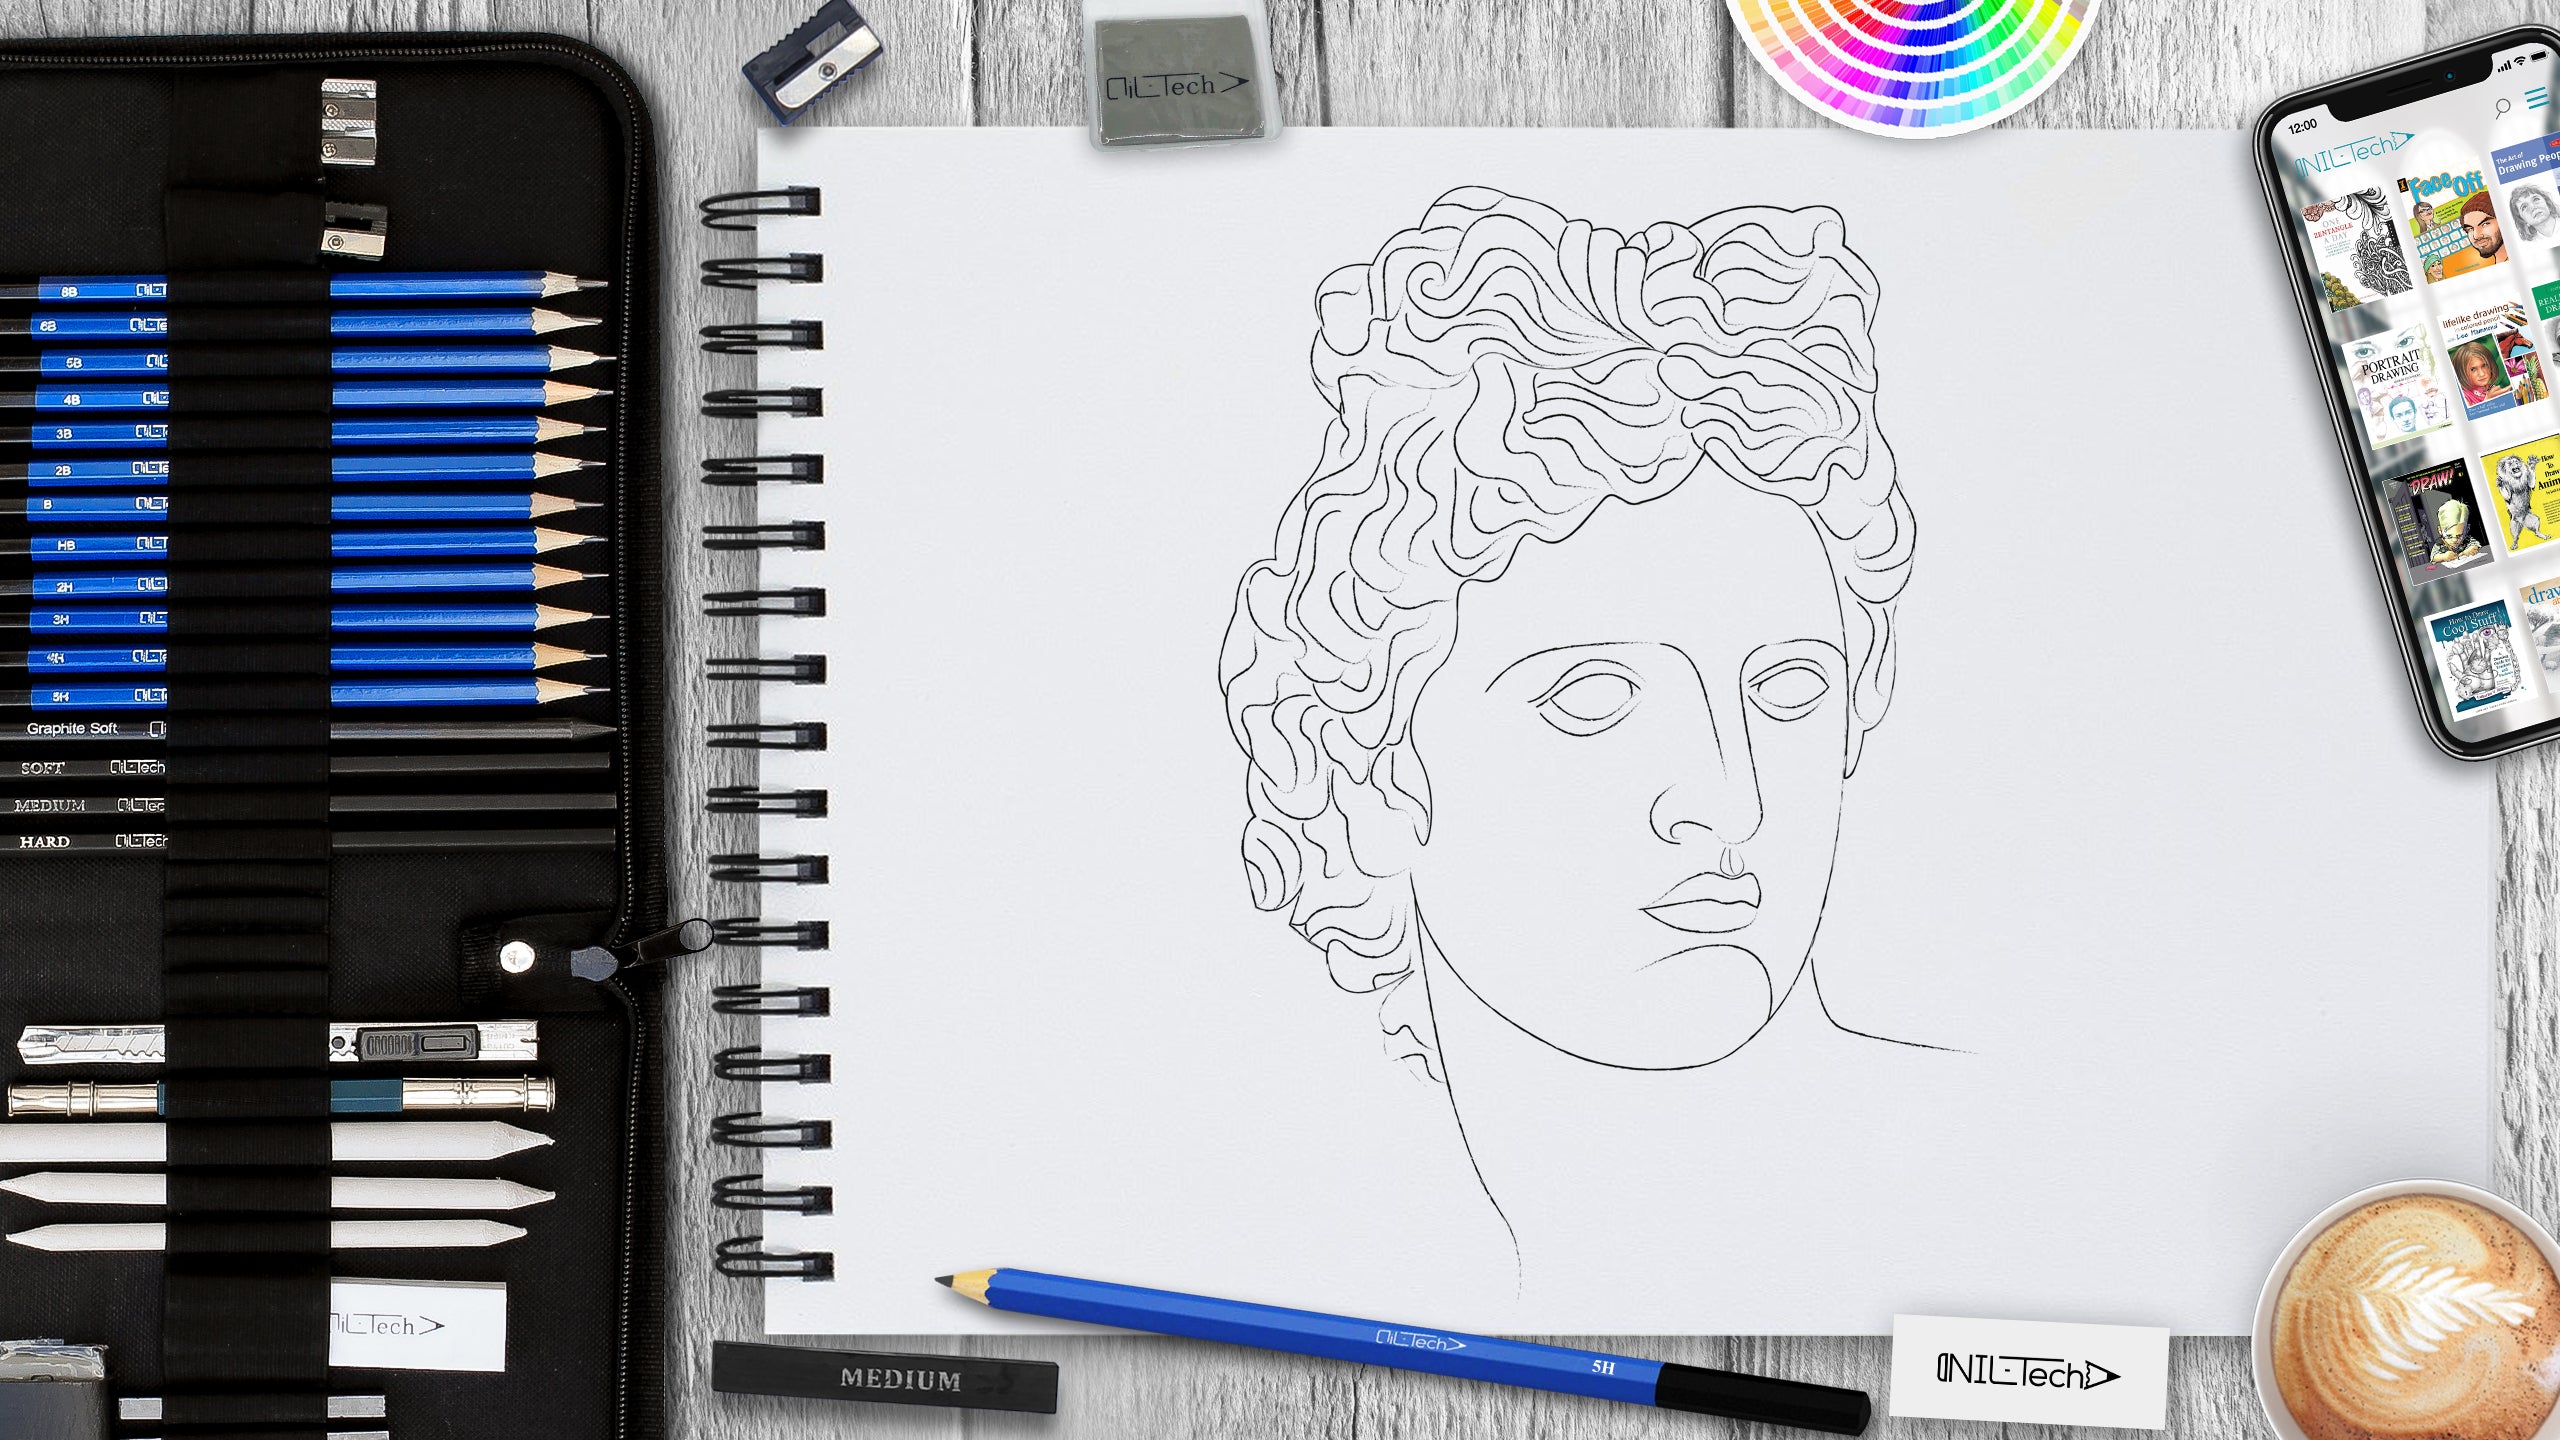
Hi everybody, and welcome to a new NIL-Tech drawing tutorial: "Head". Today we are going to draw the plaster head of the god Apollo. The Apollo's head is often used for creating an academic drawing. Learning how to draw plaster heads is very useful if you want to develop your skills and your eye. This goes for both illustrators and portrait painters.
Here are some interesting facts about your Head and Face:
1. There are around 100,000 hairs on the average adult human head, and we lose about 50 daily.
2. Genuine facial expressions are, in most cases, symmetrical. From frowns to smiles, we typically reveal real emotions equally on both sides of the face. Just like an image hanging perfectly on a wall, one's face looks most natural when balanced.
3. There are 21 mimetic facial muscles - generally called muscles of facial expression. They are the only muscles in your body directly connected to your skin, and so create the foundation of your face.
4. Humans can make approximately 10,000 different facial expressions.
5. We consistently flash micro-expressions that last less than 1/25th of a second. Not every facial expression we make, even the genuine ones, are easy to read. Some indicators of emotion can flash by rapidly, in just a split-second, before we consciously or subconsciously neutralize them.
In this tutorial, we used the following supplies:
- B pencil
- White Vinyl Eraser
- Kneaded Eraser
STEPBYSTEP10
Let's draw a "Plaster Head of the God Apollo" step by step!

Step 1. Draw a circle - this will be a base for most of the head and draw the midline. Since the head is drawn in rotation, by following the laws of perspective, the right side of the face will be smaller than the left one. This statement will apply to all parts of the face (pencil B).

Step 2. Outline the front part of the head and divide it into three equal sections. On the first line, there will be eyebrows; on the second one - end of the nose (pencil B).

Step 3. Draw the midline of the eyes and lips as in the example above (pencil B).

Step 4. With straight lines, we build most of the nose (pencil B).

Step 5. With circles, sketch the tip of the nose and the eyes. The interval between the eyes will be the same as their width (pencil B).

Step 6. Draw the visible wing of the nose. With the vertical lines, outline the highest points we get when opening the eye. Draw straight lines from them that will show the direction of opening the eye (pencil B).

Step 7. Draw the shape of the nose and erase extra lines of construction. Draw the shape of the eyes (pencil B).

Step 8. Draw the eyebrows, upper and lower eyelids, and tear ducts. Draw the middle of the lips, showing the direction of their planes in volume (pencil B).

Step 9. Draw the shape of the lips and nasolabial fold. Draw the neck and chin. Mark, where the hair will be, and also erase all unnecessary construction lines (pencil B).

Step 10. Draw the hair. The hairstyle is divided into two parts - the upper one resembles a bow. Erase the unnecessary lines of construction (pencil B).

 |
Drawing Pencil SetExcellent GIFT IDEA - Non-Toxic and safe, easily portable and made with quality top-notch materials. Basic and innovative drawing supplies come together in NIL Tech set as an exceptional replacement for old-fashioned pencil boxes. The main attraction at any occasion from your drawing enthusiast friends, sketchers, artists to your kids or students boosting their creative projects and enjoy their ear-to-ear smile! |


