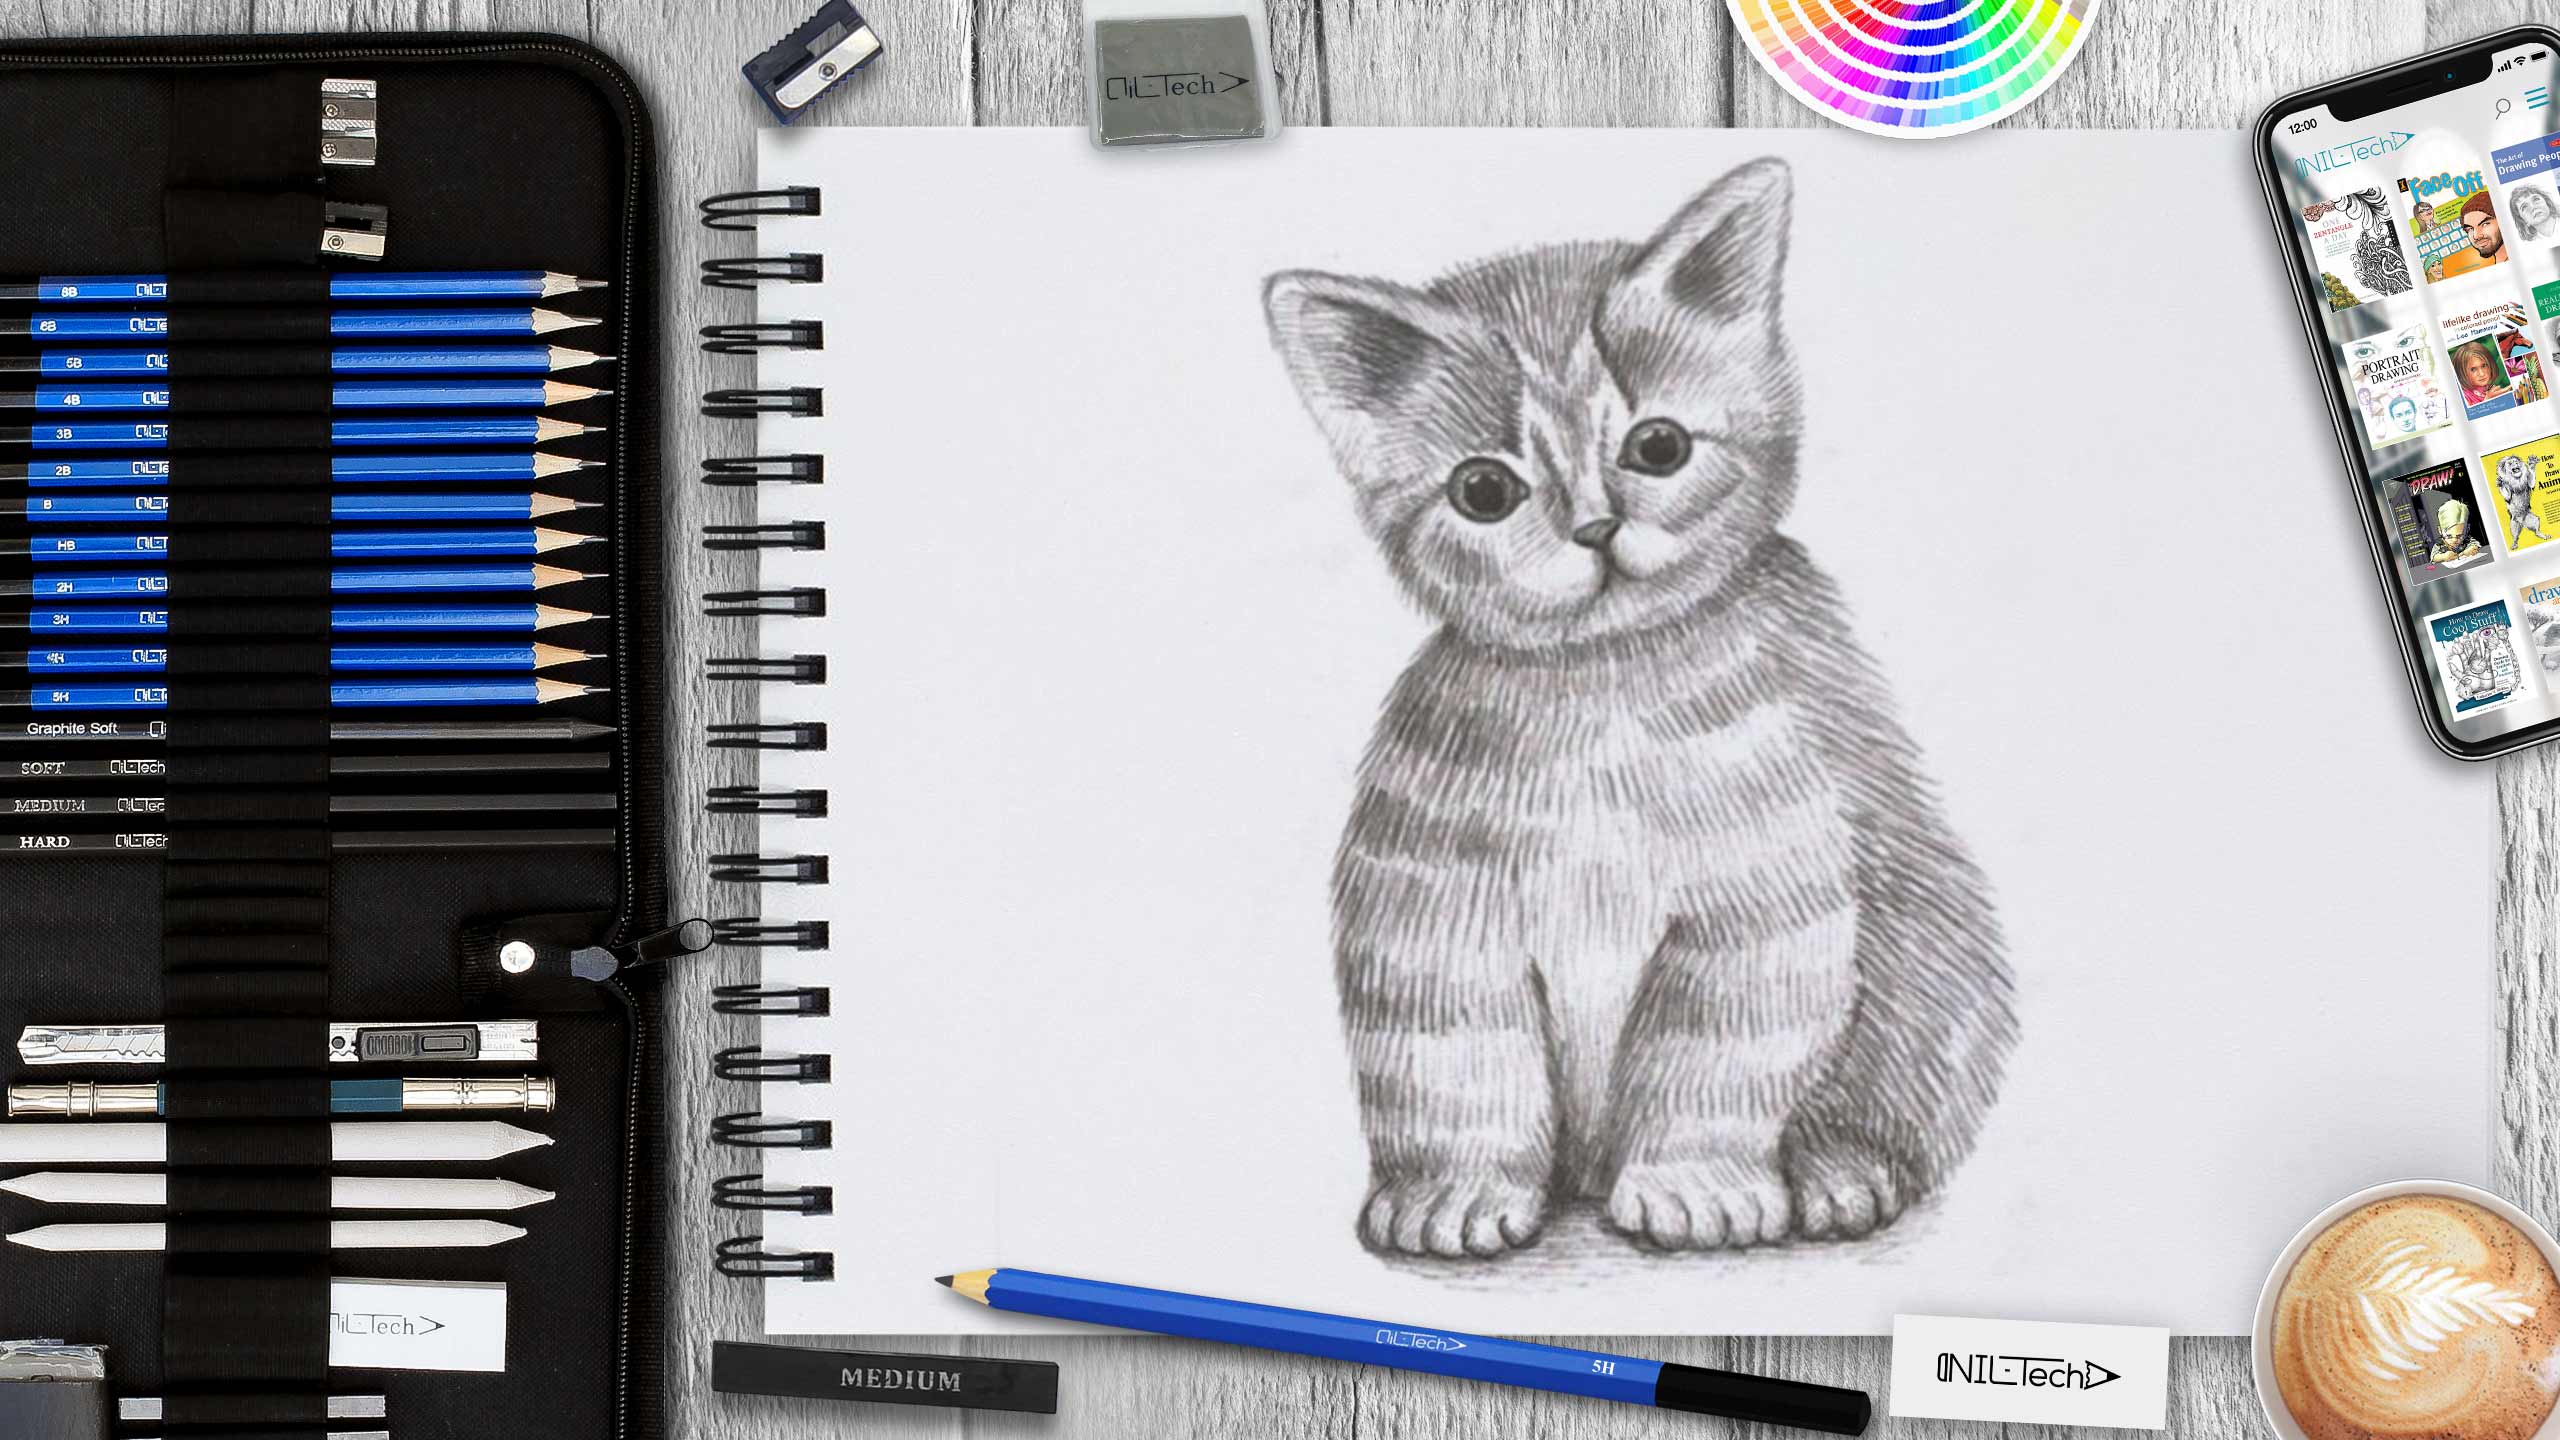
How to Draw a Kitten: National Kitten Day
Jul 08 , 2021

National Kitten Day on July 10th purrfectly celebrates the cuddly warmth of a kittens. The mini furballs of energy snuggle their way into our hearts with an effort. Within a flick of their small ears, we're in love.
The day aims to remind us that while kittens are well equipped to find their way into our hearts, many don't find homes. They're being left at shelters, on the side of the roadway or wild and feral. Spaying and neutering our pets, including our cats, are crucial to their health and keeping the stray population down.
- Newborn kitties are completely helpless and totally dependent on their moms for disposal, nutrition, and heat. Kittens are very fragile.
-
They discover who's trustworthy and safe during the first 12 weeks of kittens, what's great to eat, and where the bathroom lies.
-
Kittens end up being socialized towards other cats for approximately the very first 12 weeks.
- Cats are built with an additional organ that participates in the sense of smell.
- At about 2 weeks of age, their eyes open with a bluish color, and some types like Siamese, Tonkinese, and Ragdoll will keep their eyes blue.
Let's Draw a Kitten Step by Step
In this tutorial we used the following supplies:
- Pencil B
- Pencil 5B
- Eraser
STEPBYSTEP10

Step 1. We start the construction by outlining the head with the help of a circle and also drawing a middle line. (Pencil B)

Step 2. Next, with the help of a circle we outline the size of the lower part of the body, we also outline the legs with circles. Draw a slanted line on the middle of the head, as well as outline the ears and the direction of movement of the paws. (Pencil B)

Step 3. The next step is to draw the shape of the body, paws and ears, as well as outline the snout. (Pencil B)

Step 4. Draw the snout and the shape of the paws. (Pencil B)

Step 5. Remove all unnecessary construction lines and make the outline a little less bright with an eraser. (Eraser)

Step 6. We begin to hatch all the dark parts, and these are the eyes and nose, and we work in detail with a softer pencil, and in the rest of the dark parts we make a general tone. (Pencil 5B, B)

Step 7. Going to focus on the head, increase the tone, and in light ones just create the texture of the fur. (Pencil 5B)

Step 8. On the body, we do everything according to the same way as with the head, also add a small shadow below. (Pencil 5B)
STEPBYSTEP10
 |
Drawing Pencil SetExcellent GIFT IDEA - Non-Toxic and safe, easily portable and made with quality top-notch materials. Basic and innovative drawing supplies come together in NIL Tech set as an exceptional replacement for old-fashioned pencil boxes. The main attraction at any occasion from your drawing enthusiast friends, sketchers, artists to your kids or students boosting their creative projects and enjoy their ear-to-ear smile! |


