How to Draw a Nose from Different Perspectives Step by Step
May 07 , 2020

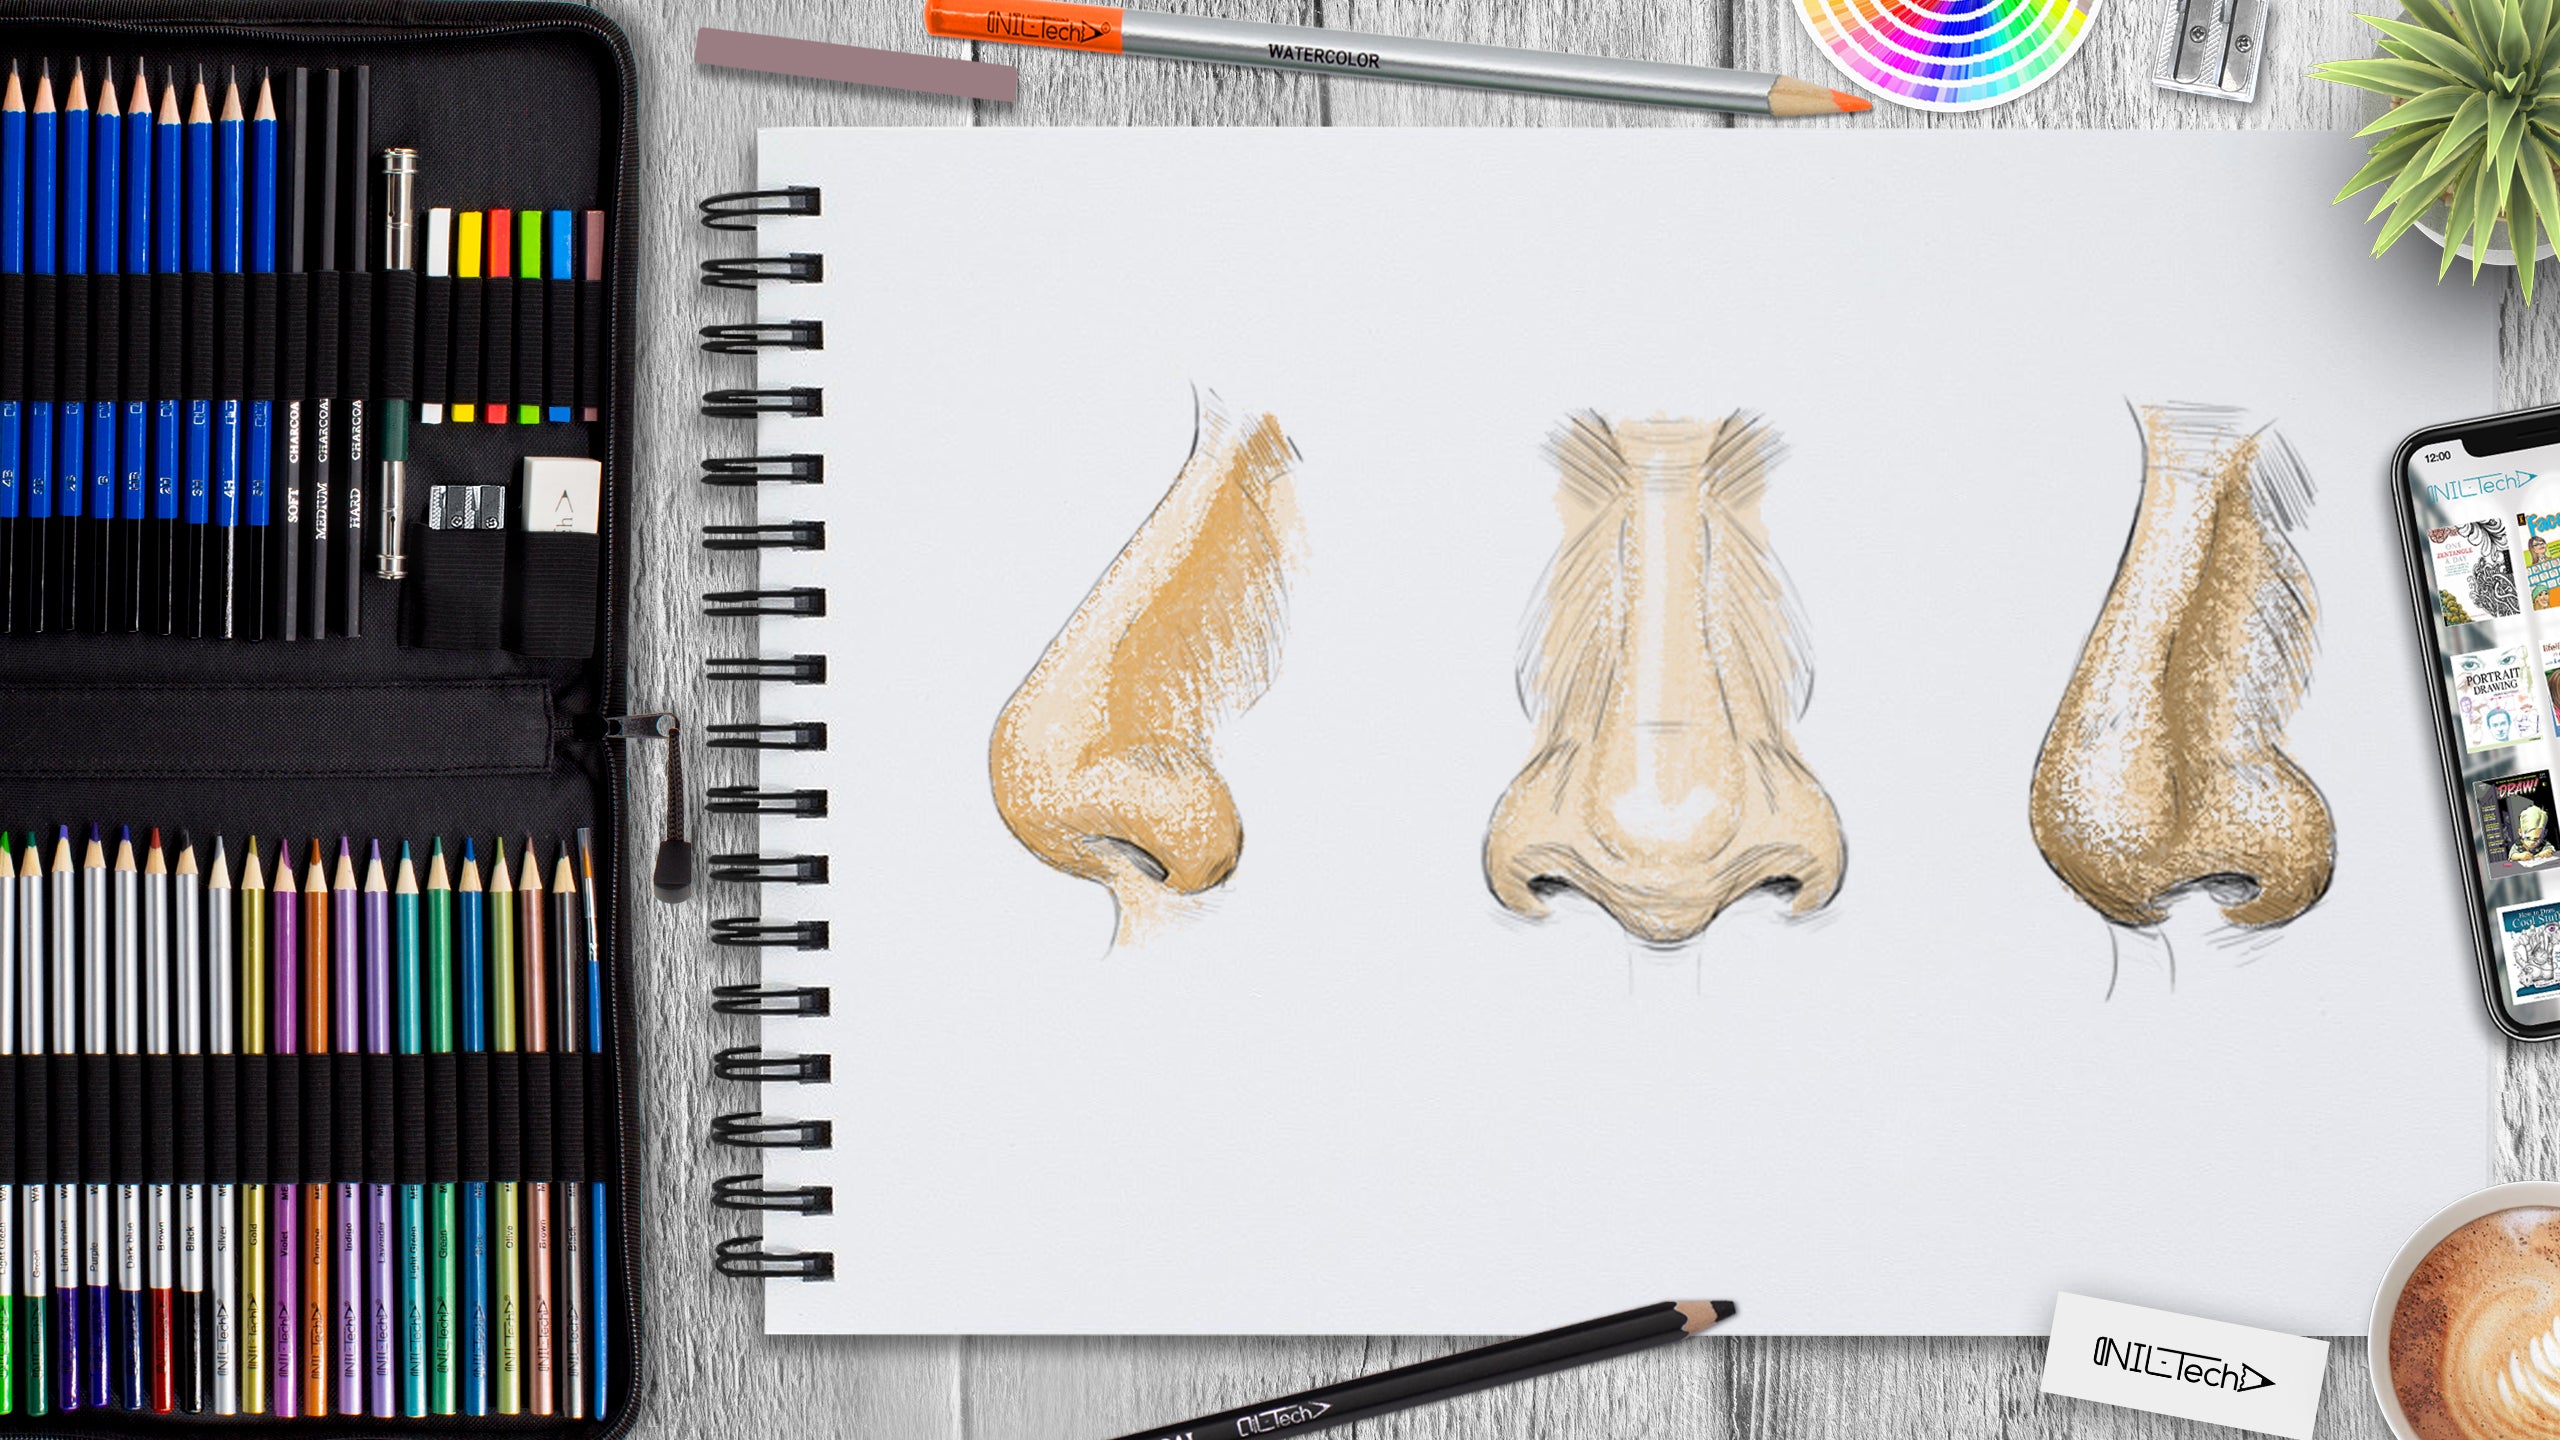
Hi everybody, and welcome to a new NIL-Tech drawing tutorial: "Nose from different perspectives". The human nose is more than just a flap of flesh and cartilage material on the front of the face. Besides being a part of the breathing system, the nose is likewise responsible for other vital functions, such as hear and taste.
Here are some interesting facts about your Nose:
1. The brain region for processing smell is usually up to 50% larger in women.
2. Nasal membrane layer color is an indicator of health. Pink means a healthy nasal membrane, red - infection, muted pink, or grey appear throughout nasal allergy season.
3. Humans have 12 million olfactory (smell) receptor cells, while rabbits have 100 million, and bloodhounds have 4 billion.
4. A single sneeze makes 40,000 droplets, travels up to 20 miles per hr, and creates a 5' spray radius.
5. You don't sneeze while you sleep because the nerves that set off sneezing are also sleeping.
In this tutorial, we used the following supplies:
- HB pencil
- blending stump
- Kneaded Eraser
- White Vinyl Eraser
- colored pencils
- body-color (light and medium)
STEPBYSTEP10
How to Draw a Nose in the Profile

Step 1. Sketch the general form of the nose - it's a drop-like shape. Draw a circle in the front, a circle for the wing, and a tiny circle for the septum. You can change the sizes and forms of all parts according to the final nose shape you want to make.

Step 2. Draw the nostril, and sketch the lower part of the nose. "Cut" the upper part of the nose to create the root, and also part the rest into halves.

Step 3. Sketch the bridge and also the tip. Draw the sides of the nose, and add some details.

Step 4. Draw the last lines and hatch the nose.

Step 5. Color in the nose with a light body-color pencil, then with the medium skin-color pencil as in the example above.
How to Draw a Nose in the Front

Step 1. Sketch the general shape, the length and size can vary depending on the final nose shape you want to make.
Draw the circle near the bottom and the circles for the wings, and a little circle for the septum.

Step 2. Sketch the nostrils. Bear in mind that they're 3D and bend towards the front. "Cut off" the top part of the nose to specify the root, and mark the border between the two halves of the nose.

Step 3. Outline the bridge and the sides; add some details.

Step 4. Draw the last lines and hatch the nose.

Step 5. Color in the nose with a light body-color pencil, then with the medium skin-color pencil as in the example above.
How to Draw a Nose in Perspective

Step 1. Outline the general shape of the nose. It looks like the form between the side and the front, depending upon the angle of turning.
Draw a circle that's almost on the side, yet not actually. Then draw the round wings - one slightly over another, and a septum.

Step 2. Outline the nostrils - don't forget the 3D shape! Draw a dividing line on the nose. "Cut off" the top to create the root, and also mark the middle of the bridge.

Step 3. Draw the bridge and the sides; add the details.

Step 4. Finish the drawing: draw the last lines and hatch the nose.

Step 5. Color in the nose with a light body-color pencil, then with the medium skin-color pencil as in the example above.

 |
Drawing Pencil SetExcellent GIFT IDEA - Non-Toxic and safe, easily portable and made with quality top-notch materials. Basic and innovative drawing supplies come together in NIL Tech set as an exceptional replacement for old-fashioned pencil boxes. The main attraction at any occasion from your drawing enthusiast friends, sketchers, artists to your kids or students boosting their creative projects and enjoy their ear-to-ear smile! |


1 Comments
this was very very helpful! buuuuuuut i would like to know if yall offer videos?