How to Draw a Cake
Nov 25 , 2020

Hi everybody, welcome to a new NIL-Tech drawing tutorial: "A Piece of Cake". What prevails in all our special occasions & celebrations? Apart from the joy of the mind, it is undoubtedly cakes that unite all those events. The old form of cake is way different from what we eat today. It was more like a bread sweetened with honey to which nuts and dry fruits were added sometimes. Food historians state that the forerunner of modern cakes (the round cakes with icing) was first baked in Europe in the 17th Century.
Here are some interesting facts about cakes:
1. The Red Velvet Cake Recipe was an act of revenge. Among the fascinating cake facts about Red Velvet is that the recipe was made known to the public as an act of revenge. A woman ate the Red Velvet cake in the restaurant and got quite fond of it. She asked the restaurant for the recipe, and they charged $100 for the same. She got furious and spread the recipe widely as revenge.
2. The word 'cake' comes from Middle English 'Kake' and is possibly borrowed from Old Norse.
3. The meaning of 'cake' has changed over time. The first cake was a relatively little flattened sort of bread, round, oval, or otherwise shaped, and usually baked hard on both sides by being turned throughout the process.
4. The world's biggest wedding cake weighed 15,032 lb. Cooks made it at the Mohegan Sun Hotel and Casino, Uncasville, CT, in February 2004.
5. The world's tallest cake stood at 7.8 m tall, and also it took 20 chefs more than one day to make the large cake at a shopping center in Luoyang.
In this tutorial, we used the following supplies:
- B pencil
- colored pencils
- menthol
- brown (medium and dark)
- blue
- burgundy
- green (light, medium, and dark)
- turquoise
- ocher
- yellow
- pink
- red
- purple
- White Vinyl Eraser
- Kneaded Eraser
STEPBYSTEP10
Let's draw a 'Piece of Cake' step by step

Step 1. Start by drawing a piece of cake in perspective (pencil B).

Step 2. With lines, mark the leaves near the piece (pencil B).

Step 3. On the side, we divide a piece into layers with lines. On top, outline a half strawberry and a blueberry (pencil B).

Step 4. Over the lines, draw a more detailed contour, making it more irregular and realistic. Also, add flowing chocolate (pencil B).

Step 5. Erase all excess construction lines and leave the final contour making it brighter (pencil B).

Step 6. Over the graphite pencil, outline the contour with colored pencils. Each section has its color, as in the example above (colored pencils: menthol, brown, blue, burgundy, green).

Step 7. Start hatching all parts of the picture with the same colors as you draw the contour (colored pencils: menthol, brown, blue, burgundy, green).

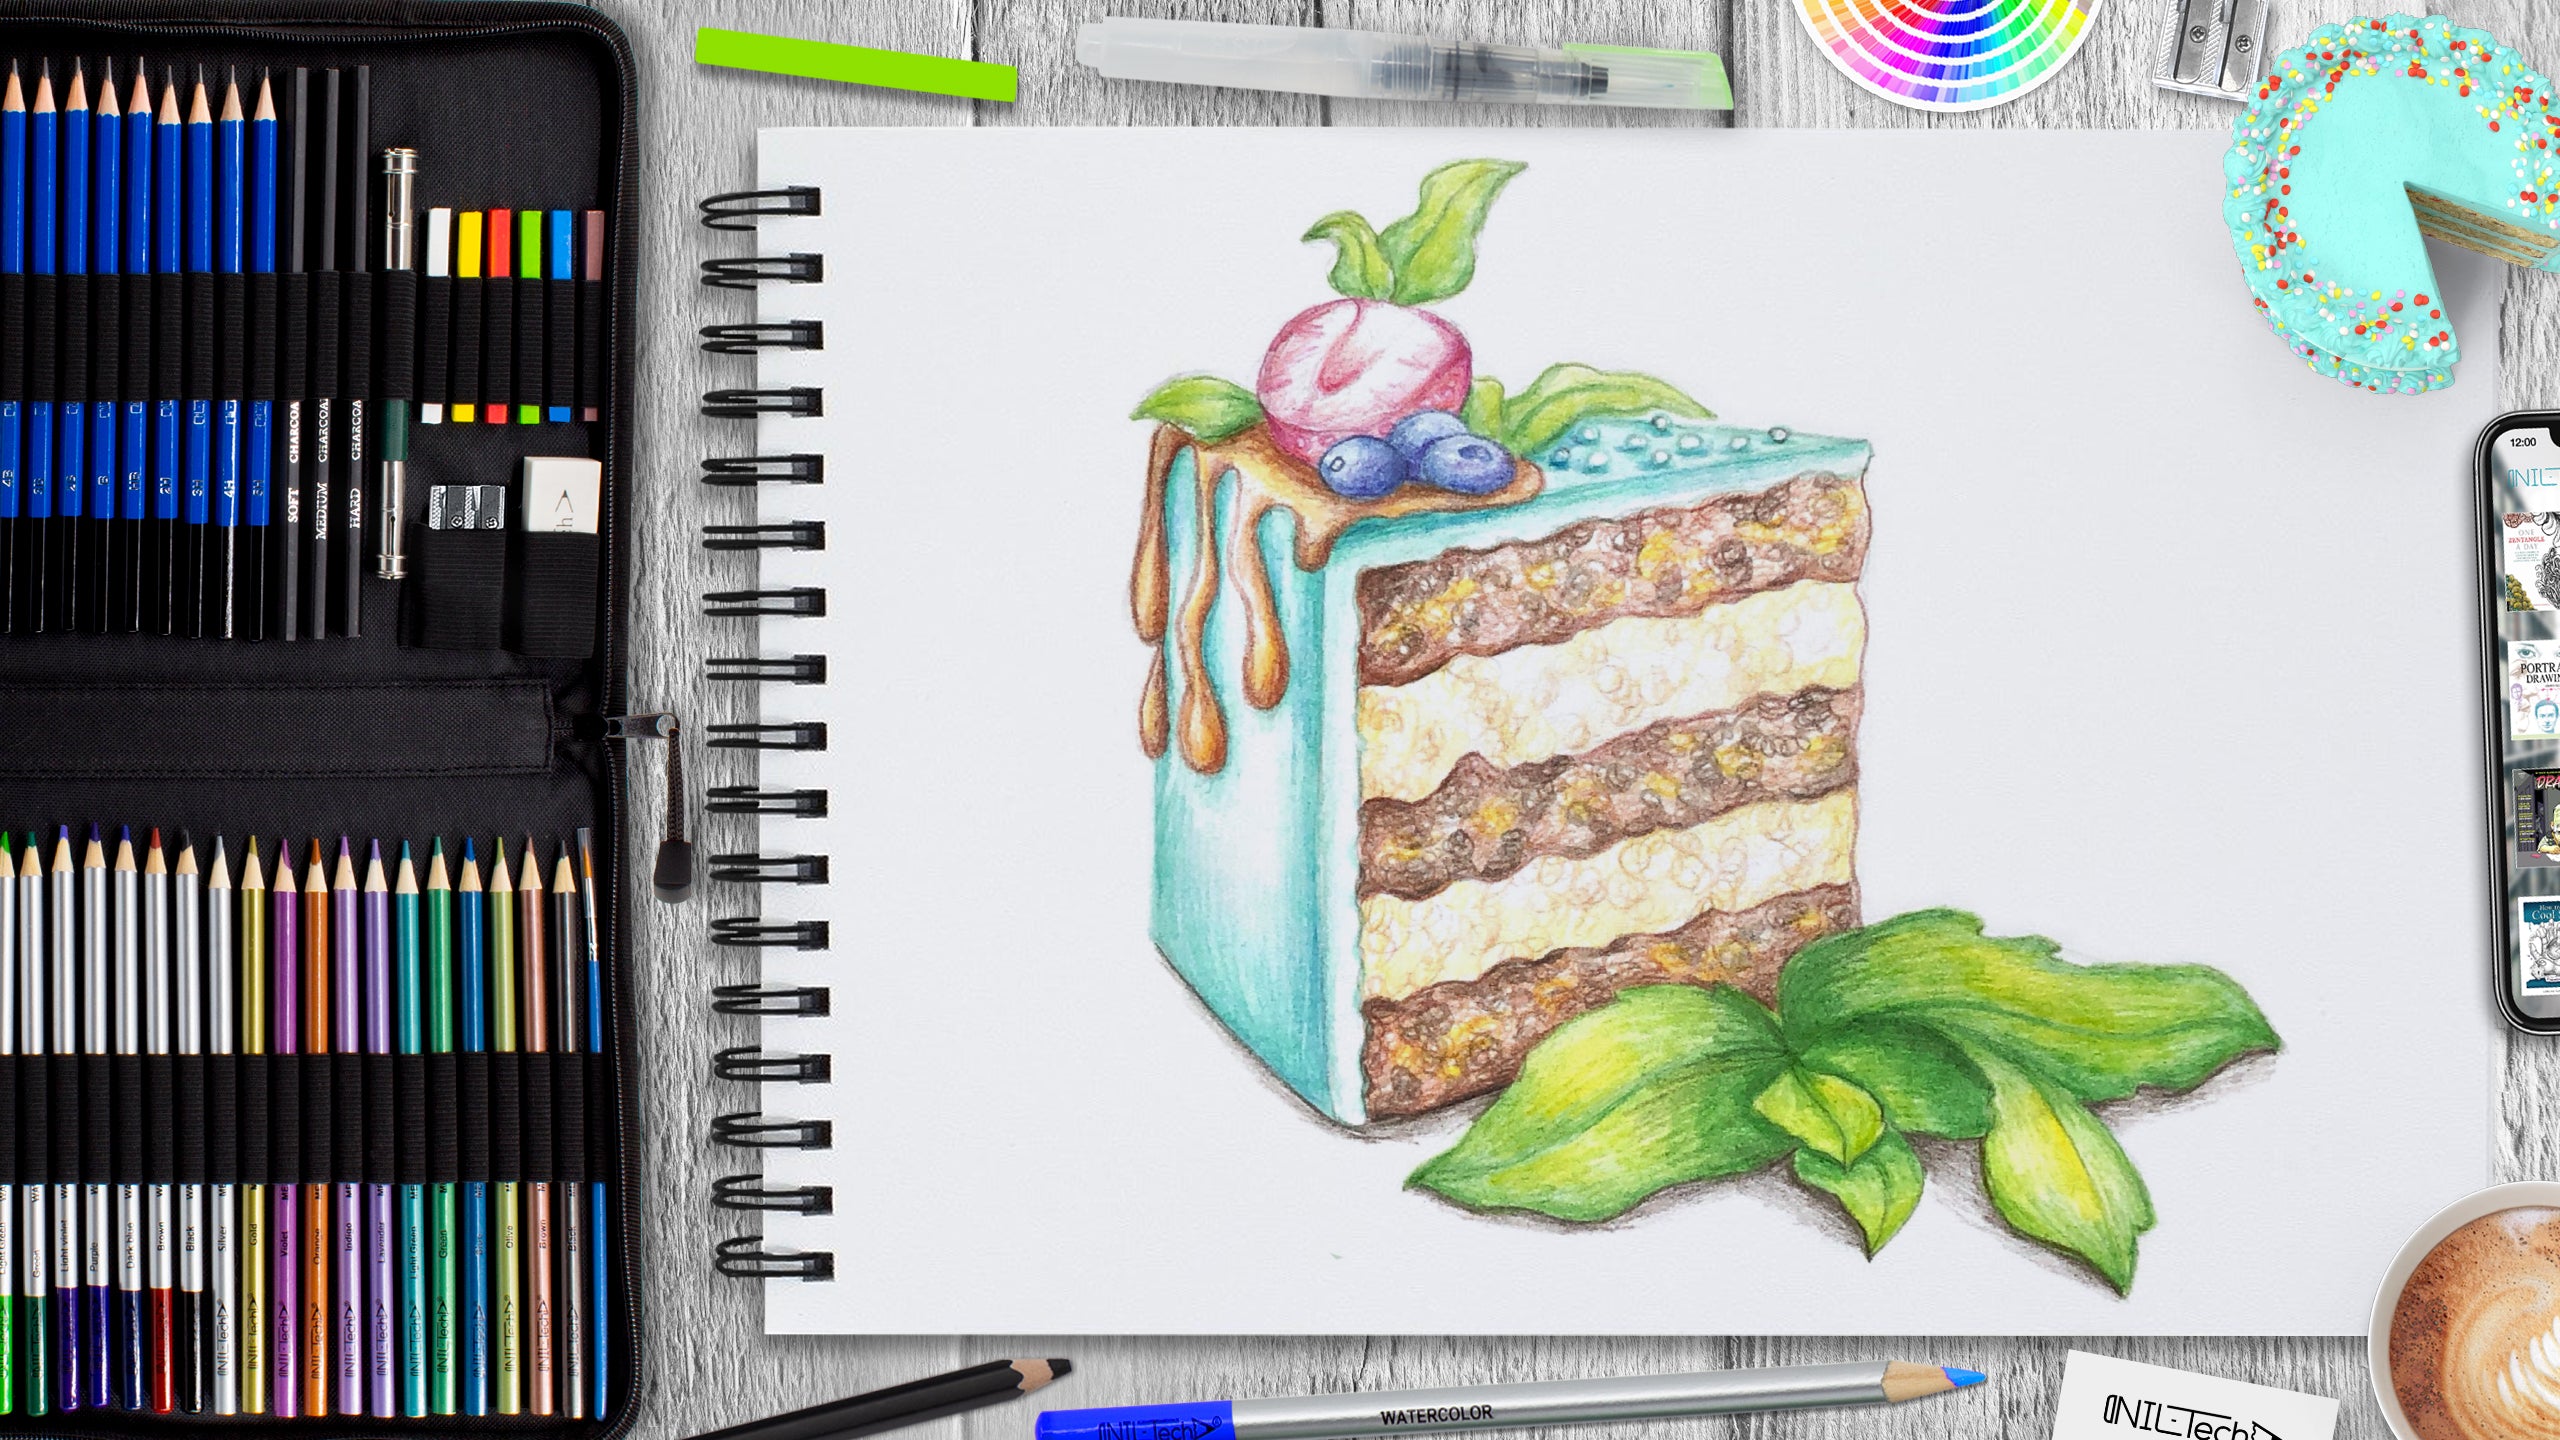
Step 8. Let's start the detailed coloring from the slice itself. Color the flowing chocolate with brown colors. Use a darker shade for shadows and ocher color for light areas. With the same colors, draw cake layers. Hatch in chaotic circular movements, making the texture look realistic. For the fudge, use menthol and a darker turquoise to brighten the shadows (colored pencils: menthol, brown, turquoise, burgundy, green, ocher, dark brown).
Step 9. The last step is to improve the details, such as leaves and berries. For the leaves, use green shades, add yellow in the lighter areas. For strawberries, use burgundy, pink and red. To draw the white areas, just don't color them. For blueberries, use blue and purple (colored pencils: blue, burgundy, green, dark green, light green, yellow, burgundy, pink, red, purple).

 |
Drawing Pencil SetExcellent GIFT IDEA - Non-Toxic and safe, easily portable and made with quality top-notch materials. Basic and innovative drawing supplies come together in NIL Tech set as an exceptional replacement for old-fashioned pencil boxes. The main attraction at any occasion from your drawing enthusiast friends, sketchers, artists to your kids or students boosting their creative projects and enjoy their ear-to-ear smile! |


3 Comments
The details are impressive! I would use this. Thank you!
The details are impressive! I would use this. Thank you!
This is great!