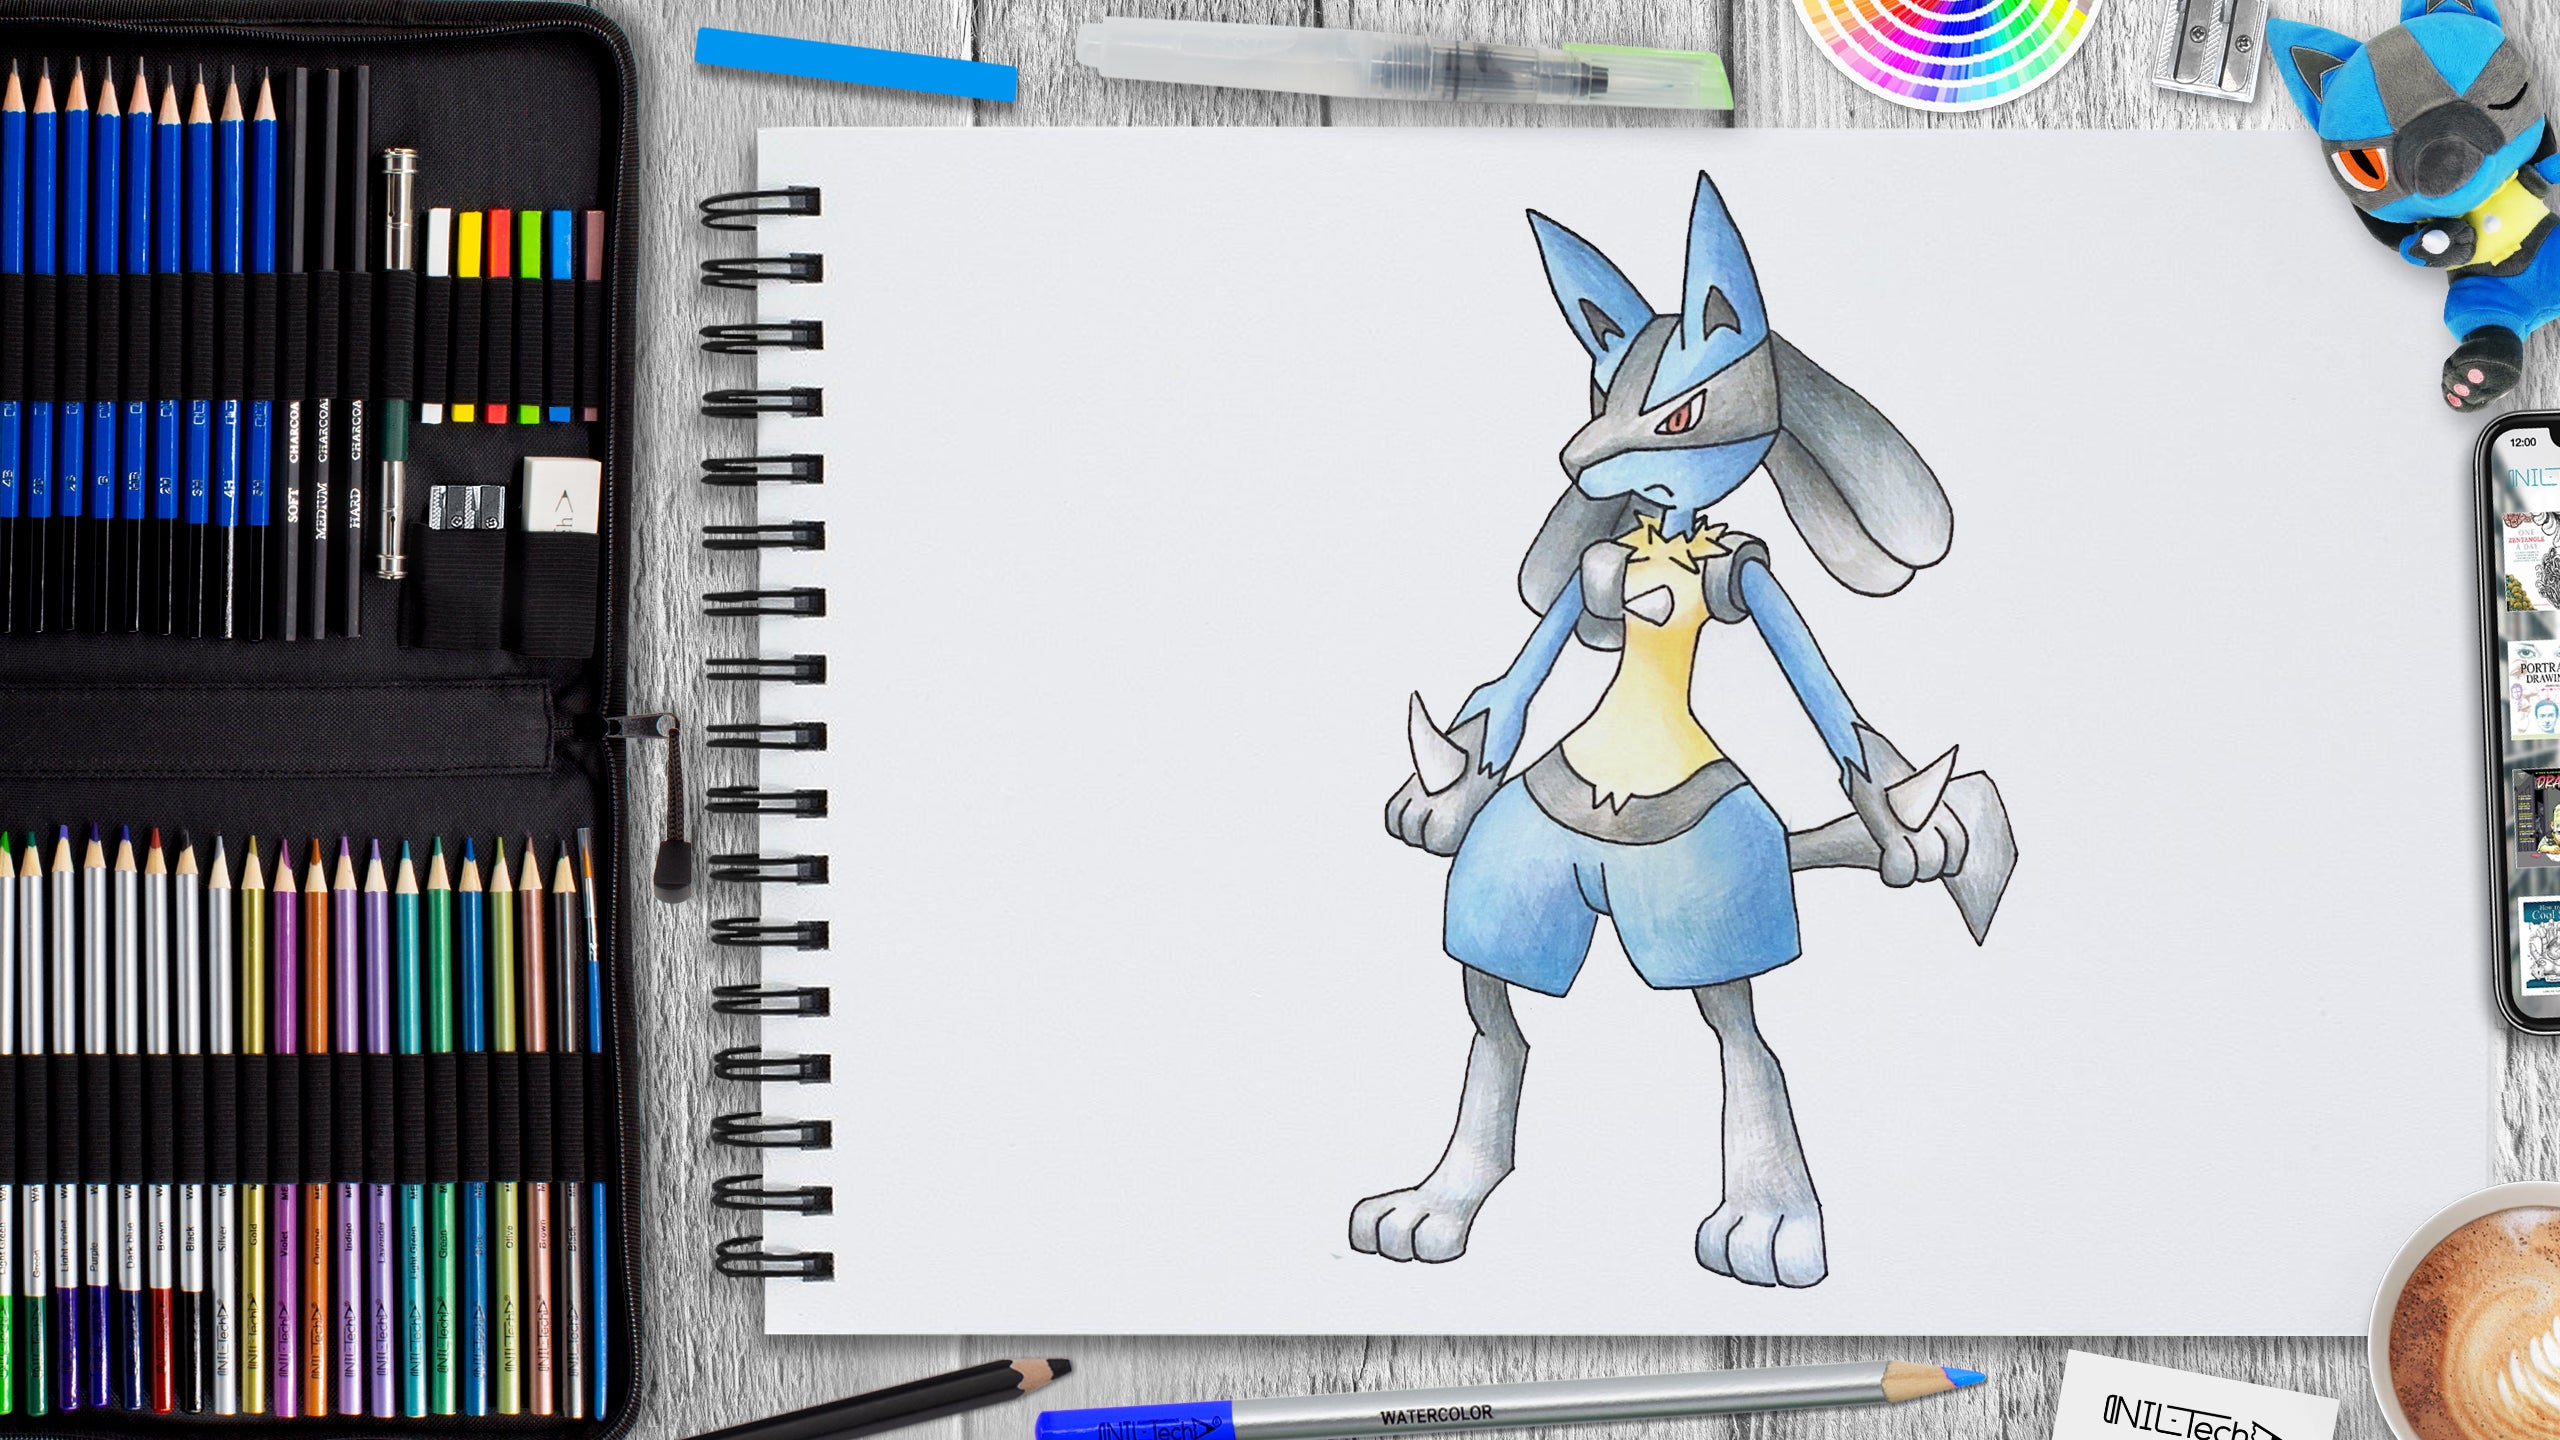
How to Draw a Pokémon Lucario
Aug 26 , 2020

Hi everybody, welcome to a new NIL-Tech drawing tutorial: "Pokémon Lucario". Lucario is a character of the Pokémon anime as well as a computer game series. Known as the Aura Pokémon, it can feel the Auras of all things. It is a Fighting and Steel Pokémon. It is seen in the games Pokémon Dimond and Pearl and the movie Lucario and the Mystery of Mew. In an interview with Pokémon Diamond and Pearl director Junichi Masuda, he noted Lucario's name as one of the hardest to make, since they wished to make it work both the Japanese and Americans.
Here are some interesting facts about Lucario:
1. It has developed four black appendages that hang down from its head, which rise when Lucario reads or controls aura, unique energy that it senses.
2. Lucario can study this energy to predict the movements of its competitors and also track their quarry.
3. They also have the power to control this energy offensively, in the form of eruptive balls of energy.
4. Lucario can understand human speech and can communicate with people through telepathy.
5. As MegaLucario, its cream fur ends up being much longer, and its thighs slim down. It develops even more spikes on the back of its paws, which have transformed crimson. It likewise gets spikes on both of its feet, which have become crimson as well. Its previously red eyes are now orange-colored. Its aura-sensing appendages grow much longer, and 2 of them are tipped in crimson. Its shoulders also possess a spike each.
In this tutorial, we used the following supplies:
- B pencil
- 3B pencil
- colored pencils
- blue
- yellow
- ocher
- cyan
- black
- White Vinyl Eraser
- Kneaded Eraser
Let's draw "Lucario" step by step!

Step 1. With simple circles and ovals, draw a rough skeleton of the figure (pencil B).

Step 2. With lines draw the direction of the limbs. With circles their outline the approximate volume (pencil B).

Step 3. With circles outline the rough shape of the head, shoulders, and tail (pencil B).

Step 4. Start adding details to the drawing from the head (pencil B).

Step 5. Then go down the drawing and add details on the body (pencil B).

Step 6. Finally, add details on the limbs (pencil B).

Step 7. Erase all excess construction lines. Brighten the contour with a softer pencil(pencil 3B).

Step 8. Start coloring from lighter areas and add an overall tone of the drawing (yellow, blue colored pencils).

Step 9. With darker colores, draw the shadows. This will add volume to the drawing (ocher, blue colored pencils).

Step 10. Hatch the remaining parts (pencil B). However, leave some blank spaces as in the example above.

Step 11. With a black pencil, add volume to the drawing. Also, add a slight shade with a blue pencil. Brighten the overall tone of the drawing (cyan, black, ocher, yellow, blue colored pencils).

 |
Drawing Pencil SetExcellent GIFT IDEA - Non-Toxic and safe, easily portable and made with quality top-notch materials. Basic and innovative drawing supplies come together in NIL Tech set as an exceptional replacement for old-fashioned pencil boxes. The main attraction at any occasion from your drawing enthusiast friends, sketchers, artists to your kids or students boosting their creative projects and enjoy their ear-to-ear smile! |


