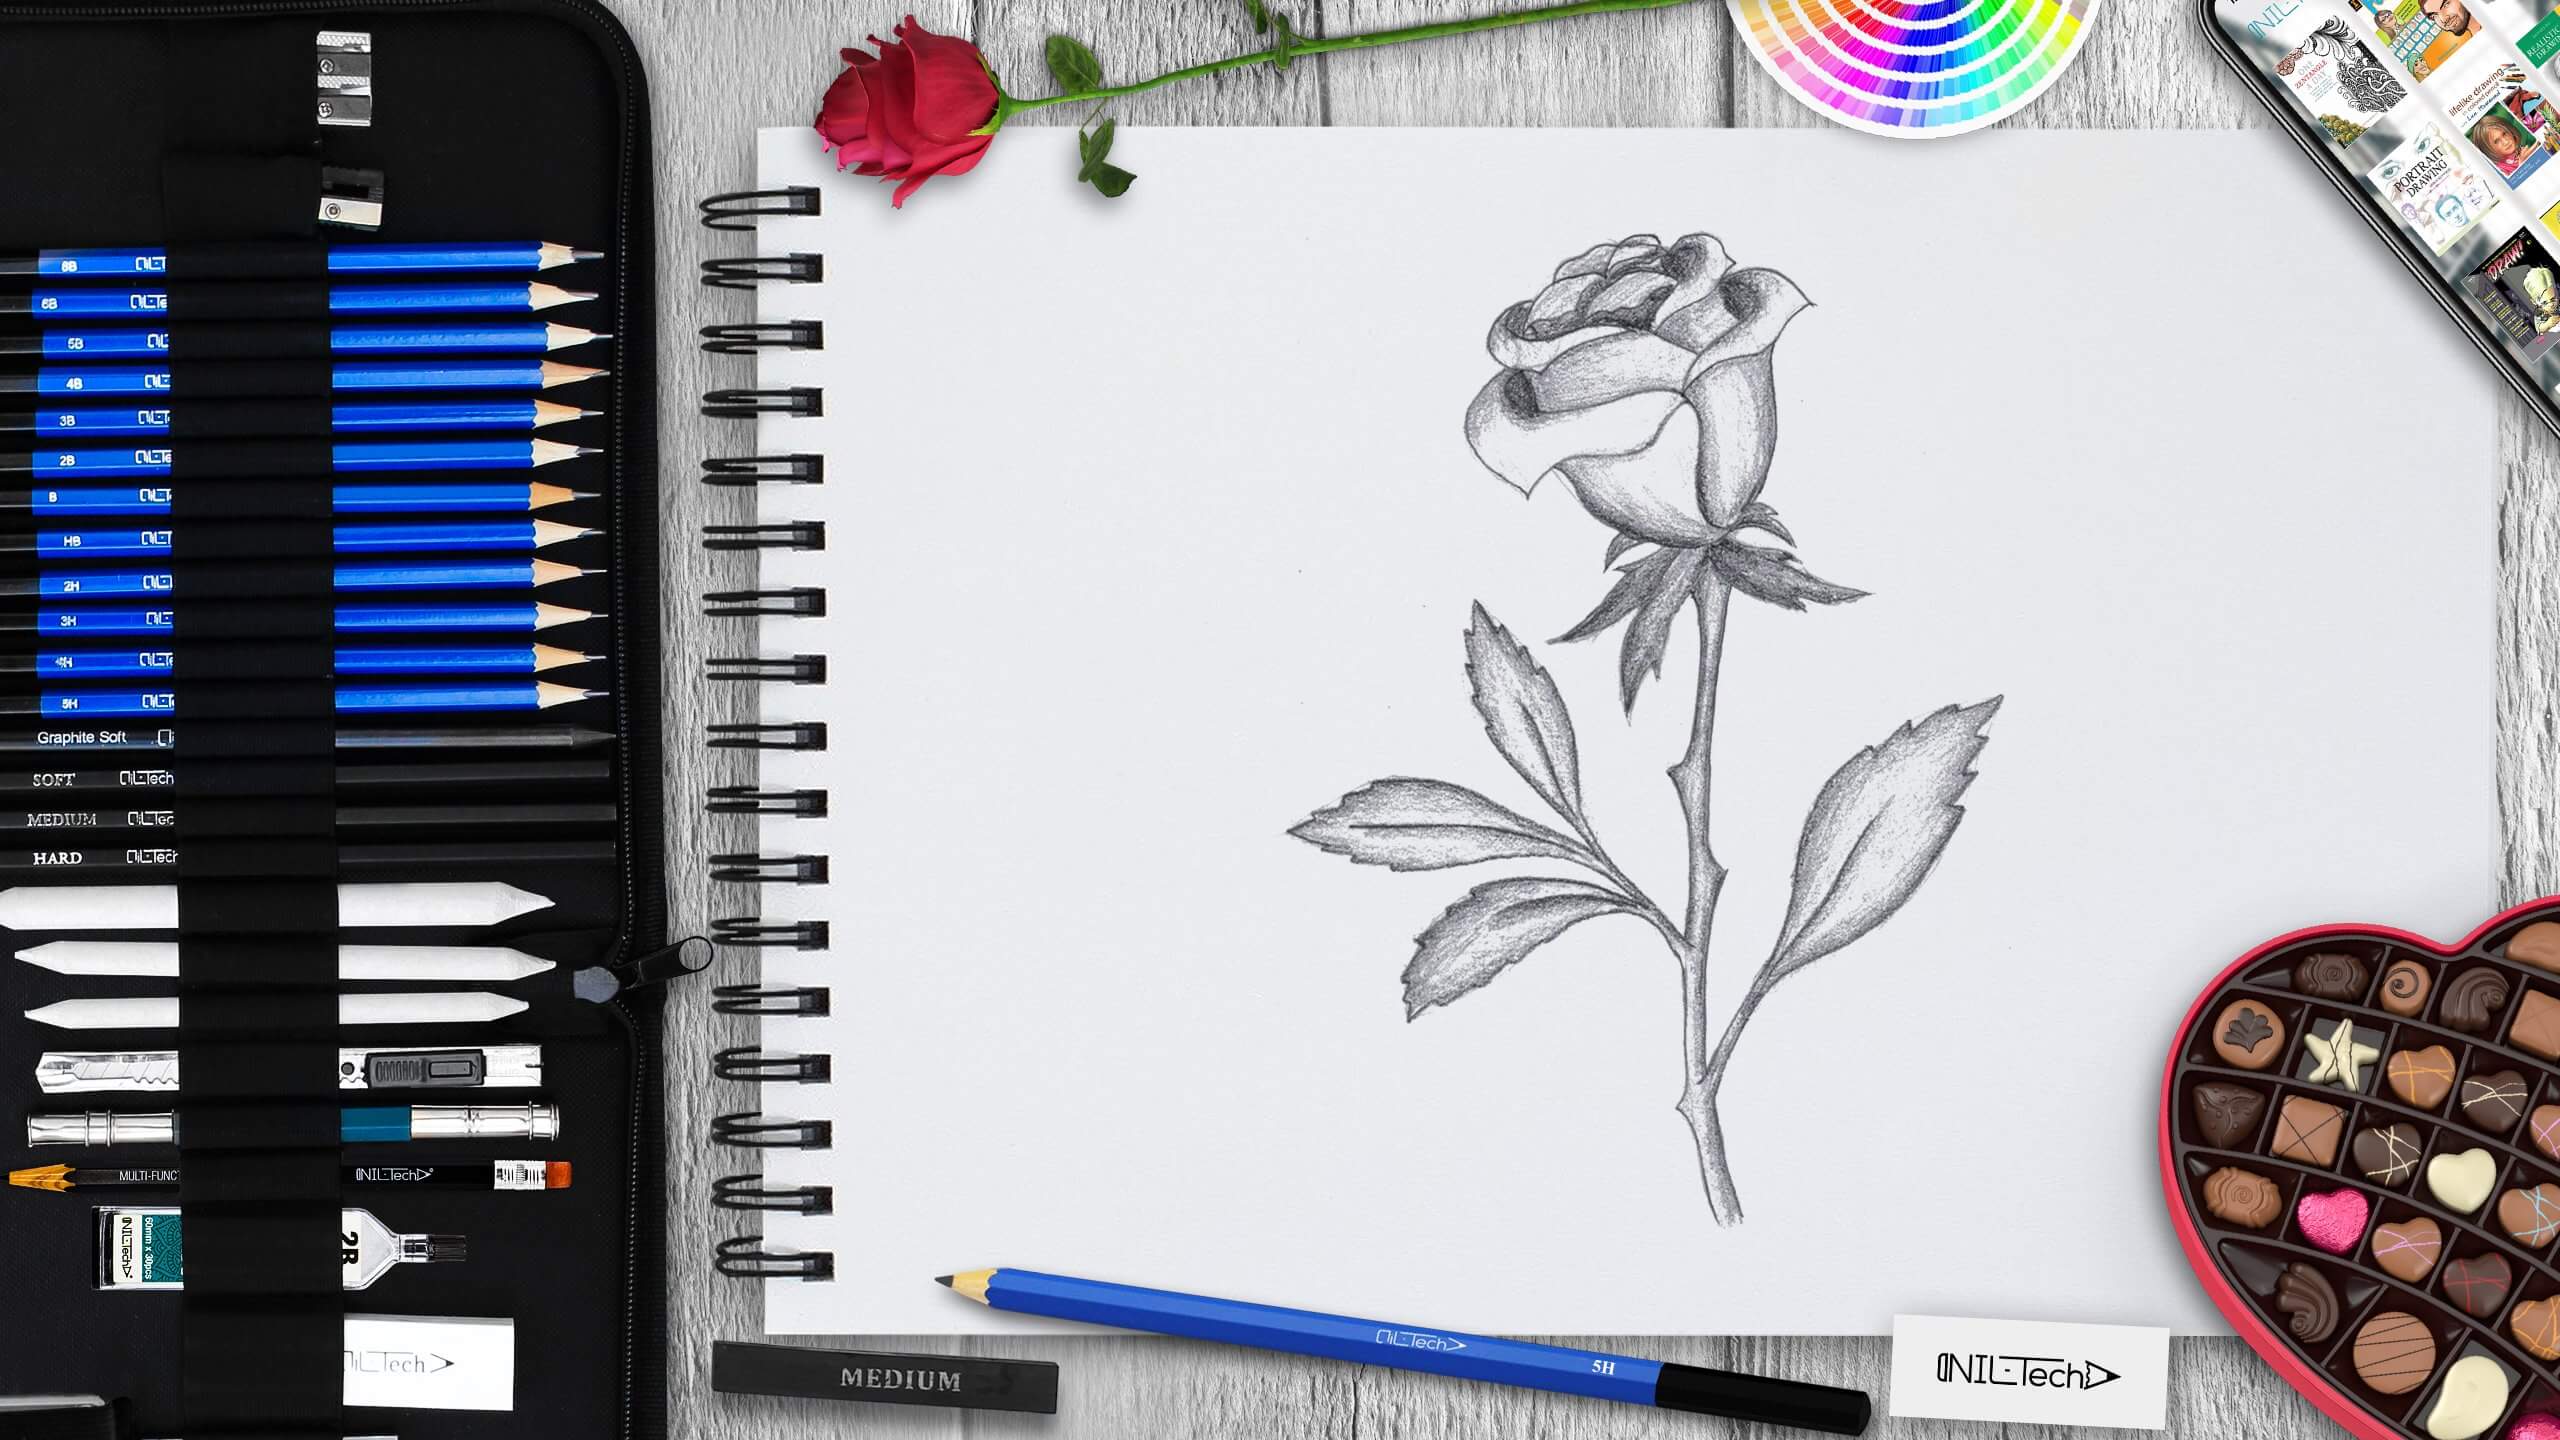
How to Draw a Rose
Feb 13 , 2020

Hi everybody, and welcome to the second Valentine's day NIL-Tech drawing tutorial: "Rose". Roses are popular flowers, commonly seen as a symbol of love. They're tough to draw since they're made from many layers of petals. You need to add them carefully one by one and then shade the whole construction. In this quick tutorial, we will reveal to you how to do it if you wish to draw your own from scratch.
Let's start drawing a Rose!
In this tutorial, we used the following art supplies:
- H pencil
- B3 pencil
- B5 pencil
- H5 pencil
- Kneaded Eraser
- White Vinyl Eraser
- Blending Stump
STEPBYSTEP10

Step 1. Draw the centerline of the stem and bud. Mark their connection point (pencil H5).

Step 2. Draw a circle of oval shape in place of the bud and excess lines for the leaves under it (pencil H5).

Step 3. Draw a stem and two excess lines for the leaves (pencil H5).

Step 4. Erase the centerline in the bud and draw the upper edges of the petals and needles on the stem (eraser, pencil H5).

Step 5. Draw the lower parts of the bud petals and the contours of the leaves under the bud (pencil B3).

Step 6. Outline the vertical and horizontal lines of the petals inside and outside the bud (pencil B3). Outline the stem line and draw the nodes of the processes for the leaves (pencil B3). Draw leaves and teeth on them (pencil H5).

Step 7. Outline the contours of the leaves (pencil B3), paint the flower with vertical shading, push the pencil lightly (pencil B3).

Step 8. Darken the edges of each element. Spaces between the petals (inside the bud) make the darkest (pencil B5).

Step 9. Dim the outlines of the whole picture to create a larger volume (pencil B5).
STEPBYSTEP10

 |
Drawing Pencil SetExcellent GIFT IDEA - Non-Toxic and safe, easily portable and made with quality top-notch materials. Basic and innovative drawing supplies come together in NIL Tech set as an exceptional replacement for old-fashioned pencil boxes. The main attraction at any occasion from your drawing enthusiast friends, sketchers, artists to your kids or students boosting their creative projects and enjoy their ear-to-ear smile! |


