How to Draw a Tree
Oct 02 , 2018

I'm eager to introduce to you the new tutorial on the NIL- Tech: "How to draw a Tree step by step".
"How to draw a realistic tree?" is a question that I get asked often, online and in-class setting, so I decided to make this tutorial here. I made 9 steps drawing instruction, hope you all find it helpful!
In this tutorial we used the following tools:
- H pencil
- B pencil
- 5B pencil
- Kneaded Eraser
- White Vinyl Eraser
- Blending Stump
You can find all the tools for drawing in our Drawing pencil set
 |
Drawing Pencils SetThe NIL Tech Pencil Set is the highest quality art supplies with all the tools you need to create your own masterpiece Different types of tools in one case sketching kit helps you create multiple variations of art work the easy way. The tool set is perfect for use at home, school and office for creating drawings, sketching and completing art projects. Great for artist's and student use. Take your pencil set wherever you go! |
The Realistic Way to Draw a Tree – Let’s Get Going!!

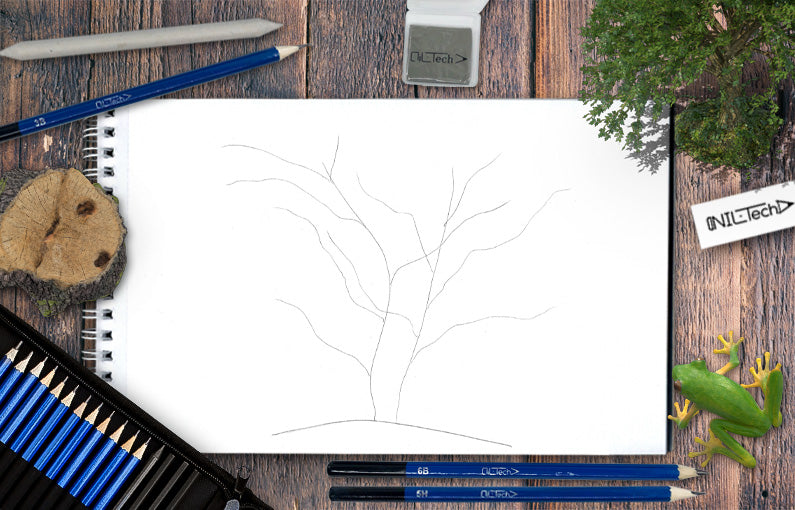
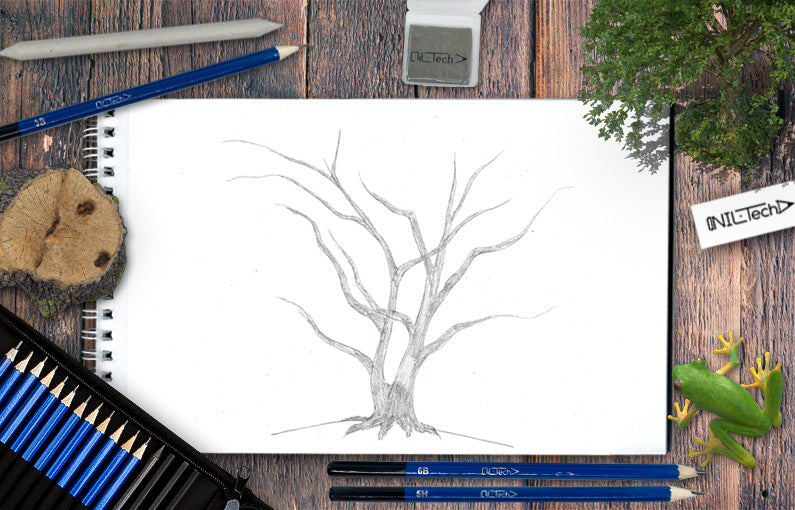
Step 1


Step 8
Add a few more darkness details.

Step 9
Add a few more darkness details. Push stronger.

Final Step:
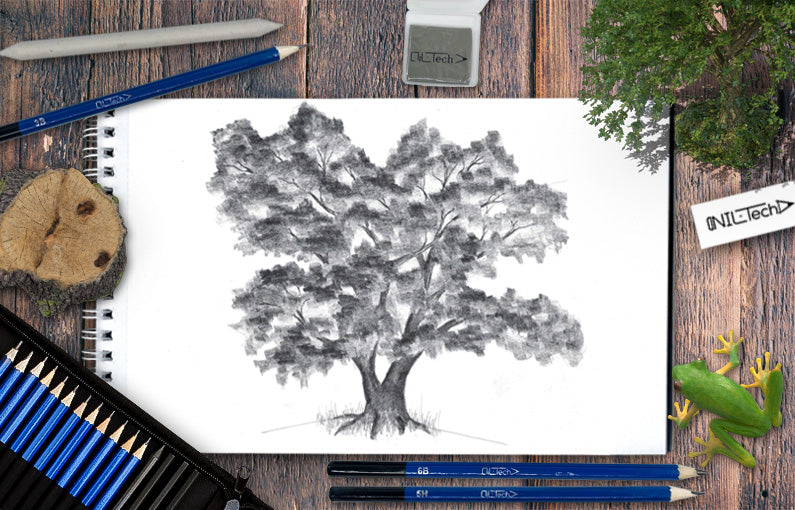
Use 5B pencil to add dark accents in the deepest shadow. This will improve the contrast of the crown. Also, make sure that all the "clouds" seem slightly darker than the "sky"—leaves are not transparent! You can ensure this effect by adding more leaves with the 5B pencil in the lighter areas.

We really hope you enjoyed this tutorial! If you liked It, there are lots of ways you can spread the news: Get the word out about our website to your loved ones, Link to this site or tutorial if you have a blog or site, Bookmark it and share your favorite tutorial utilizing the social network tool you use.
What a cool way to show off your latest accomplishment - and new skills!
Most importantly - COMMENT, please let us know what you think and voice your new tutorial ideas.
Post your work in the comments below, and you'll be entered for a chance to win one of our products!
 |
Drawing Pencil SetExcellent GIFT IDEA - Non-Toxic and safe, easily portable and made with quality top-notch materials. Basic and innovative drawing supplies come together in NIL Tech set as an exceptional replacement for old-fashioned pencil boxes. The main attraction at any occasion from your drawing enthusiast friends, sketchers, artists to your kids or students boosting their creative projects and enjoy their ear-to-ear smile! |


1 Comments
Muchas gracias. ?Como puedo iniciar sesion?