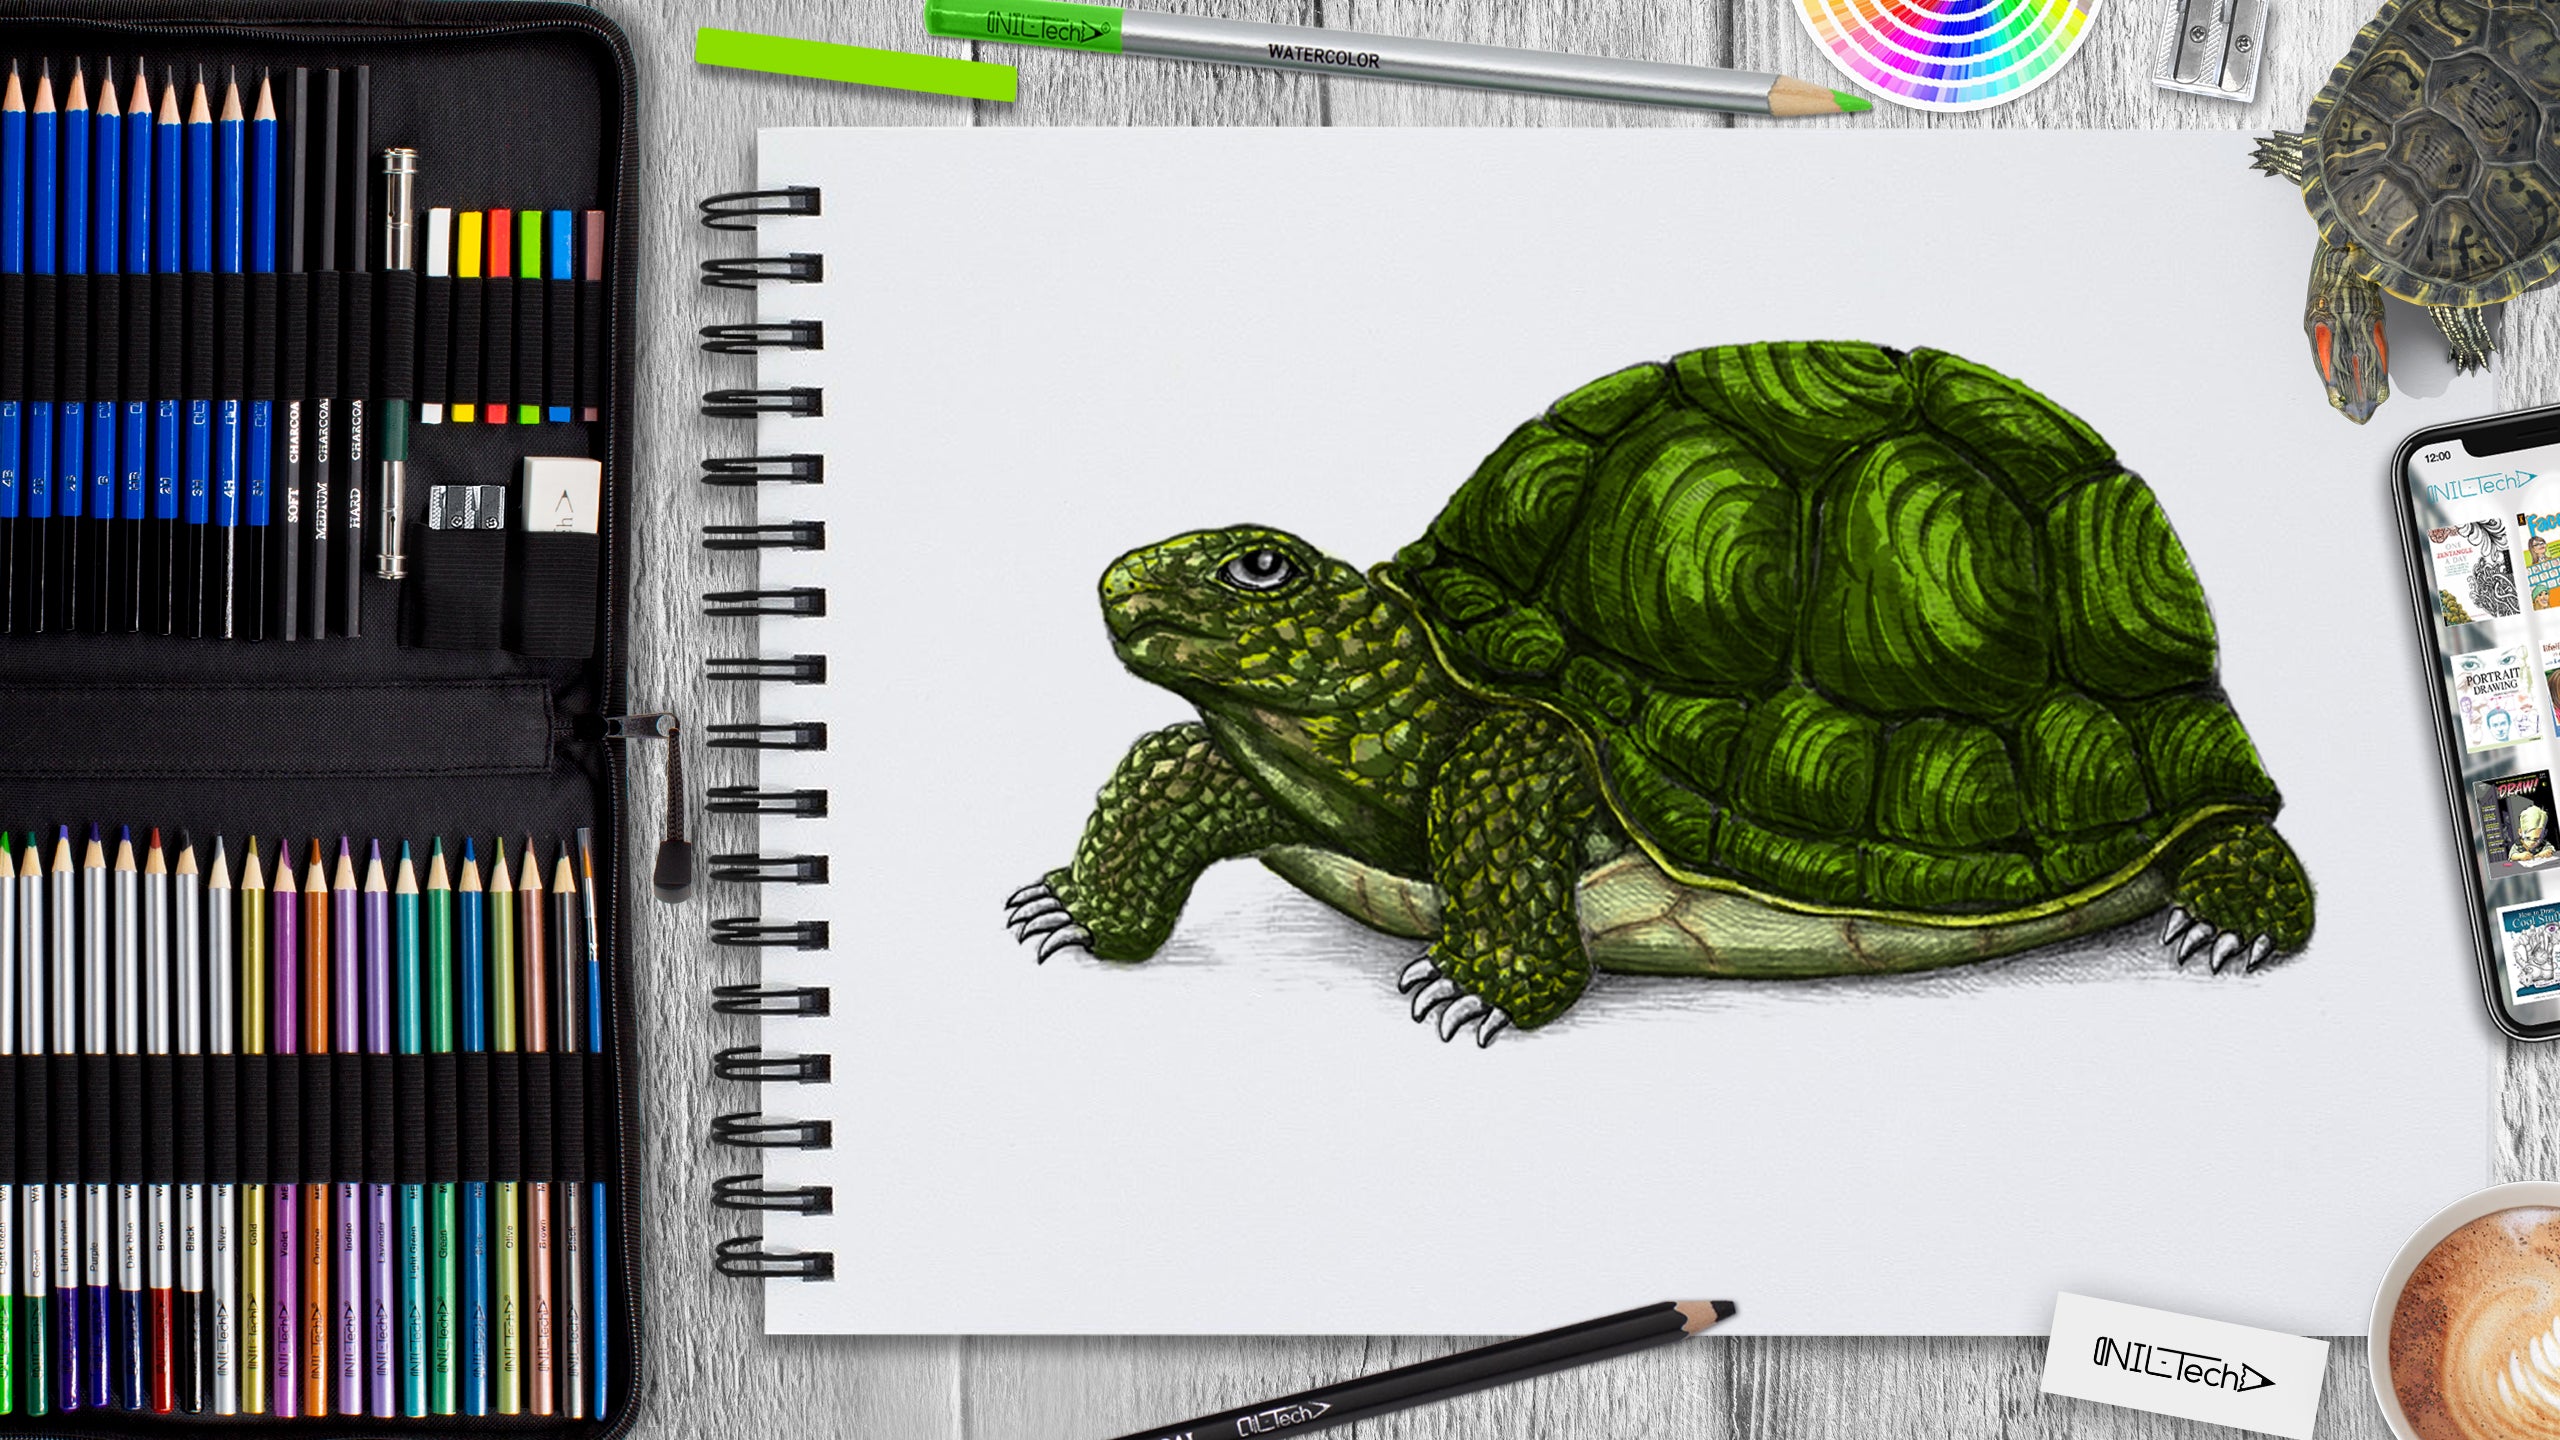
How to Draw a Turtle
Apr 22 , 2020

Hi everybody, and welcome to a new NIL-Tech drawing tutorial: "Turtle". These splendid creatures come in all shapes and sizes and also live in several various atmospheres. From big, slow-moving land-dwelling tortoises and snappy terrapins indulging in their fresh-water shallows, to the elegant strokes of a sea turtle gliding through our seas. They all come from a group of reptiles called Testudines, which includes turtles, tortoises, as well as terrapins.
Here are some incredible facts about Turtles:
1. Turtles come from one of the oldest and long-living reptile groups on the planet - defeating serpents, crocodiles, and also alligators!
2. These creatures go back to the time of the dinosaurs, over 200 million years earlier - woah!
3. Their bony, cartilaginous shell quickly acknowledges turtles. This super-tough case is like a shield to protect them from predators - some turtles can also put their heads up inside their shell for additional protection!
4. Contrary to common belief, a turtle can not get out of its shell. The turtle's shell grows with them, so they can't grow too big for it!
5. Some turtles are carnivores (meat-eaters), others are herbivores (plant eaters) as well as some are omnivores (both meat-eaters and plant eaters). Many newborn turtles begin life as carnivores, yet they grow to eat more plants as they grow.
In this tutorial, we used the following supplies:
- HB pencil
- 3B pencil
- colored pencils
- light grey
- light brown
- green (light, bright, medium and dark)
- black
- Kneaded Eraser
- White Vinyl Eraser
STEPBYSTEP10
Let's start drawing a Turtle step by step!

Step 1. Draw 2 rounded shapes for the turtle's body, and the head. Then add 3 small circles for the turtle's feet. We don't add the fourth shape because it is not visible in this foreshortening.

Step 2. Outline the upper shell of the turtle based on the sketch from the previous step, round the contour line in the bottom part of the shape.
Then add the lower shell that frames the tummy.

Step 3. Outline the shape of the head. Draw the eye as in the example above. Then add the mouth and the nostrils. With simple forms, build the rough sketch of the feet.

Step 4. Erase all the unnecessary lines on which you built the drawing. Then add four claws per limb and adjust the shape of the shell.

Step 5. Draw the popular polygonal plates (they are called the scutes) in the top part of the carapace. Draw the following row of scutes just beneath the initial one. And 2 more - the scutes here are smaller.
Add the plates on the lower side of the shelf with light lines. We don't need to add too many details here.

Step 6. Let's add details on the turtle's skin. The pattern might vary. Start drawing from the head. Also, add the folds of skin in the neck. Finish the pattern in the head and neck area.
Then add the pattern of the turtle's limbs; it looks similar to a set of close-fitting jags of various sizes. Draw pattern on the scutes as in the example above.

Step 7. Add some shielding to the darkest areas on the drawing, including the drop shadow (HB Pencil). Then add a layer of light hatching sides of the shell and the head of the turtle. To increase contrast, emphasize the pattern of scutes and skin texture (3B pencil).

Step 8. Hatch the shell, accentuating the sides as well as the spaces in between the scutes (3B pencil). To make this drawing unified, add more strokes to the limbs and head (3B pencil).

Step 9. Hatch the upper part of the shell with a bright green pencil, and then add darker green to the borders of each plate. Color the body of the turtle with a light green and light brown pencils as in the example. Hatch the lover part of the shell with a light green pencil ad the spaces between the plates with a brown pencil.

Step 10. With s darker green pencil, add texture and shadow to the plates on the shell. This creates a 3D effect and makes the turtle look more realistic.

Step 11. With a dark green pencil, add shadow to the skin texture and fill in the spaces in between the plates on the upper shell. Add the contour to the claws (black pencil).

 |
Drawing Pencil SetExcellent GIFT IDEA - Non-Toxic and safe, easily portable and made with quality top-notch materials. Basic and innovative drawing supplies come together in NIL Tech set as an exceptional replacement for old-fashioned pencil boxes. The main attraction at any occasion from your drawing enthusiast friends, sketchers, artists to your kids or students boosting their creative projects and enjoy their ear-to-ear smile! |


1 Comments
Turned out very great! Thanks for your help. :)