How to Draw Back to the Outback
Dec 15 , 2021
Back to the outback Storyline:
Had enough of being locked in a reptile house where humans gawk at them like they're monsters, a ragtag group of Australia's deadliest creatures plot a daring escape from their zoo to the Outback, Leading the group is Maddie, a poisonous snake with a heart of gold, who bands together with a self-assured Thorny Devil lizard Zoe, a lovelorn hairy spider Frank, and a scorpion Nigel. But when their nemesis Pretty Boy, a cute koala unexpectedly joins their escape, Maddie and the gang have no choice but to take him with them. So begins a road trip across Australia, as they are pursued by a zookeeper Chaz.
Did you know?
Isla Fisher's (the voice actor of Maddie) fourth theatrically released animated film after Horton Hears a Who! (2008), Rango (2011), and Rise of the Guardians (2012).
Fun Facts
“Back to the Outback” falls in a tradition of animated movies about the animal kingdom; the far superior film “Finding Nemo” even shared Australia as a setting. But however generic this movie is in premise, there is wit to be found in its details, and warmth in its message.
Koalas Have Fingerprints?
In fact, they’re the only animals other than primates that have them—and just like us, each one is an individual. They also have unique patterns on their noses, which helps wildlife biologists to identify and track them.
Inland Taipans:
They rarely bite. So, while they are the most venomous, they are not the deadliest snake. This is because they live in areas where there aren’t many people.
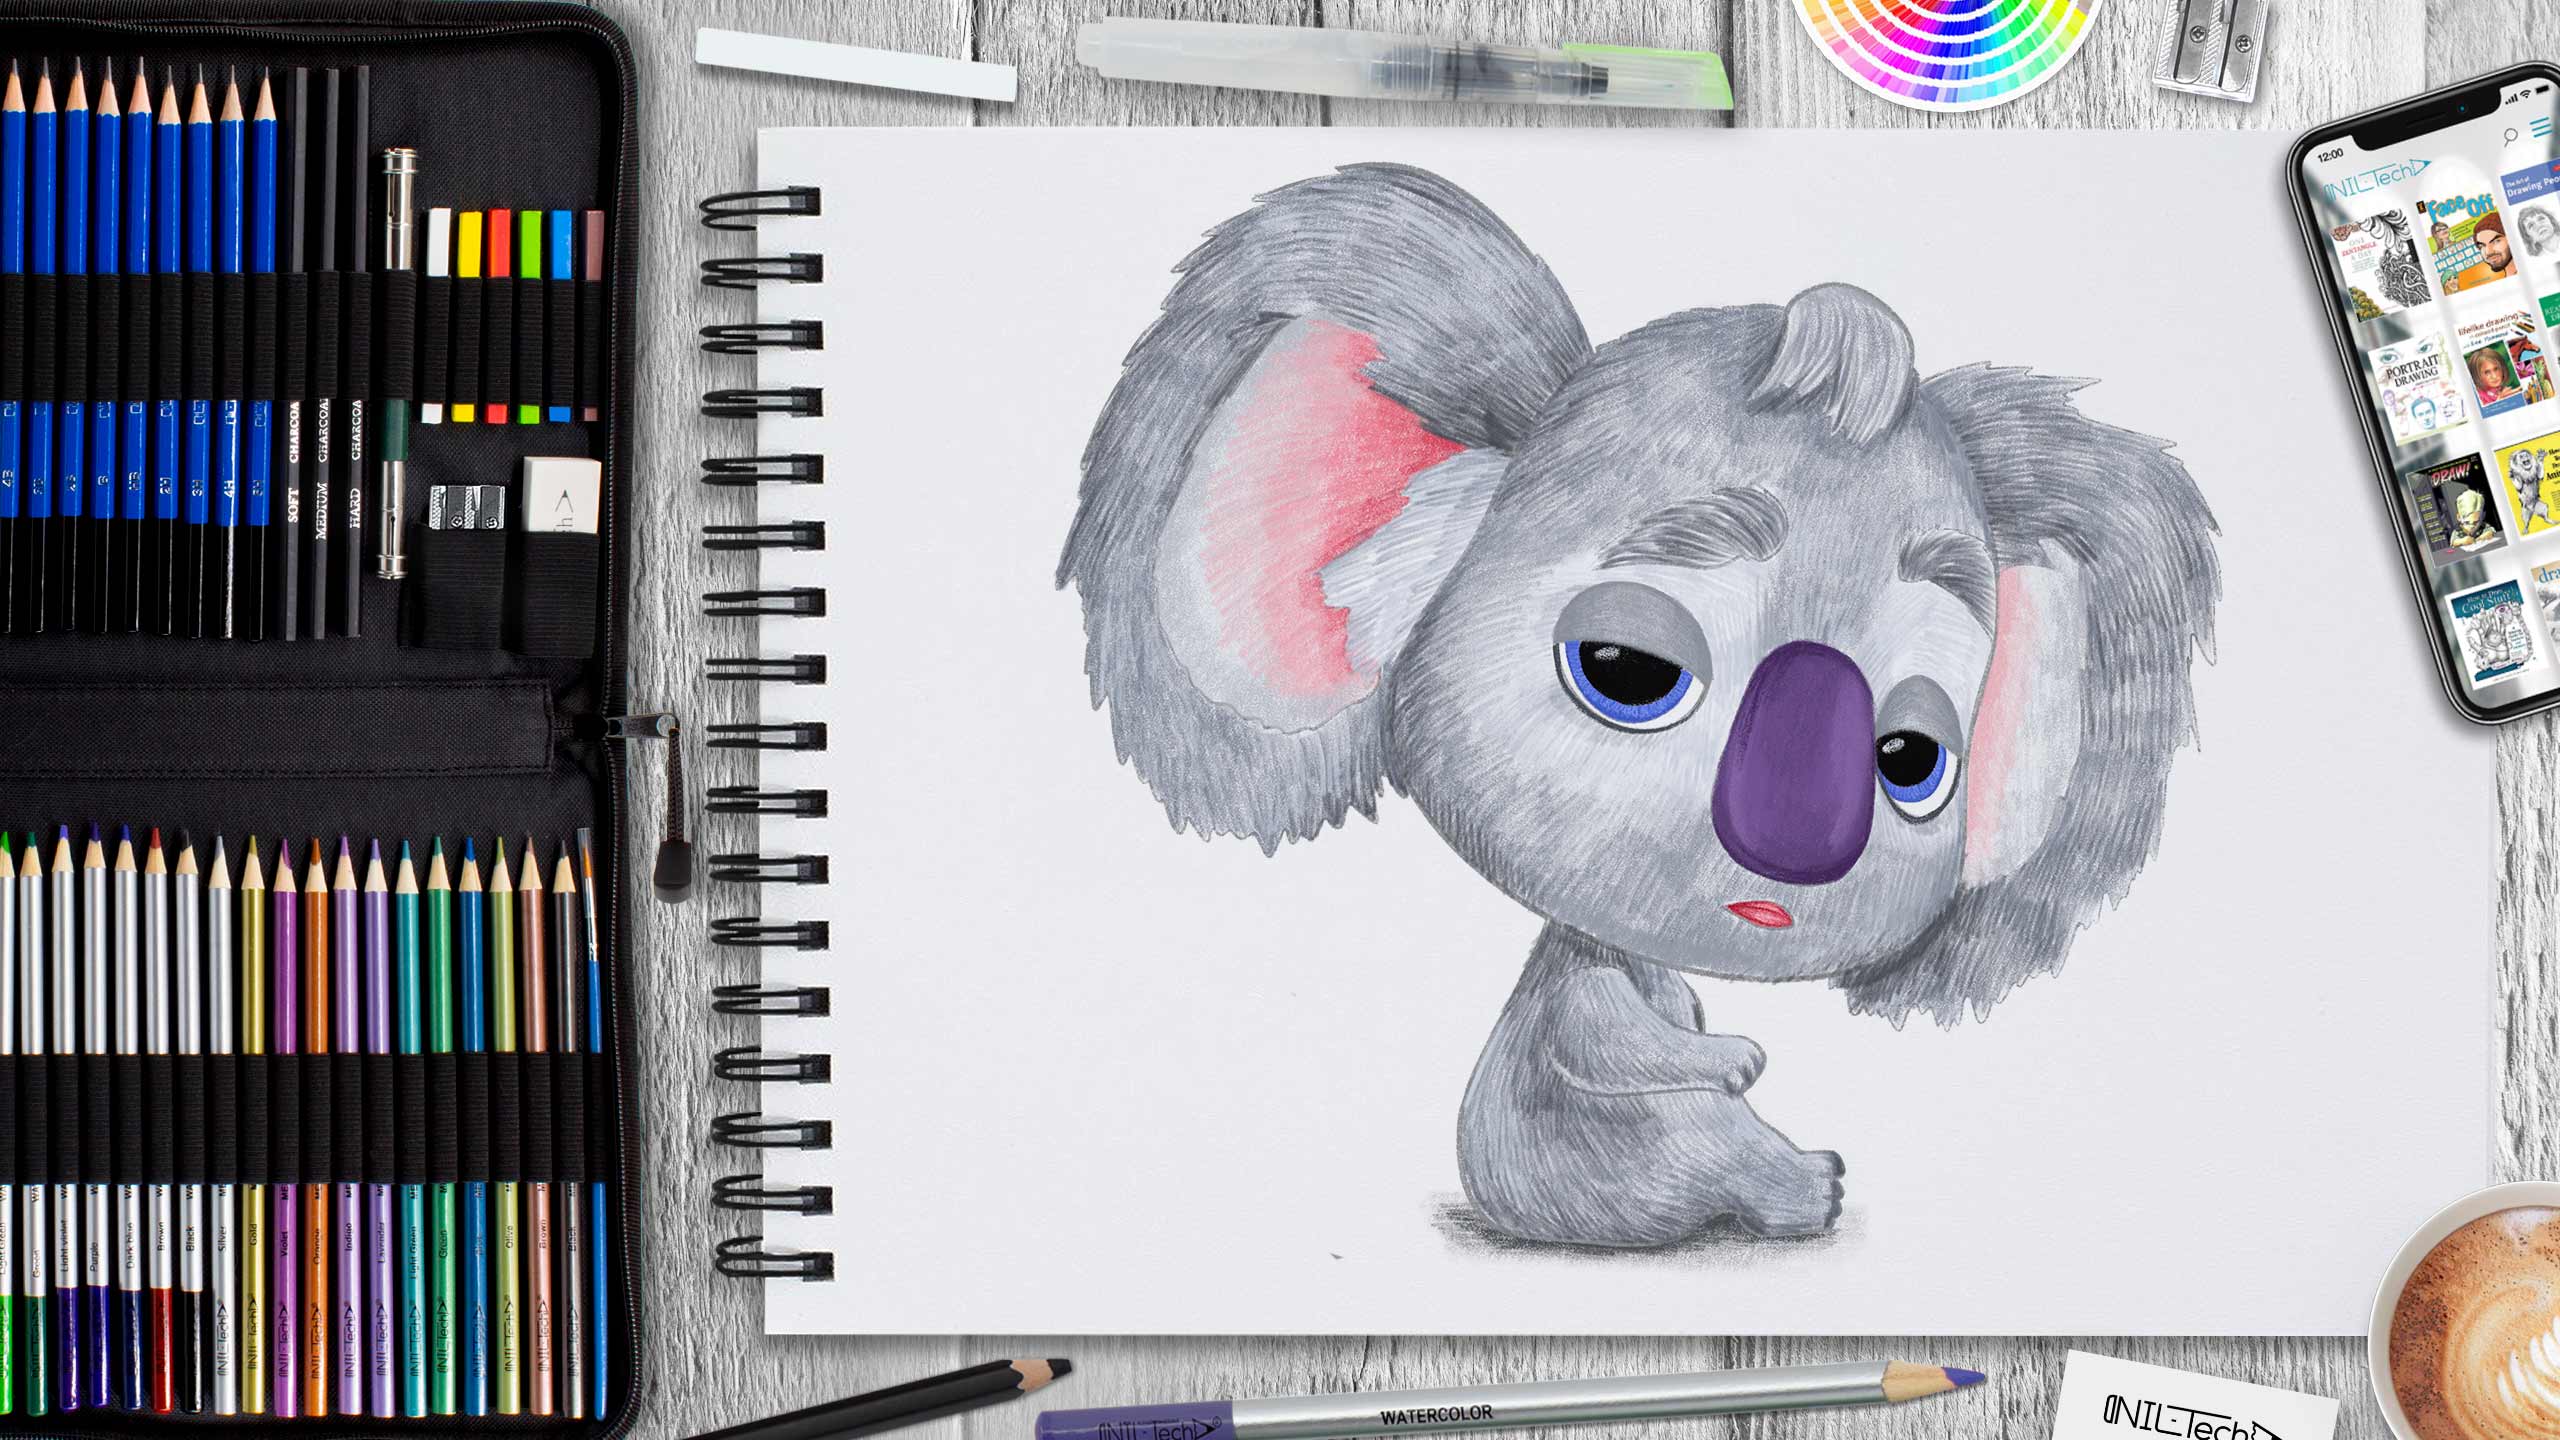
Let’s start Drawing Back to the Outback Step by Step
In this tutorial we used the following supplies:
- Pencil B
- Colored Pencil
- gray
- dark gray
- purple
- cyan
- blue
- pink
- burgundy
- black
STEPBYSTEP10

Step 1. Start drawing with construction and make an outline using circles and lines. (Pencil B)
 Step 2. WIth the help of the construction lines, Draw the shape of the body. We also draw the muzzle. (Pencil B)
 Step 3. Remove all unnecessary lines and draw the remaining elements in the same way. Also draw a contour of the wool. (Pencil B)
 Step 4. Remove unnecessary lines, and also trace the outline in gray. (Colored pencil gray)
 Step 5. Make the general tone of the koala, for this we use the same gray pencil. (Colored pencil gray)
 Step 6. Next, with the help of a dark gray pencil, make shadows on the wool, also with the help of strokes show the texture of the wool, do the same with a gray pencil. (Colored pencils gray, dark gray)
 Step 7. Work on the muzzle, for the nose use purple, for the lips pink and burgundy, for the eyes blue, black, and for the eyelids, gray and dark gray. (Colored pencils purple, cyan, blue, pink, burgundy, black, gray, dark gray)
 Step 8. The last step is to work on the inner parts of the ears. To do this, use burgundy for the shadows, pink and gray for the light parts. (Colored pencils pink, burgundy, gray)
STEPBYSTEP10
 |
Drawing Pencil SetExcellent GIFT IDEA - Non-Toxic and safe, easily portable and made with quality top-notch materials. Basic and innovative drawing supplies come together in NIL Tech set as an exceptional replacement for old-fashioned pencil boxes. The main attraction at any occasion from your drawing enthusiast friends, sketchers, artists to your kids or students boosting their creative projects and enjoy their ear-to-ear smile! |


