How to Draw Bart Simpson
Jul 23 , 2020

Hi everybody, and welcome to a new NIL-Tech drawing tutorial: "Bart Simpson". Since his debut in the eighties, he gained fans all over the world. Homer may be the lead character now, however, what stood out the most from the famous yellow family was the defiant yet lovable Bart Simpson. At first, Bart was conceived as the show's primary character and not his bumbling father. Yet Bart swiftly turned into one of the most favored characters as well as a staple in pop-culture.
Here are some interesting facts about Bart Simpson:
1. Matt Groening based Bart Simpson's character on comic book character Dennis the Menace.
2. Nancy Cartwright is the one who voices Bart - yes, a woman.
3. A T-shirt with the writing "I'm Bart Simpson. Who the hell are you?" was banned in several public schools.
4. Bart has likewise shown up in commercials for Burger King, Domino's Pizza, Kentucky Fried Chicken as well as Subway.
5. Michael Jackson that was a fan of The Simpsons, wrote the track "Do the Bartman".
In this tutorial, we used the following supplies:
- B pencil
- 3B pencil
- colored pencils
- yellow
- blue
- red
- ocher
- carrot
- turquoise
- White Vinyl Eraser
- Kneaded Eraser
STEPBYSTEP10
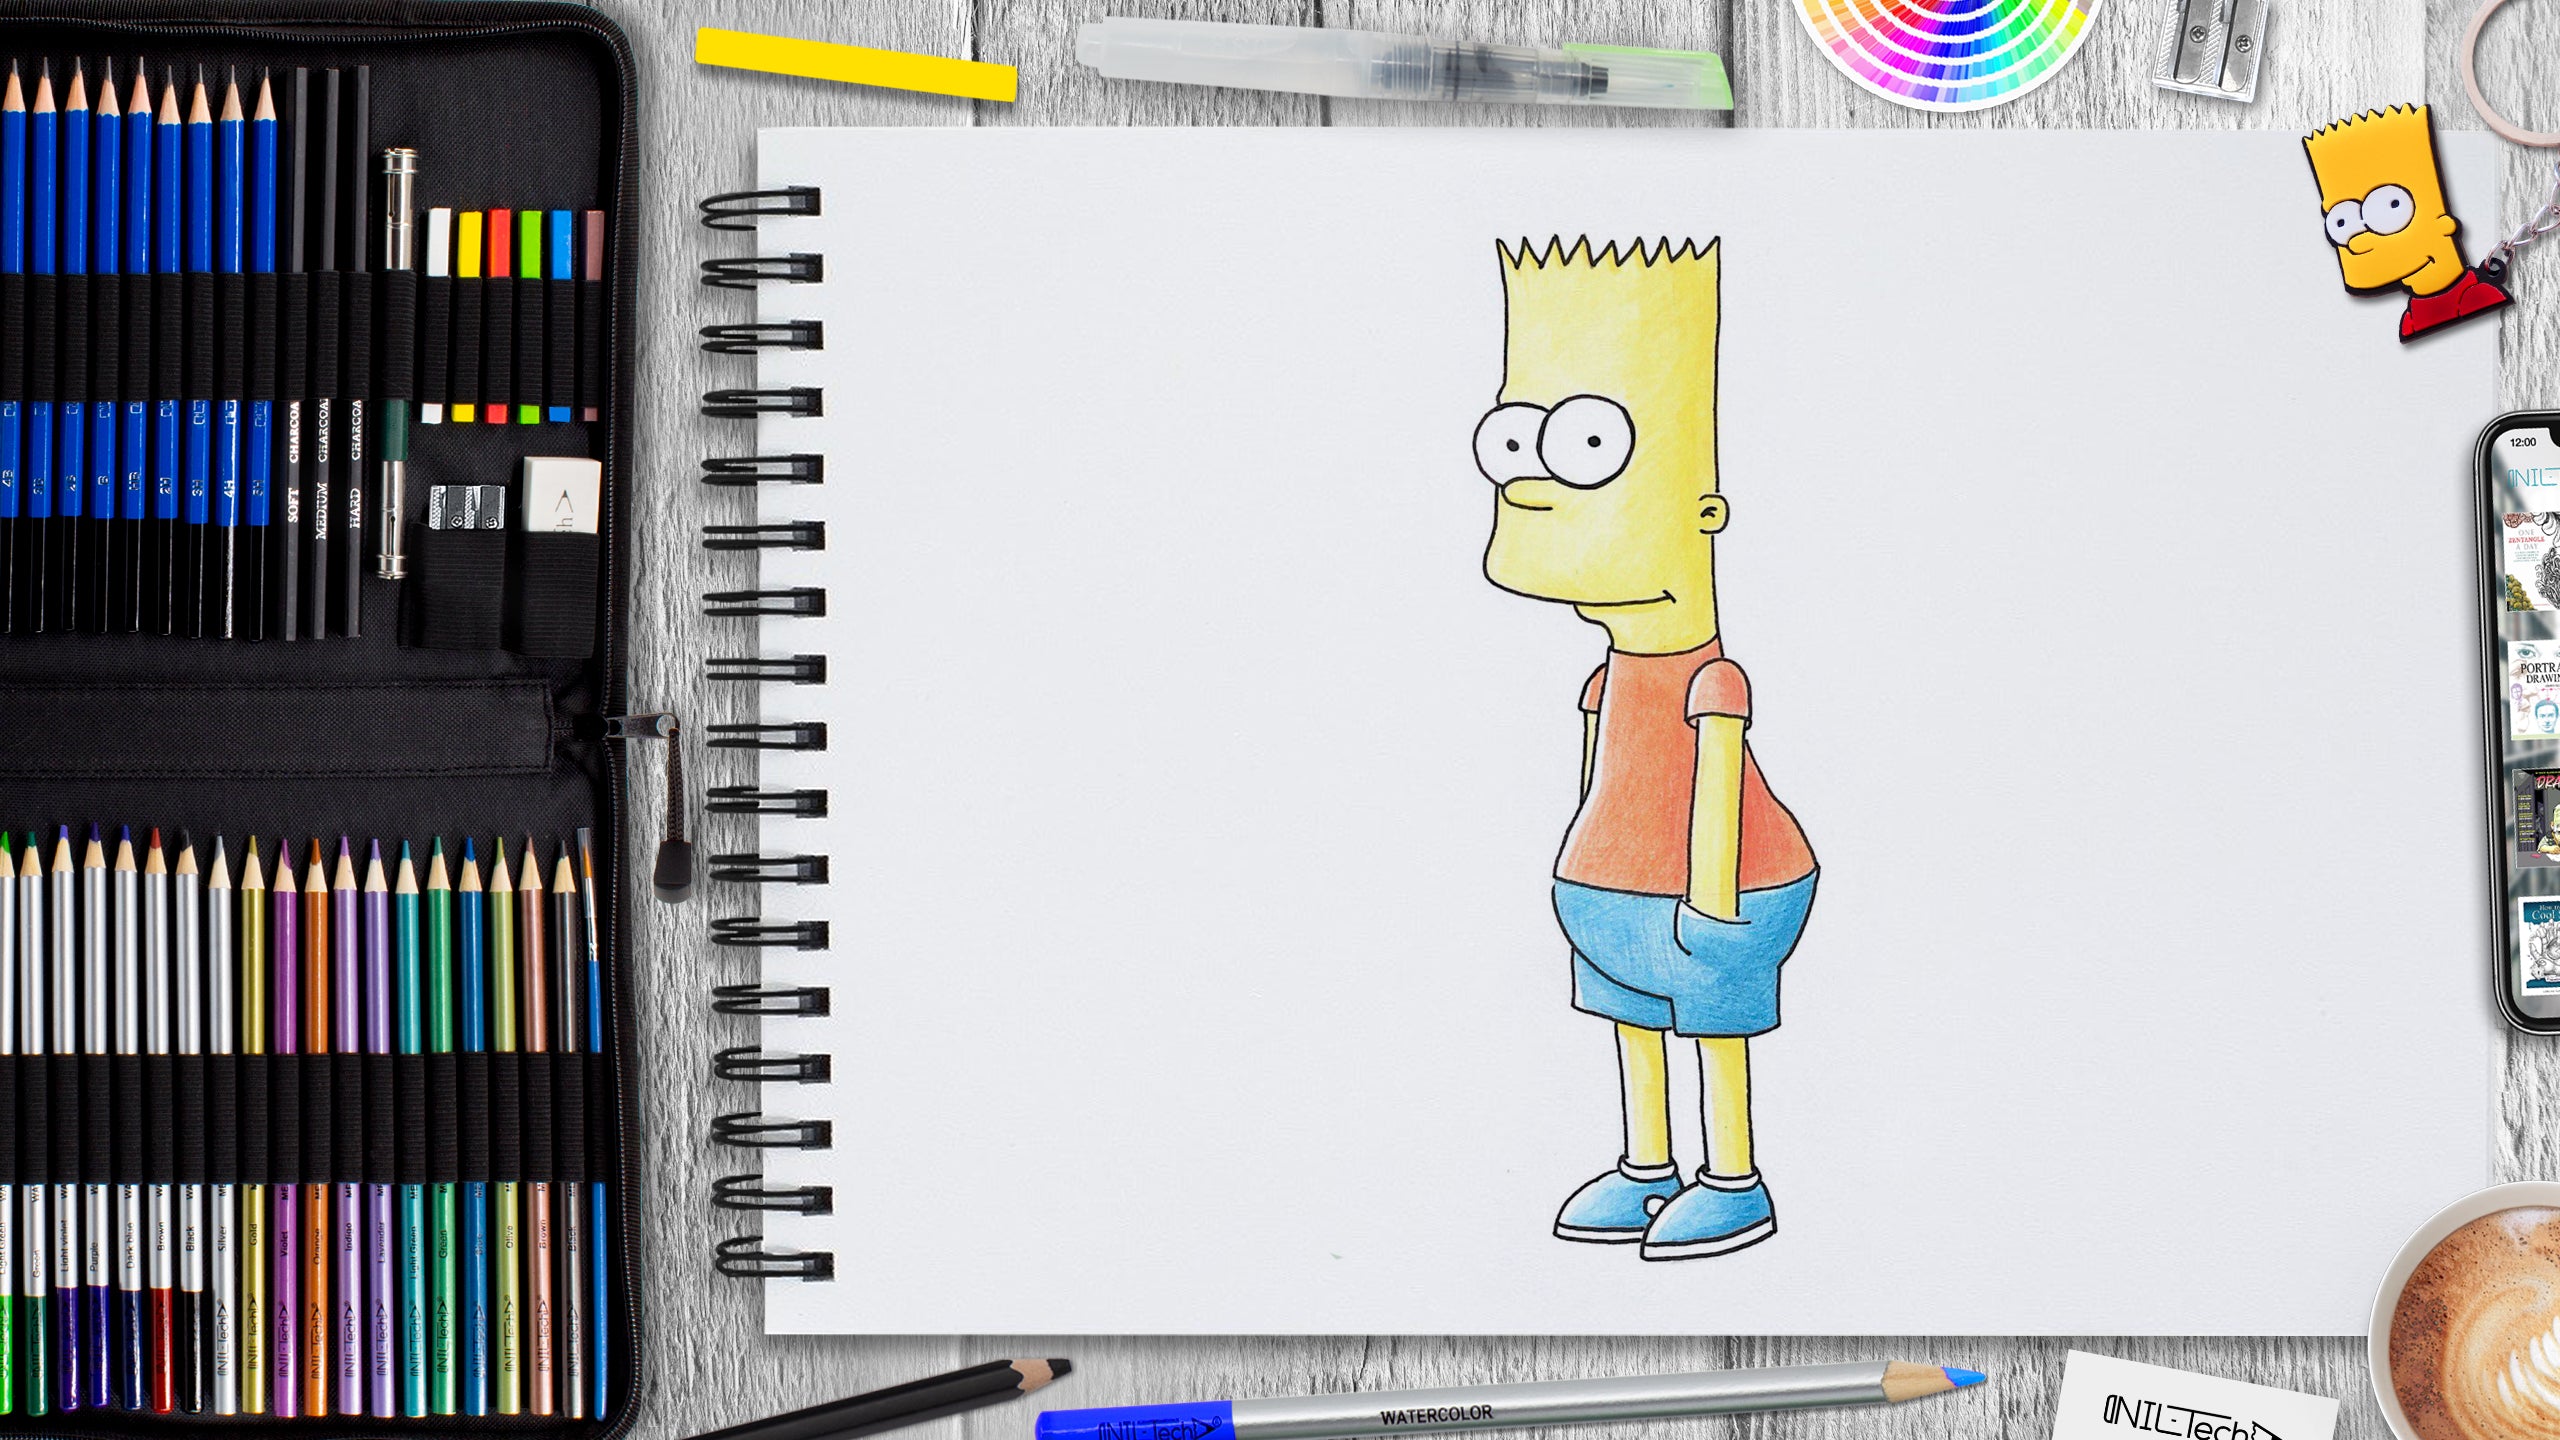
Let's draw "Bart" step by step!

Step 1. Outline the head and body with simple shapes, also draw the middle lines for the face (pencil B).

Step 2. With simple shapes, draw the lower part of the body, legs, and arm (pencil B).

Step 3. Over the simple lines, add details on the head, draw the face. Outline the second hand (pencil B).

Step 4. Draw the arms and body over the simple lines (pencil B).

Step 5. Finish drawing the shorts and draw legs with boots (pencil B).

Step 6. Finish drawing the remaining details (pencil B). Erase the construction lines. Outline the contour more evident with a soft pencil (pencil 3B).

Step 7. Outline the highlight areas (pencil B).

Step 8. Hatch all the skin parts (yellow pencil).

Step 9. Hatch the shirt (carrot pencil), and shorts with sneakers (blue pencil).
Step 10. Take the darker colors and draw shadows to add volume to the picture (ocher, turquoise, red pencils).

 |
Drawing Pencil SetExcellent GIFT IDEA - Non-Toxic and safe, easily portable and made with quality top-notch materials. Basic and innovative drawing supplies come together in NIL Tech set as an exceptional replacement for old-fashioned pencil boxes. The main attraction at any occasion from your drawing enthusiast friends, sketchers, artists to your kids or students boosting their creative projects and enjoy their ear-to-ear smile! |


