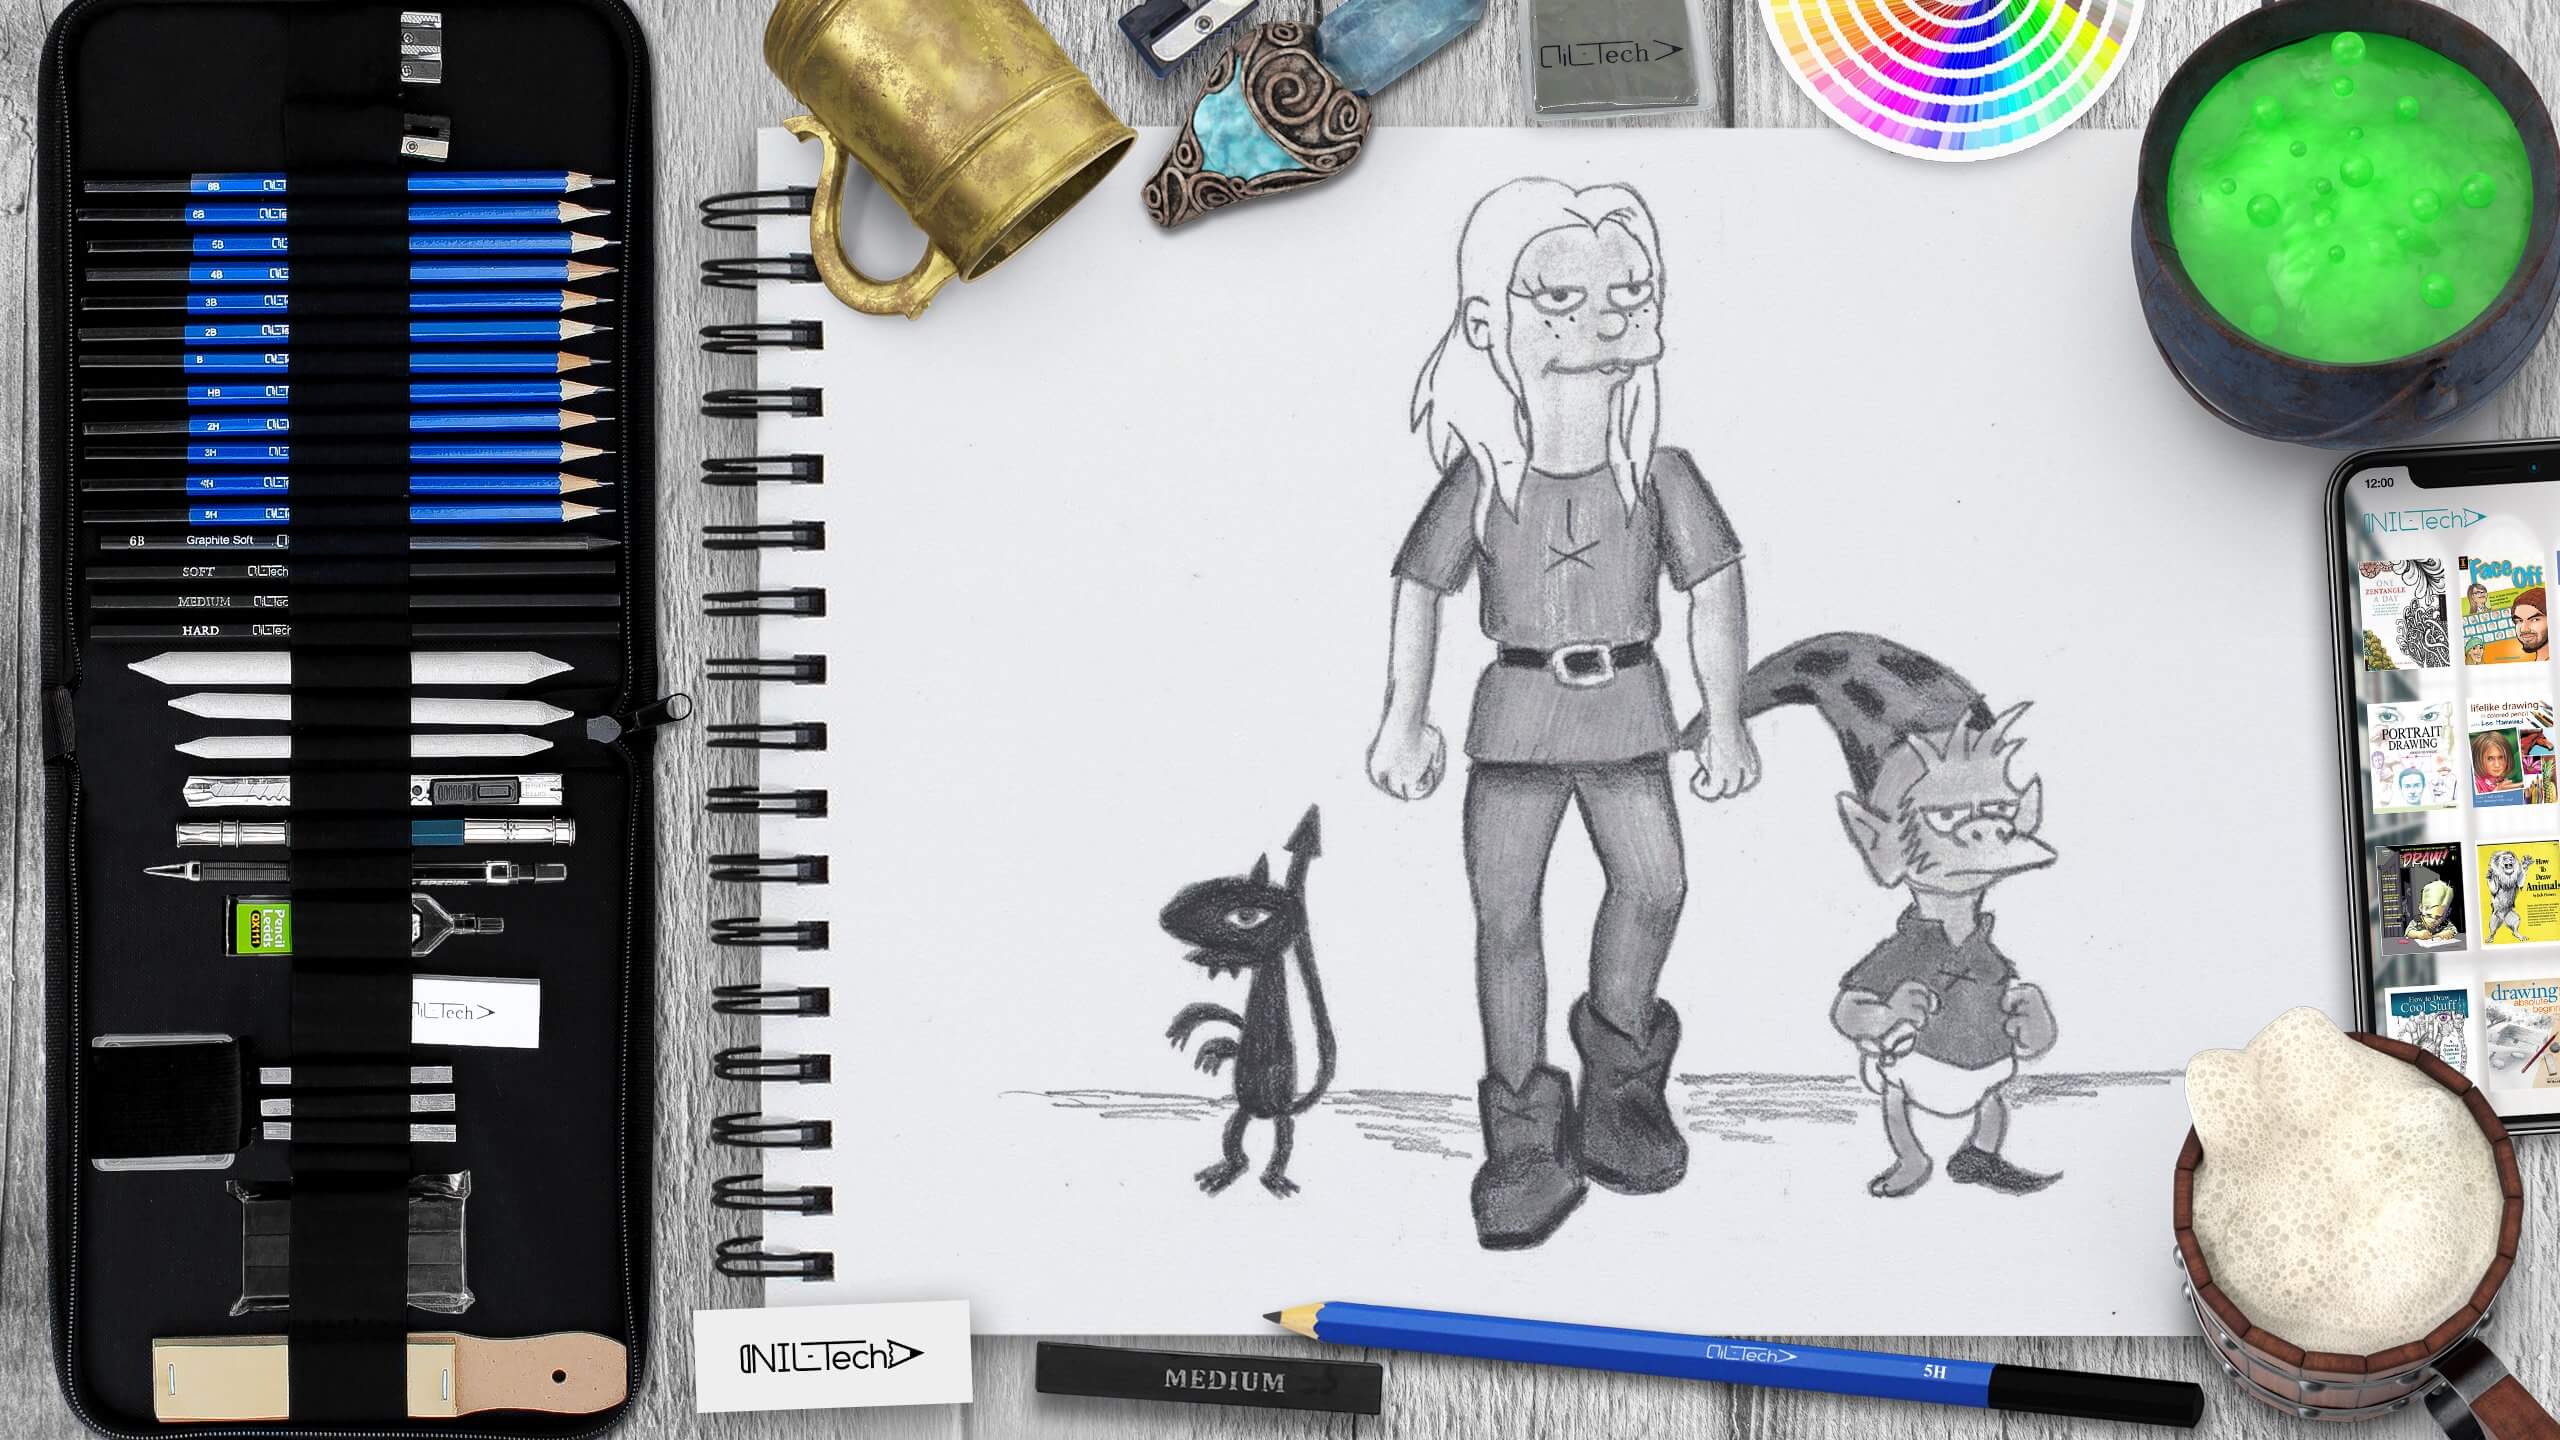
How to Draw Disenchantment Characters Step by Step
Sep 13 , 2019

NIL- Tech has prepared a new wild Drawing Tutorial for you: this time entitled "How to draw Disenchantment Characters”. Disenchantment is Groening's first brand-new show since Comedy Central Canceled "Futurama" in 2013. Matt Groening is responsible for two of the most iconic animated series. "The Simpsons", now the longest-running Sitcom in TV history, and "Futurama" that was mentioned before.
Here are some things you need to know about Disenchantment:
1. Set in a fantasy world, primarily in the Westeros-Esque kingdom of Dreamland. Disenchantment concentrates on the experiences of teenage princess Bean, her elf buddy Elfo, and her satanic force Luci.
2. Unlike Simpsons or Futurama, Disenchantment sees Groening dealing with long-form, episodic story-telling thanks to the Netflix distribution model. With all 10 episodes introducing concurrently, he's banking on you binge-watching and so instead of each episode being a standalone story, there's a continuous story unfolding episode by episode.
3. Groening is a fan of the fantasy world, and the setting looks a lot like the middle ages. With Python-esque plague gags, puntastic shop names, and pratfalls that would make Homer Simpson proud, Dreamland is a ridiculous location with a lot to explore.
Let's start Drawing Disenchantment Characters Step by Step!
In this tutorial, we used the following supplies:
- B pencil
- 2B pencil
- 3B pencil
- 4B pencil
- 5B pencil
- 6B pencil
- 8B pencil
- HB Pencil
- 2H pencil
- 3H pencil
- charcoal pencil
- blending stump
- Kneaded Eraser
- White Vinyl Eraser
STEPBYSTEP10

Step 1. Draw the lines that will determine the height of each character.

Step 2. Draw the contours of the heads and upper parts of the bodies (pencil 2H).

Step 3. Draw the contours of the upper parts of the arms and legs (pencil HB), the neck and body (pencil 2B).

Step 4. Draw the arms, legs, tail, and horn of the demon (pencil 4B), the lower parts of the girl's legs and arms (pencil 3H), the shoulders, the ear, nose, mouth, and feet of the gnome (pencil 4B).

Step 5. Draw faces (pencil 2B). Girl's clothes, shoes, and face (pencil B). Details of the face, diapers, and hands of a gnome (pencil 3B).

Step 6. Draw the girl's hair, add more details to the legs and arms, folds on the clothes (pencil 2B), draw the gnome's hair and the collar (pencil 5B).

Step 7. Outline the cardinal contours (pencil B8 or charcoal pencil). Erase the excess lines with an eraser, brush away the dirt from the eraser with a brush.

Step 8. Gently hatch the skin of the gnome and the girl (pencil HB), blend the graphite with a blending tool (blending stump). Hatch the demon, it should be black (pencil 8B). Make the gnome's skin darker than the girl's.

Step 9. Draw the line of the horizon (pencil 2B) with strokes. Hatch the clothes (pencil 3B) and shoes (pencil 6B). Blend the graphite with a blending stump. Add small dots - the freckles on the girl's face.
STEPBYSTEP10

We really hope you enjoyed this tutorial! If you liked it, there are lots of ways you can spread the news: Get the word out about our website to your loved ones, Link to this site or tutorial if you have a blog or site, Bookmark it and share your favorite tutorial utilizing the social network tool you use.
What a cool way to show off your latest accomplishment - and new skills!
Most importantly - COMMENT, please let us know what you think and voice your new tutorial ideas.
 |
Drawing Pencil SetExcellent GIFT IDEA - Non-Toxic and safe, easily portable and made with quality top-notch materials. Basic and innovative drawing supplies come together in NIL Tech set as an exceptional replacement for old-fashioned pencil boxes. The main attraction at any occasion from your drawing enthusiast friends, sketchers, artists to your kids or students boosting their creative projects and enjoy their ear-to-ear smile! |


