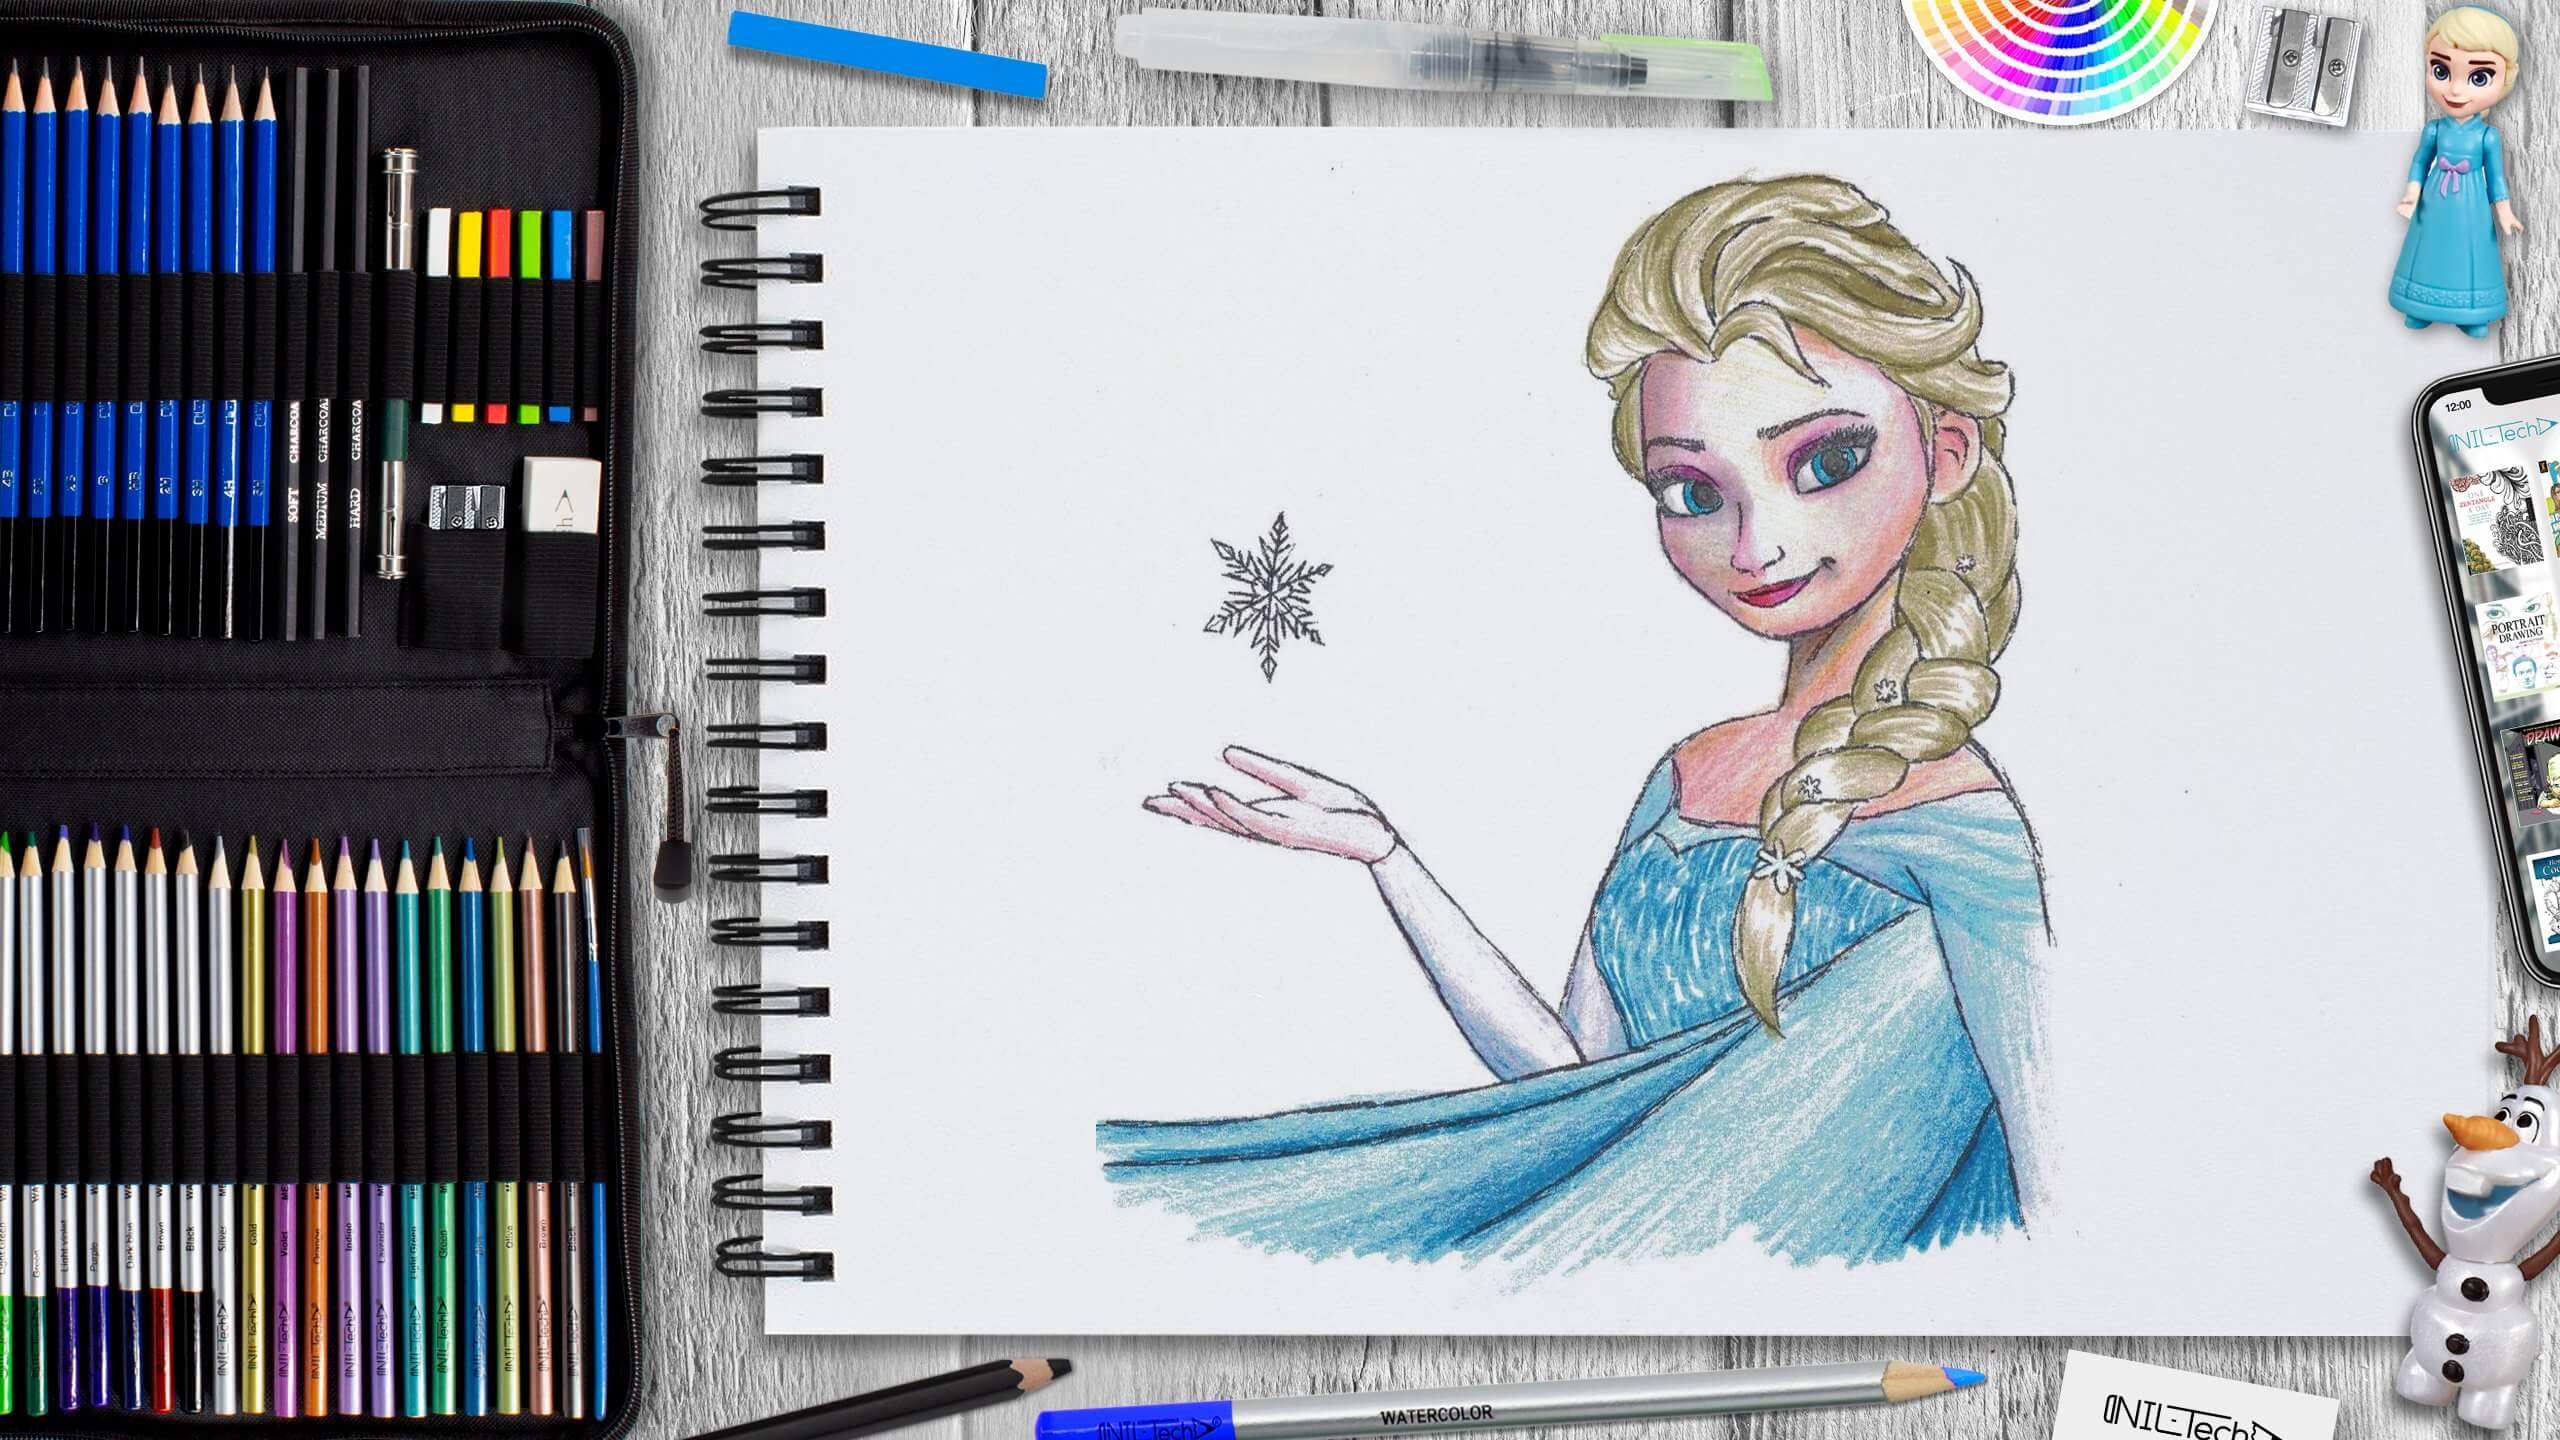
How to Draw Elsa
Nov 13 , 2019

Hi everybody, and welcome to a new NIL-Tech drawing tutorial: "Elsa from Frozen". Frozen was launched in 2013 and went on to become the highest-grossing animated film of all time. Not only that - it has launched a massive selection of products from DVDs to clothing to luxurious toys ... even waffle makers! Frozen-themed outfits and celebrations are likewise hugely popular.
Here are some interesting facts about Frozen cartoon:
1. The names Hans, Kristoff, Anna, and Sven are a tribute to The Snow Queen author Hans Christian Andersen. Say their names in a row quickly.
2. In March, two firemen in Boston sang "Let It Go" to a girl stuck in an elevator to soothe her down to save her.
3. Anna and Elsa weren't sisters in a preliminary version of the cartoon. Anna was a peasant who journeyed to ask Ice Queen Elsa to freeze her broken heart. That film sounds excellent too.
4. Elsa's signature snowflake can be seen in Anna's eyes when her body is frozen.
5. Animators had to develop a new program, Tonic, to animate Elsa's hair. Because of the braid, she has 420,000 CGI strands of hair. That's 15 times more than Rapunzel!
In this tutorial, we used the following supplies:
- B pencil
- 2B pencil
- 3B pencil
- 4B pencil
- 6B pencil
- HB pencil
- H pencil
- 3H pencil
- 5H pencil
- colored pencils
- Pink
- Yellow
- Light Brown
- Dark Beige
- Red
- Gold Metallic
- Blue
- Purple
- Mechanical Pencil
- Kneaded Eraser
- White Vinyl Eraser
Let's start drawing Elsa step by step!
STEPBYSTEP10

Step 1. Draw the contour of the head of the neck and the base of the neck (pencil 5H). Do not press too much.

Step 2. Draw the ear (pencil 2B), auxiliary lines for drawing the face (pencil 3H), and the contours of the shoulders and body (pencil 3H).

Step 3. Draw the eye sockets, nose, lips, and ear details (pencil B), the centerline of the eyebrows, and the crease on the neck (pencil H). Draw the hand and the line of the chest (pencil HB).

Step 4. Draw the contours of the face and neck, fingers on the hand (pencil 3B), draw clothes, and the contour of the second hand (pencil HB). Draw eyebrows and eyelashes in zigzag lines from top to bottom (mechanical pencil). Draw pupils (pencil 4B).

Step 5. Draw the hair (pencil 3B) On the head, draw the strands, and the direction of the hair. From the back of the head to the shoulder, draw a braid.

Step 6. Finish the details. Snowflake with a pattern of your choice (mechanical pencil), eyelids, and details of the hand (nails and folds, cuffs) (pencil B). Draw snowflakes in the hair (mechanical pencil), cloak lines (pencil 6B).

Step 7. Erase the excess lines eraser, brush). If you accidentally erased some of the main lines with a mechanical pencil.

Step 8. Hatch the face, hair, shoulders, and the hand. For the face, use pink, yellow, and light brown or dark beige. Apply the colors in the same order: 1 - pink with very slight pressure, in the more shaded areas - yellow, and on top of yellow light brown or dark beige. Use a light pink pencil for the cheekbones, the right side of the superciliary arch, and the nose bridge. For the hand, use pink, in the darker areas - red, for hair - Gold Metallic. The strokes are applied with pressing different strengths leaving white spaces to create shine.

Step 9. Hatch the clothes in blue, sleeves - with faint pressure (purple pencil).
STEPBYSTEP10

 |
Drawing Pencil SetExcellent GIFT IDEA - Non-Toxic and safe, easily portable and made with quality top-notch materials. Basic and innovative drawing supplies come together in NIL Tech set as an exceptional replacement for old-fashioned pencil boxes. The main attraction at any occasion from your drawing enthusiast friends, sketchers, artists to your kids or students boosting their creative projects and enjoy their ear-to-ear smile! |


2 Comments
adoro e fantastic a
Mi piace