Ignite Your Creativity: Drawing Wade and Ember from Disney Pixar's Elemental
Nov 07 , 2023
Welcome to our enchanting art blog where creativity meets cinematic magic! In this captivating journey, we'll be exploring the mesmerizing world of Disney Pixar's "Elemental" as we guide you through the process of drawing two of its most iconic characters, Wade and Ember.
Whether you're an aspiring artist or a seasoned sketch enthusiast, this blog is designed to ignite your artistic passion and transform your love for this enchanting film into a tangible work of art.
Combining the tactile beauty of sketch and color pencils with a step-by-step guide, we'll unravel the secrets to bringing Wade and Ember to life on your canvas. Through a captivating video demonstration and comprehensive written instructions, you'll not only observe the art in motion but also have the tools to recreate it yourself.
So, grab your pencils, prepare your palette, and let your imagination soar as we delve into the artistry of "Elemental." Get ready to unleash your creative magic and embark on a journey into the fantastical realms of Wade and Ember – where art meets animation in the most enchanting way.
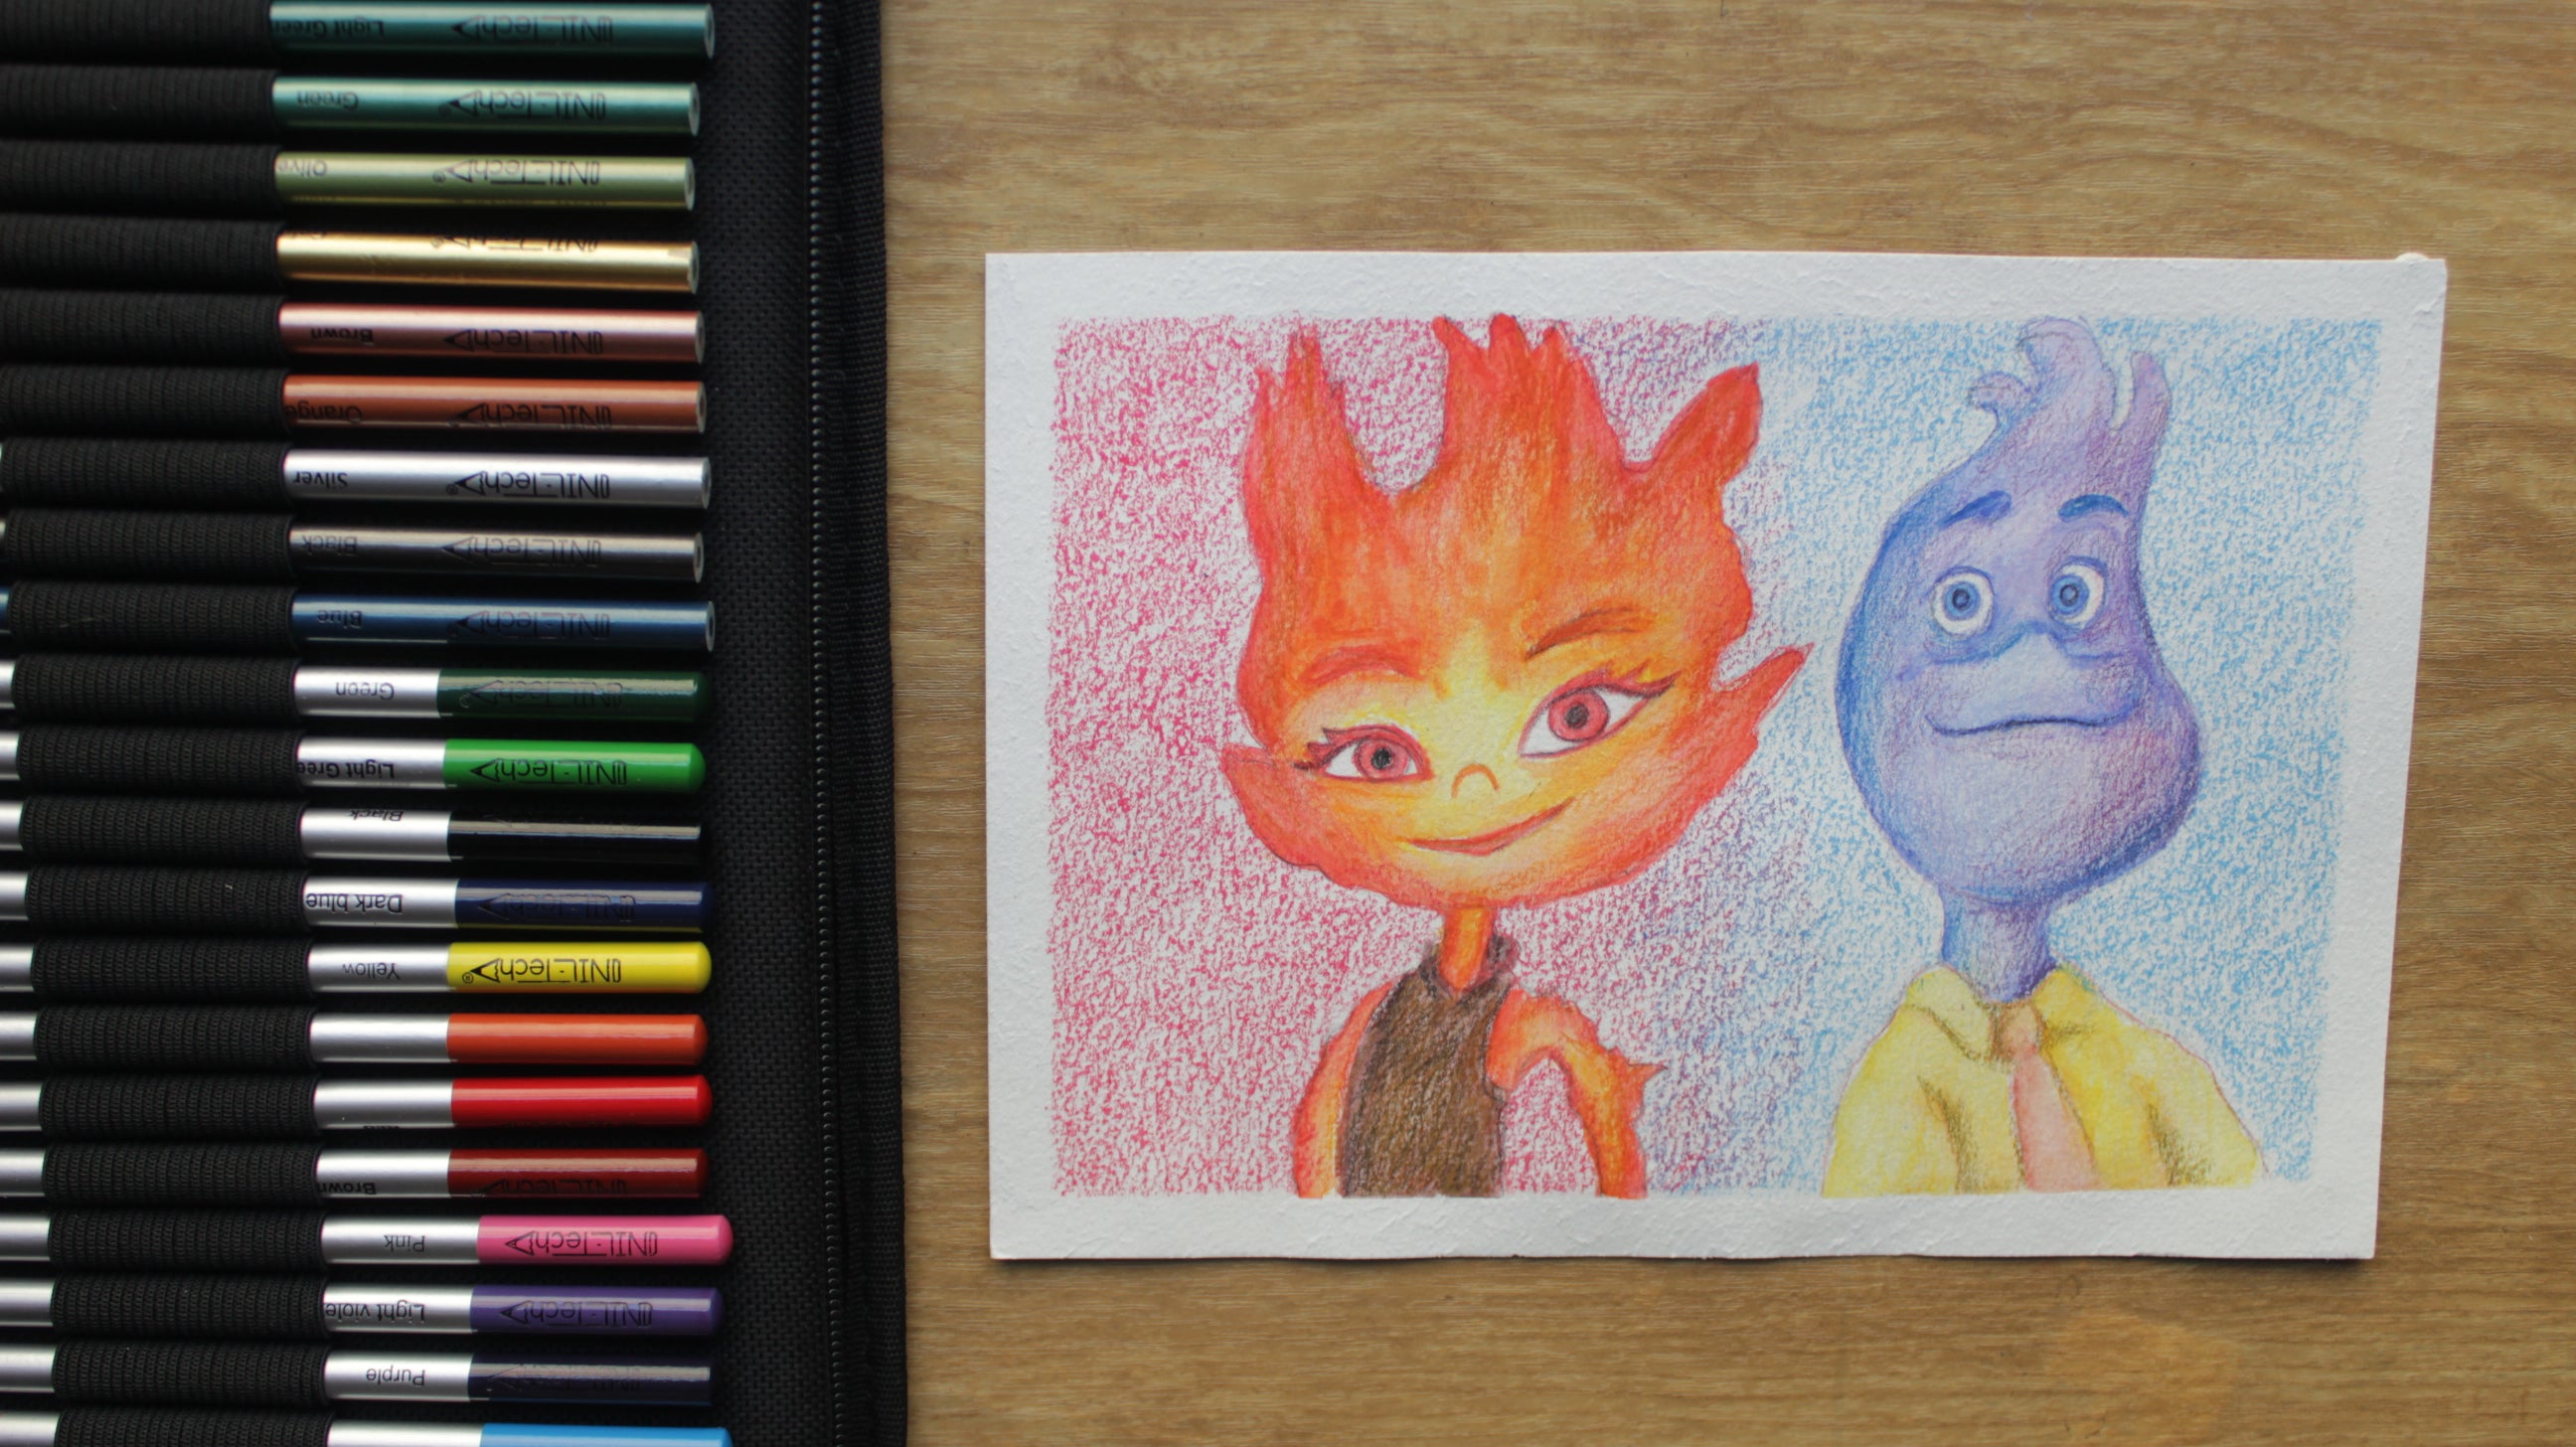
How to Draw Elementals Characters with Watercolor Pencils
Creating beautiful art is a step-by-step process, and we're here to make it easy for you:
1. Secure your paper by taping the edges to keep it from curling or wrinkling due to water usage.
2. Begin with a 2B pencil to gently outline basic shapes. For Ember Lumen, draw a circle and a rectangle; for Wade Ripple, draw a circle and an oval.
3. Concentrate on Ember Lumen first. Above the circle, sketch Ember's head, and over the rectangle, draw the body and neck.
4. Next, sketch the head and body of Wade Ripple.
5. Clean up your sketch by erasing any unnecessary lines.
6. Add the character details, like eyebrows, eyes, nose, and lips.
7. Make the pencil lines faint by gently erasing them.
8. Now, it's time to apply watercolor pencils to all the lines.
9. Let's add color. Use red, orange, yellow, brown, and black watercolor pencils for Ember Lumen.
10. For Wade Ripple, select blue, light violet, dark blue, pink, yellow, and brown watercolor pencils.
11. Activate the colors with water by gently brushing over them. Start with lighter colors for better results.
12. After the colors dry, enhance their realism with metallic pencils. Apply orange and black for Ember Lumen and blue, lavender, and violet for Wade Ripple.
13. Create a background using red and blue pastels.
14. Remove the tape, and your masterpiece is complete!
Need a visual guide, we get it! Check out the Step by Step Video Tutorial:
 |
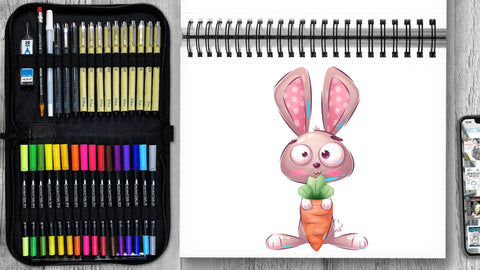
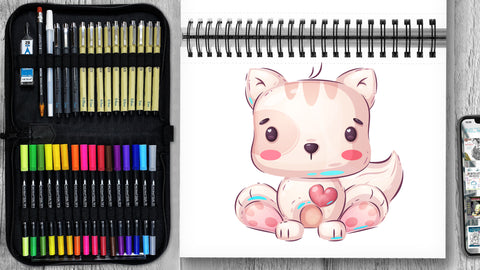
Drawing Pencil SetExcellent GIFT IDEA - Non-Toxic and safe, easily portable and made with quality top-notch materials. Basic and innovative drawing supplies come together in NIL Tech set as an exceptional replacement for old-fashioned pencil boxes. The main attraction at any occasion from your drawing enthusiast friends, sketchers, artists to your kids or students boosting their creative projects and enjoy their ear-to-ear smile! |