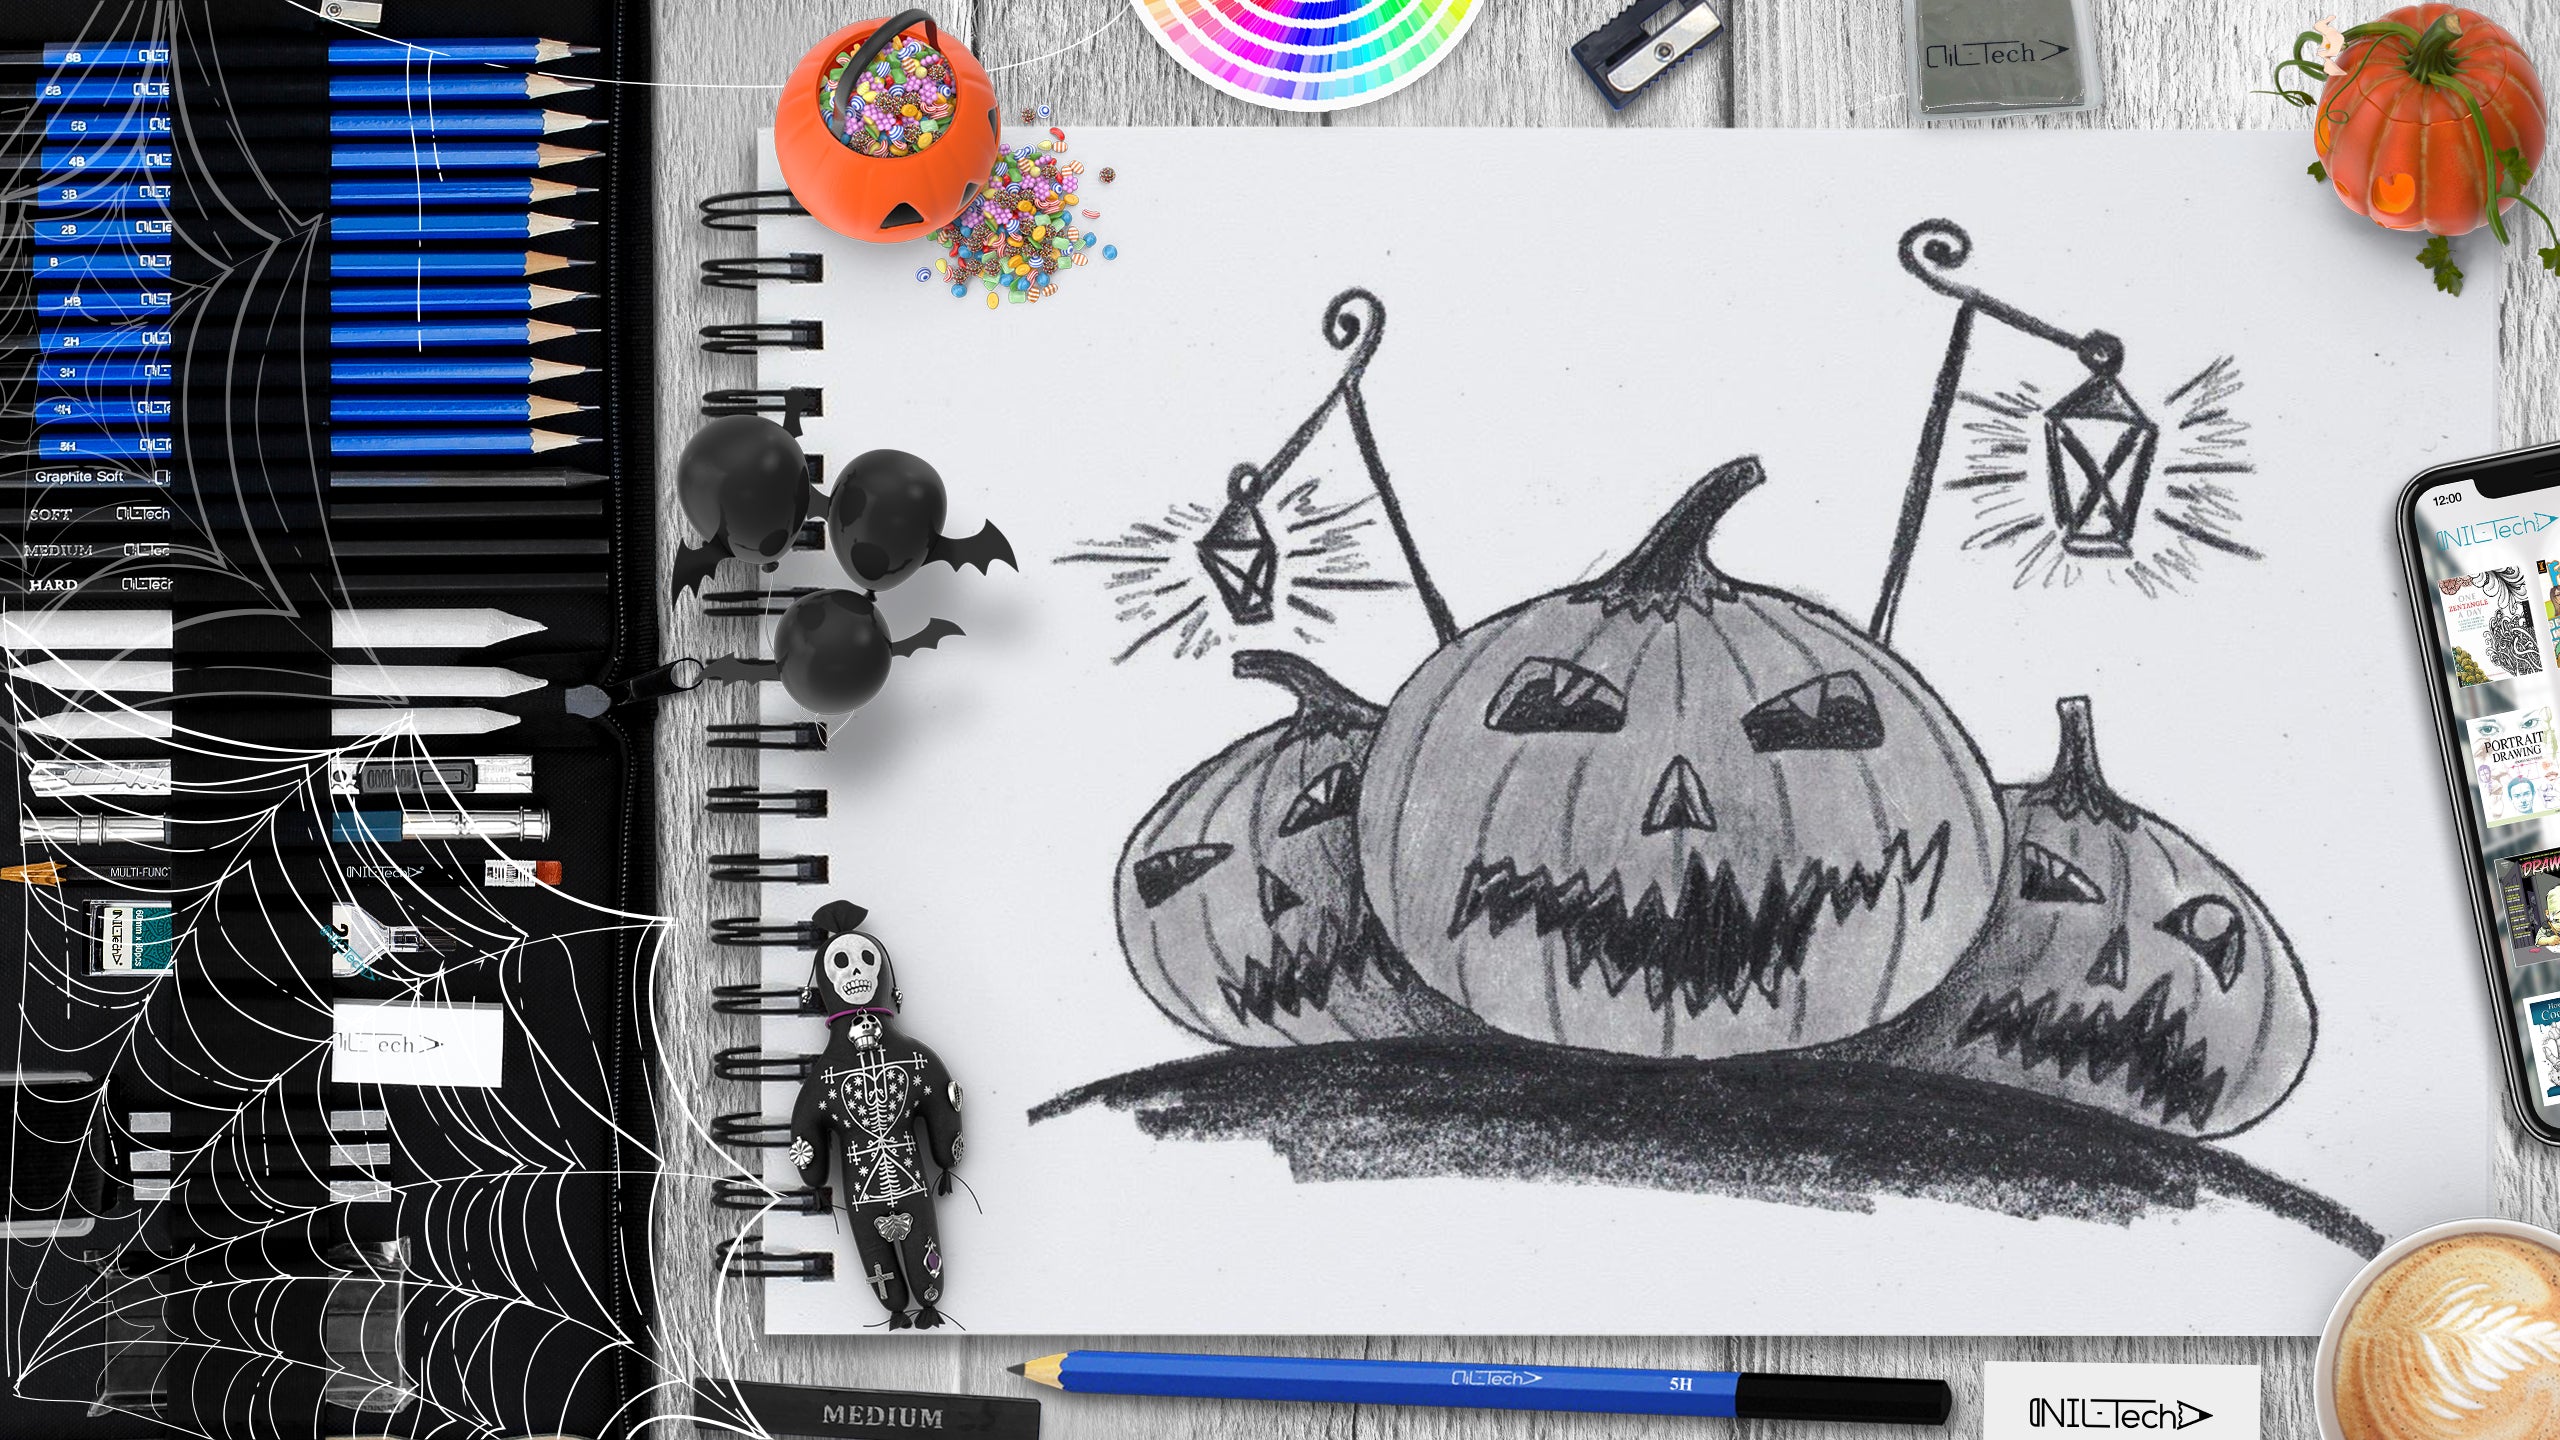
How to Draw Halloween Pumpkin Step by Step
Oct 30 , 2019

Hi everybody, and welcome to a new NIL-Tech drawing tutorial: "Halloween Pumpkin Drawing". Halloween is a time for candy, costumes, and some of the cartoon specials, but how did it become this way? Why are children and their parents motivated to run around the neighborhood threatening tricks? Jack-o'-lanterns are a pretty strange concept.
So here are some interesting facts about Halloween:
1. According to Irish legend, Jack O'Lanterns are called after a stingy man named Jack, who, since he tricked the devil many times, was prohibited entrance into both heaven and hell. He was condemned to wander the Earth, waving his lantern to lead people away from their courses.
2. Fifty percent of kids choose to get chocolate candy for Halloween, compared to 24% who prefer non-chocolate candy, and 10% who chose gum.
3. Trick-or-treating came from the ancient Celtic custom of putting out treats and food to placate spirits who wandered the streets at Samhain, a sacred celebration that marked the end of the Celtic fiscal year.
4. "Halloween" is short for "Hallows' Eve" or "Hallows' Evening," which was the evening before All Hallows' (sanctified or holy) Day or Hallowmas on November 1. To transform pagans, the Christian church decided that Hallowmas or All Saints' Day (November 1) and All Souls' Day (November 2) need to assimilate sacred pagan holidays that fell on or around October 31.
5. Dressing up as ghouls and other spooks stemmed from the ancient Celtic custom of townspeople disguising themselves as devils and spirits. The Celts believed that disguising themselves in this manner would enable them to escape the notice of the real ghosts wandering the streets throughout Samhain.
In this tutorial, we used the following supplies:
- B pencil
- 2B pencil
- 3B pencil
- 4B pencil
- 5B pencil
- 6B pencil
- 8B pencil
- 2H pencil
- 5H pencil
- Mechanical Pencil
- Blending Stump
- Kneaded Eraser
- White Vinyl Eraser
All tools used in this tutorial and more you may find at our Store.
Get yours today, here is a coupon for 10% off STEPBYSTEP10
Let's start drawing Halloween Pumpkins step by step!

Step 1. Draw the contour of the earth and the oval of one of the three pumpkins (pencil 5H).

Step 2. Draw the contours of the right and left pumpkins (pencil 5H).

Step 3. Draw the contours of the eyes and stalks in each of the pumpkins (pencil 2B).

Step 4. Draw a cutout of the nose, pupils, and finishing drawing the bottom of the stalk in each of the pumpkins (pencil B).

Step 5. Draw sections in the eye holes and the noses (mechanical pencil), the contours of the mouths (pencil 2H), and the sticks for the night lights in the back (3B pencil).

Step 6. Draw the details on the sticks for the lamps - curls and a circle-holder (pencil 3B). Draw the teeth along the lines of the mouth. Draw some teeth longer, some shorter (pencil 5B).

Step 7. Draw the arc lines on the pumpkins themselves, but so that they do not cross the eyes, noses, and mouths or go over the contours of the pumpkins (pencil 4B with slight pressure). We also draw lanterns (mechanical pencil) and strokes of light around them (pencil 3B).

Step 8. Erase excess lines, as in the example above (eraser). If you accidentally hit the line with the eraser, correct with a pencil (pencil 3B). Brush away the dirt from the eraser with a brush.

Step 9. Hatch the ground under the pumpkins (pencil 8B). Draw the light near the lights with thin strokes (pencil 5H). With faint strokes, apply graphite to the pumpkin body and smooth it with a blending tool but so as not to smear the lines of the relief (pencil 3B and blending stump). Darken the dips of the eyes, noses, and mouths (pencil 8B). Make thicker racks of lights (pencil 6B).

 |
Drawing Pencil SetExcellent GIFT IDEA - Non-Toxic and safe, easily portable and made with quality top-notch materials. Basic and innovative drawing supplies come together in NIL Tech set as an exceptional replacement for old-fashioned pencil boxes. The main attraction at any occasion from your drawing enthusiast friends, sketchers, artists to your kids or students boosting their creative projects and enjoy their ear-to-ear smile! |


