How to Draw Holi Festival
Mar 18 , 2022
 The religious origin centers around the legend of Holika (hence the name Holi). You’ve probably seen actors in Bollywood movies smearing each other with coloured powder and playing with water guns, famously involving song and dance.
The festival is primarily celebrated in India and its neighboring country Nepal, and involves throngs of people enthusiastically getting immersed in bright colors and water.
You may have wondered what the significance behind this annual riot of colors is, or where the name comes from.
Fun Facts about Holi Festival:
-
It’s a celebration of good triumphing over evil. The lively festival is a celebration of the beginning of spring after a long winter, symbolic of the triumph of good over evil.
Holi is a national holiday in India and Nepal held to coincide with the last full moon day of winter, according to the Hindu lunar calendar.
- It starts with bonfires symbolizing the fire that killed Holika, in India the festival starts the night before Holi with the lighting of bonfires (called Holika Dahan).
-
The colors symbolize equality also known as the ‘festival of colors,’ Holi honors the vibrant hues of spring, and the bright powders and color waters symbolize flames as well, but there’s a deeper meaning behind why people cover each other with pigmented ‘abir’ powder and ‘gulal’ paste.
- Food is an important part of the celebrations. No party would be complete without a delicious spread, and during Holi it’s all about sweet treats.
- It’s celebrated all over the world while the biggest celebrations take place in India and Nepal, people around the world gather each year to mark the festival, some for religious reasons, others just for fun, from Berlin to Barcelona, Singapore to Suriname.
Let’s start Drawing Holi Festival Step by Step
In this tutorial we used the following supplies:
- Pencil B
- Colored Pencil:
- blue
- pink
- brown
- red
- beige
- purple
- burgundy
- yellow
- orange
- green
STEPBYSTEP10

Step 1. We start drawing the basic shapes and lines, so we can outline the figure of the drawing. (Pencil B)
 Step 2. Next is we continue to outline the shape of the figures in more detail. Using lines draw the middle ones on the pots. (Pencil B)
 Step 3. Based on the construction lines drawn on the previous steps. draw the basic guidelines of people and the pots. (Pencil B)
 Step 4. Remove all unnecessary construction lines and draw details and physical features. Such as clothes, faces, hair and powder in pots. (Pencil B)
 Step 5. We remove the remaining construction lines and draw the last details. Such as the hair strands texture on the pots and the designs. (Pencil B)
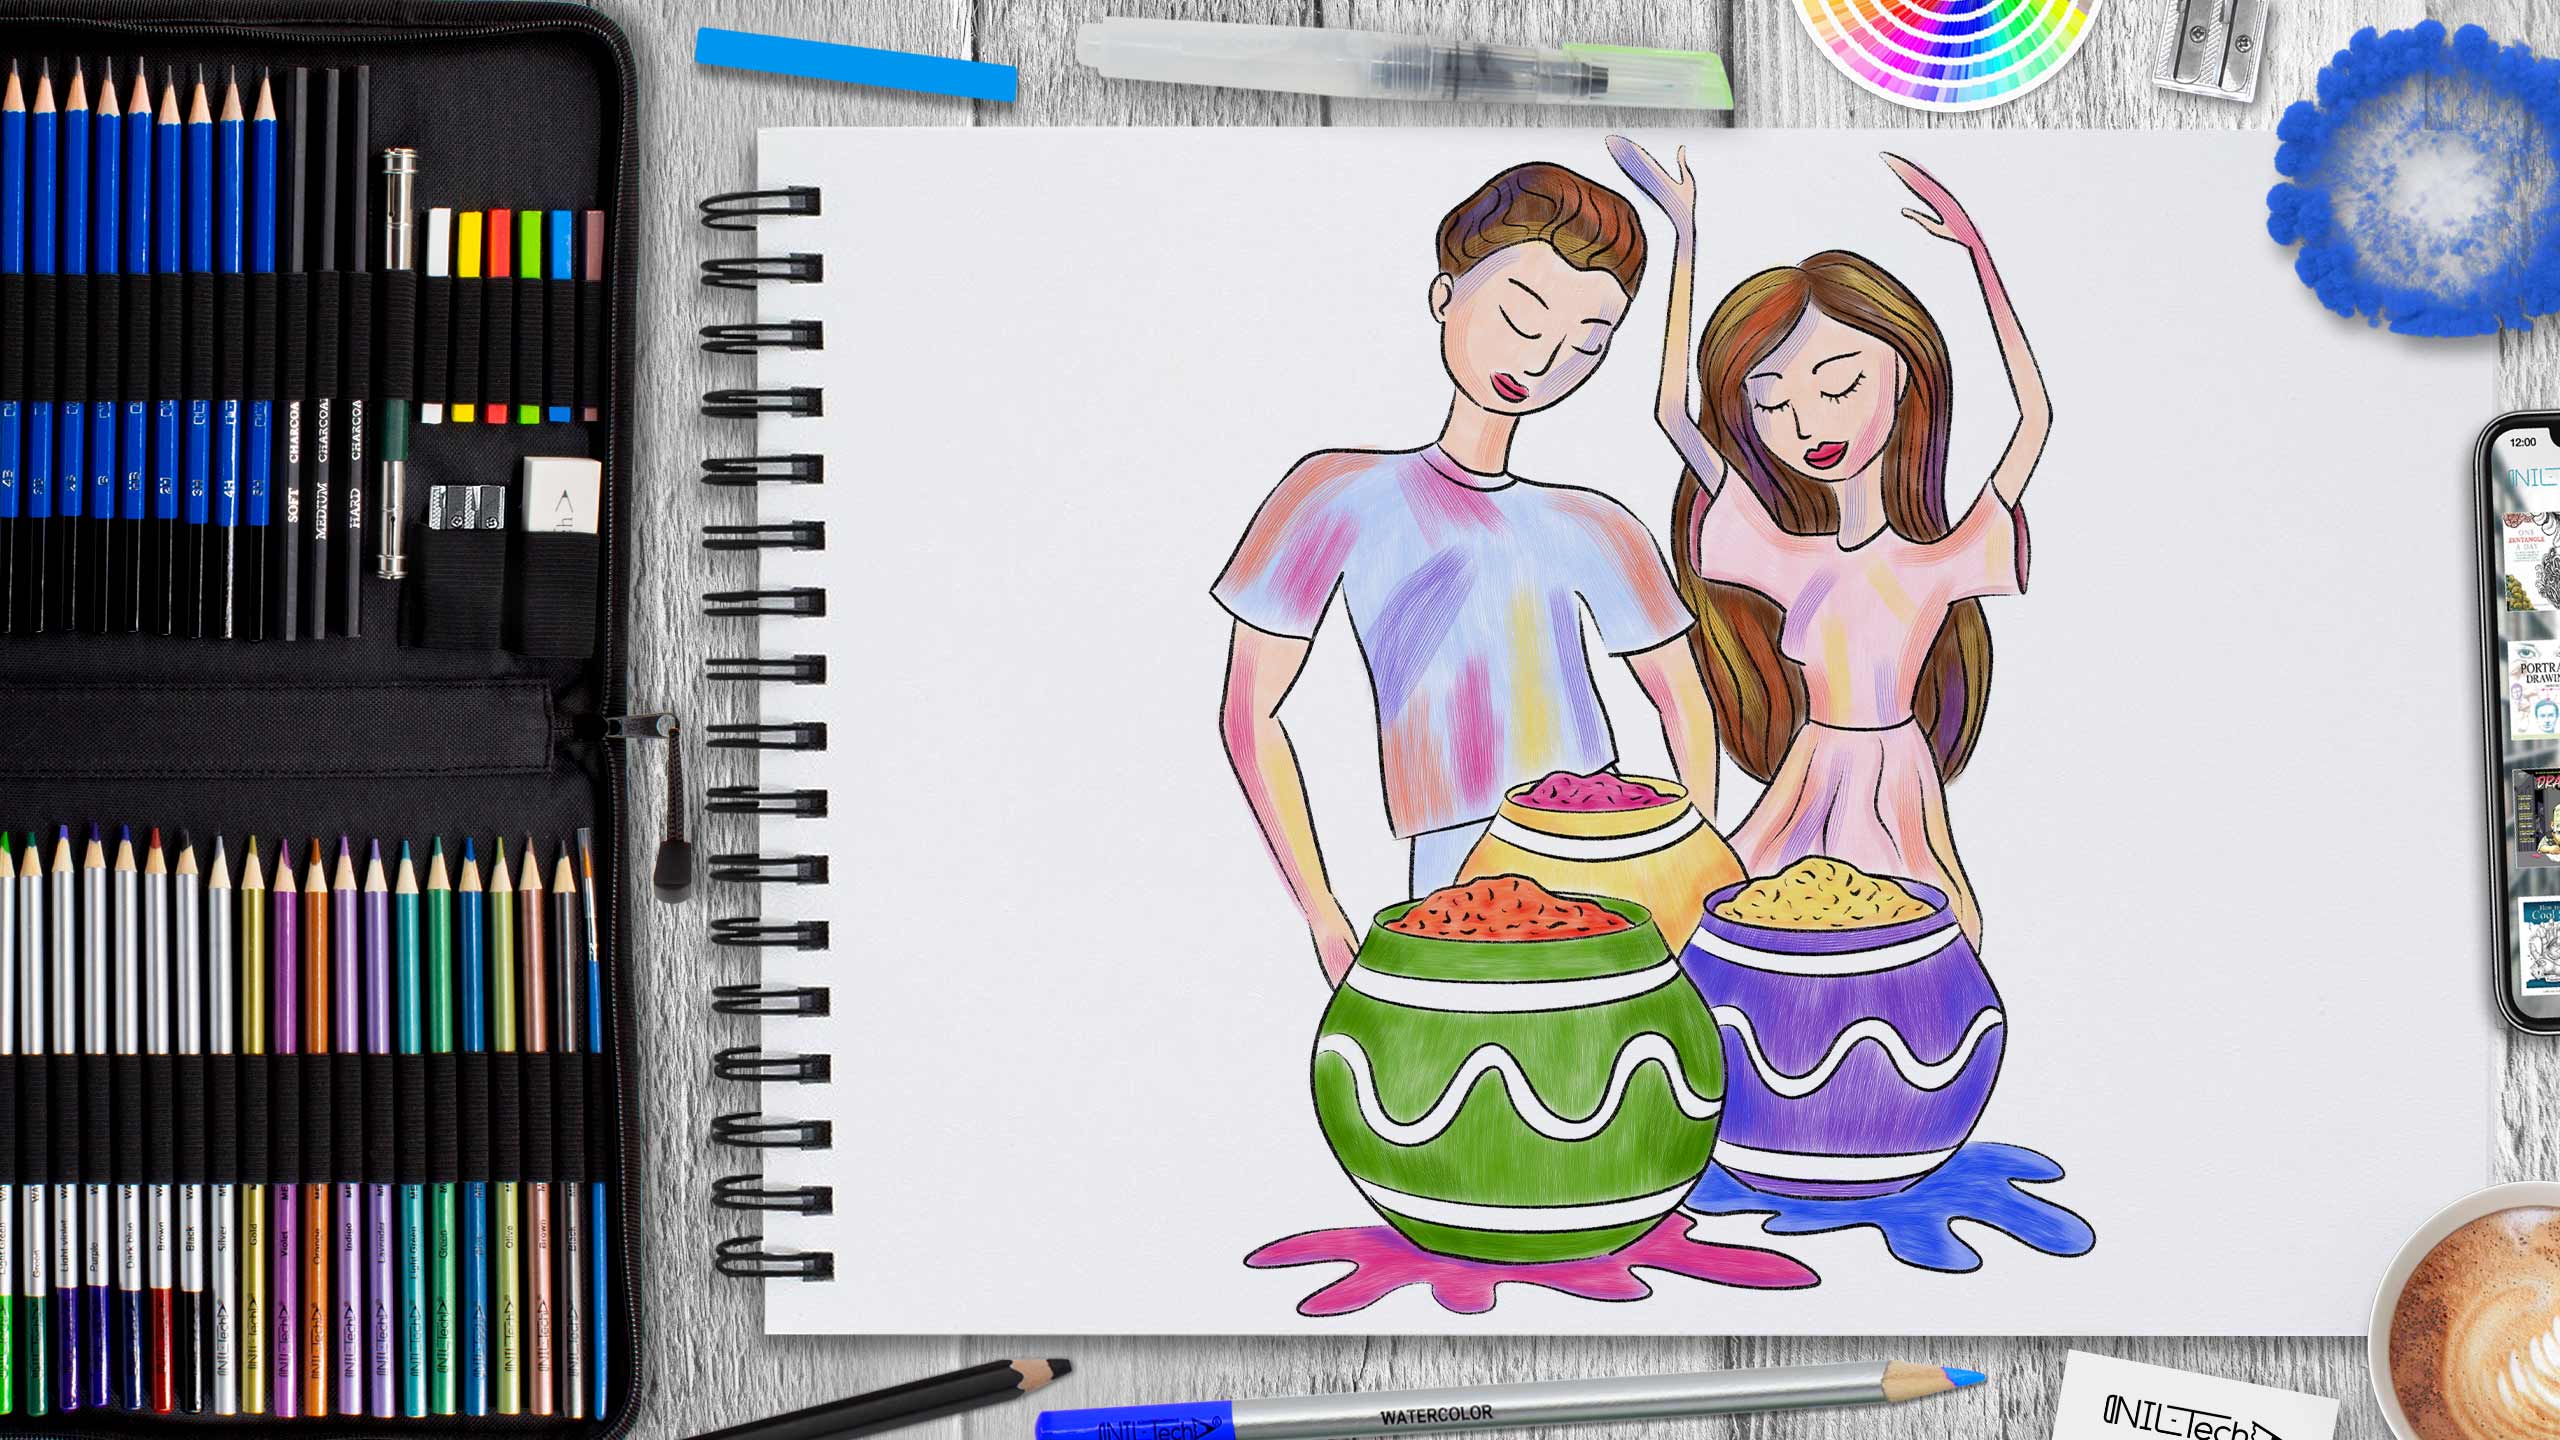
 Step 6. We start coloring by filling the general tone for people. Use pink for the girl's clothes, blue for the guy, brown for the hairs, red for the lips and beige for the skin. (Colored pencils pink, blue, brown, red, beige)
 Step 7. Enhance all the colors, and also add color masks. For this we use purple, burgundy, yellow, orange, blue colors. (Colored pencils pink, blue, brown, red, beige, purple, burgundy, yellow, orange, blue)

Step 8. We make a general tone on the pots. For this we use green, purple, blue, pink, orange, yellow colors. (Colored pencils green, purple, blue, pink, orange, yellow)
 Step 9. We proceed to further enhance all the colors by adding shadows. For the shadows on pink we use purple, on green we use dark green, on purple use blue, on yellow use orange, on orange use red. (Colored pencils green, purple, blue, pink, orange, yellow, dark green, red)
STEPBYSTEP10
 |
Drawing Pencil SetExcellent GIFT IDEA - Non-Toxic and safe, easily portable and made with quality top-notch materials. Basic and innovative drawing supplies come together in NIL Tech set as an exceptional replacement for old-fashioned pencil boxes. The main attraction at any occasion from your drawing enthusiast friends, sketchers, artists to your kids or students boosting their creative projects and enjoy their ear-to-ear smile! |


