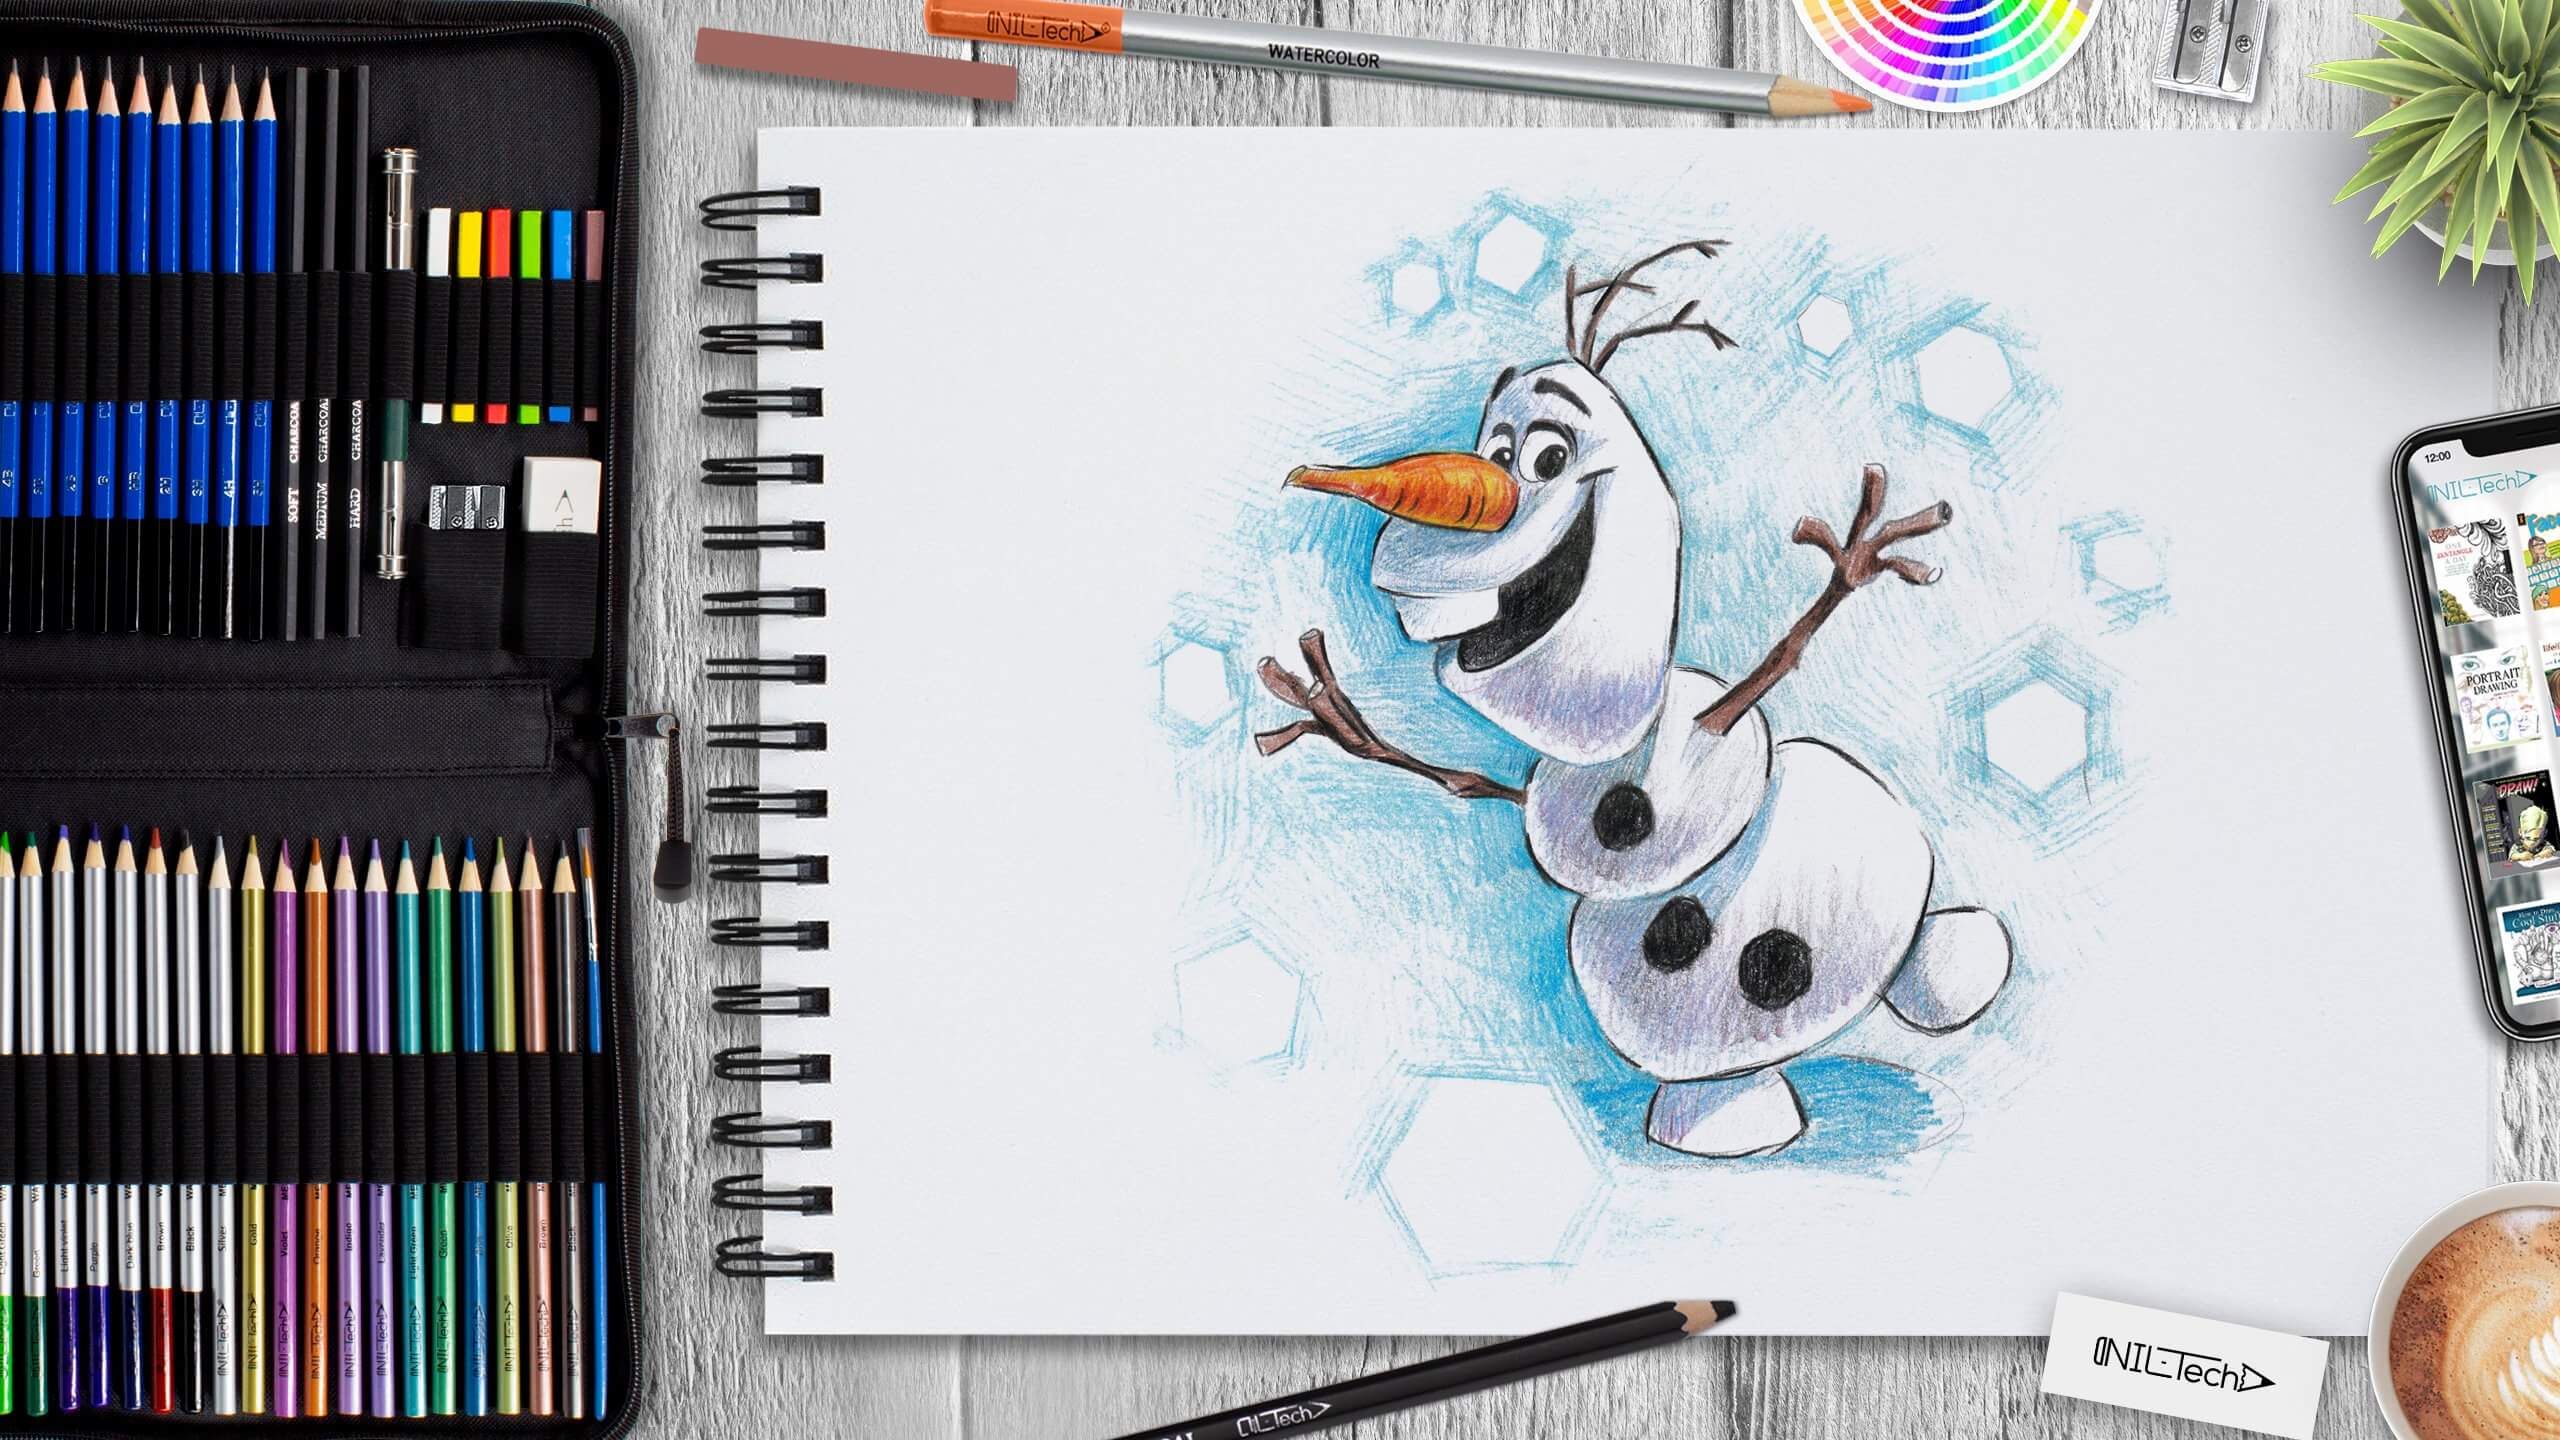
How to Draw Olaf
Jan 24 , 2020

Hi everybody, and welcome to a new NIL-Tech drawing tutorial: "Olaf". Olaf, the adorable snowman from Frozen, has quickly become one of the cutest Disney characters. Created from Elsa's magical powers, Olaf is the friendliest snowman in Arendelle. He is open, outbound, and also likes all things connected with the summer. Olaf may be a little bit ignorant, but his good-natured personality made him a good friend to Anna and Elsa.
Here are some interesting facts about Olaf:
1. The childlike characterization of Olaf was integral to the story. Because Elsa and Anna created Olaf when they were little, the team wanted it to look like if a child had created him, which is why Olaf is slightly distorted.
2. Olaf was initially intended to be Elsa's obnoxious sidekick. When director Jennifer Lee came on board, one of her first acts was to modify the character of Elsa, which was originally illustrated as being evil from the very beginning. The modification likewise allowed Olaf to be turned into Anna's comic sidekick.
3. Olaf could be a lot more different. Before it was decided that Olaf would be a snowman, very initial ideas had him as a penguin!
4. Olaf was animated by Hyrum Osmond, who brought to life characters like Rapunzel and Maximus from Tangled, Ralph, also King Candy from Wreck-It Ralph, and Meg and George from the short movie "Paperman". Osmond based most Olaf's movements on his son's, as he intended to make the character being childlike.
5. Other early design concepts included a lot of different items for, of all things, Olaf's brows. All sorts of things were considered, such as grass and twigs. In the end, Olaf received the bark-like eyebrows that he has in the final movie. However, there is one thing related to his elbows. If you watch carefully, you'll note that they never bend, except throughout his fantasy "In Summer".
Let's start drawing Olaf step by step!
In this tutorial, we used the following supplies:
- B pencil
- 2B pencil
- 5B pencil
- colored pencils
- Kneaded Eraser
- White Vinyl Eraser
STEPBYSTEP10

Step 1. Outline the location and the contours of the drawing (pencil B).

Step 2. Draw the details: outline the contours of the snowman, arms, mouth, nose, and eyes. Draw crystals around Olaf (pencil 2B).

Step 3. Sketch the main shadows of the drawing.

Step 4. Start drawing shadows with light blue, light pink, and light lilac colors (colored pencils). To create volume, leave some blank space between shadows and contour. Erase the excess lines on which the drawing was built.

Step 5. Make the background with a warmly-blue (turquoise) pencil, leave the crystals not painted over (colored pencil).

Step 6. Add the shadows, paint over the dark parts of the picture: buttons, mouth eyes. Outline the contours with a well-sharpened pencil, erase the excess lines (pencil 5B).
[[Collection = 37-piece-white-sketchpad, limit: 4]]
STEPBYSTEP10

 |
Drawing Pencil SetExcellent GIFT IDEA - Non-Toxic and safe, easily portable and made with quality top-notch materials. Basic and innovative drawing supplies come together in NIL Tech set as an exceptional replacement for old-fashioned pencil boxes. The main attraction at any occasion from your drawing enthusiast friends, sketchers, artists to your kids or students boosting their creative projects and enjoy their ear-to-ear smile! |


2 Comments
Very cool character
Muchas gracias. ?Como puedo iniciar sesion?