How to Draw Peaches from The Super Mario Bros. Movie 2023
Jun 03 , 2023
Mario Bros. movie: Peaches
Welcome to this step-by-step drawing tutorial, where we will guide you in creating an adorable and lovable character from the Mario Bros. movie: Peaches! Known for her charm and delightful personality, Peaches is a key figure in the Super Mario franchise and is loved by fans of all ages.
In this tutorial, we will break down the drawing process into easy-to-follow steps, ensuring that artists of all skill levels can join in the fun. Whether you're a beginner or a seasoned artist, we'll provide clear instructions and helpful tips to bring Peaches to life on your paper.
So grab your favorite drawing tools, whether it's pencils, markers, or digital art software, and let's embark on this artistic adventure together. By the end of this tutorial, you'll have your very own Peaches drawing, ready to share with friends, family, or the Mario Bros. fan community.
Remember, drawing is not only about replicating an image but also about expressing your creativity and adding your personal touch. So feel free to experiment, add your own flair, and make Peaches uniquely yours.
Without further ado, let's dive into the world of the Mario Bros. movie and start sketching Peaches from scratch. Get ready to have a "peachy" time as we bring this delightful character to life!
In this tutorial we used the 55 pcs Color Pencil Art Set, following supplies:
- Pencil B
- Colored Pencil:
- Pink
- Yellow
- Red
- Brown
- Blue/Green (use metallic for extra shine on the earings)
Let’s start Drawing Peaches Step by Step
 Step 1. To draw princess Peach, we will use simple shapes.
First, draw a circle for Peach's head. Then, draw a line below the head to create her body. Make the body line twice as long as the circle. Next, draw a line for her shoulders. The shoulder line should go a little past the width of her head. Now, let's draw the top part of her body, which is her chest area. Draw an oval shape that starts from the shoulder line and goes down about one-third of the body line. Now, we'll draw the top part of princess Peach's dress. Imagine a round shape like a ball or a bubble. This shape is called a sphere, but you can think of it as a circle or an oval. Place the sphere on top of her body circle. Make sure it overlaps the top part of her body circle by half. This will create the beautiful top part of her dress!

Step 2. Now, we're going to draw some special lines to help us create princess Peach's face, arms, and dress. These lines are called construction lines.
Since Peach is looking to the left, we'll use curved lines to make her face. First, draw a curved line that goes vertically from the middle of the top of her head circle. This line will help us shape her face. Next, draw another curved line about one-third of the way down from the top of her head. This line will also be curved and will help us with the details of her face. These construction lines will guide us in drawing the different parts of Peach's face. Great job! Now you have the construction lines ready for princess Peach's face, arms, and dress.

Step 3. Great job! We are half way there.
Let's start by outlining princess Peach's hair. Her hair is big and has lots of volume. Draw a wavy line that goes around the top of her head, making sure to add flipped-out ends to show her bouncy hair. In the middle of her forehead, draw a V-shaped bang that falls down. Next, let's draw her crown. The crown should be in the middle of the top of her hair and have three points on the top. It's like a fancy hat! Now, let's draw her ears. They are like half circles on the sides of her head. And don't forget to add small circles for her earrings. They are little round decorations that hang from her ears. Moving on to her dress, the sleeves are poofy. Draw medium-sized circles on her shoulders to show the poofiness. For her gloves, draw a V-shaped top on each hand. We only need to outline her thumb, as it will be visible. Lastly, draw the bottom part of her dress. It should be wavy, like gentle waves at the hem. Great job! Now you know how to draw princess Peach's hair, crown, sleeves, gloves, bottom of the dress, ears, and earrings. Have fun creating your own princess Peach drawing!
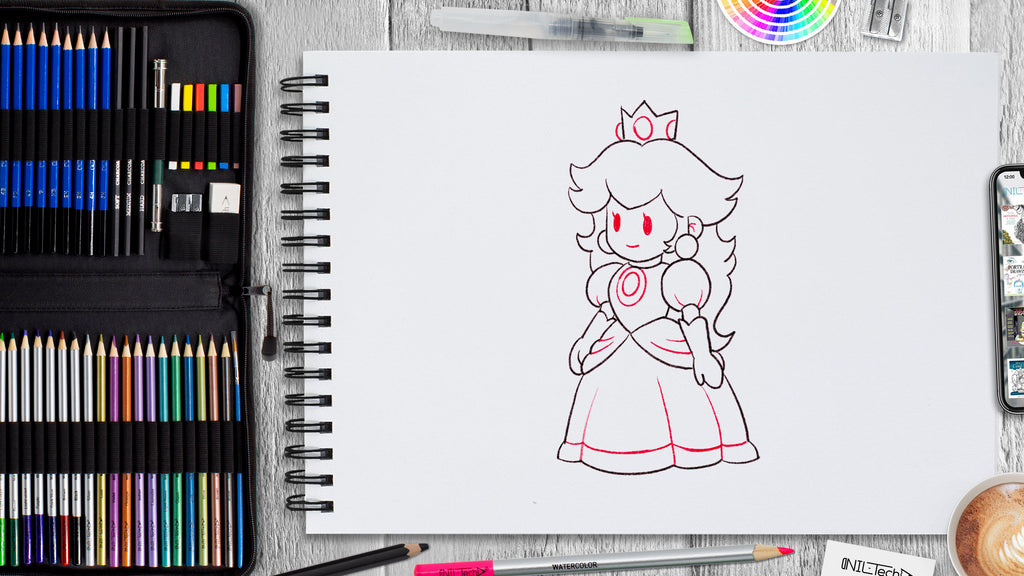
Step 4.Let's continue drawing princess Peach!
Start by drawing ovals for the jewels in her crown. They should be like round shiny gems. Next, draw nice big ovals for her eyes. And don't forget to add some eyelashes! You can draw one swooping line for each eye, or if you want, you can add more eyelashes to make her eyes even more beautiful. For her smile, draw a slightly curved line going upwards. This will show that she is happy. Peaches also wears a necklace with a jewel. Draw a small circle for the jewel itself, and draw a slightly bigger circle to outline the necklace. Now, let's add some lines on her sleeves and dress. These lines will give her clothes more depth and detail. Draw some straight lines on her sleeves and dress to make them look more interesting. Awesome job! Now you have princess Peach's crown, eyes, smile, necklace, sleeves, and dress all drawn with wonderful details. Keep up the great work!

Step 5.Now comes the most exciting part - coloring!
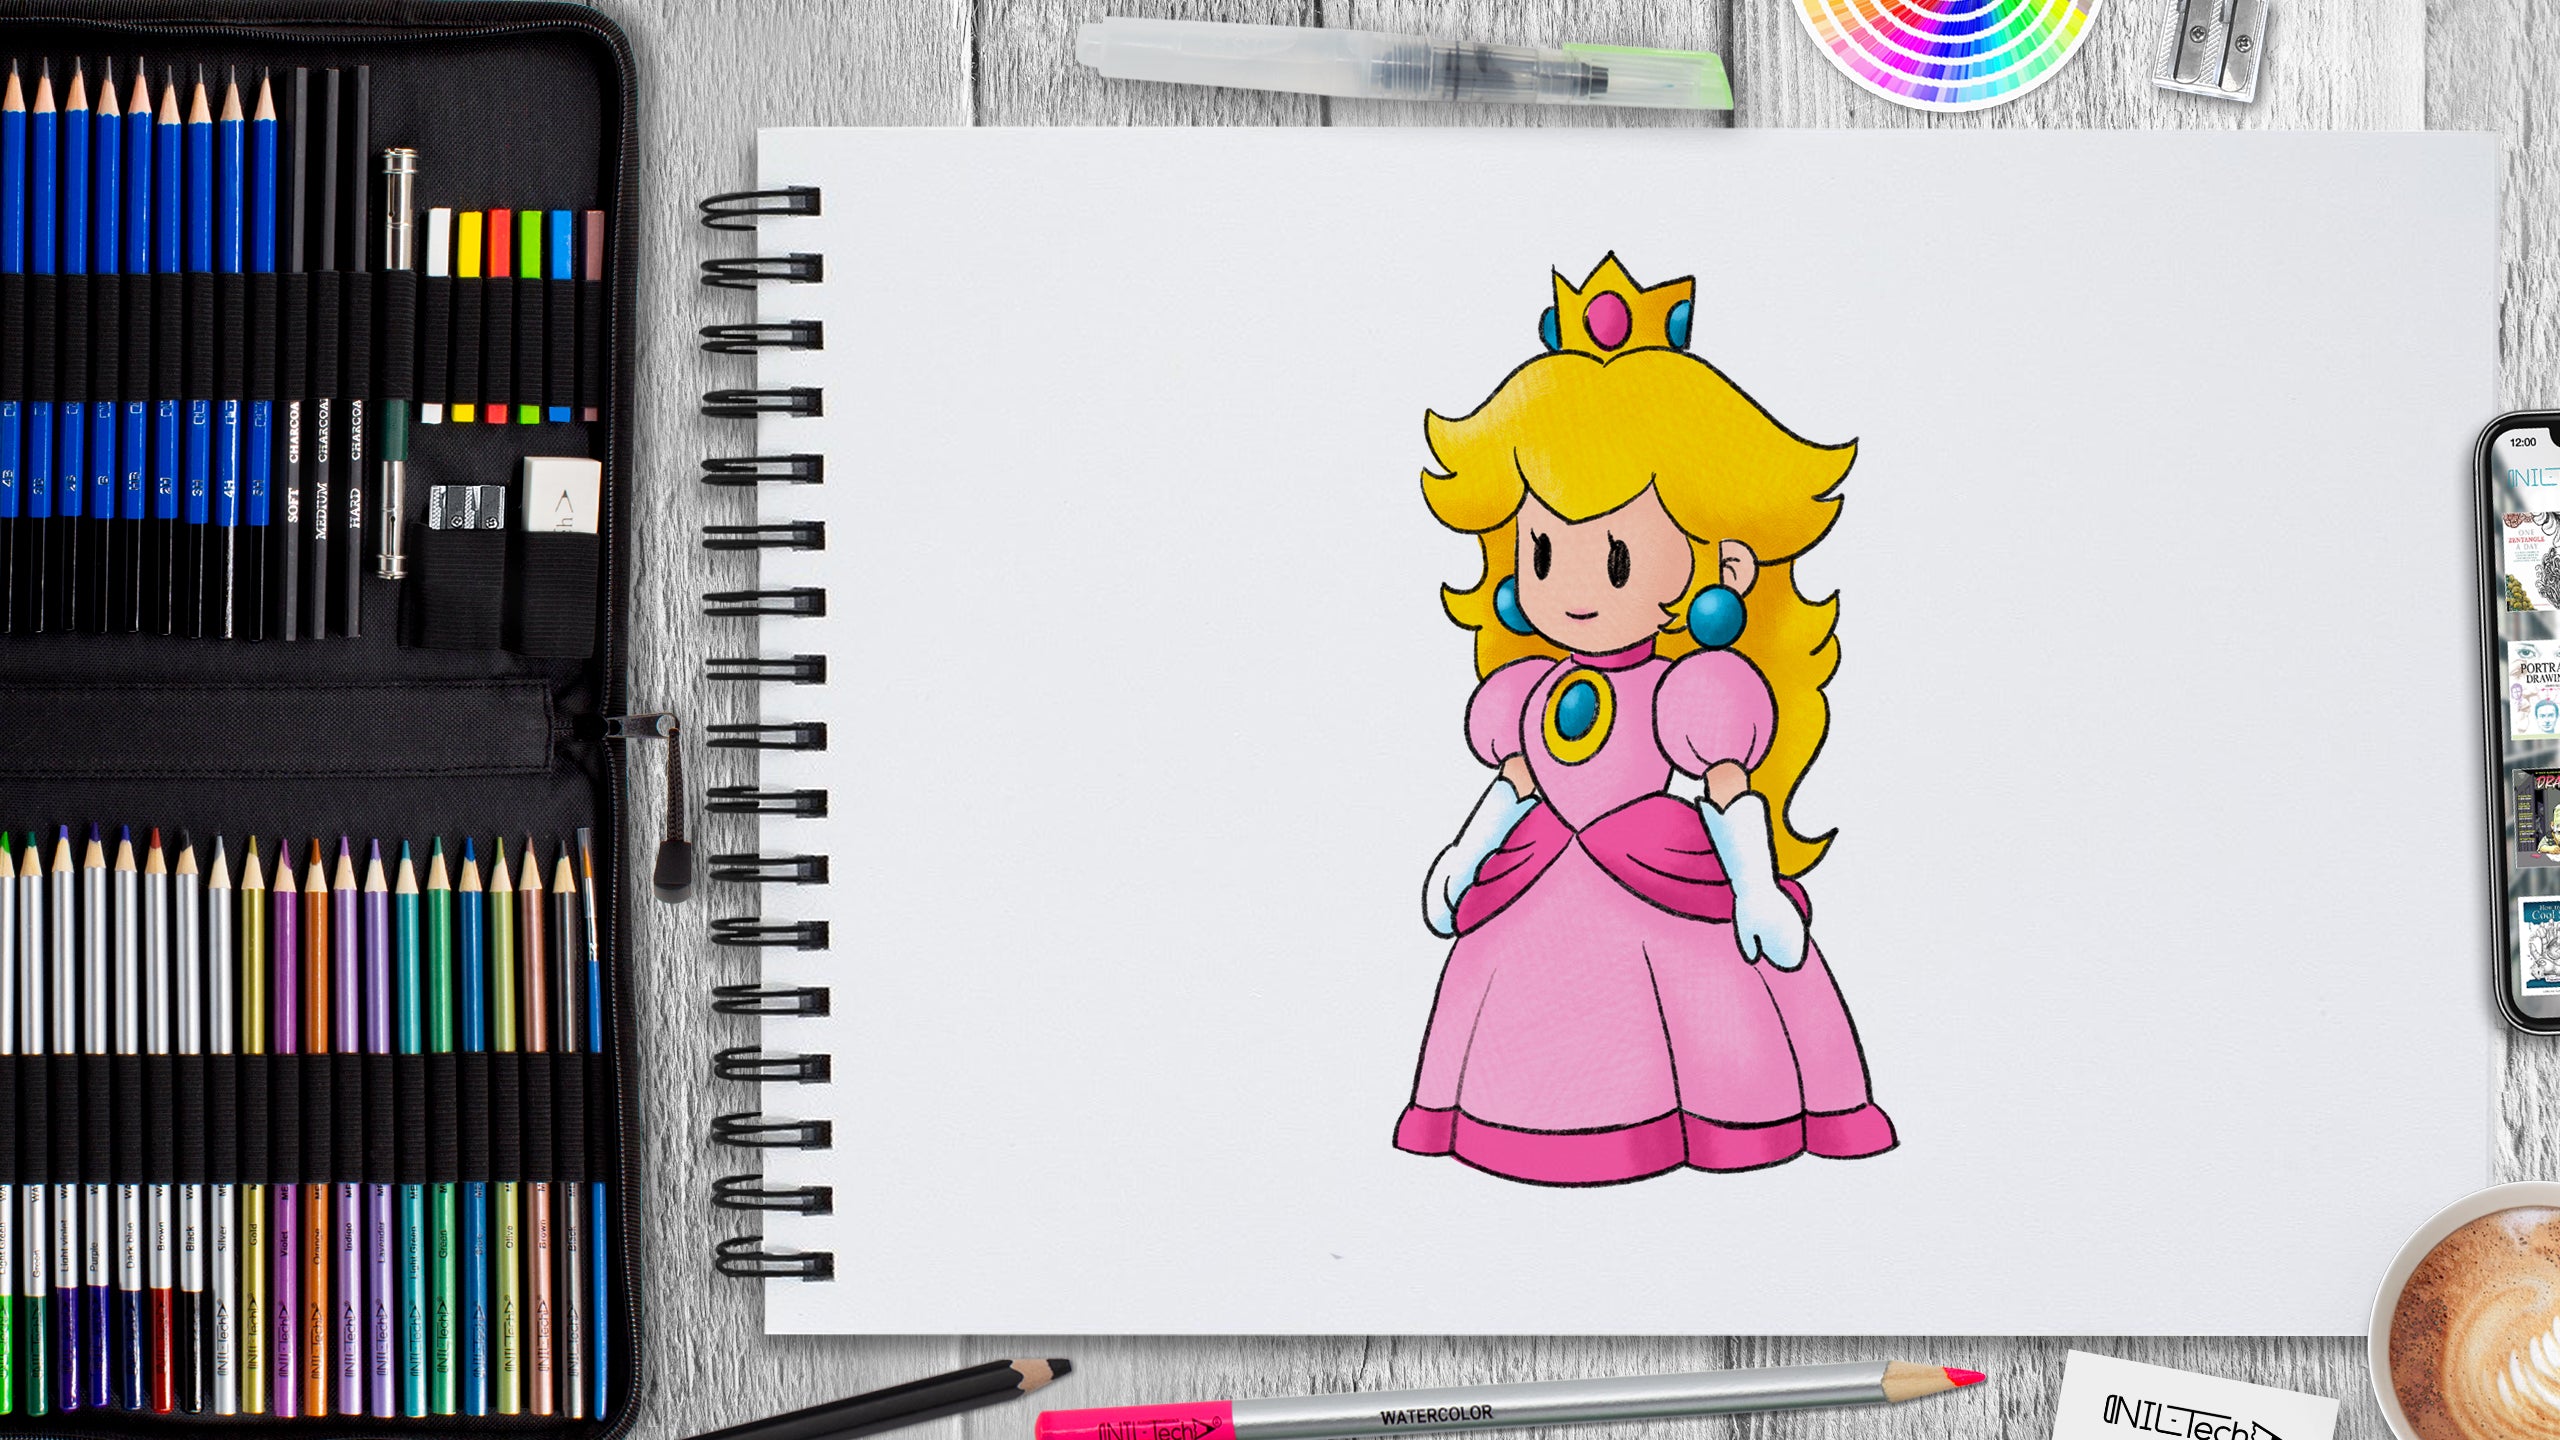
Peaches's jewels are mostly blue, but there's one special jewel in the middle of her crown that's red. You can use regular blue to color the rest of the jewels. If you have a metallic colored pencil set, there might be a blue metallic pencil. Using that on top of the regular blue will make the jewels shine even more! For her hair, use yellow to color it. Then, add a light layer of brown on top of the yellow where the shadows would be. This will give her hair some depth and make it look more realistic. Peaches loves pink, so her dress is mostly pink. You can color the whole dress with pink. To create some darker shades of pink, simply layer more pink on top of the areas where you want it to be darker. This will add some nice detail to her dress. As for her gloves, they are white. You can leave them blank or use a white pencil if you have one in the set you're using. If you don't have a white pencil, leaving them blank will work just fine.
Remember to have fun and be creative. Well done on completing the drawing!
All tools used in this tutorial and more you may find at NIL-Tech Store
Get yours today, and don't forget to you the code WELCOME for a 20%OFF
 |
Drawing Pencil SetExcellent GIFT IDEA - Non-Toxic and safe, easily portable and made with quality top-notch materials. Basic and innovative drawing supplies come together in NIL Tech set as an exceptional replacement for old-fashioned pencil boxes. The main attraction at any occasion from your drawing enthusiast friends, sketchers, artists to your kids or students boosting their creative projects and enjoy their ear-to-ear smile! |


