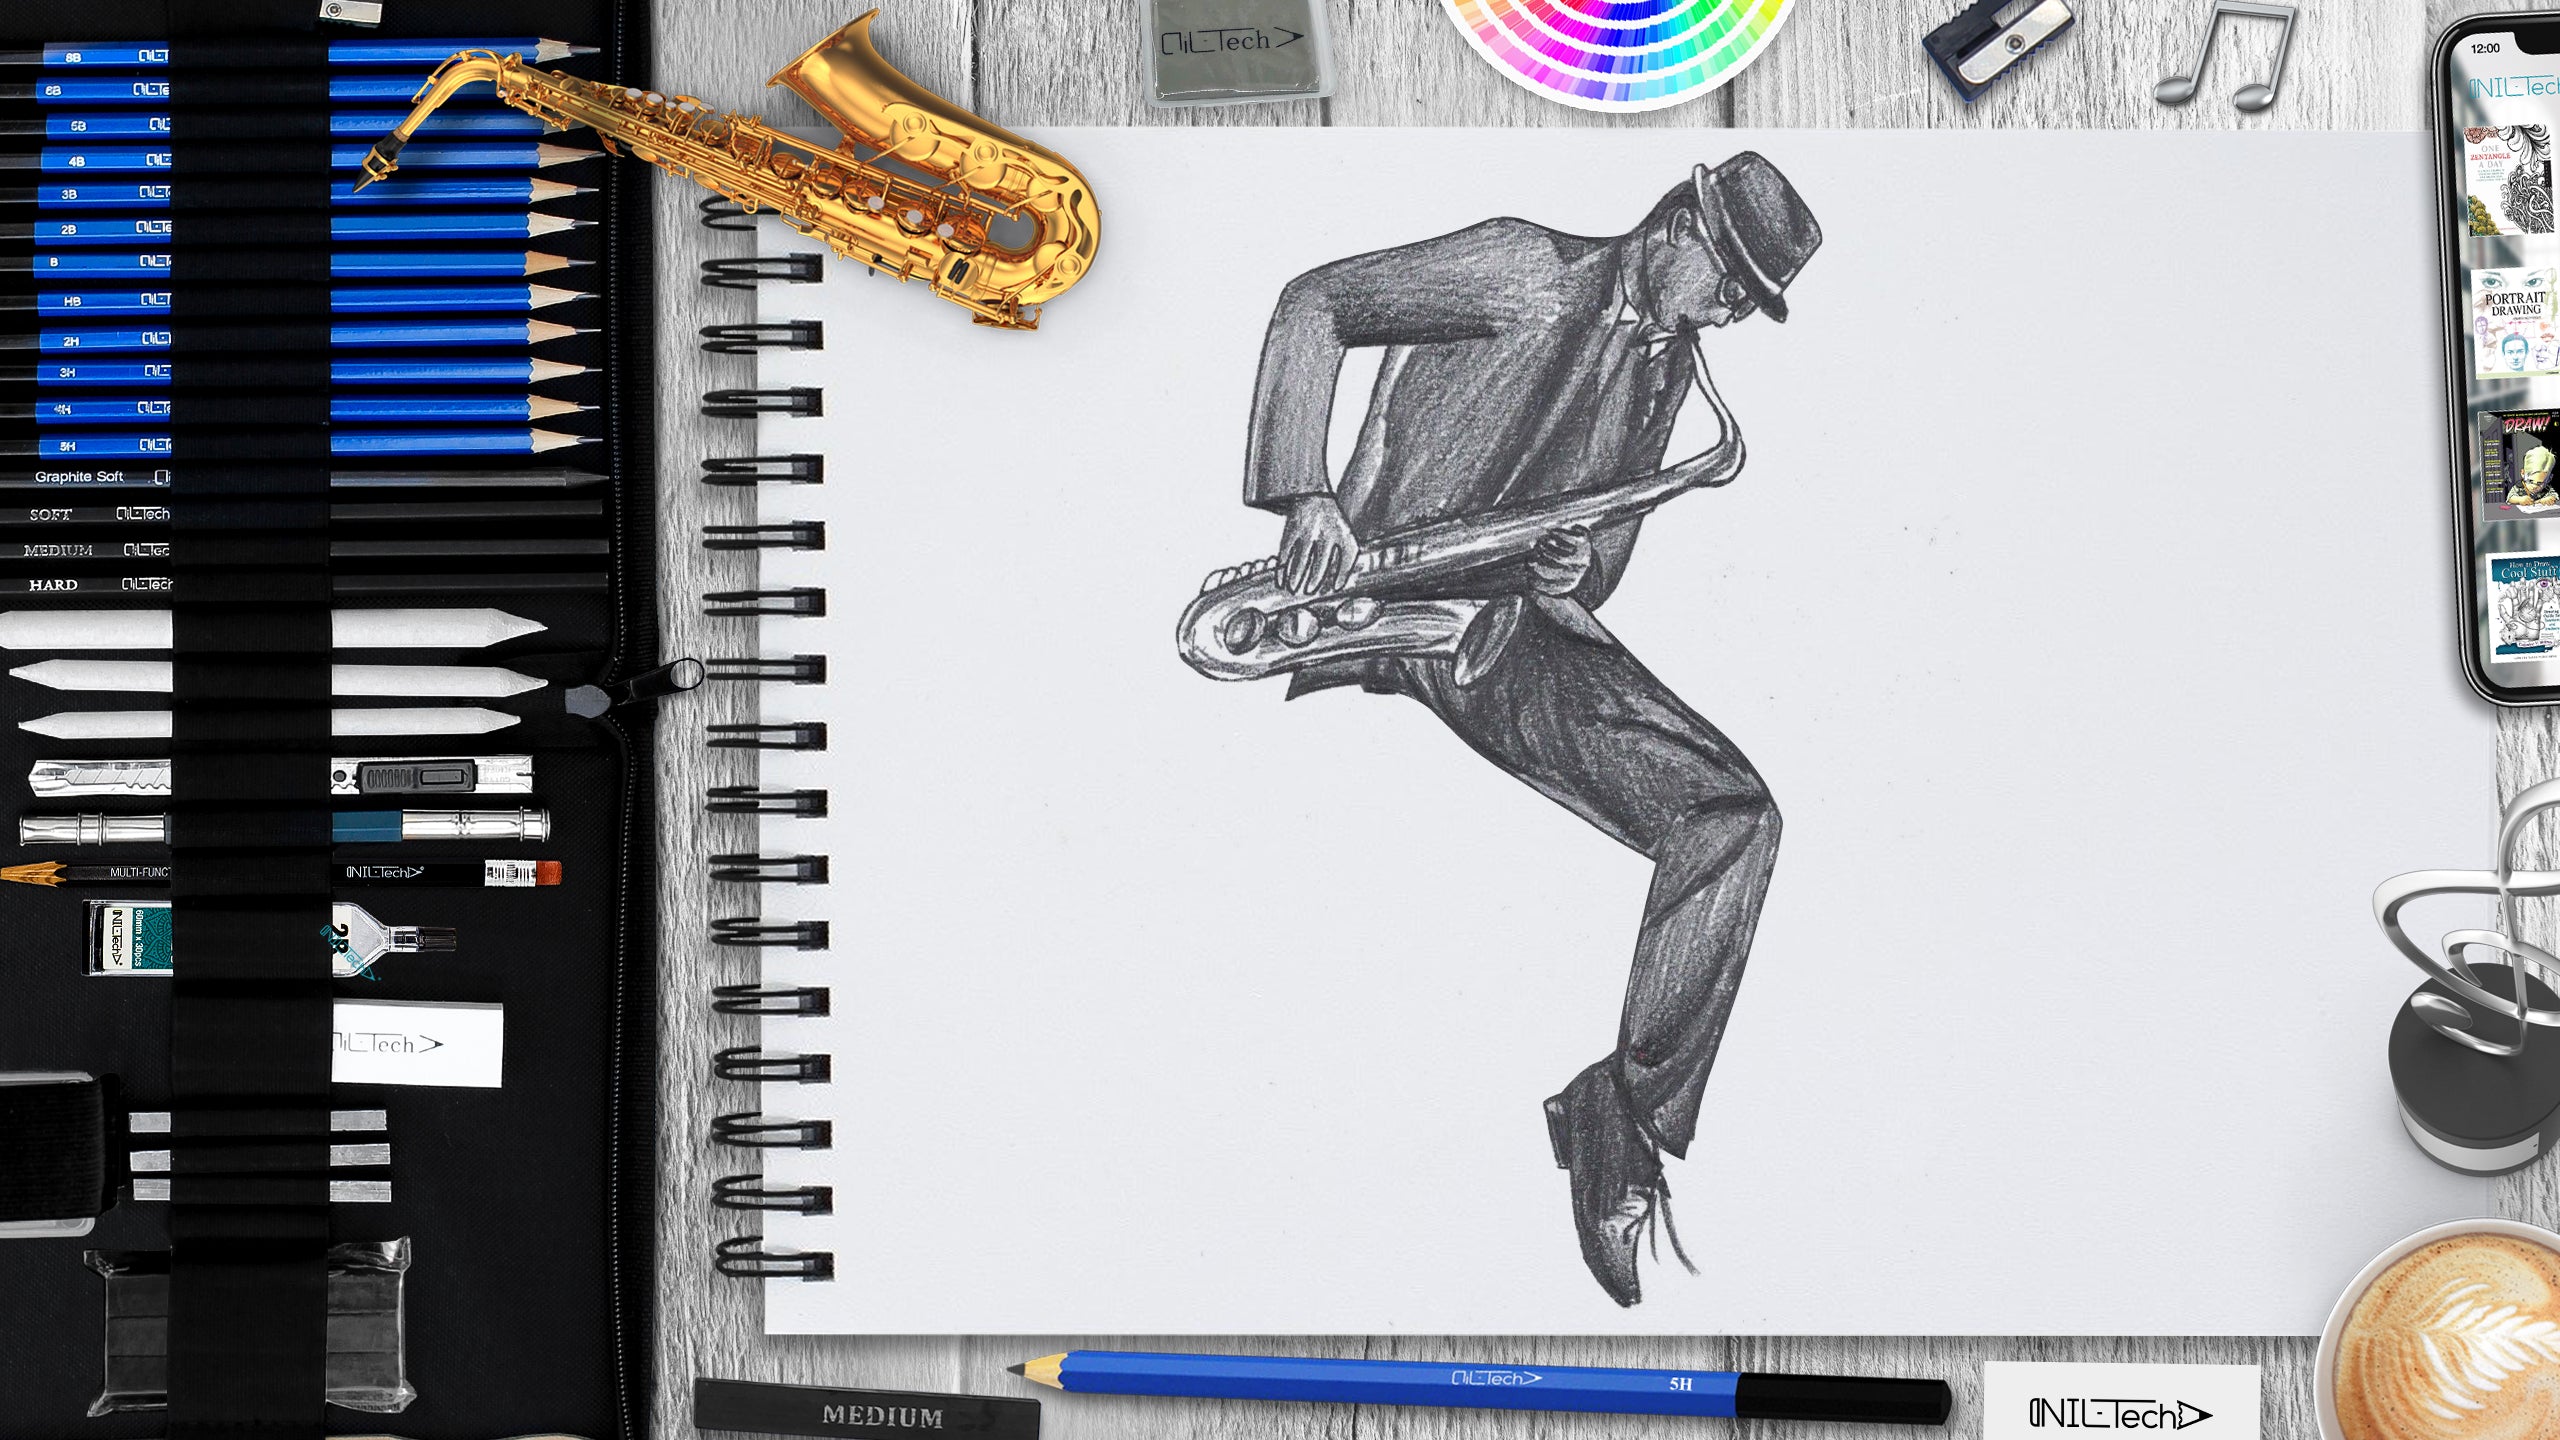
How to Draw Saxophonist Step by Step
Nov 05 , 2019

Hi everybody, and welcome to a new NIL-Tech tutorial: "Saxophone Day". The saxophone has been a star instrument in jazz, big bands, and solo efficiencies. The saxophone Day is celebrated on November 6. Still, very few people know that when the saxophone first appeared in jazz, numerous musicians turned up their noses to it, much like the clarinet. But as the solidity began to diminish, the saxophone ended up being a hit in itself.
Here are some interesting about the Saxophone:
1. Although the saxophone is generally thought of as a jazz instrument, it has been used successfully with symphonic music such as Bizet, Massenet, and Berlioz.
2. There are eight various sizes of saxophones in the sax household. The highest pitched ones are known as the Sopranino and Soprano sax. The more moderately middle toned saxes are the Alto and Tenor, while the lowest-pitched saxs are Baritone Sax, Bass Sax, Contrabass Sax, and Sub-Contrabass Sax.
3. Adolphe Sax moved to Paris in 1842 and registered his invention the saxophone in 1846.
4. It's All About Bringing Balance. Because the saxophone was created to bridge the gap between brass and woodwinds, it plays a vital role in producing tonal balance. Not just blending the different tones of these two groups, but it can also assist in supporting both high and low woodwinds. Due to this degree of adaptability, it plays an essential role as a middle voice in a large ensemble.
5. The mouthpiece of the saxophone was originally made from wood, such as boxwood, and later rosewood and granadilla. There are still some wooden mouthpieces made today. However, they are much less common.
In this tutorial, we used the following supplies:
- B pencil
- 2B pencil
- 3B pencil
- 4B pencil
- 5B pencil
- 2H pencil
- 3H pencil
- 5H pencil
- Blending Stump
- Kneaded Eraser
- White Vinyl Eraser
All tools used in this tutorial and more you may find at our Store.
Get yours today, here is a coupon for 10% off STEPBYSTEP10
Let's start making a Saxophonist drawing step by step!

Step 1. Draw the centerline of the saxophonist's body with points on the joints (pencil 5H).

Step 2. Draw the axial lines of the hands with points on the bends. Draw the line of the shoulders, the upper and lower lines of the head. It should be about 3/4 of the top part of the centerline from the neck to the crown of the head (pencil 5H).

Step 3. Draw the contours of the head, circles on the elbow, and knee bend. The circle on the knee should be larger than the one on the elbow (pencil 2H). Also, draw the outlines of a saxophone and boot (pencil B).

Step 4. Draw the contours of the trousers, jacket, hat, glasses, and nose (pencil 2B). Draw the contours of the hands (pencil 5H).

Step 5. Draw the details - fingers and a boot, trousers, saxophone buttons, and a shirt. Draw the ear, nose, and rims of the glasses on the face (pencil 3B).

Step 6. Erase excess lines (eraser). Brush off the lumps from the eraser. If you accidentally erased a line, draw it with pencil 3B.

Step 7. Complete drawing with details - the bow of the glasses, the strip on the hat, the folds on the trousers. Draw the elements on the saxophone, the details of the jacket (pencil 4B).

Step 8. Hatch the fingers and head (pencil 3H). Hatch the saxophone with lines, leaving white gaps (pencil 4B).

Step 9. Hatch the clothes, shoes, and hat with dark tones, but with the pressure of different strengths - on the folds, it's more intense, on smooth surfaces weaker (pencil 5B).

 |
Drawing Pencil SetExcellent GIFT IDEA - Non-Toxic and safe, easily portable and made with quality top-notch materials. Basic and innovative drawing supplies come together in NIL Tech set as an exceptional replacement for old-fashioned pencil boxes. The main attraction at any occasion from your drawing enthusiast friends, sketchers, artists to your kids or students boosting their creative projects and enjoy their ear-to-ear smile! |


