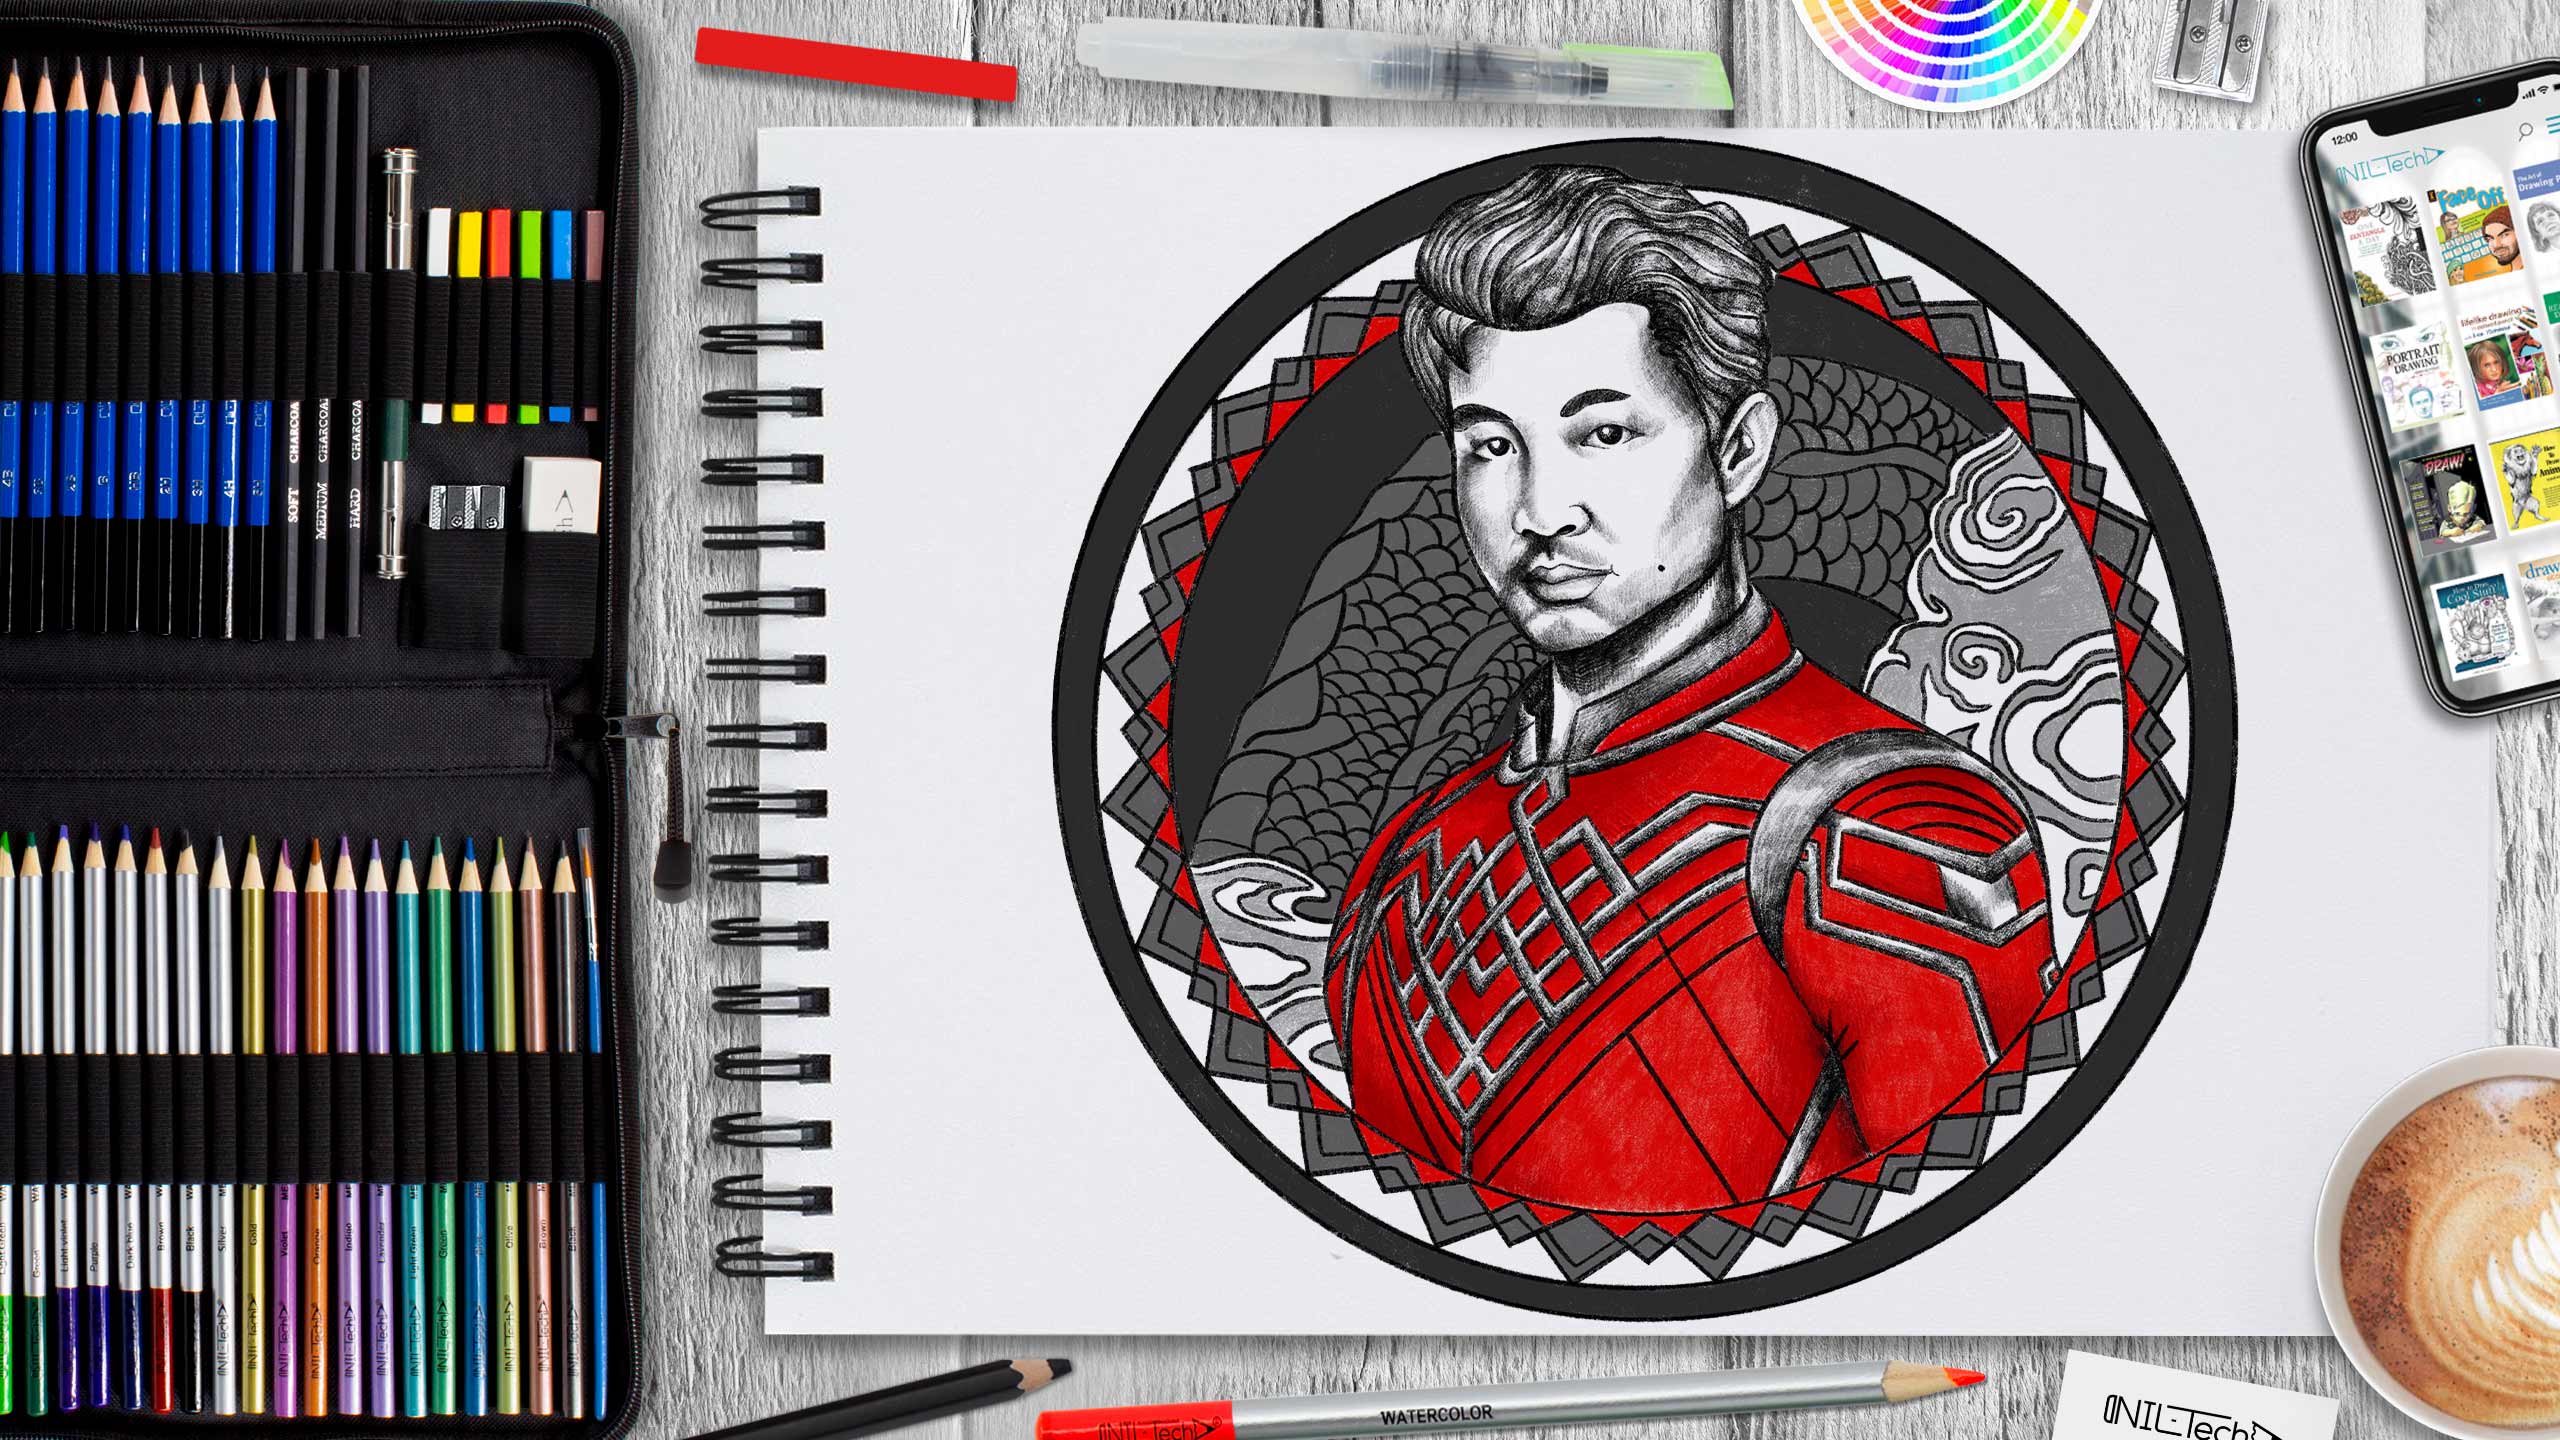
How to Draw Shang-Chi and the Legend of the Ten Rings
Oct 20 , 2021

Marvel Studios' "Shang-Chi and The Legend of The Ten Rings" stars Simu Liu as Shang-Chi; he needed to confront the past he believed he left behind when he was drawn right into the web of the strange Ten Rings organization. The film likewise stars Tony Leung as Wenwu, Awkwafina as Shang-Chi's close friend Katy, Michelle Yeoh as Jiang Nan, and Fala Chen, Meng'er Zhang Florian Munteanu, and Ronny Chieng.
Facts you might not know about the movie Shang-Chi:
1. Simu Liu, when cast as Shang-Chi, was knowledgeable in taekwondo, gymnastics, and Wing Chun. For his role as the Master of Kung Fu, Liu trained in tai chi, wushu, Muay Thai, pencak silat, Krav Maga, jiu-jitsu, boxing, and street fighting.
2. In the late 1980s Stan Lee had considered a film/TV series about Shang-Chi, and had in mind Brandon Lee, son of martial arts superstar Bruce Lee, for the role. Shang-Chi was visually based on Bruce Lee, so Brandon seemed a fitting choice, but the plan fell through.
3. Tony Chiu-Wai Leung trained for the role of the Mandarin, even though Destin Daniel Cretton said he didn't need to do so since much of the action would involve the rings and computer-generated imagery.
4. When Shang-Chi is asked to fight in the arena shirtless, it is a nod to his debut comic where he would appear shirtless throughout his early comic book run. This was in itself an homage to Bruce Lee movies where Lee often fought shirtless.
5. The symbols in the Ten Rings logo are Chinese characters: "quan" (authority), "li" (power), "zhuang" (strong), "wei" (extraordinary), "jie" (outstanding), "shi" (influential), "hong" (grand), "xiong" (mighty), qiang" (strength) and "wei" (dominant).
Let’s start Drawing Shang-Chi Step by Step
In this tutorial we used the following supplies:
- Pencil B
- Pencil 2B
- Pencil 3B
- Pencil 4B
- Colored Pencil
- red
- burgundy
STEPBYSTEP10

Step 1. We begin the drawing with construction, for this, using lines and circles, we outline the head, the middle line, and the line of the shoulders. (Pencil B)

Step 2. Next, we move on to drawing the form. Draw the shape of the hair, head, and body, as well as add circles and lines of the face. (Pencil B)

Step 3. Go to the detailed drawing of the suit and add clouds in the background. (Pencil B)

Step 4. Drawing a face based on the construction line, also push in strands of hair and patterns on the background. (Pencil B)

Step 5. Remove all unnecessary construction lines and add the remaining details in the background. (Pencil B)

Step 6. We proceed to work on the head, for this, we use a pencil with great softness and begin to hatch. We apply strokes in shape and follow the rules of chiaroscuro. (Pencil 4B)

Step 7. Next, we move on to the suit. We do the details with a soft pencil, and the rest with the help of red and shade for burgundy. (Pencil 4B, colored pencils red, burgundy)

Step 8. Next, use pencils with softness B and shade the details on the clouds, and with a 2B pencil, we shade the details on the circle and the snake. (Pencils 2B, B)

Step 9. In the last step using the 3B pencil, paint over the rest of the background and the pattern on the circle with a red pencil. (Pencil 3B, colored pencil red)
STEPBYSTEP10
 |
Drawing Pencil SetExcellent GIFT IDEA - Non-Toxic and safe, easily portable and made with quality top-notch materials. Basic and innovative drawing supplies come together in NIL Tech set as an exceptional replacement for old-fashioned pencil boxes. The main attraction at any occasion from your drawing enthusiast friends, sketchers, artists to your kids or students boosting their creative projects and enjoy their ear-to-ear smile! |


