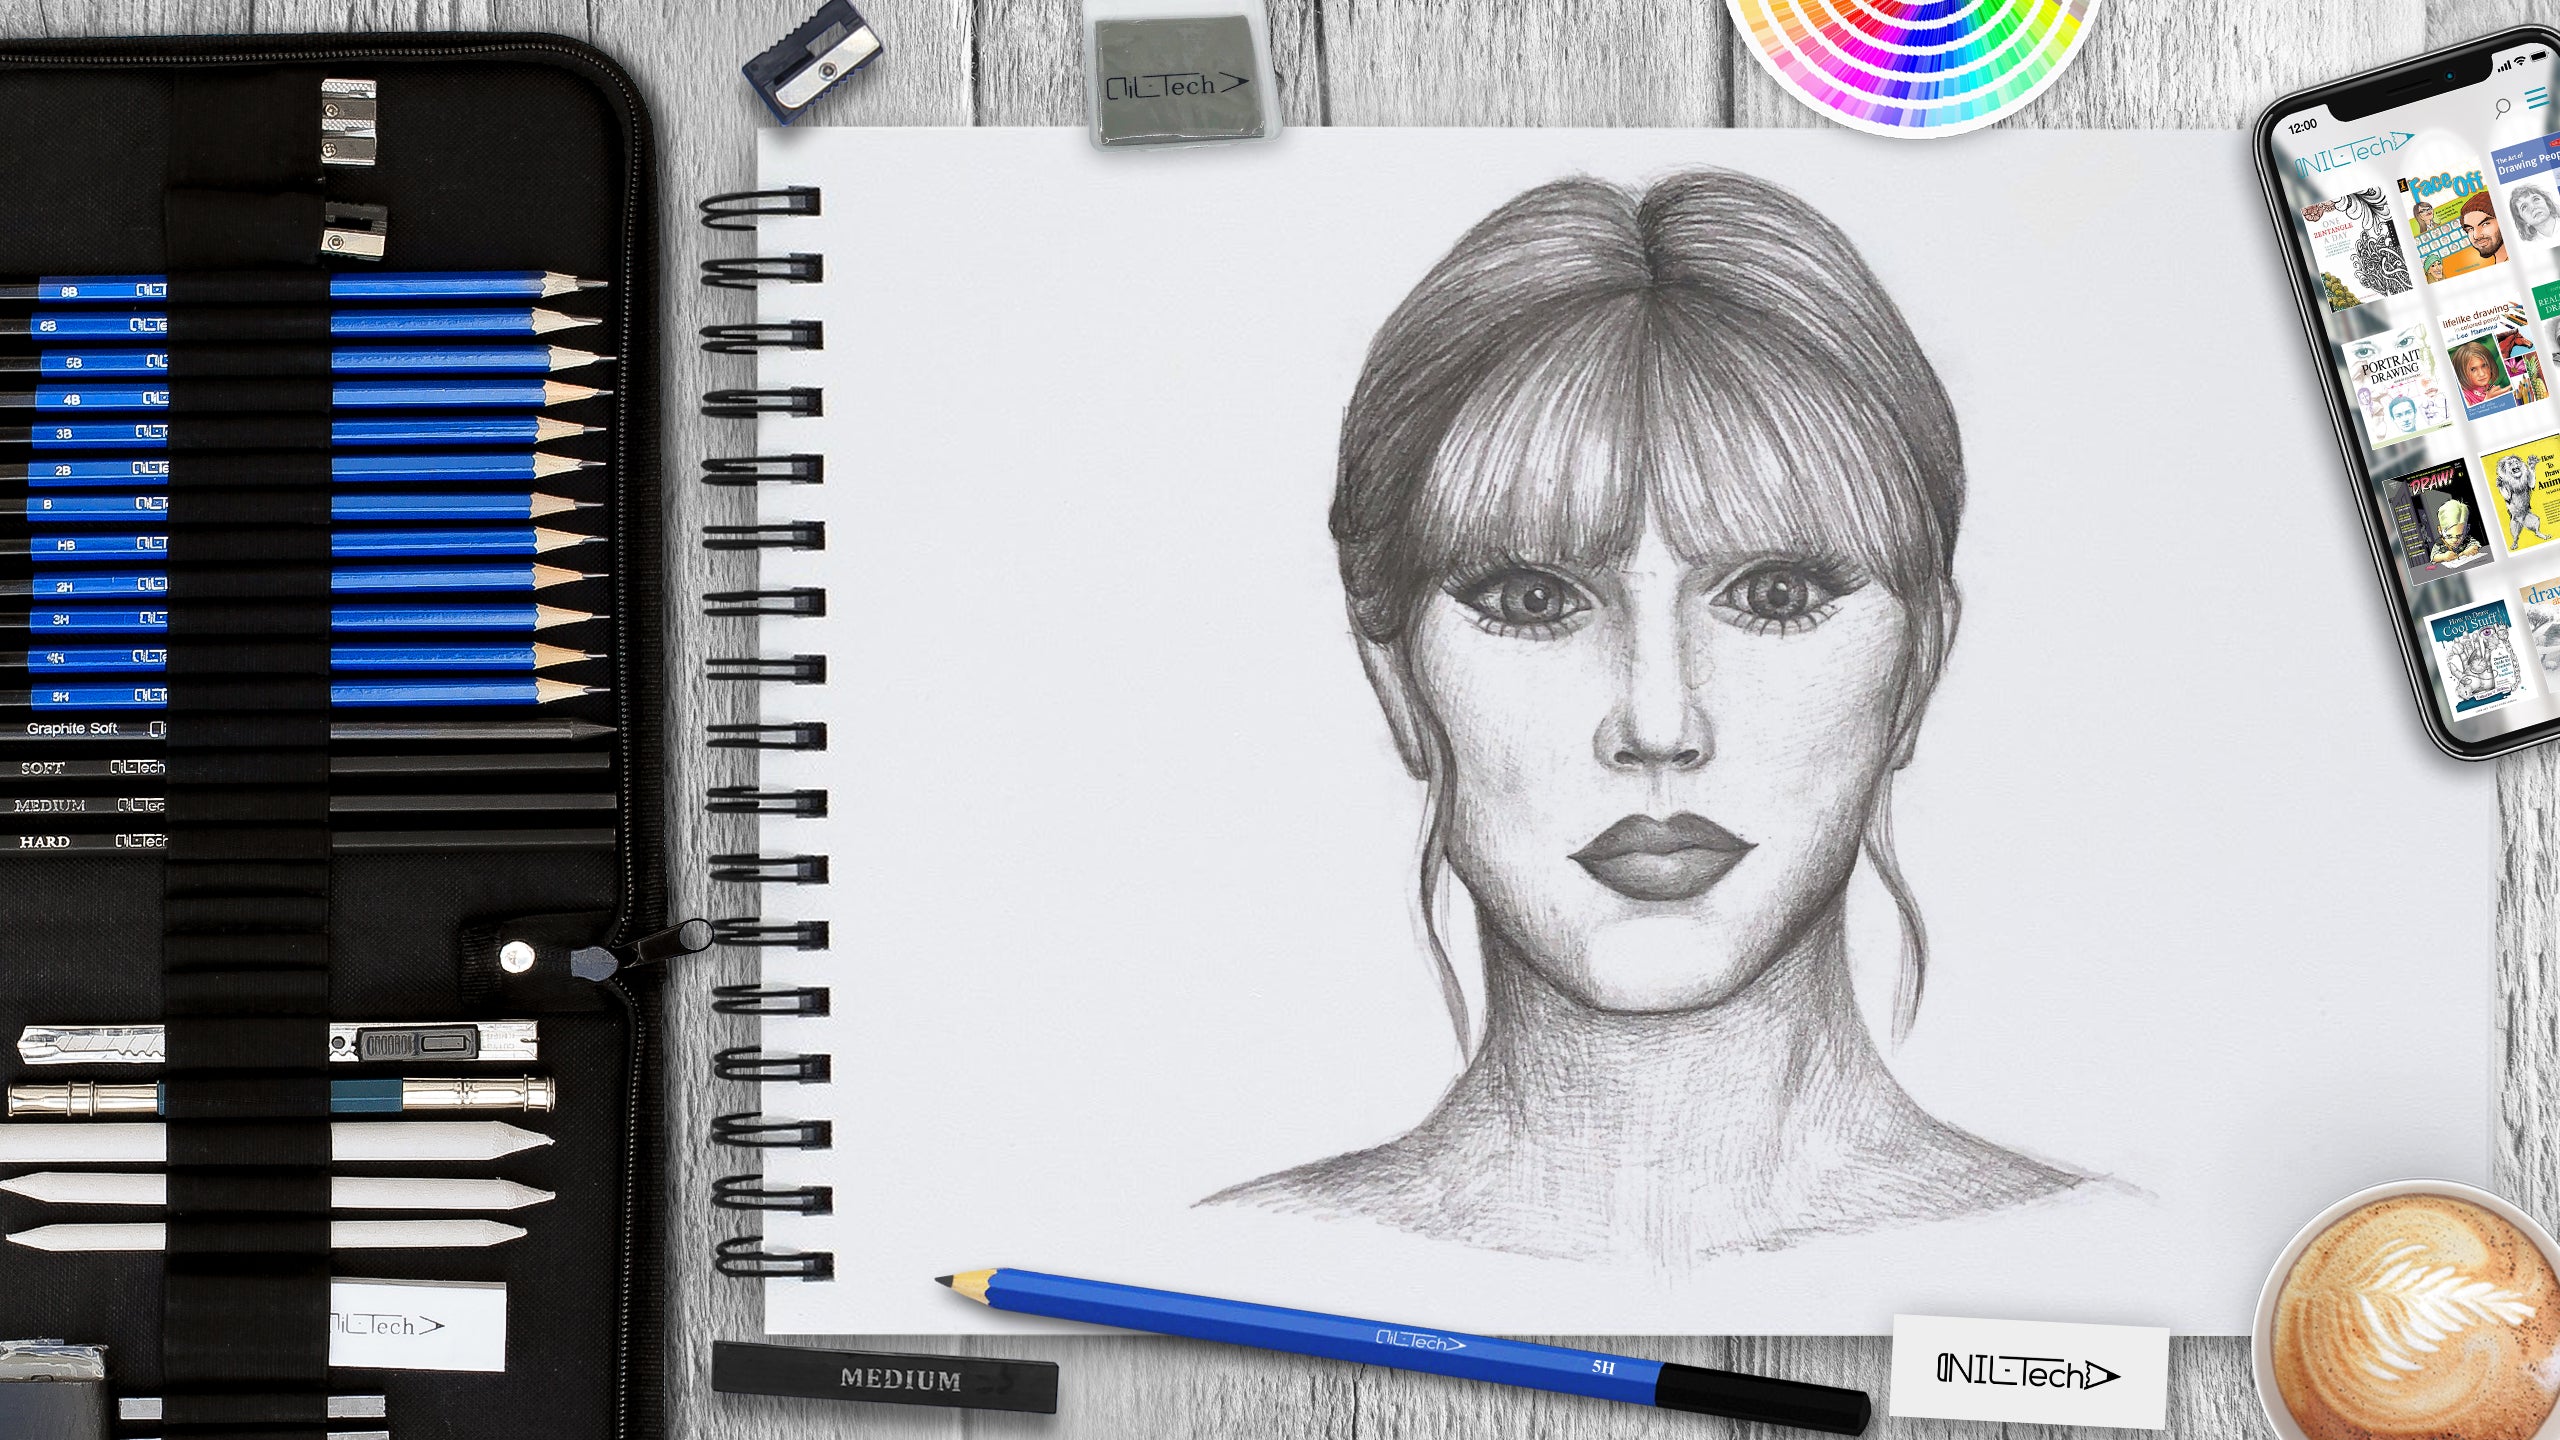
How to Draw Taylor Swift
Jan 21 , 2021

Hi everybody, welcome to a new NIL-Tech drawing tutorial: "Taylor Swift". Taylor Swift is a pop as well as country musician. She has won several Grammy Awards. One of them being Album of the Year, for Fearless. She is among the most popular musicians worldwide today.
Here are some fascinating facts about Taylor Swift:
1. At age 11, she performed the 'The Star-Spangled Banner' at the Philadelphia 76ers game.
2. At age 12, a computer service technician taught Taylor how to play 3 chords on the guitar, which motivated her to learn how to play the guitar and also begin song-writing. Her initial tune was called 'Fortunate You'.
3. Taylor created a 350 page story when she was 12, which thus far, has never been published.
4. Taylor Swift is exceptionally skilled, she can play the guitar, piano, ukulele, electric guitar, as well as the banjo!
5. She is also a skilled painter.
6. One of her favorite accessories is a set of cowboy boots.
Let's draw 'Taylor Swift' step by step
In this tutorial, we used the following supplies:
- Pencil B
- Pencil 4B
- Pencil 3B
- Pencil 5B
STEPBYSTEP10

Step 1. We start building the head's shape, for this we draw a circle, and then add the shape of the lower human jaw and draw a midline. (Pencil B)

Step 2. Divide the head into the 3 parts. The first line is the beginning of the sprig, the second line of the eyes, the third end of the nose. Also add the lines of the neck and shoulders. (Pencil B)

Step 3. Begin drawing the face and drawing the nose. Next, using the circles, mark the location of the eyes (the distance between the eyes should be equal to the width of the eyes). Draw the lip line to mark their shape using the circles. (Pencil B)

Step 4. Draw the eyes around the circles, also draw the shape of the lips, ears, chin and lip groove. (Pencil B)

Step 5. Remove the unnecessary construction lines, make the contour a little bit and add the hair with a touch. (Pencil B)

Step 6. Start shading the walls of the face. Shade the shape to convey the volume and use a soft pencil for this pain. (Pencil 4B)

Step 7. The next step is to go to the shading of the eyes of the lips. The lips will be darker as they are painted. Also add thin skin. (Pencil B, 3B)

Step 8. Start to shade the hair for this use an even more soft pencil. Use the shading to repeat the structure of the hair. (Pencil 5B)

Step 9.The last step is to shade the neck and use a soft pencil for it. (Pencil 4B)
STEPBYSTEP10
 |
Drawing Pencil SetExcellent GIFT IDEA - Non-Toxic and safe, easily portable and made with quality top-notch materials. Basic and innovative drawing supplies come together in NIL Tech set as an exceptional replacement for old-fashioned pencil boxes. The main attraction at any occasion from your drawing enthusiast friends, sketchers, artists to your kids or students boosting their creative projects and enjoy their ear-to-ear smile! |


