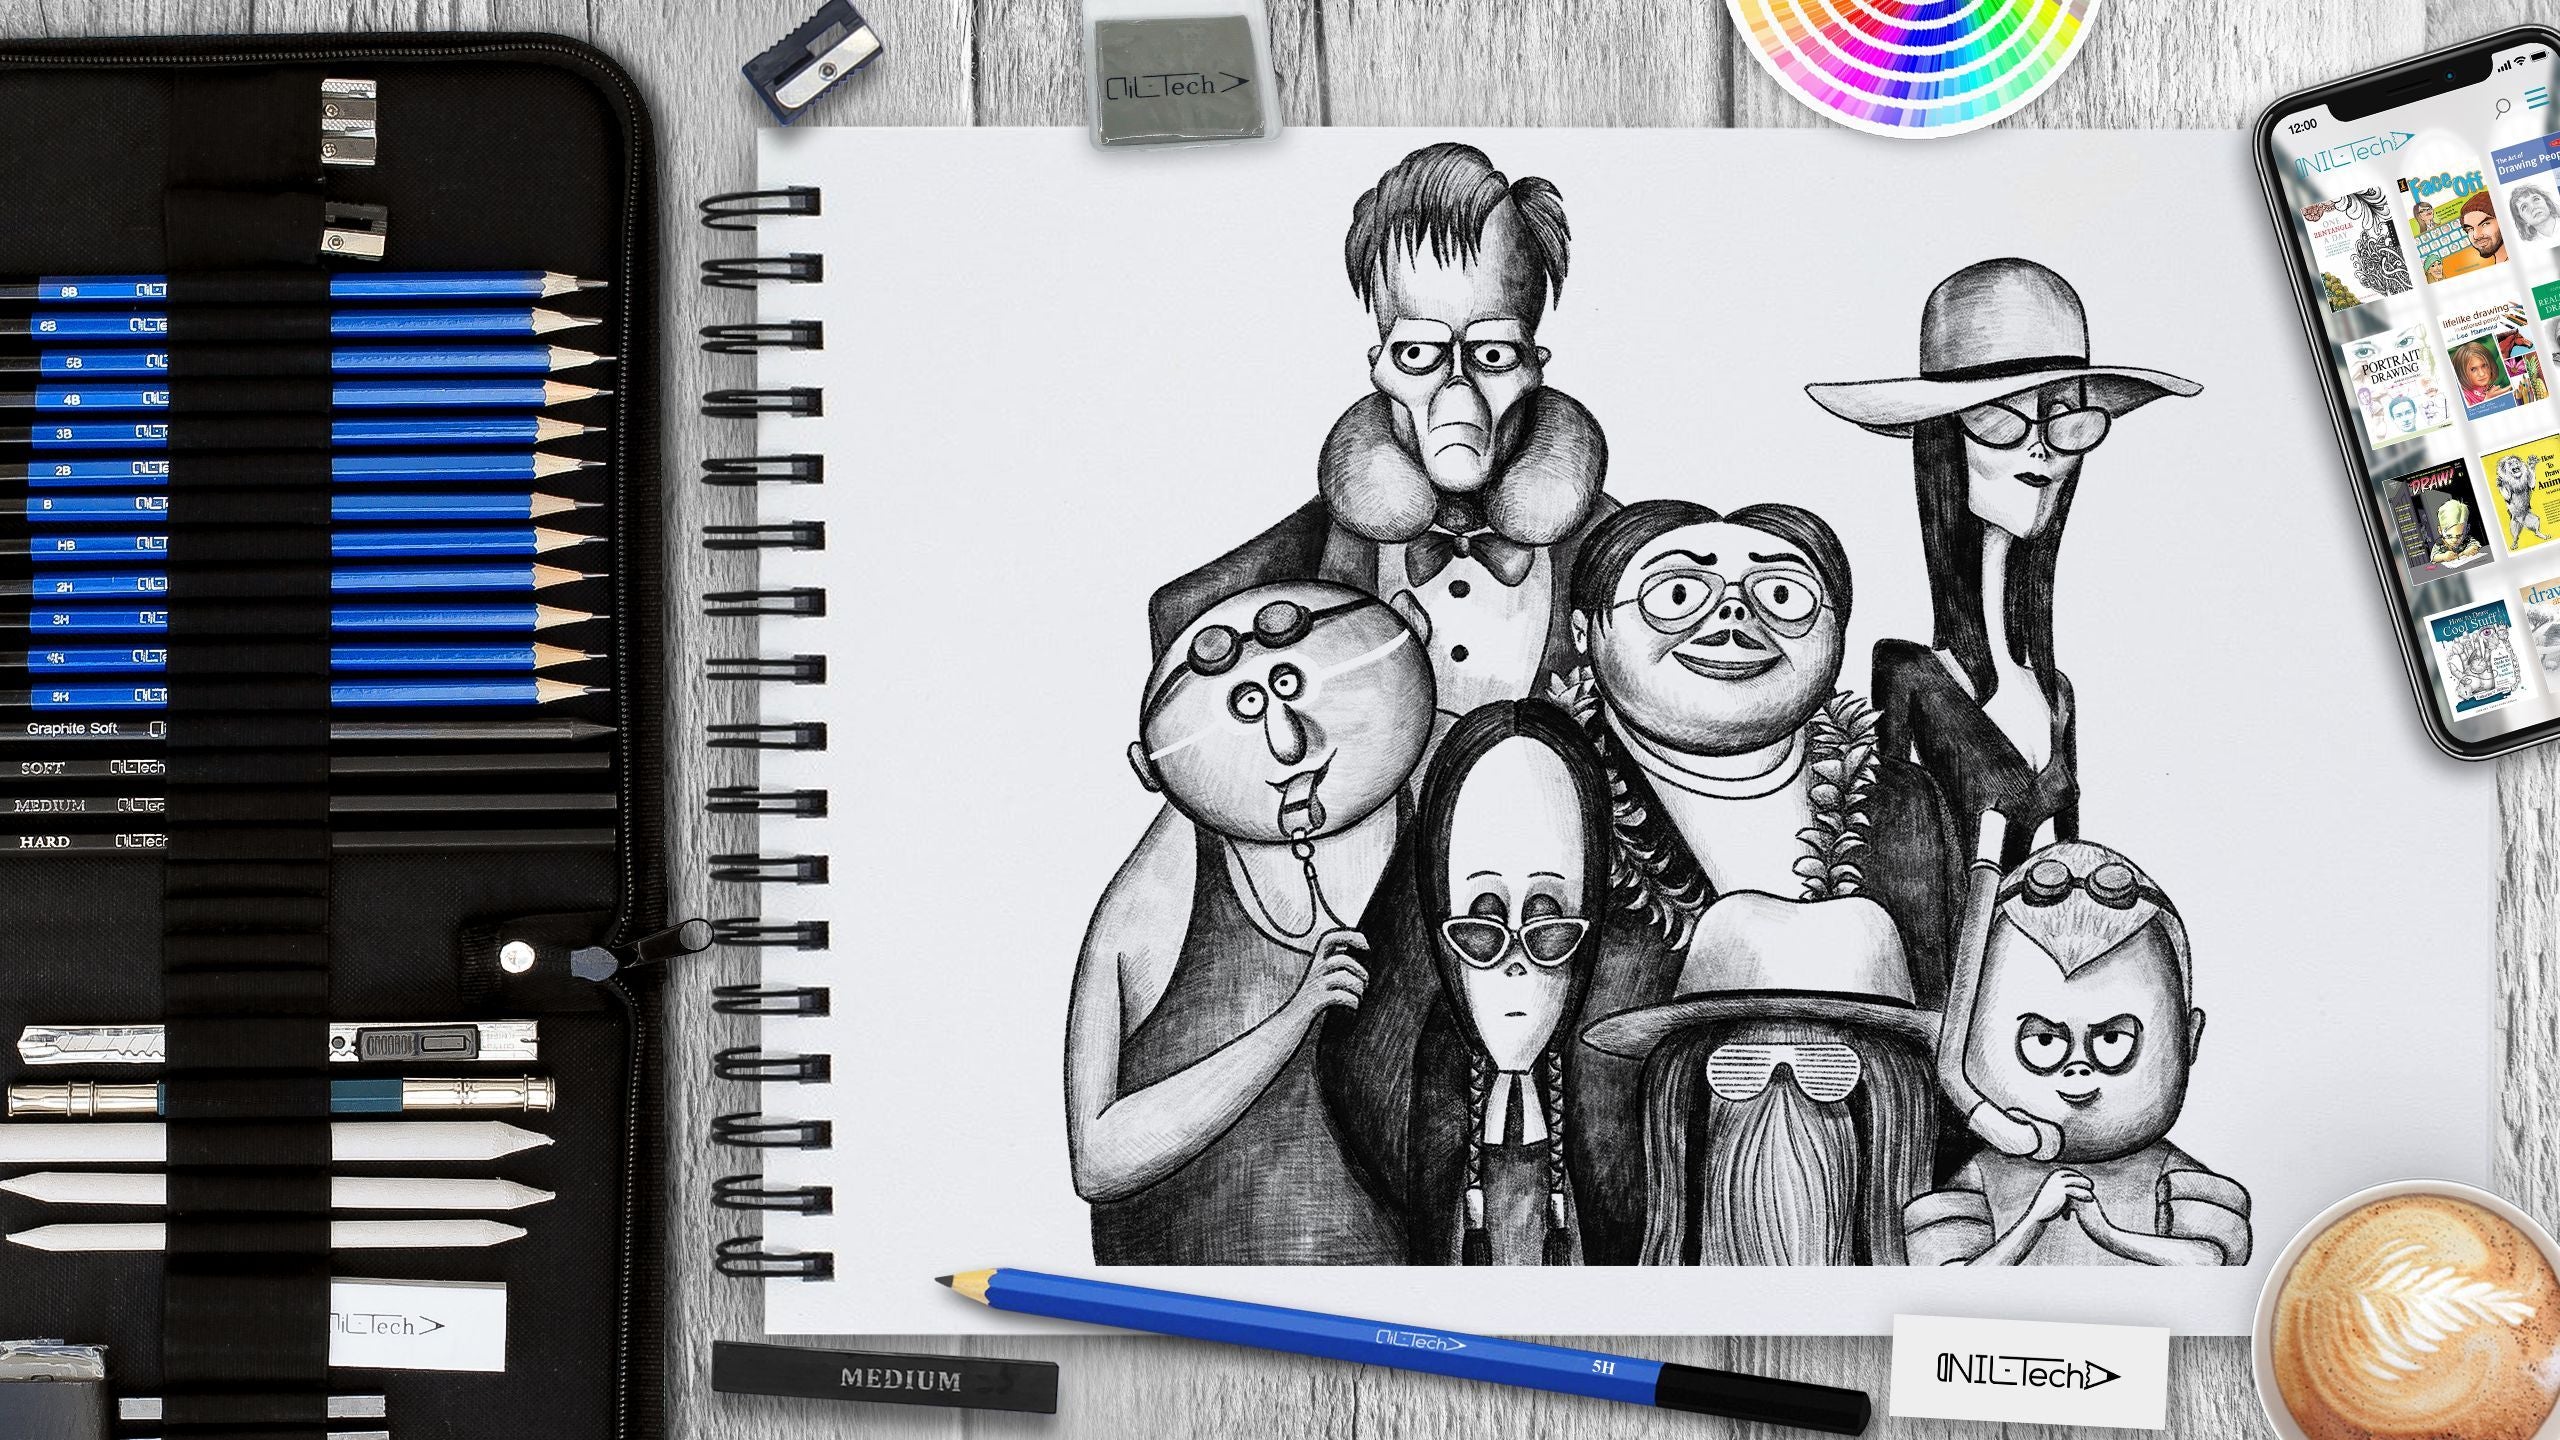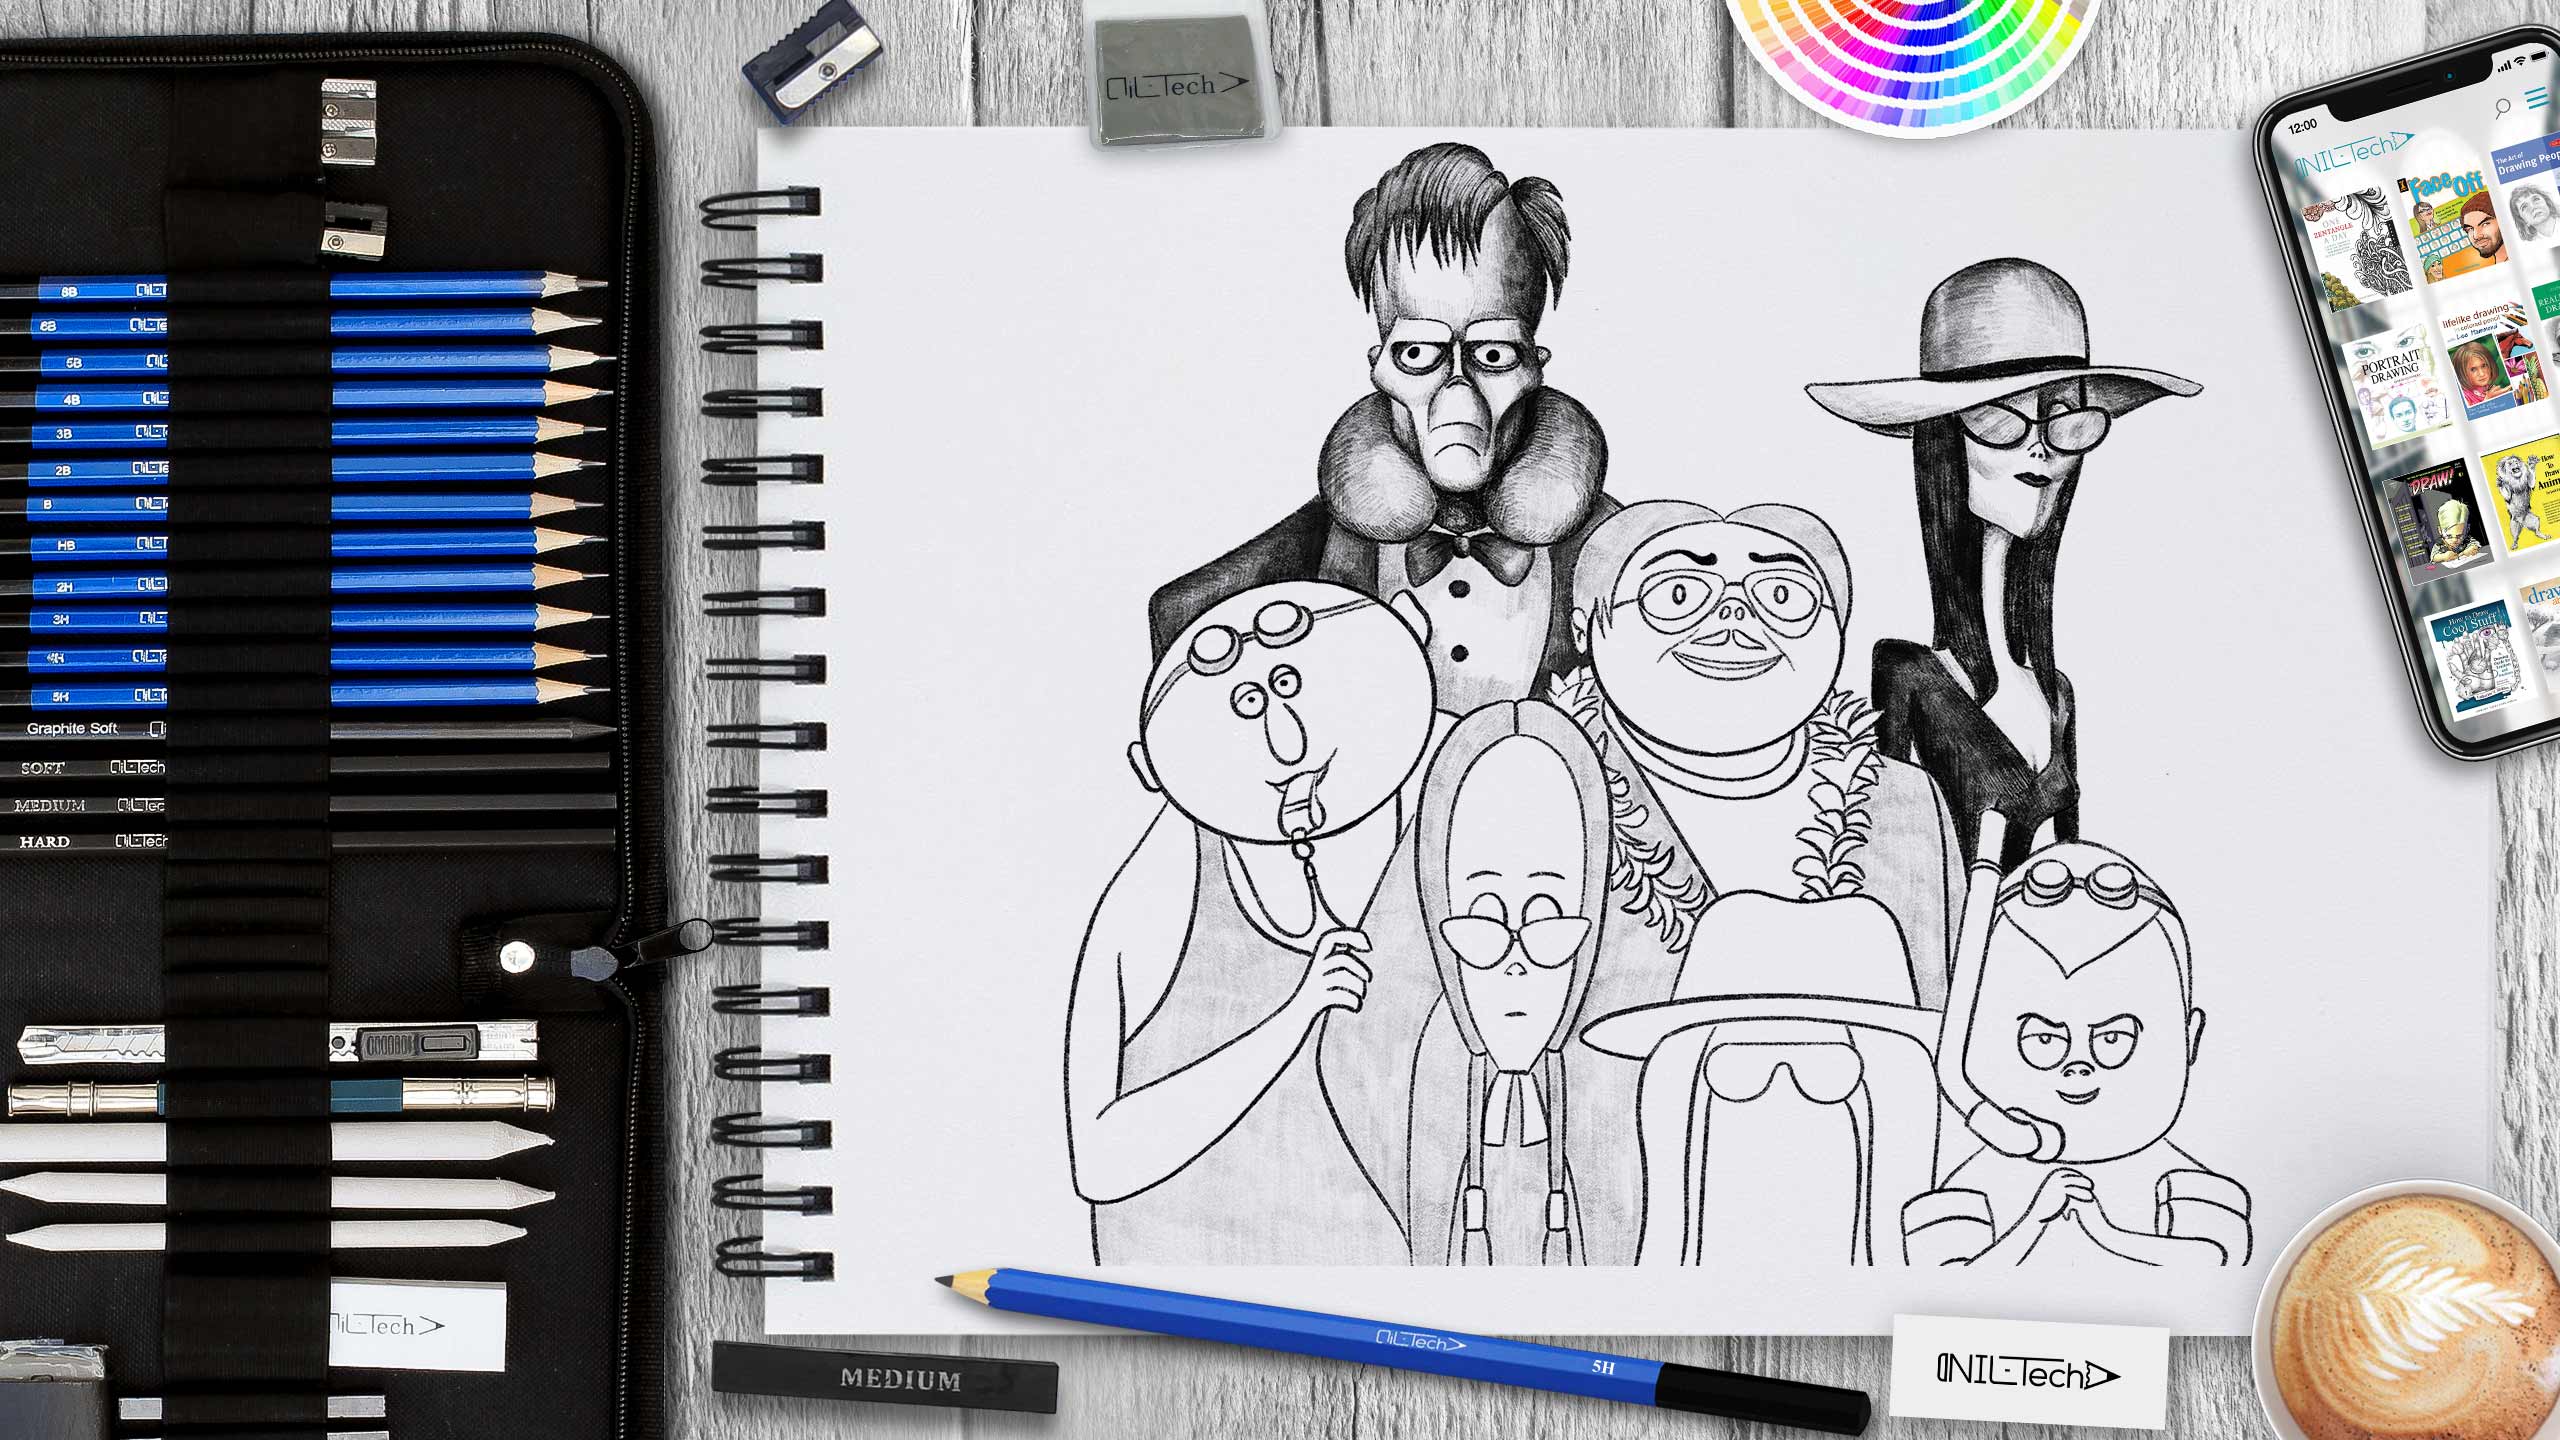
How to Draw The Addams Family 2
Sep 23 , 2021

Everybody's favorite spooky family is back in the animated comedy sequel, The Addams Family 2. In this all-new movie, we find Morticia and Gomez anxious that their young kids are growing up, missing family dinners, and cough up with "scream time." To reclaim their bond, they decide to cram Wednesday, Pugsley, Uncle Fester, and the crew into their haunted camper and hit the road for one last miserable family getaway. Unfortunately, their adventure across America takes them out of their element and unto hilarious run-ins with their iconic cousin, IT, and lots of new bizarre characters. What could possibly go wrong?
Fun Facts about The Addams Family:
1. Lurch Was Supposed To Be Mute
Initially, Lurch wasn't supposed to have any dialogue. Nonetheless, when Ted Cassidy ad-libbed the renowned "You rang?" line, and the target market erupted with laughter, the writers provided him a lot more lines.
2. John Astin's Pockets Were Lined With Asbestos
Gomez was known to put his lit cigars into his coat pocket. The prop division's remedy was to line the pockets with asbestos, which operated as a fire retardant.
3. Teenage Girls Thought Lurch Was Cuter Than The Beatles
Ted used to get fan letters from teenage girls who were fascinated with him and his character. But, of course, this was at the height of Beatlemania, so saying that he was even cuter than those four rock-star Brits was quite the lofty claim!
4. Jackie Coogan Practically Had Not Been Uncle Fester
After his first audition, Jackie was rejected for the part of Uncle Fester. Nonetheless, he desired it so badly that he went home, shaved his head, did his own Uncle Fester makeup and costuming, and returned. Finally, he nailed it and got the part.
5. The Only Character Name To Transfer From Cartoon To TV Was Cousin Itt
Charles Addams had to give new names to all of the characters from the TV show, but the one name available to transfer over was Cousin Itt. The original name of the cartoon version was "It," with only the spelling changing slightly.
Let’s start Drawing The Addams Family 2 Step by Step
In this tutorial we used the following supplies:
- Pencil B
- Pencil 4B
STEPBYSTEP10

Step 1. We begin the construction by drawing the figures with the help of lines and circles. (Pencil B)

Step 2. Next, with the help of the lines and circles, start drawing the bottom three characters. (Pencil B)

Step 3. Then, draw the next row characters and remove unnecessary construction lines from the first three characters you’ve drawn. (Pencil B)

Step 4. Now, repeating the process of the previous steps, we proceed to draw the last row of characters. (Pencil B)

Step 5. Remove all remaining construction lines and add the remaining details. (Pencil B)

Step 6. We begin to hatch by making a general tone of the darkest areas of the drawing (Pencil B)

Step 7. Now we turn to the detailed tone and start with the topmost characters. To do this, use a pencil with a softness of 4B. Then continue shading with the shapes and working out the shadows well. Additionally, include shading the hair to convey its texture. (Pencil 4B)

Step 8. Go to the middle row of characters and perform the same techniques as in the previous step. At the end of the shading of the left character, we then make tan marks.. (Pencil 4B)

Step 9. And the last step is to move on to the remaining characters and do the same as in the previous steps. We pay great attention to the hairy character, and our task is to convey the structure of his hair as much as possible. We do this by drawing with strands and not with hairs. (Pencil 4B)
STEPBYSTEP10
 |
Drawing Pencil SetExcellent GIFT IDEA - Non-Toxic and safe, easily portable and made with quality top-notch materials. Basic and innovative drawing supplies come together in NIL Tech set as an exceptional replacement for old-fashioned pencil boxes. The main attraction at any occasion from your drawing enthusiast friends, sketchers, artists to your kids or students boosting their creative projects and enjoy their ear-to-ear smile! |


2 Comments
I followed along and mines came out sooo good! Thanks for making this an easy drawing to do!
I followed along and mines came out sooo good! Thanks for making this an easy drawing to do!