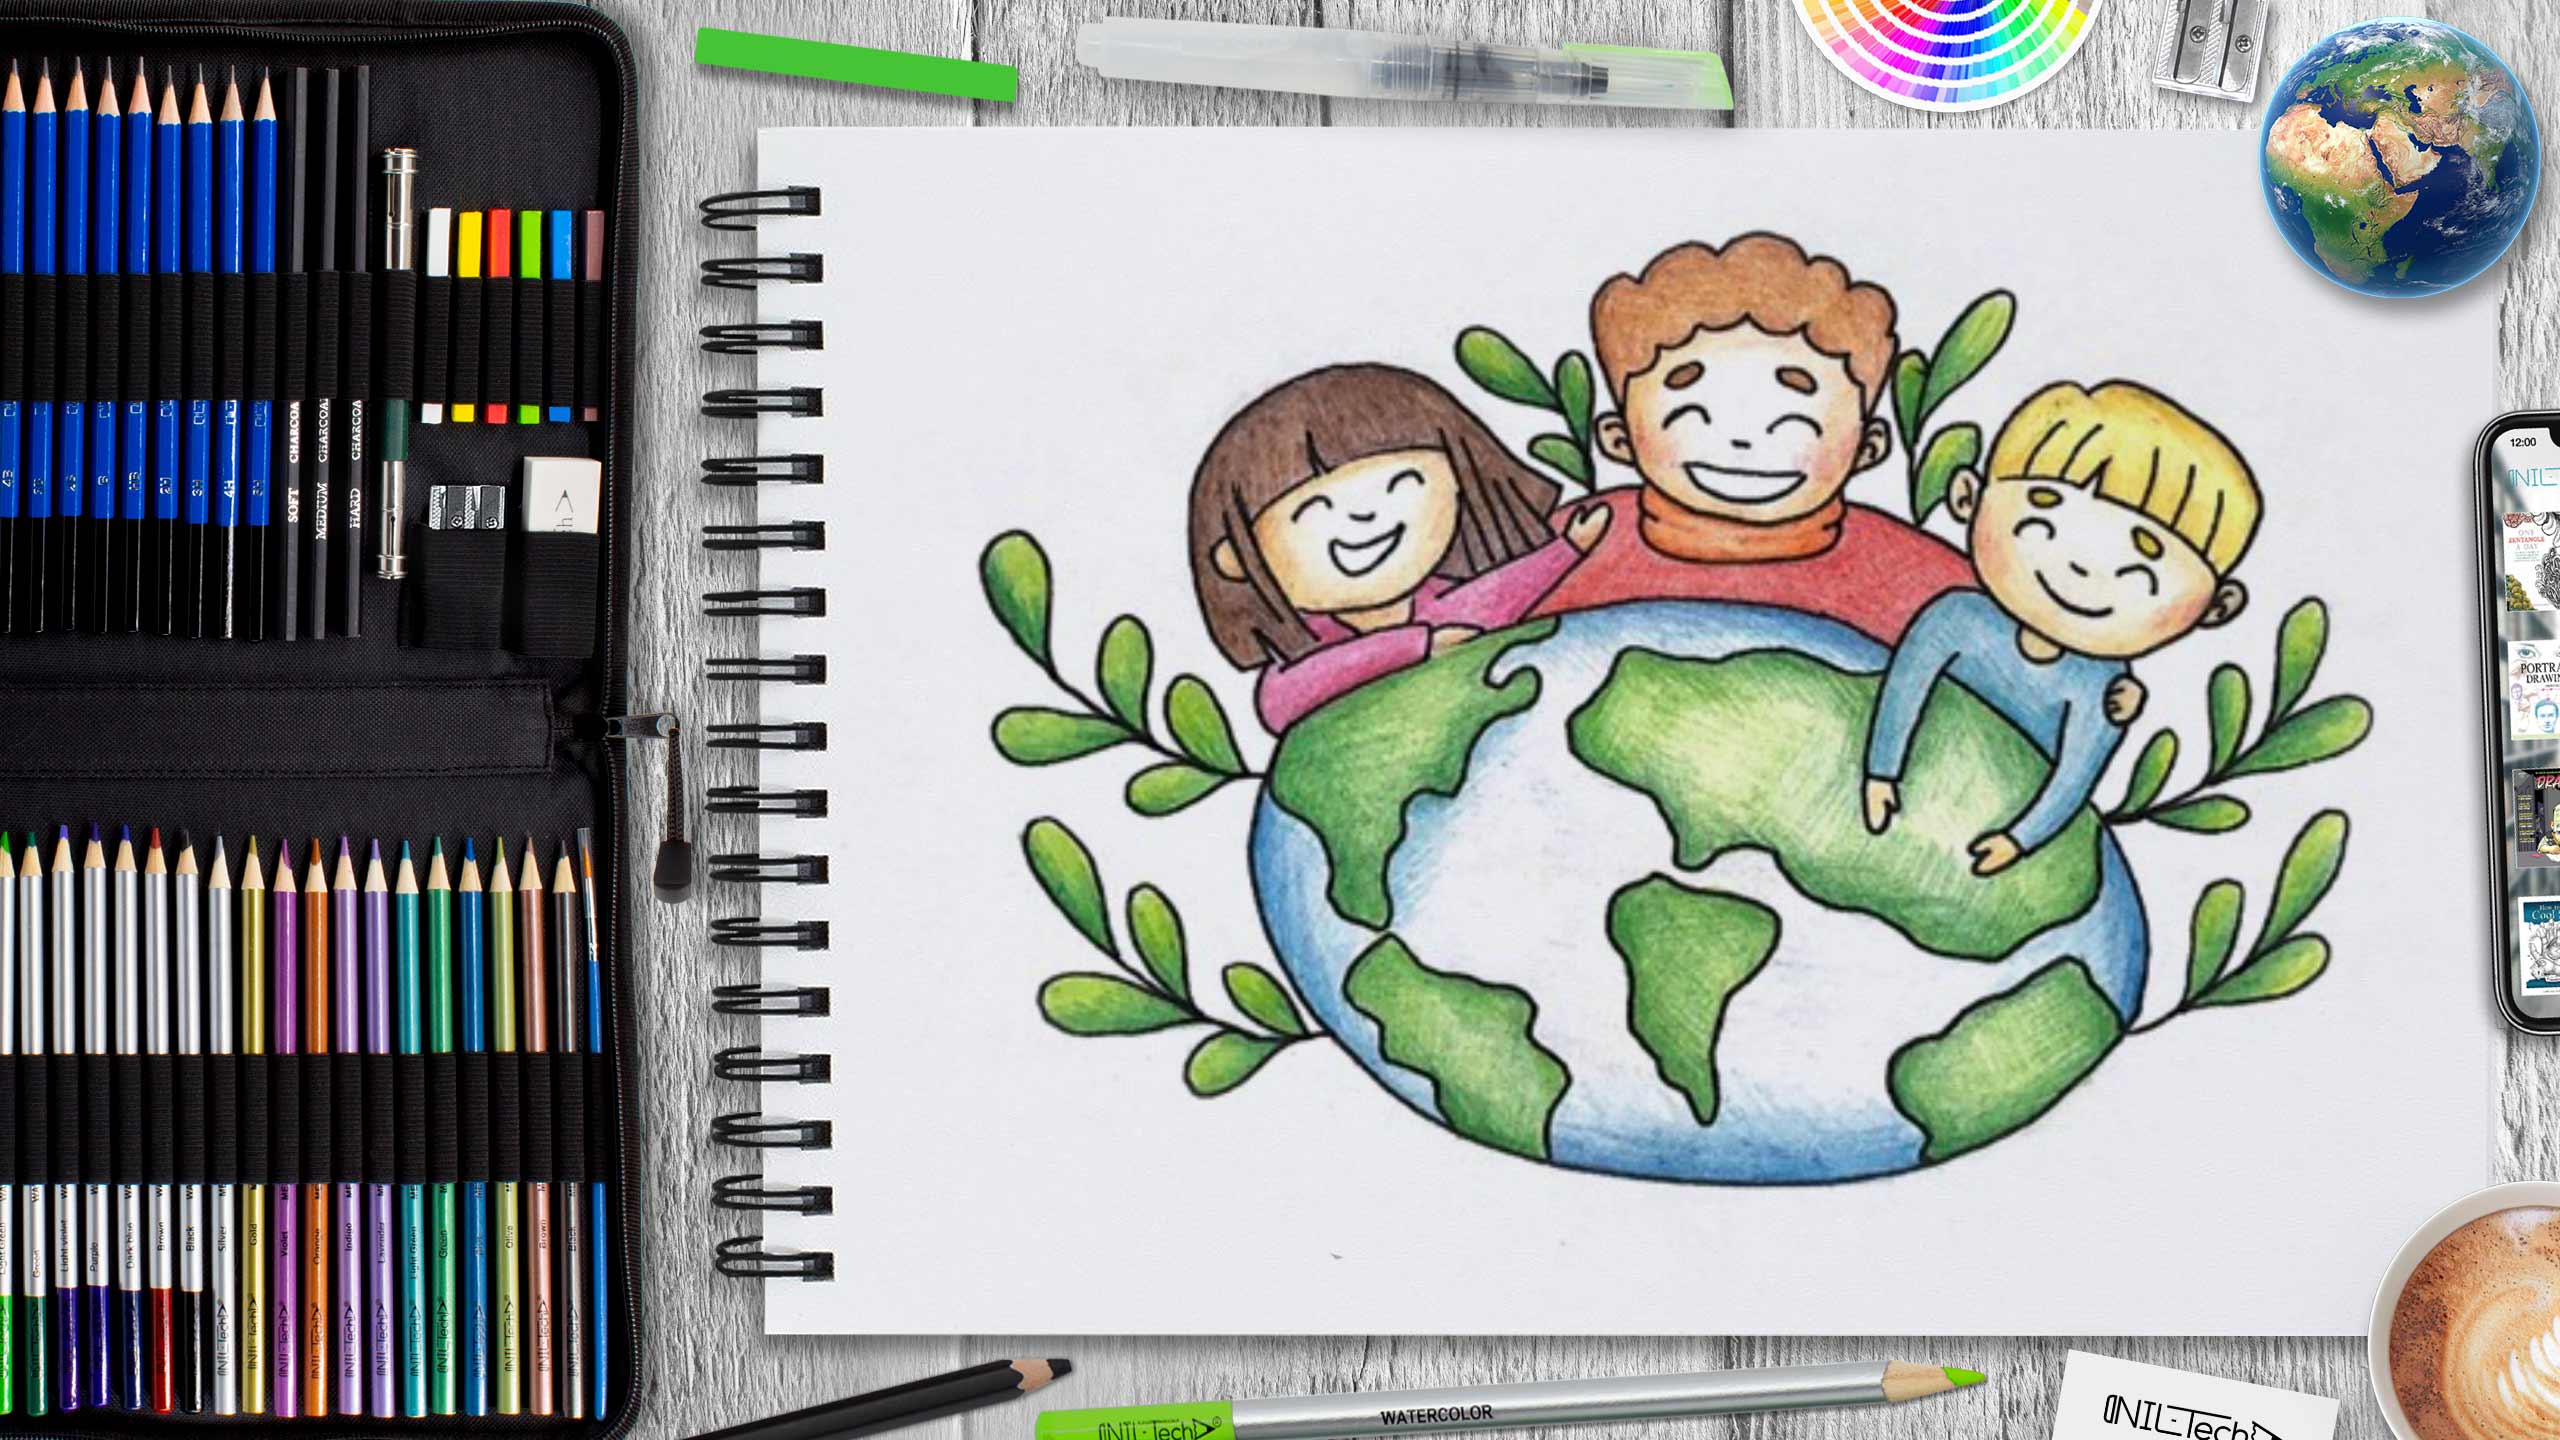
International Friendship Day Drawing Tutorial
Jul 29 , 2021

World Friendship Day, also called International Day of Friendship, takes place on 30th July. The original concept for a friendship day originated from Hallmark cards in the 1930s. Although initially celebrated on 2nd August, the day was largely viewed cynically by the public as a money-making exercise, sales of friendship day cards did not remove in Europe. By the mid-1940s, the day had faded into obscurity in the USA. Nevertheless, the idea of a day to honor relationships was adopted by various nations in Asia. It remained a popular custom to reserve a day for celebrating relationships and exchanging gifts between good friends.
Interesting Facts about World Friendship Day:
- The idea of having a World Friendship Day was proposed by a Paraguayan called Dr. Artemio Bracho, and Paraguay commemorated the first World Friendship Day on July 30, 1958.
- The widespread popularity of the concept led the General Assembly of the United Nations to declare July 30 as the main International Friendship Day on April 27, 2011.
- The Beatles released their famous song "With a Little Help from My Friends" in 1967 to mark the 10th-anniversary celebrations of International Friendship Day.
- In 1999, Kappa Delta Sorority in Memphis, Tennessee, U.S., began commemorating National Women's Friendship Day on the 3rd Sunday of September to remember the importance of woman friends in a woman's life.
- Recent social media research discovered that when it comes to having a big circle of close friends (10 and above), Brazilians and Filipinos are way ahead of citizens of other countries.
Let's Draw for World Friendship Day Step by Step
In this tutorial we used the following supplies:
- Pencil B
- Pencil 5B
- Colored pencils
- brown,
- dark brown,
- beige,
- yellow,
- pink,
- orange,
- red,
- blue,
- light green
- light blue
STEPBYSTEP10

Step 1. We begin the construction by drawing the heads and the Earth with the help of the circles and oval, and also draw the middle lines for all. (Pencil B)

Step 2. Using the lines, outline the movement of the arms by adding twigs and the midlines of the faces. (Pencil B)

Step 3. Next, we turn to the details of the persons, based on the construction lines. Draw their faces and add their hair. (Pencil B)

Step 4. The next step is to finish the rest of the details, such as twigs and continents on the Earth. (Pencil B)

Step 5. Remove all unnecessary construction lines and sharpen the outline with a soft pencil. (Pencil 5B)

Step 6. Next, we make a general tone with colored pencils of all the elements of the picture. We use beige for the skin, dark brown for the girl's hair, pink for her sweater, brown for the boy's hair in the middle, orange for his scarf, and red for his sweater, yellow for the last boy's hair, and blue for his sweater. We use light green for leaves and continents, and blue for water. (Colored pencils brown, dark brown, beige, yellow, pink, orange, red, blue, light green)

Step 7. Let's move on to more detailed parts of the children. On the skin, we make shadows with the help of brown and red, add a blush, and on all other parts we simply enhance the tone with the corresponding colors. (Colored pencils brown, dark brown, beige, yellow, pink, orange, red, blue)

Step 8. Let's move on to working out the remaining details. For the light parts of the leaves, we use yellow, and on the continents we make shadows with the help of green, we also make shadows on the water blue. (Colored pencils light green, green, yellow, blue, light blue)
STEPBYSTEP10
 |
Drawing Pencil SetExcellent GIFT IDEA - Non-Toxic and safe, easily portable and made with quality top-notch materials. Basic and innovative drawing supplies come together in NIL Tech set as an exceptional replacement for old-fashioned pencil boxes. The main attraction at any occasion from your drawing enthusiast friends, sketchers, artists to your kids or students boosting their creative projects and enjoy their ear-to-ear smile! |


