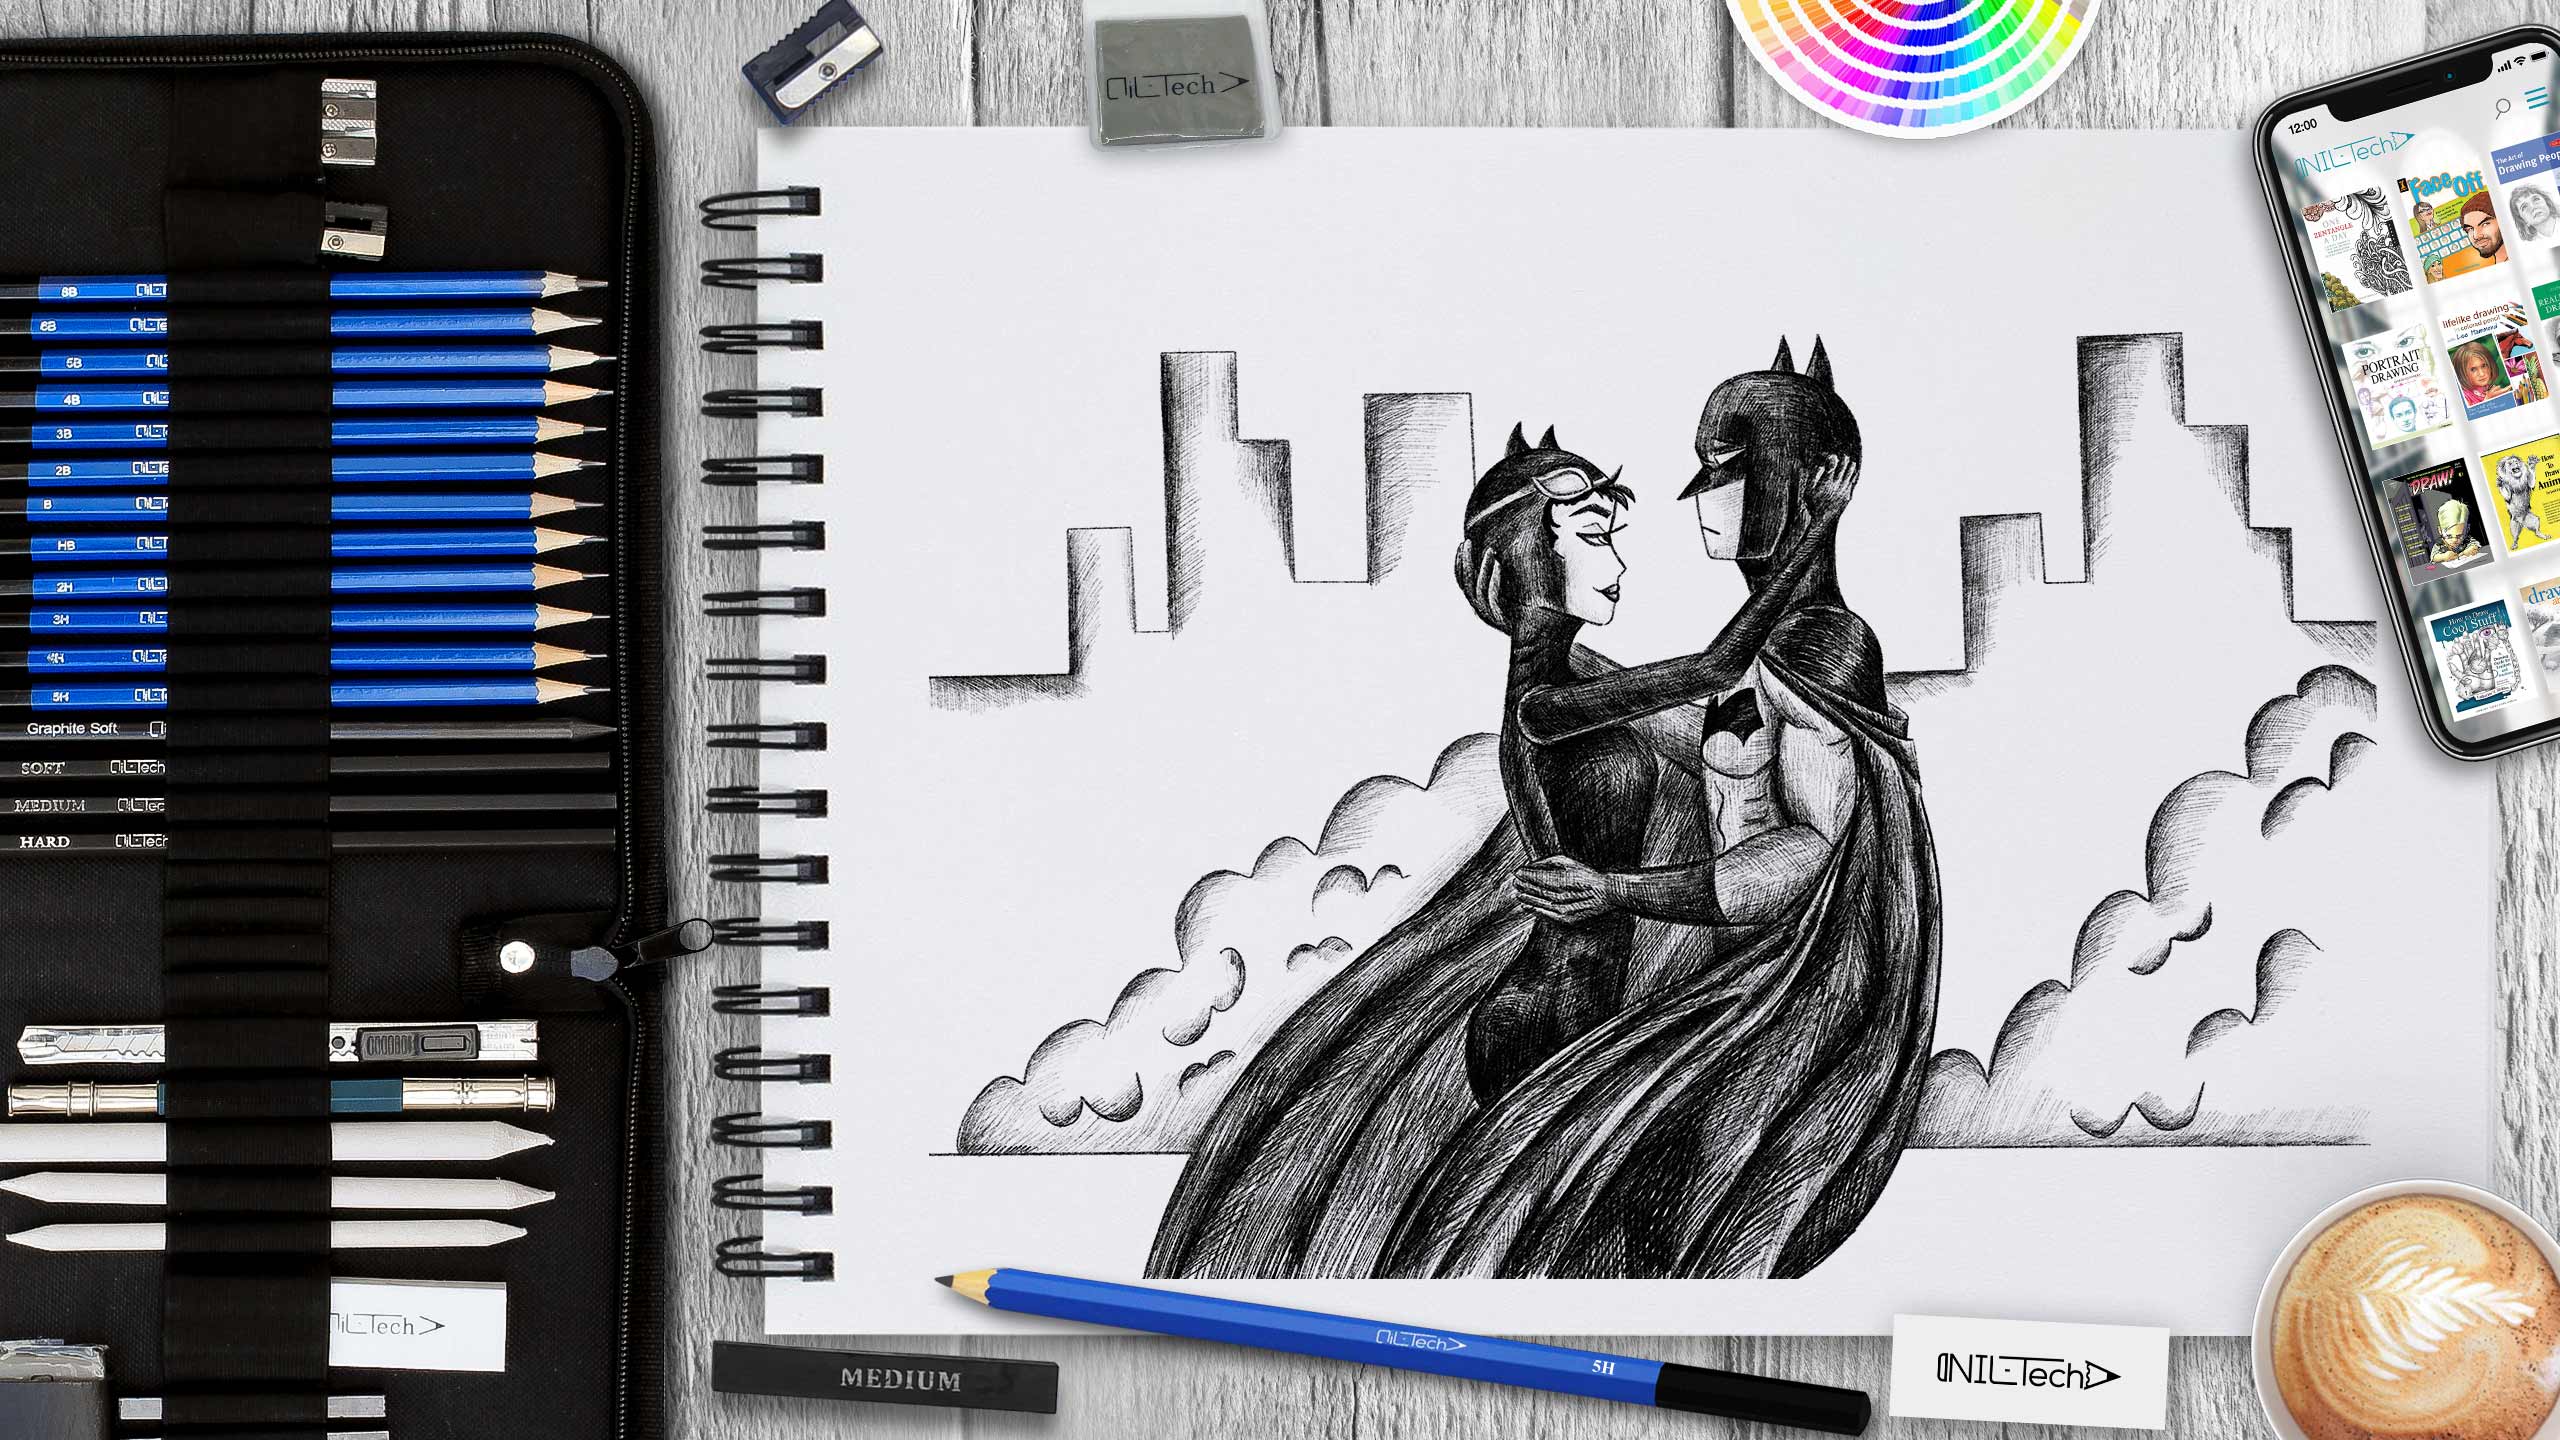
Learn to Draw Batman and Catwoman
Mar 02 , 2022
 Batman has always seemed the most realistic superhero – if you can use that phrase. It almost seems like he is simply a bored man with way too much money!
Whether you call him The Dark Knight or The Caped Crusader, this superhero has captured the hearts and minds of people across the globe for generations.
Here are some interesting facts Batman & Catwoman:
1. Batman’s First well-known TV performance appeared in the 1966 TV show simply named Batman. This ran for an astonishing 120 episodes until it stopped in 1968. His first TV appearance was actually in 1943.
2. The fear mongering city of Gotham actually landed its name simply from the writer randomly choosing a jeweler named Gotham Jewelers in a telephone directory.
3. Over the years, Batman’s main rivals have been the infamous Joker, the Riddler, the Penguin, Poison Ivy, the Scarecrow, and the lesser known Mr. Freeze and Clayface.
4. In one series of Batman comics, Bruce Wayne and Catwoman actually got betrothed and had a child, the Huntress or Helena.
5. At the Canadian University of Victoria, you can enroll into a course designed to explore the life of Batman. The course is called “The Science of Batman.”
In this tutorial, we used the following supplies:
- Pencil B
- Pencil 5B
- Pencil 3B
You may find all the tools for drawing in our Drawing pencil set
 |
Drawing Pencils SetThe NIL Tech Pencil Set is the highest quality art supplies with all the tools you need to create your own masterpiece Different types of tools in one case sketching kit helps you create multiple variations of art work the easy way. The tool set is perfect for use at home, school and office for creating drawings, sketching and completing art projects. Great for artist's and student use. Take your pencil set wherever you go! |
Let's Start Drawing Batman and Catwoman Step by Step!
 Step 1. We start the drawing by using lines and circles to outline the body figures of the heroes. (Pencil B)
 Step 2. Next step, based on the construction lines, draw the contours of the torsos and heads, as well as outline the arms. (Pencil B)
 Step 3. We emphasize more details on the head. We also draw the shape of the hands, cape and outline the arms. (Pencil B)
 Step 4. Remove all unnecessary construction lines and draw details. such as: faces, hands and costume details. (Pencil B)
 Step 5. Remove the remaining guidelines and draw the background (lines of houses and smoke). (Pencil B)
 Step 6. Next, let's move on to hatching. To begin with, we make a general tone on the black elements of the picture. (Pencil B)
 Step 7. Take a pencil with great softness and start working on these black elements. To create volume with the help of hatching. (Pencil 5B)
 Step 8. Next, we move on to working out the remaining details on the figures. For this we take a pencil with less softness, since the tone will be lighter. (Pencil 3B)
 Step 9. The last step is to work on the background. Make small shadows to add volume, for this we use the same pencil as in the previous step. (Pencil 3B)

We really hope you enjoyed this tutorial! If you liked it, there are lots of ways you can spread the news: Get the word out about our website to your loved ones, Link to this site or tutorial if you have a blog or site, Bookmark it and share your favorite tutorial utilizing the social network tool you use.
What a cool way to show off your latest accomplishment - and new skills!
Most importantly - COMMENT, please let us know what you think and voice your new tutorial ideas.
 |
Drawing Pencil SetExcellent GIFT IDEA - Non-Toxic and safe, easily portable and made with quality top-notch materials. Basic and innovative drawing supplies come together in NIL Tech set as an exceptional replacement for old-fashioned pencil boxes. The main attraction at any occasion from your drawing enthusiast friends, sketchers, artists to your kids or students boosting their creative projects and enjoy their ear-to-ear smile! |


