Learn how to draw Easter bunny, chick and festive Eggs
Apr 15 , 2022
 Easter Sunday is a festival that honors the Resurrection! Come join us for a festive celebration of our God who dispels our fear of uncertainty and death. This year, we have online and in person offerings!
Fun Facts about Easter:
- Easter is the celebration of the resurrection of Jesus Christ in the Christian religion.
- Eggs have been seen as an ancient symbol of fertility, while springtime is considered to bring new life and rebirth.
- Americans spend $1.9 billion on Easter candy. That’s the second biggest candy holiday after Halloween.
- Egg dyes were once made out of natural items such as onion peels, tree bark, flower petals, and juices.
- “The White House Easter Egg Roll” event has been celebrated by the President of the United States and their families since 1878.
Let’s start Drawing Easter Step by Step
In this tutorial we used the following supplies:
- Pencil B
- Micro Pen 1mm
- Colored Pencil:
- Yellow
- Gray
- Orange
- Pink
- Light Brown
- Brown
- Blue
STEPBYSTEP10
 Step 1. We start drawing the basic shapes with the help of circles and lines. (Pencil B)
 Step 2. Next step, using the guidelines. We continue to outline the figures in more detail. Based on the existing construction lines. (Pencil B)
 Step 3. Based on all the existing construction lines. We draw the shapes on the torso of the duckling, rabbit and eggs. We also outline the direction of the rabbits ears with lines, and the remaining eggs. (Pencil B)
 Step 4. We remove unnecessary construction lines and draw details, such as: muzzles, ears, and so on. (Pencil B)
 Step 5. With the help of a pen, we outline all the elements of the picture and also draw patterns on the eggs. (Micro Pen 1mm)
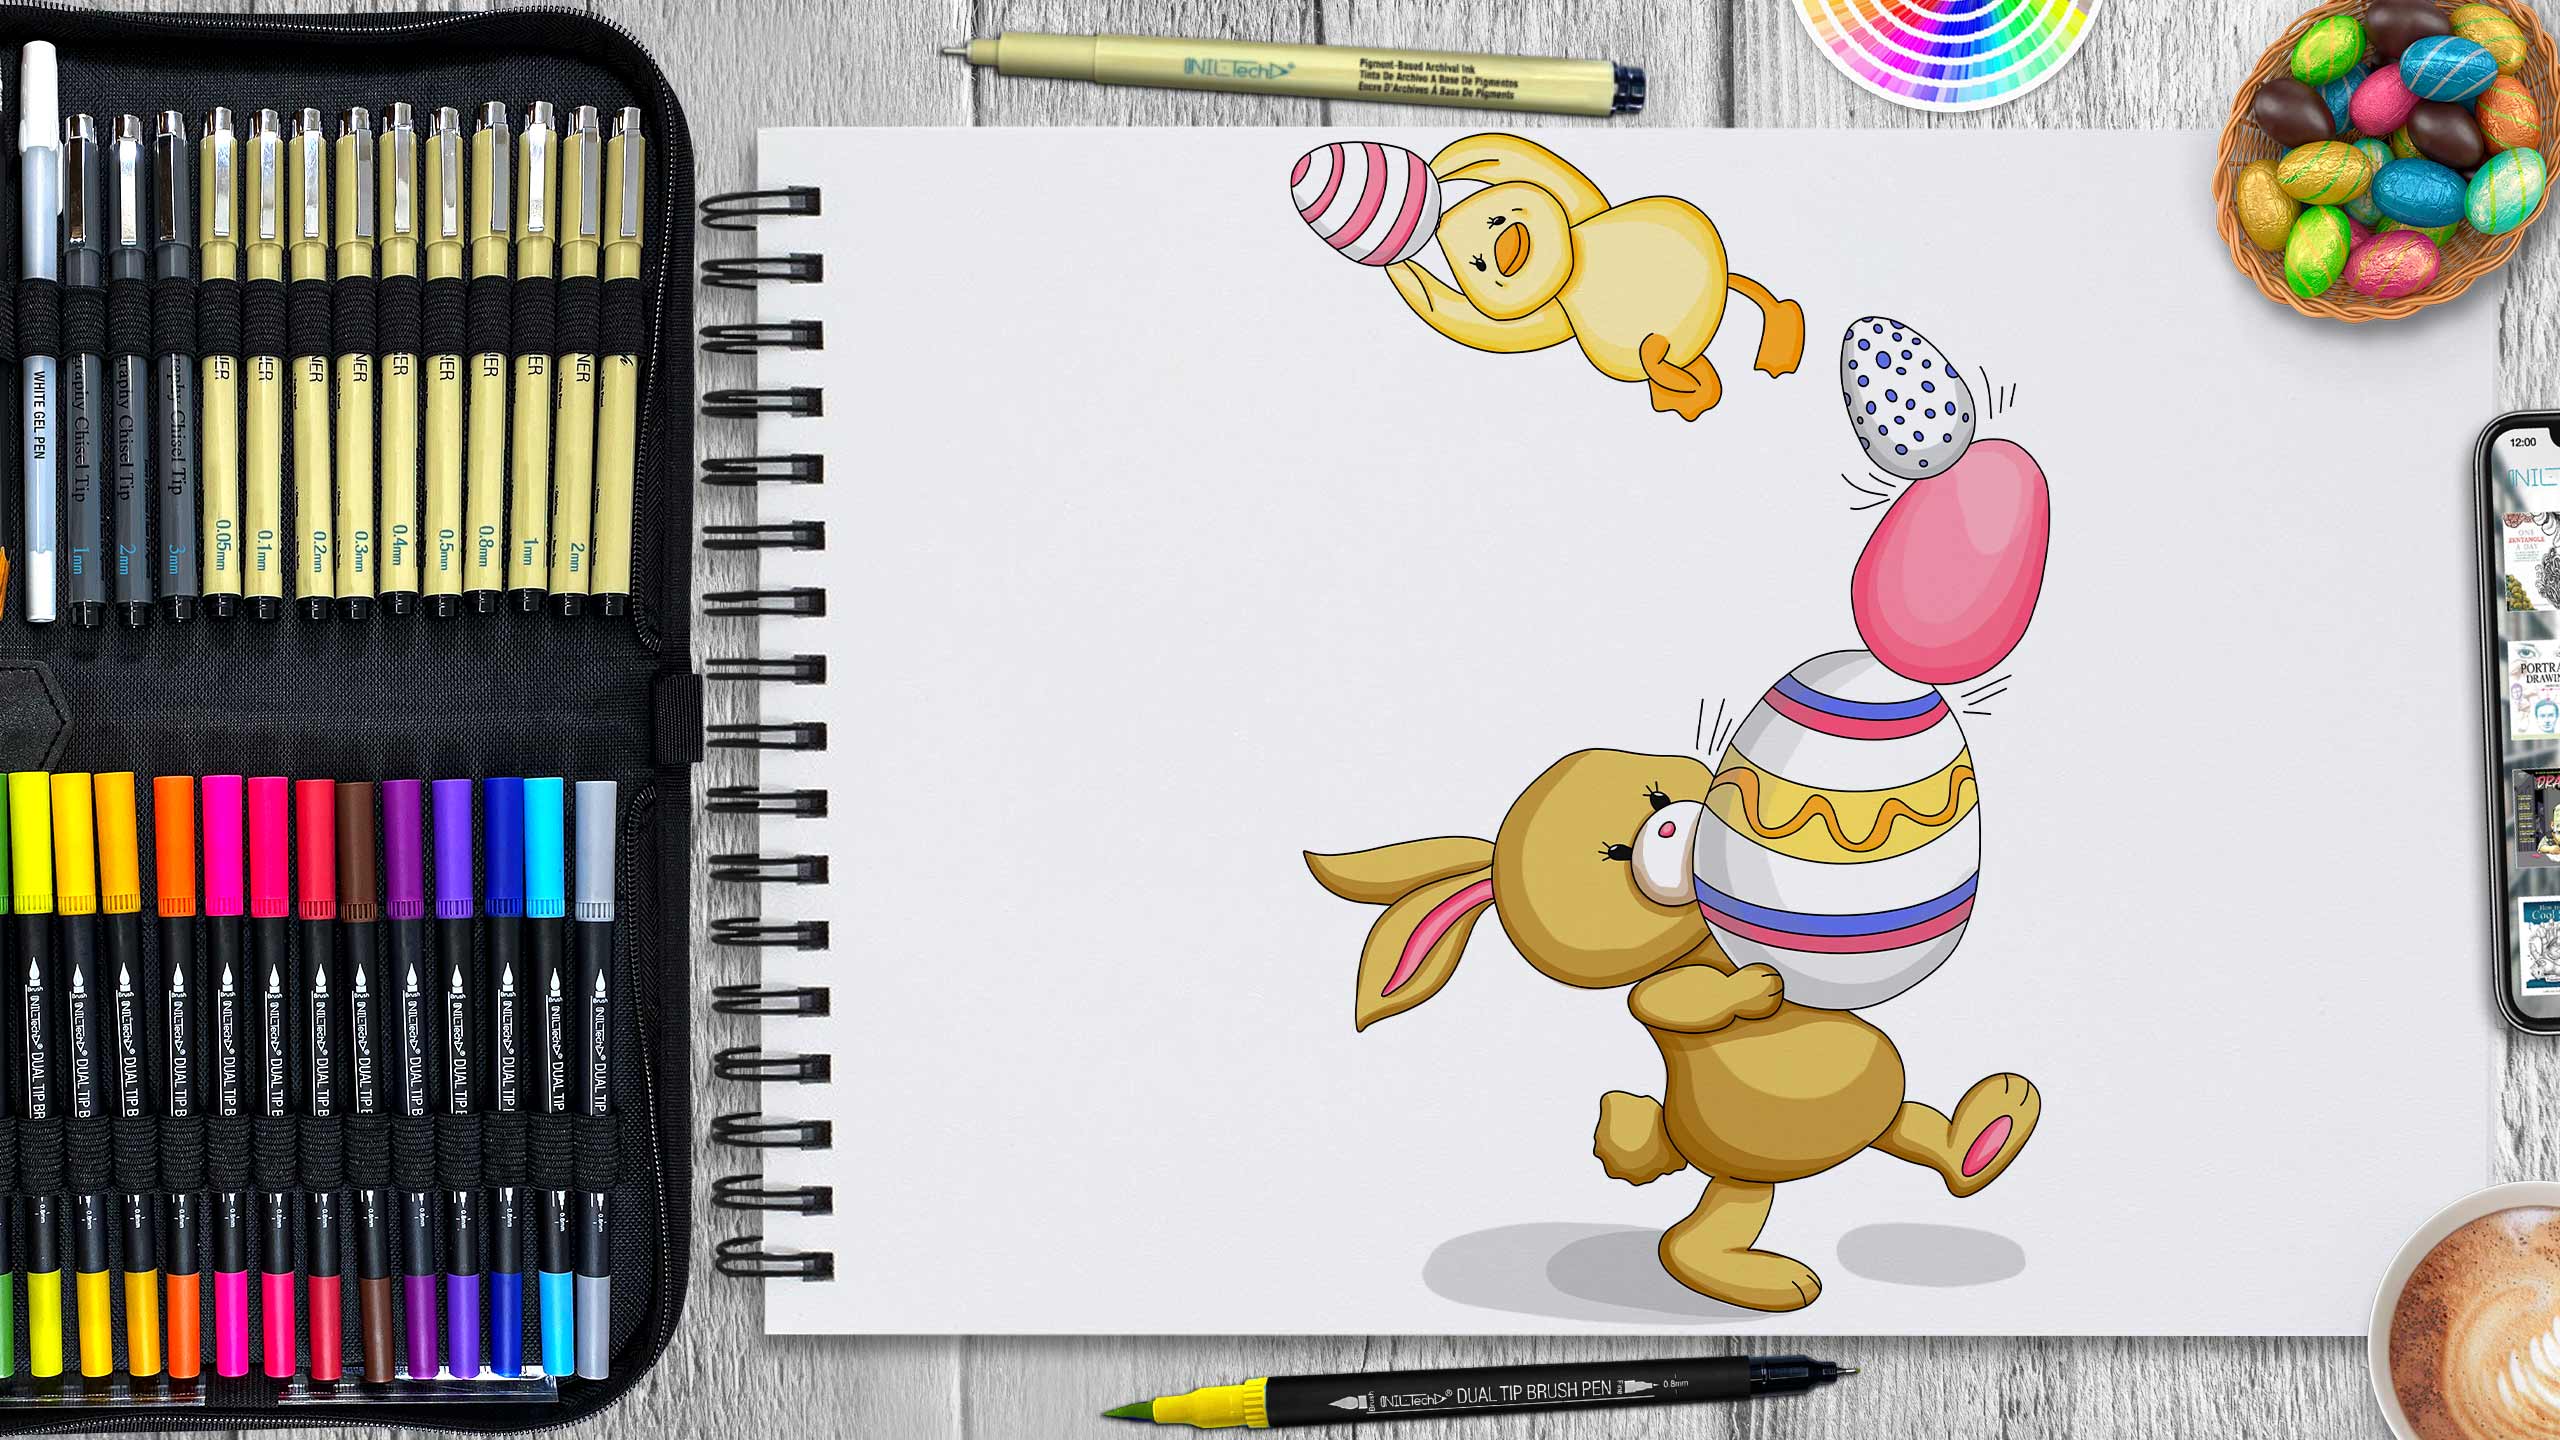
 Step 6. We start working with color, since the markers dry, we work in parts of the drawing and start with the duck. At the beginning we make the general tone of the body and head using yellow. Then with the same marker we continue to make shadows by layering and at the very end we make the shadow orange. We also paint over the stripes on the egg with a pink marker and make shadows on it with gray. (Markers yellow, grey, orange, pink)
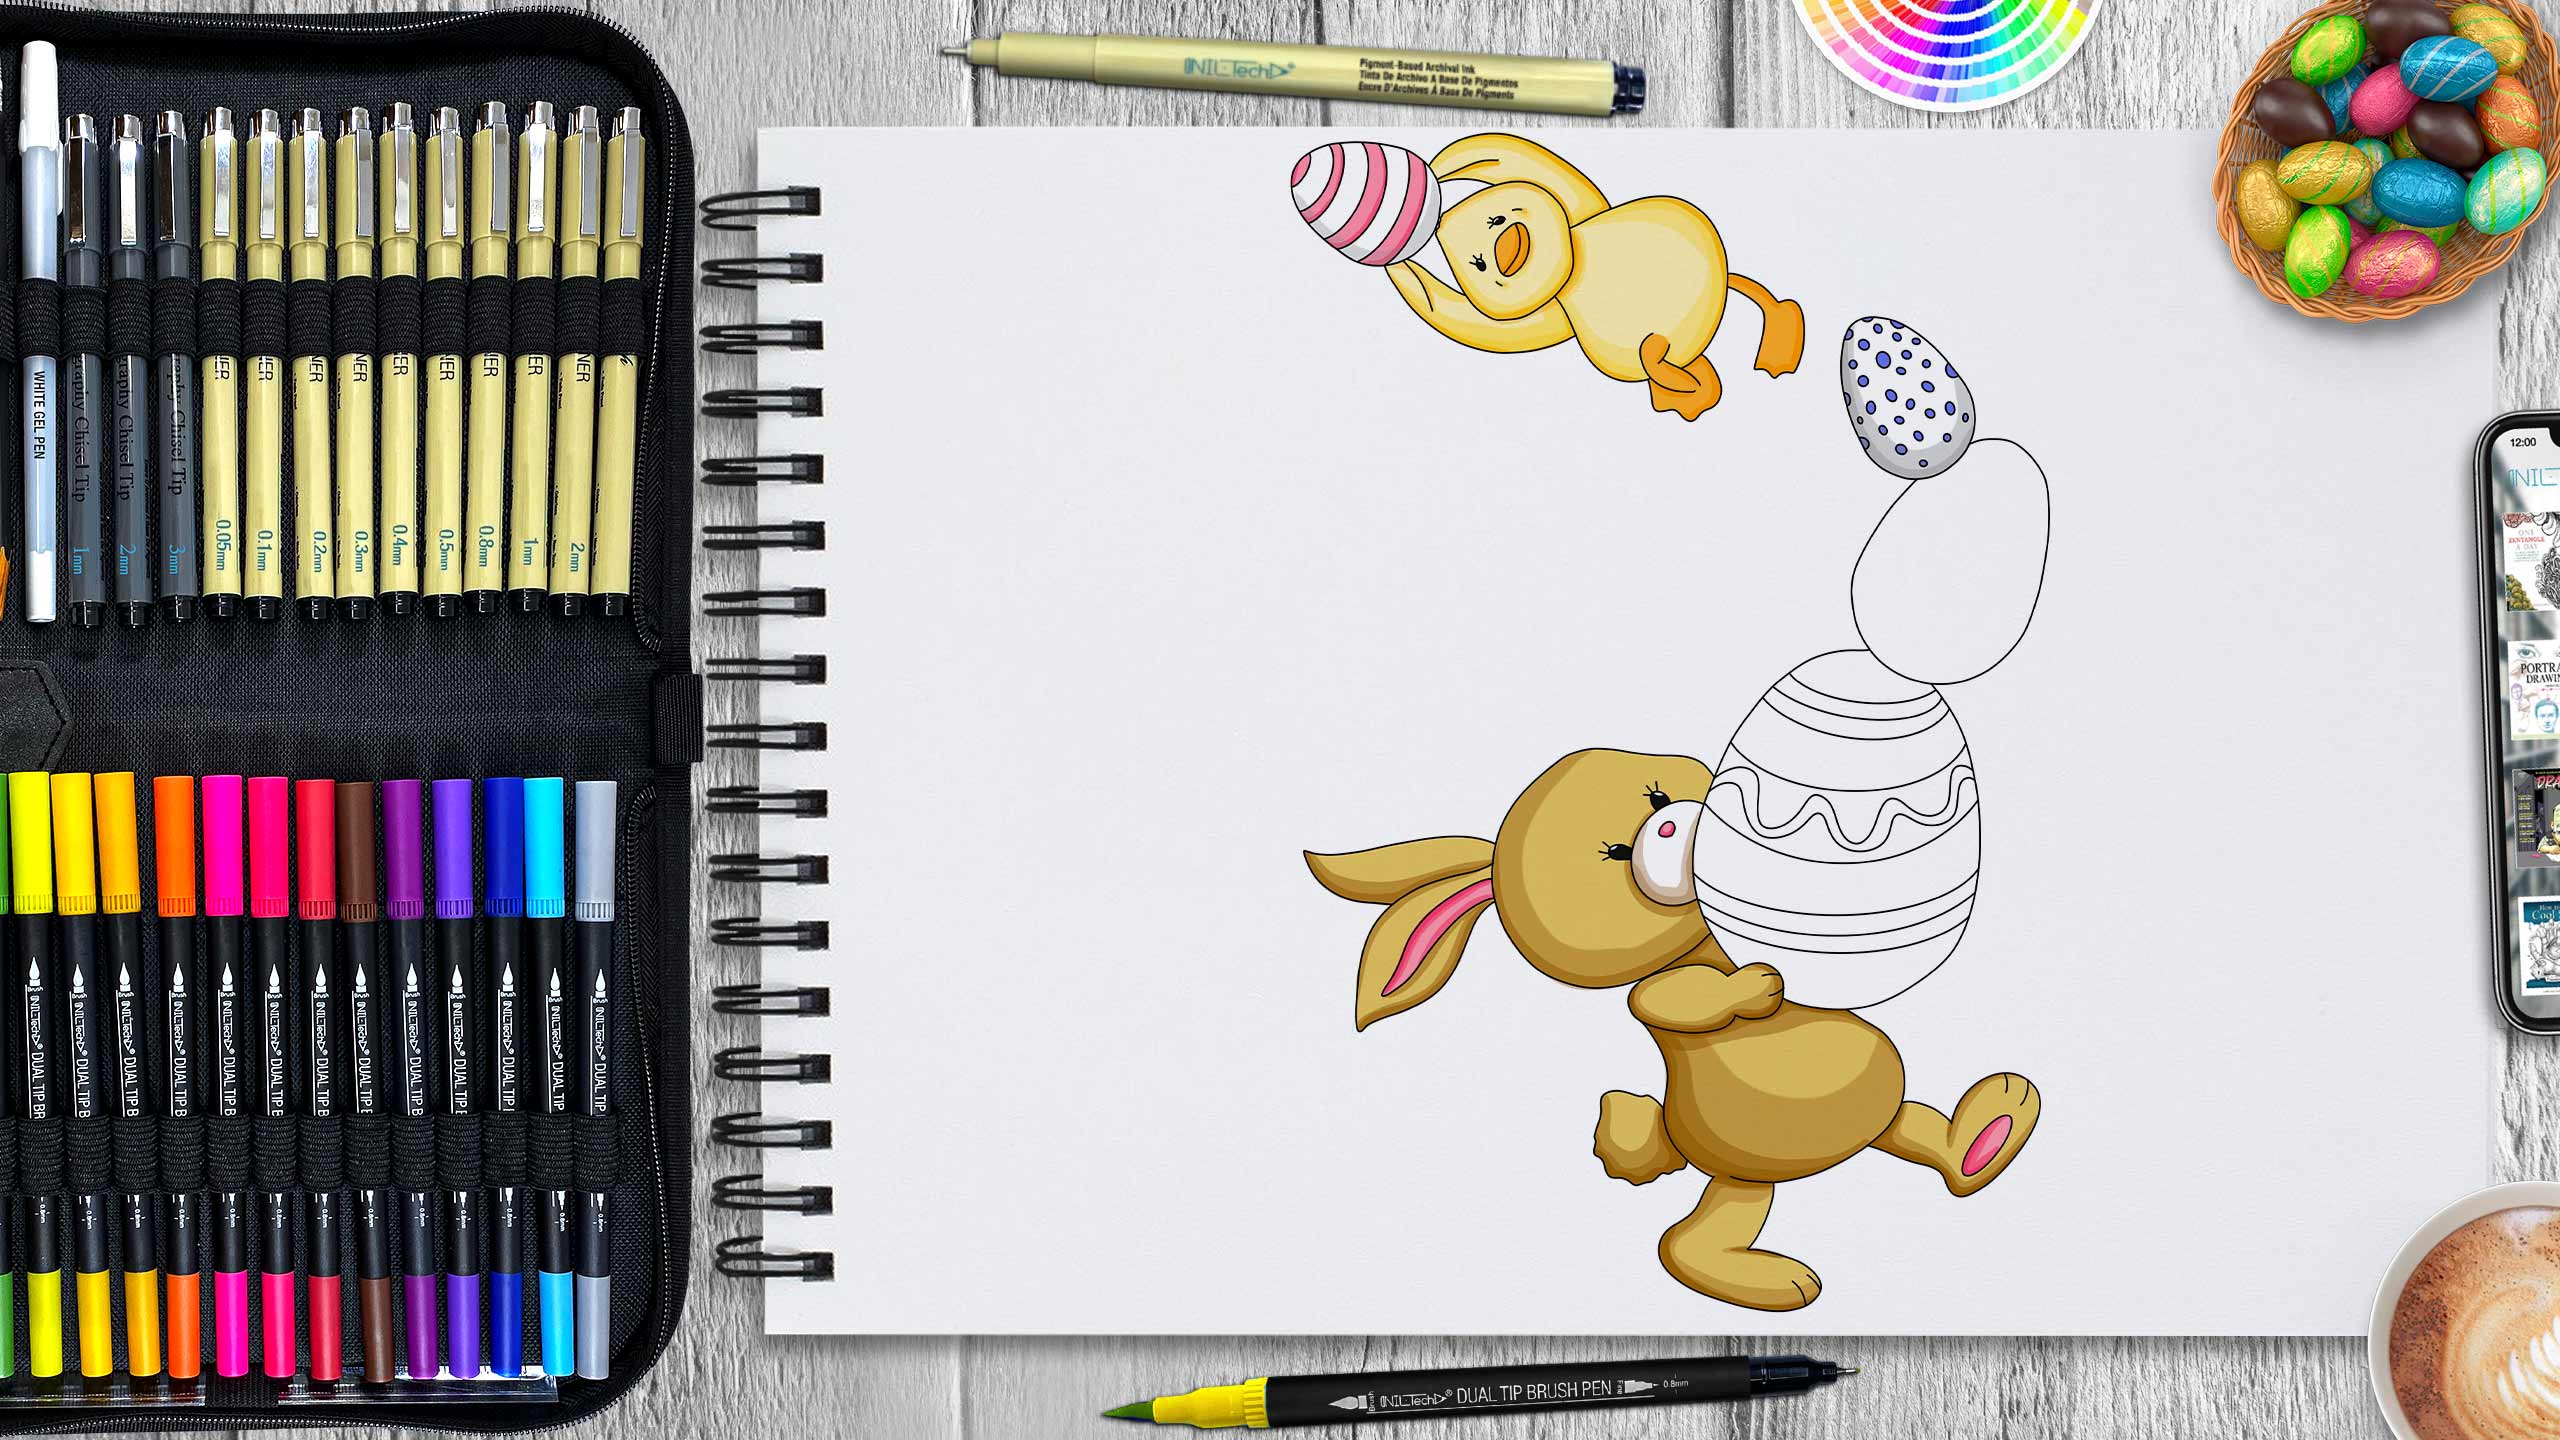 Step 7. By the same principle, we continue to work further and proceed to coloring the rabbit and the top egg. For the rabbit we use light brown, brown and pink. For the egg we use blue and gray. (Markers light brown, brown, pink, blue, gray)
 Step 8. We complete the remaining details. By overlay we paint over the pink egg, and for the second we use yellow, pink, orange, blue and gray. We also make gray shadows under the rabbit and add details with a micro pen. (Markers yellow, pink, orange, blue, gray, micro pen 1mm)
STEPBYSTEP10
 |
Drawing Pencil SetExcellent GIFT IDEA - Non-Toxic and safe, easily portable and made with quality top-notch materials. Basic and innovative drawing supplies come together in NIL Tech set as an exceptional replacement for old-fashioned pencil boxes. The main attraction at any occasion from your drawing enthusiast friends, sketchers, artists to your kids or students boosting their creative projects and enjoy their ear-to-ear smile! |


