Learn to Draw President Day
Feb 22 , 2022
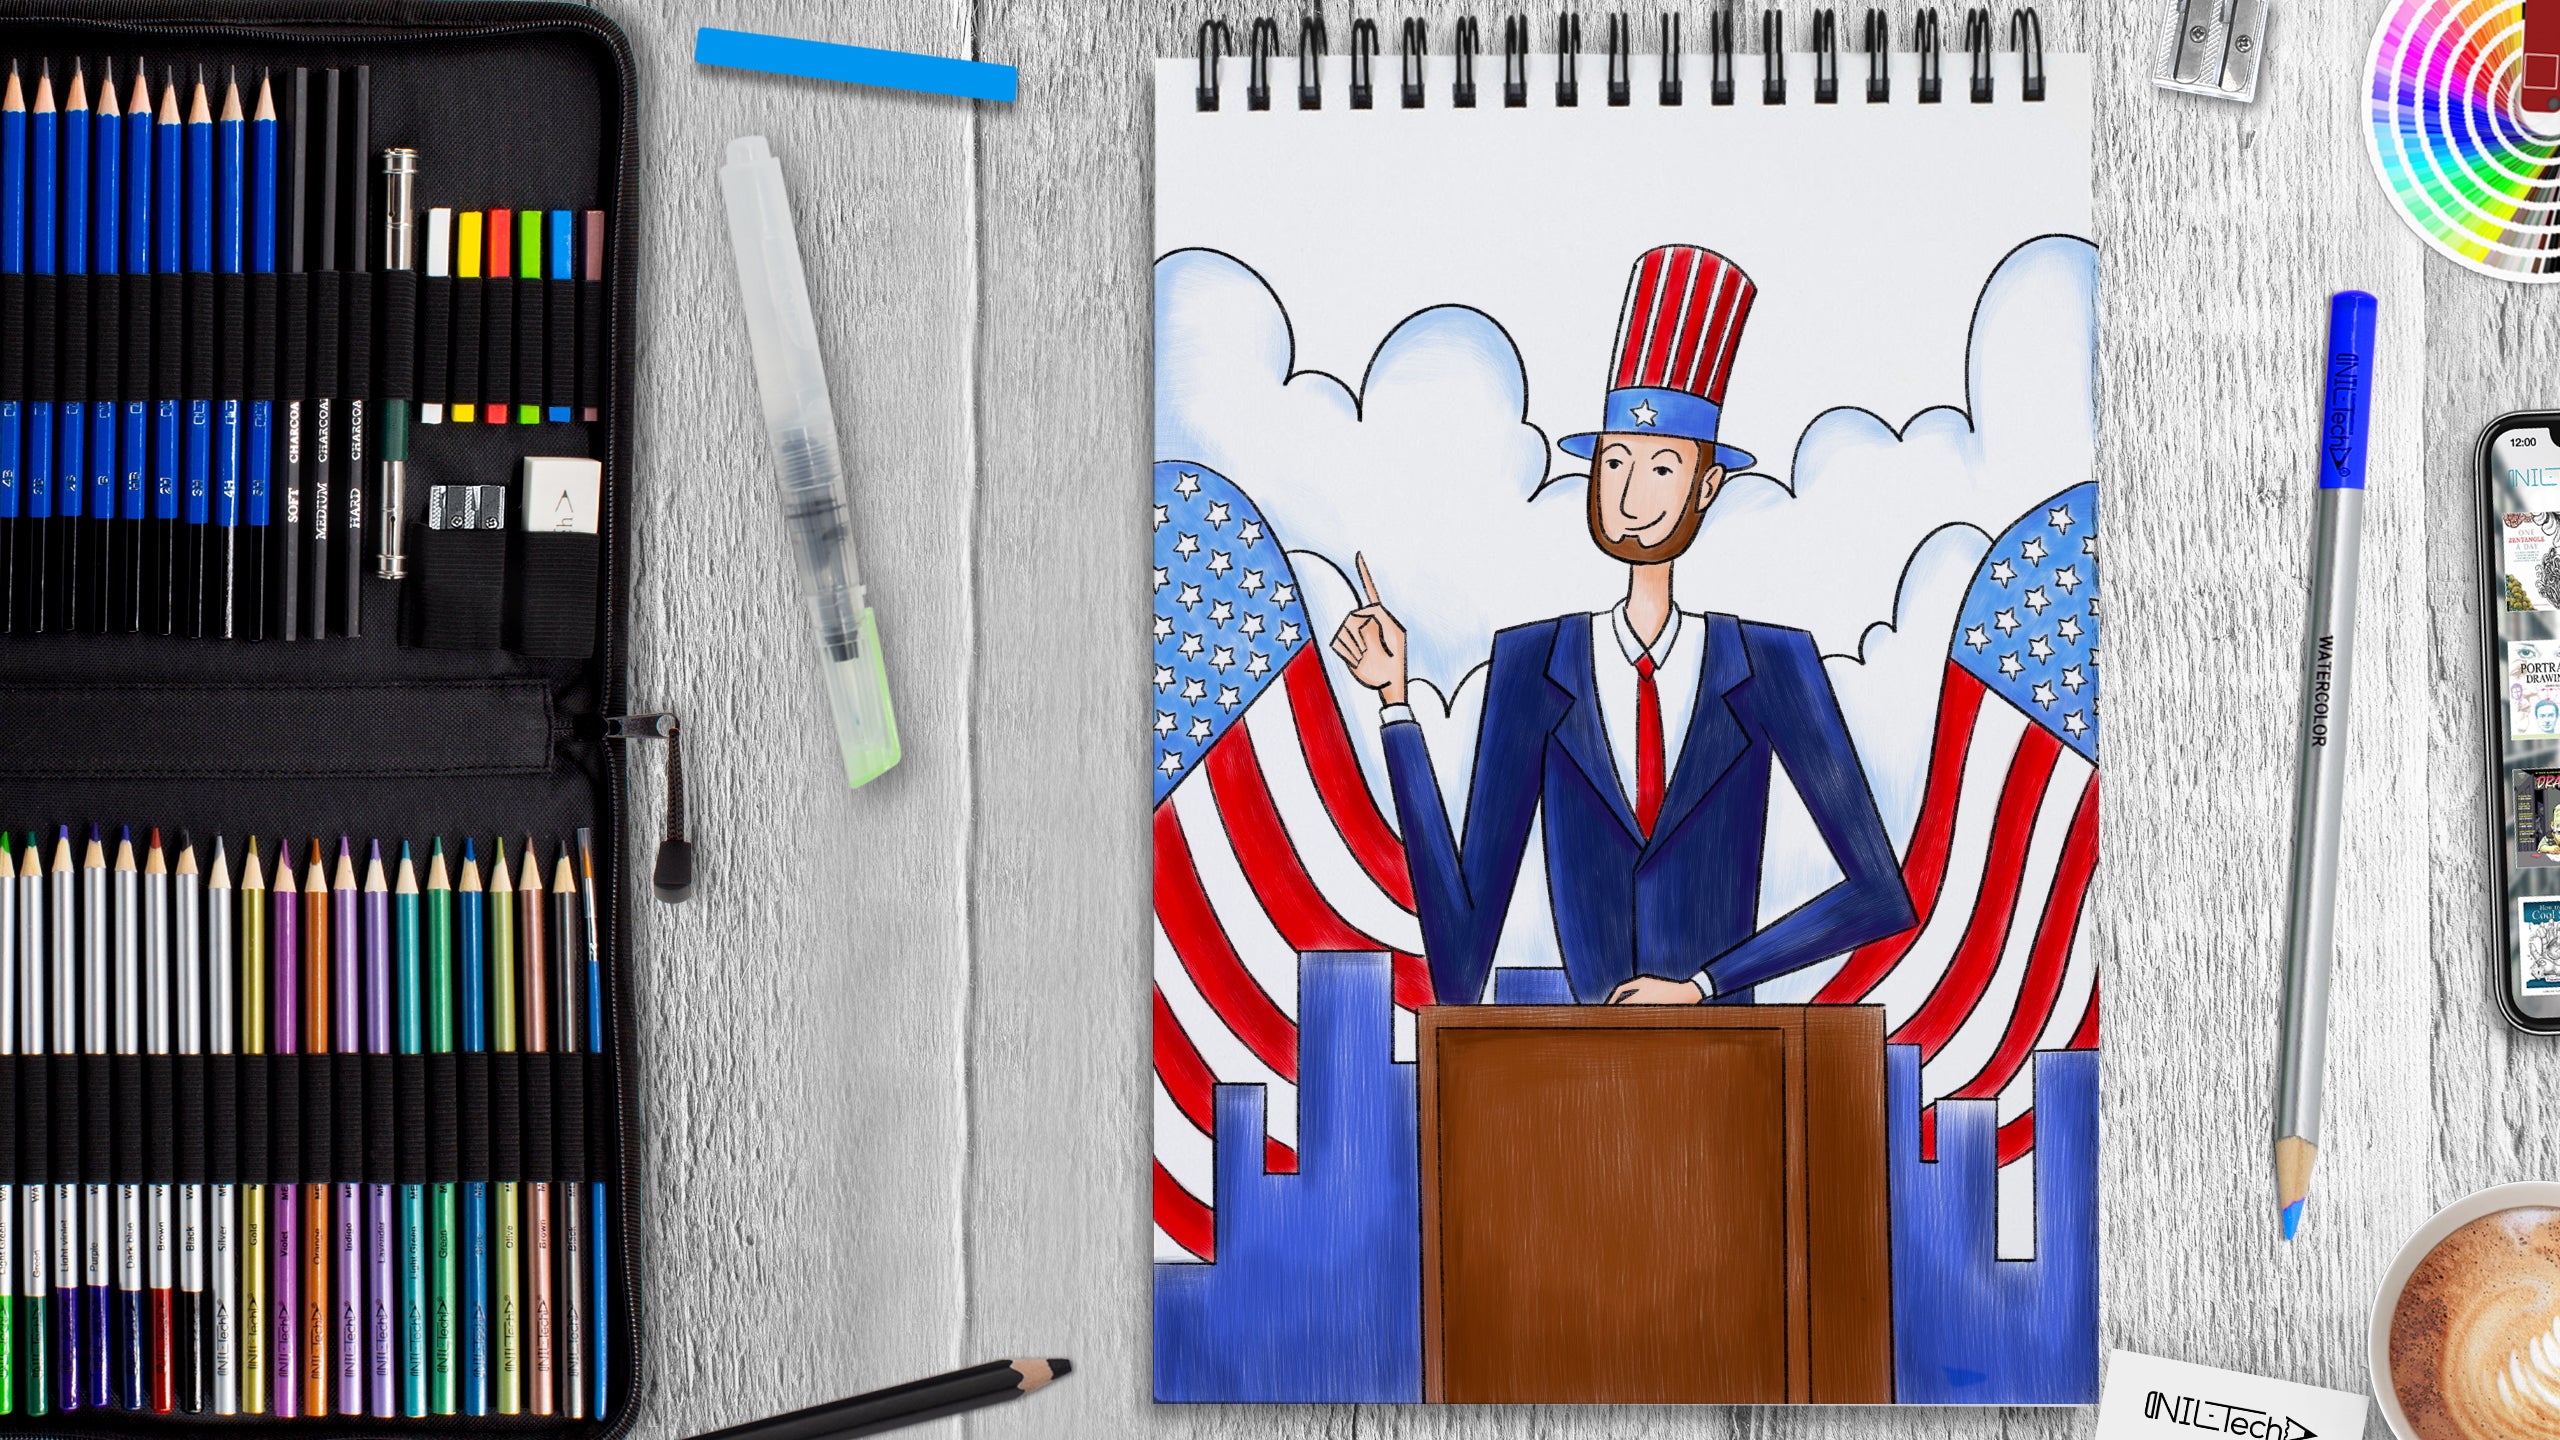
Presidents Day Step by Step Drawing Tutorial of President George Washington. Draw first president in easy 8 steps.
 |
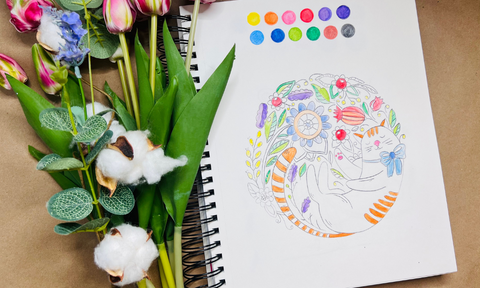
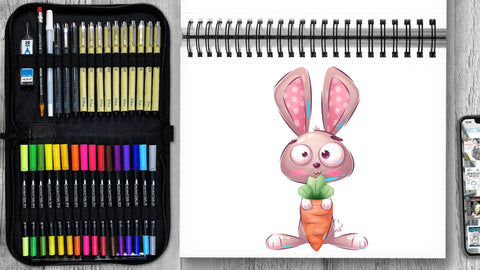
Drawing Pencil SetExcellent GIFT IDEA - Non-Toxic and safe, easily portable and made with quality top-notch materials. Basic and innovative drawing supplies come together in NIL Tech set as an exceptional replacement for old-fashioned pencil boxes. The main attraction at any occasion from your drawing enthusiast friends, sketchers, artists to your kids or students boosting their creative projects and enjoy their ear-to-ear smile! |