Thanksgiving Day Drawing Tutorial
Nov 26 , 2019

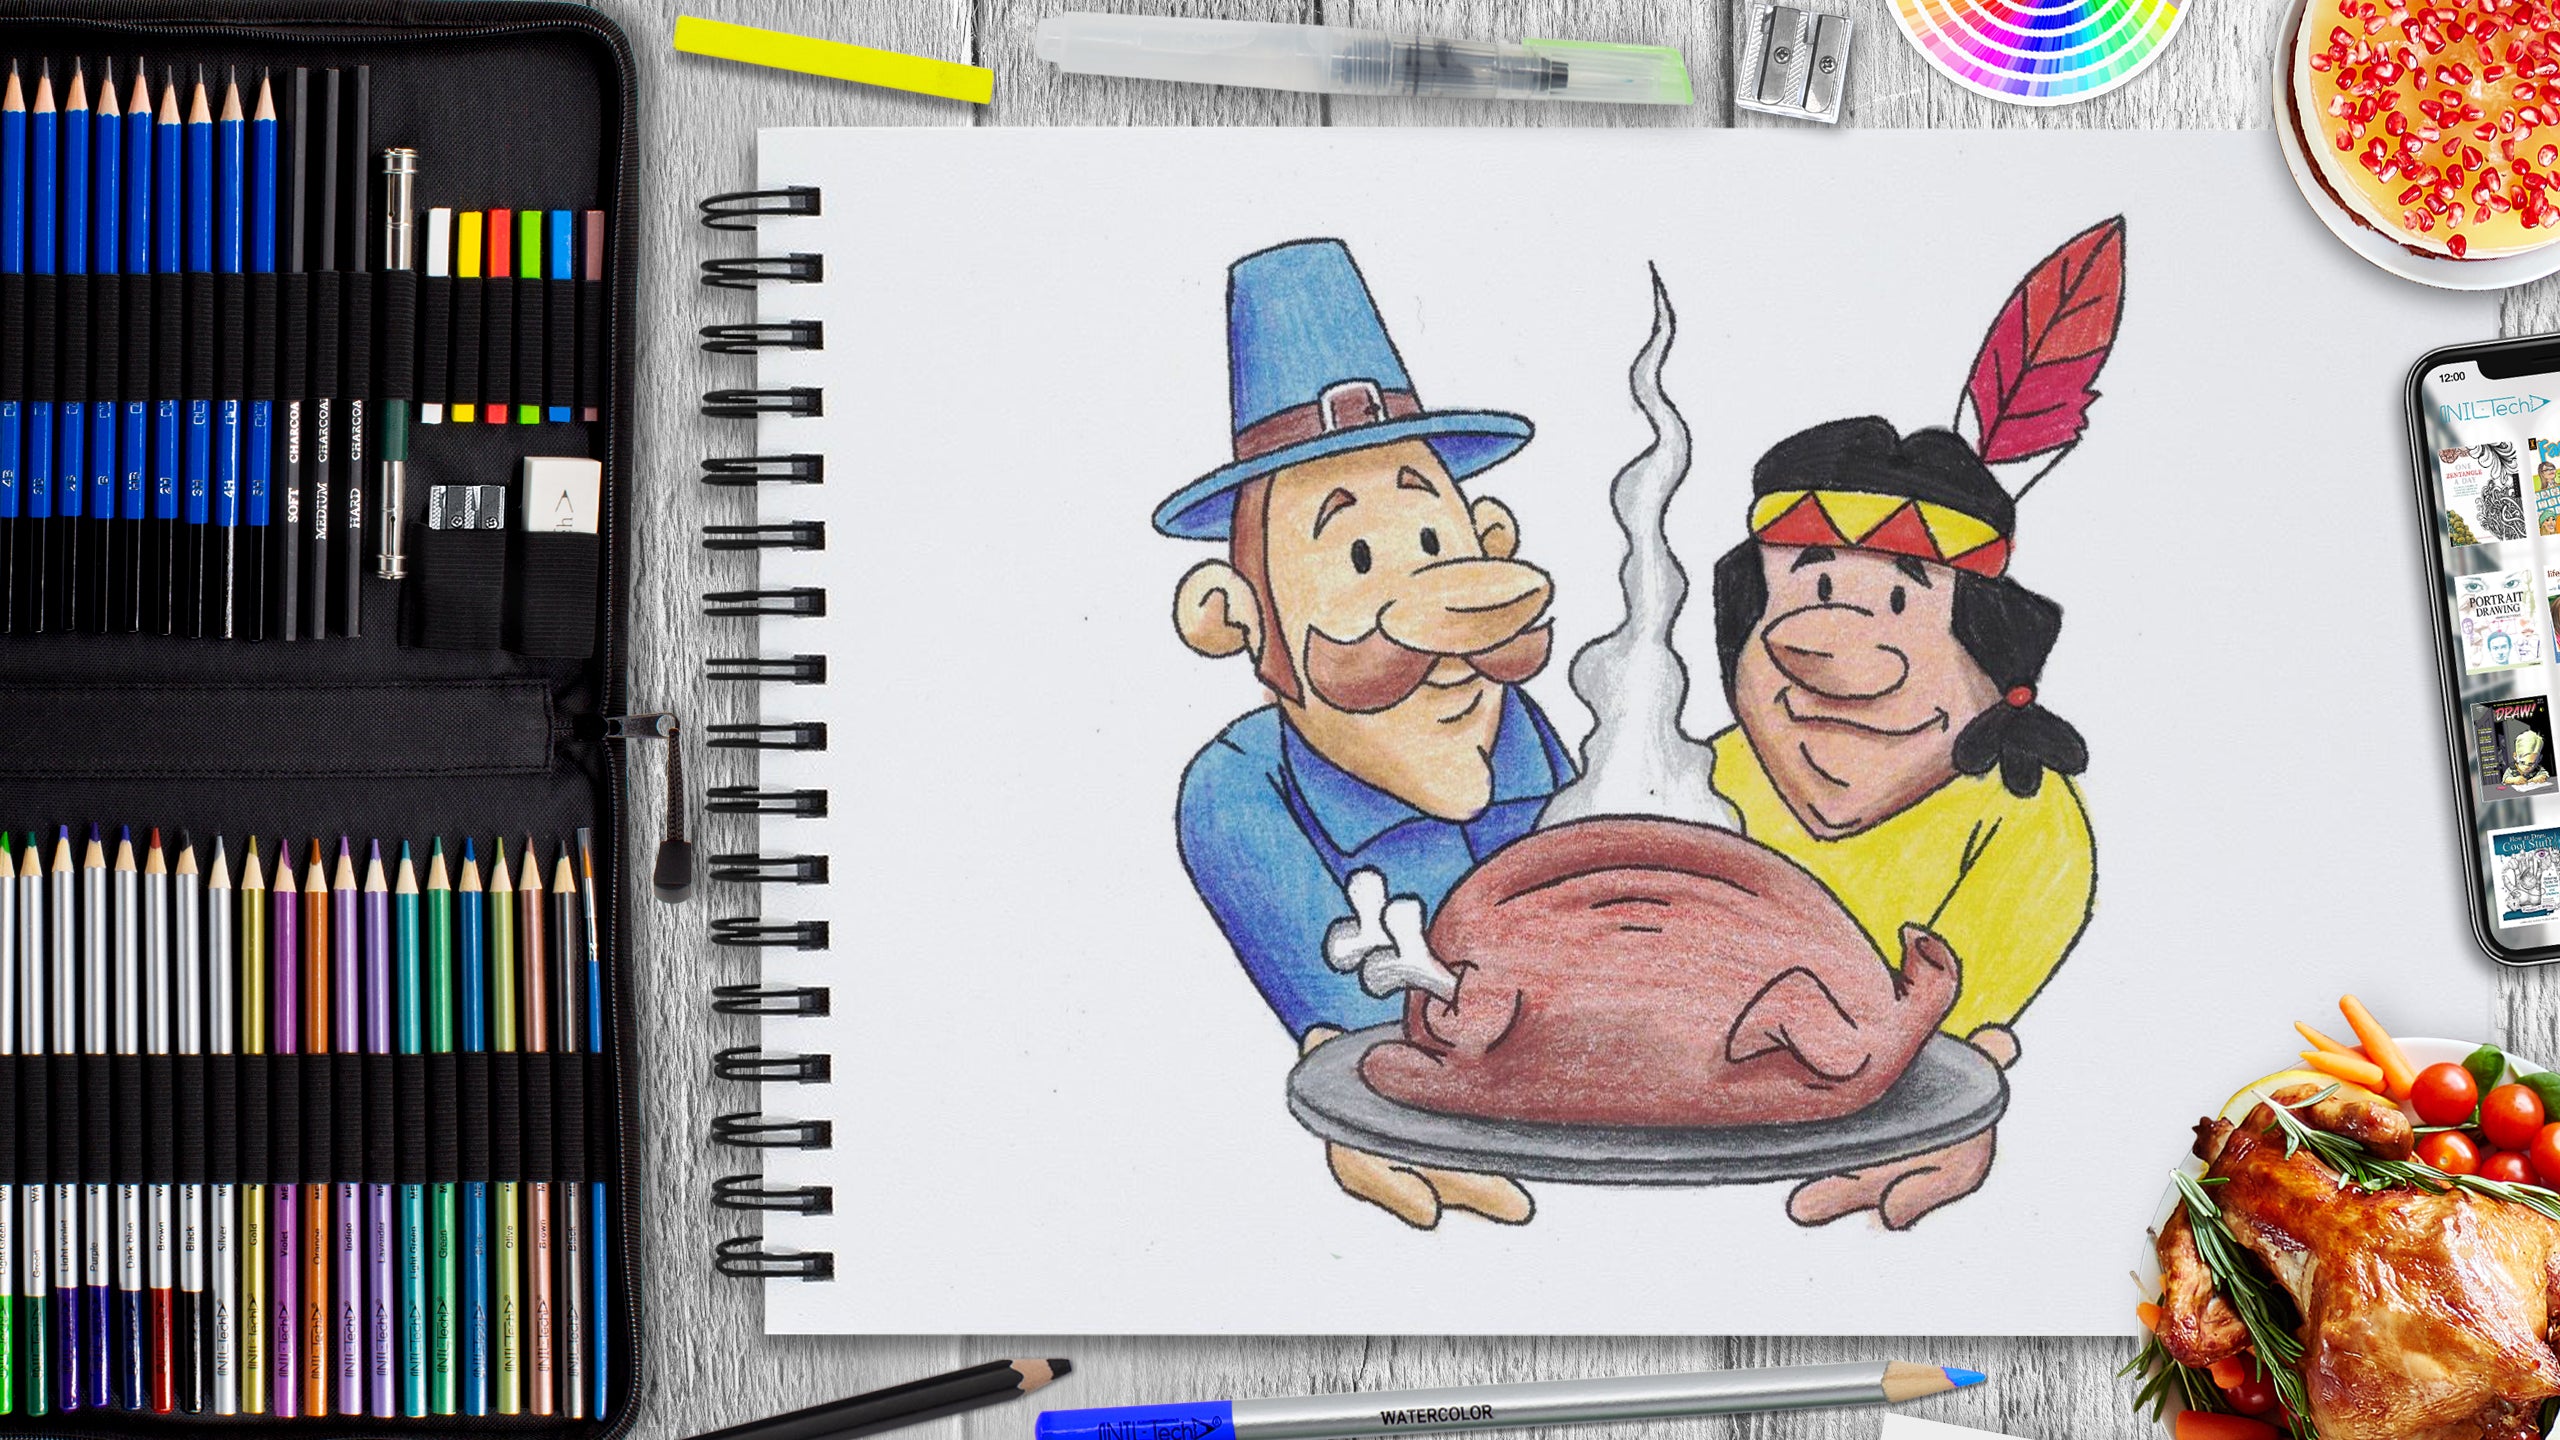
Hi everybody, and welcome to a new NIL-Tech drawing tutorial: "Thanksgiving Day drawing". Thanksgiving Day generally consists of three activities: spending time with the family, seeing football, as well as eating a hearty meal of turkey.
Here are some interesting facts about Thanksgiving Day that will maintain the conversation going:
1. The initial Thanksgiving was, in fact, a three-day celebration. Today, Thanksgiving lasts for one day - perhaps two if you count Black Friday. However, that wasn't sufficient for the initial Pilgrims. In November 1621, the settlers' initial corn harvest proved successful, and Guv William Bradford invited the Plymouth colonists' Native American allies to enjoy the fruits of their labor. Participants of the Wampanoag tribe came birthing food to share, and as they joined the Pilgrims, the revelers determined to expand the event.
2. There are 4 towns in the USA called "Turkey." They are located in Arizona, Texas, Louisiana, and North Carolina.
3. "Jingle Bells" was initially a Thanksgiving Day song. Before coming to be a Xmas anthem, Jingle Bells was an 1857 tune entitled "One Horse Open Sleigh," and its author, James Pierpont, planned it to be a Thanksgiving Day tune. But it came to be so popular around December 25 that in 1859 the title was changed to "Jingle Bells" and the rest is history!
4. Turkey wasn't on the food selection at the initial Thanksgiving. Venison, duck, goose, oysters, lobster, eel, and fish were most likely served, along with pumpkins and cranberries (but no pumpkin pie or cranberry sauce!).
5. The first Macy's Thanksgiving Day Parade did not feature any balloons. If you can not imagine the Macy's Thanksgiving Day Ceremony without huge floats featuring your favorite characters, you 'd most likely hardly identify the first parade in the very early 1920s. It did have puppets riding the floats, in addition to singers and stars and also Santa Claus. The Thanksgiving ceremony made its tremendous launching in 1924. It did have something that could be even crazier than balloons: animals from the Central Park Zoo.
In this tutorial, we used the following supplies:
- 2B pencil
- 3B pencil
- 4B pencil
- 5Bpencil
- 2H pencil
- 5H pencil
- colored pencils
- Kneaded Eraser
- White Vinyl Eraser
STEPBYSTEP10
Let's start making a Thanksgiving day drawing step by step!

Step 1. Draw three ovals for the faces and a turkey (pencil 5H).

Step 2. Draw the contours of the bodies and the oval-shaped plate. Draw the feather and outline of a hat (2H pencil).

Step 3. Draw the details of the faces - eyes, noses, mouths, and chins. Draw wings, throat, tail, and bones of hind legs of the turkey. (pencil 2B).

Step 4. Continue drawing the details - eyebrows, mustache and ears, hair, and folds on the faces and body of the turkey (pencil 3B). Also, draw ovals of the hands and fingers on each side of the plate (pencil 5H).

Step 5. Complete the work with details by drawing smoke above the turkey. Draw elements of hats, clothes, a rim of a plate, and fingers under it (pencil 5B).

Step 6. Outline the contour details, as in the example above (pencil 4B).

Step 7. Erase the extra lines inside the contours (eraser). Correct the lines you accidentally erased (pencil 4B).

Step 8. Hatch the drawing with colored pencils. Make the skin of the Indian more reddish (colored pencils).

Step 9. Darken the primary colors to create volume. To the brown color of the turkey, add orange and dark brown (colored pencils).

 |
Drawing Pencil SetExcellent GIFT IDEA - Non-Toxic and safe, easily portable and made with quality top-notch materials. Basic and innovative drawing supplies come together in NIL Tech set as an exceptional replacement for old-fashioned pencil boxes. The main attraction at any occasion from your drawing enthusiast friends, sketchers, artists to your kids or students boosting their creative projects and enjoy their ear-to-ear smile! |


