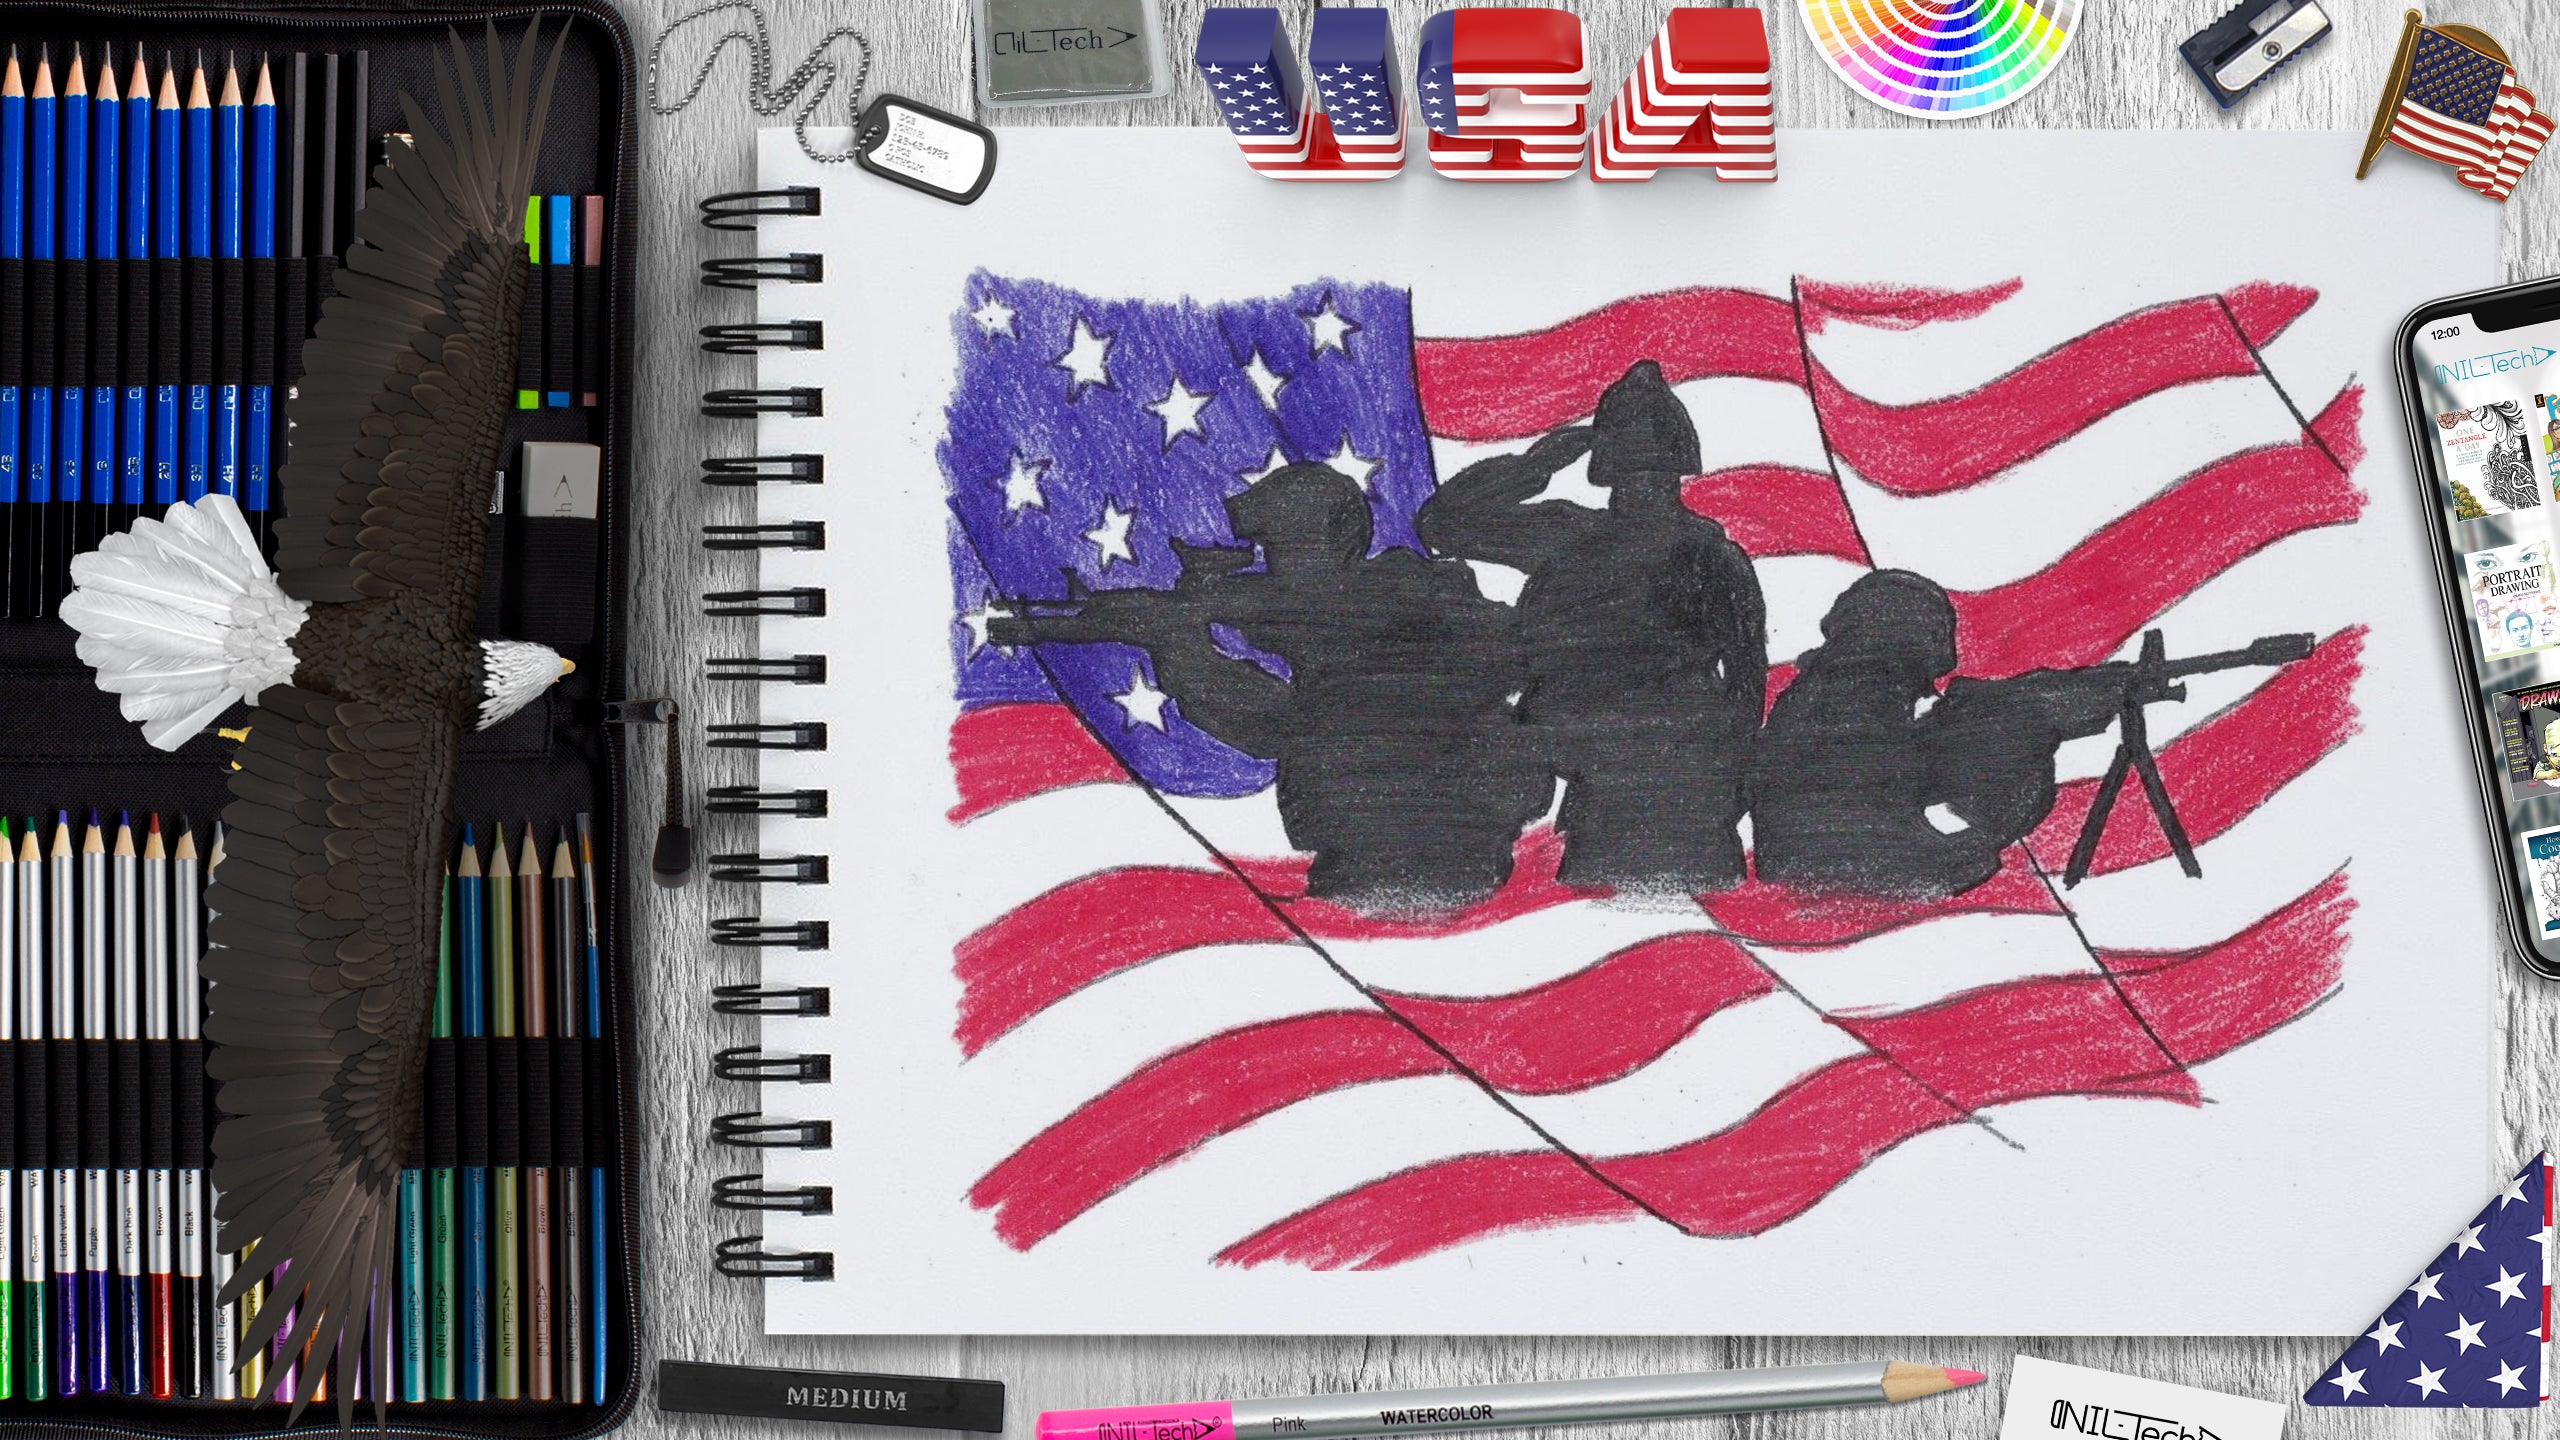
Veteran Day Drawing Step by Step
Nov 07 , 2019

Hi everybody, and welcome to a new NIL-Tech tutorial: "Veterans Day". Veterans Day originated as "Armistice Day" on November 11, 1919, the very first anniversary of the end of World War I. Congress passed a resolution in 1926 for a yearly observance, and November 11 ended up being a national holiday from 1938. Unlike Memorial Day, Veterans Day commemorates all American veterans - living or dead - but especially gives thanks to living veterans who served their nation honorably during war or peacetime.
So here are some interesting facts about the Veteran Day:
1. Great Britain, France, Australia, and Canada likewise honor the veterans of World War I and World War II on or near November 11: Canada has Remembrance Day, while Britain has Remembrance Sunday (the second Sunday of November).
2. The very first Veterans Day parade was kept in Birmingham, Alabama, in 1947, and now it's an annual tradition.
3. President Eisenhower established the Veterans Day National Committee. Consisting of leaders of veterans' groups, the committee fulfills numerous times a year in Washington, D.C., and plans Veterans Day activities and events that honor U.S. veterans. The committee is likewise dedicated to Veterans Day education, ensuring that the younger generations understand the importance and significance of the day.
4. Veterans Day takes place on November 11 every year in the United States in honor of the "eleventh hour of the eleventh day of the eleventh month" of 1918 that signaled the end of World War I, referred to as Armistice Day.
5. In Europe, Great Britain, and the Commonwealth countries, it prevails to observe 2 minutes of silence at 11 a.m. every November 11.
In this tutorial, we used the following supplies:
- B pencil
- 3B pencil
- 5B pencil
- 5H pencil
- colored pencils
- Blue
- Red
- Kneaded Eraser
- White Vinyl Eraser
Get yours today, here is a coupon for 10% OFF: STEPBYSTEP10
Let's start making Veterans Day drawing step by step!

Step 1. Draw the strokes of the heights of the three people whom we are going to draw (pencil 5H).

Step 2. Draw the axial lines of the bodies and the heads within the lines of step 1 (pencil 5H).

Step 3. Draw the contours of the bodies and the fold lines of the flag in the background (pencil B).

Step 4. Draw a hand of the central silhouette, arms, and weapons for the side silhouettes (pencil 3B).

Step 5. Draw more detailed contours of all the silhouettes. The more kinks along the contour of the clothes, the more beautiful the drawing will be (pencil 3B).

Step 6. Erase the excess lines (eraser). Remove the brush grains from an eraser with a brush.

Step 7. Draw the flag lines and stars in the upper left corner (pencil 5B).

Step 8. Hatch the silhouettes, preferably with lines in one horizontal direction (pencil B8).

Step 9. Paint the flag lines with red and the background of the stars with blue (colored blue and red pencils).

 |
Drawing Pencil SetExcellent GIFT IDEA - Non-Toxic and safe, easily portable and made with quality top-notch materials. Basic and innovative drawing supplies come together in NIL Tech set as an exceptional replacement for old-fashioned pencil boxes. The main attraction at any occasion from your drawing enthusiast friends, sketchers, artists to your kids or students boosting their creative projects and enjoy their ear-to-ear smile! |


