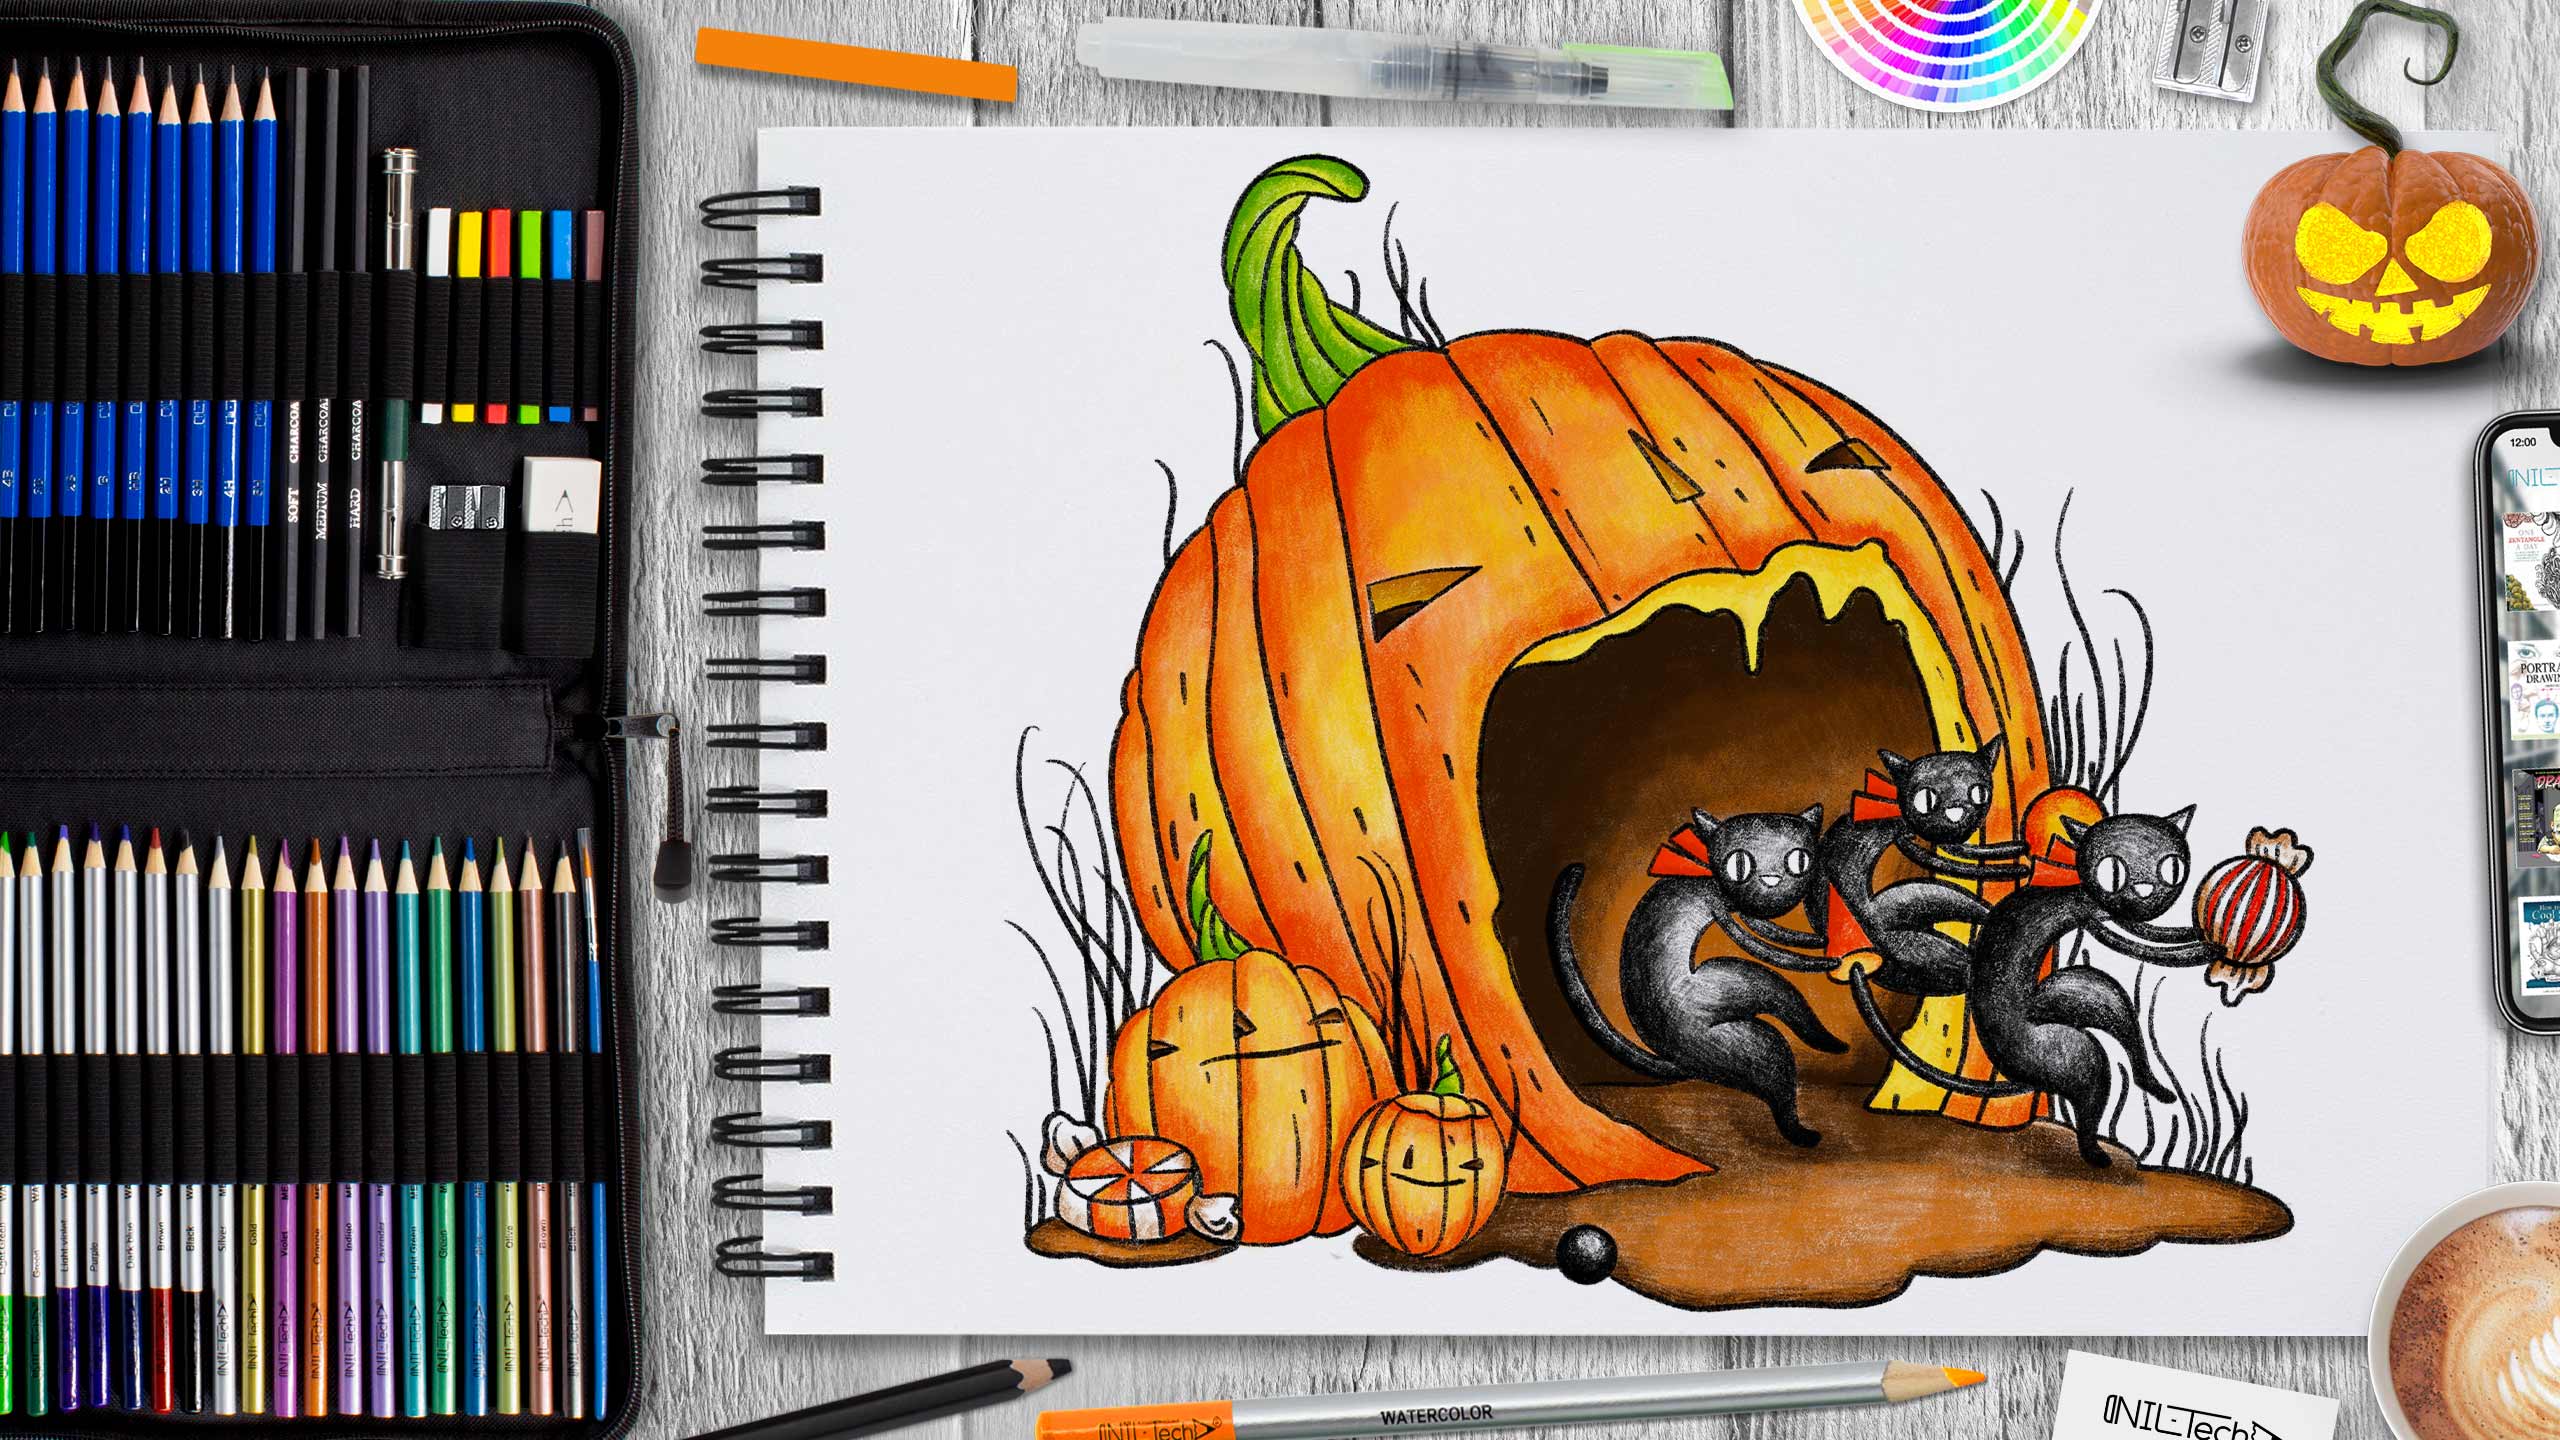
How to Draw Halloween Jack-o-Lantern Step by Step
Oct 28 , 2021

How Jack-o-lanterns Originated?
A lot of people have been making jack-o'-lantern at Halloween for centuries. It originated from an Irish myth about a man nicknamed "Stingy Jack." According to the story, Stingy Jack invited the Devil to have a drink with him. True to his name, Stingy Jack didn't intend to pay for his drink, so he convinced the Devil to turn himself right into a coin that Jack could use to buy their drinks. Once the Devil did so, Jack decided to keep the money and put it into his pocket next to a silver cross, which prevented the Devil from changing back into his original form.
Jack eventually freed the Devil, under the condition that he would certainly not bother Jack for one year and that, should Jack die, he would certainly not claim his soul. The following year, Jack again tricked the Devil into climbing into a tree to pick a piece of fruit. While he was up in the tree, Jack carved a sign of the cross into the tree's bark so that the Devil could not come down until the Devil promised Jack not to bother him for ten more years.

As days went by, Jack died. As the legend goes, God would not allow such an unsavory figure into heaven. However, the Devil, upset by the trick Jack had played on him and keeping his word not to claim his soul, would not allow Jack into hell. So he sent Jack off into the dark night with only a burning coal to light his way. Jack put the coal into a carved-out turnip and has been roaming the Earth ever since. The Irish began to refer to this ghostly figure as "Jack of the Lantern," and then, simply, "Jack O'Lantern."
In Ireland and Scotland, people began to make their versions of Jack's lanterns by carving scary faces into turnips or potatoes and placing them into windows or near doors to frighten away Stingy Jack and other wandering evil spirits. In England, large beets are used. Immigrants from these countries brought the jack-o'-lantern tradition with them when they came to the United States. They soon found that pumpkins, a fruit native to America, make perfect jack-o'-lanterns.
Let’s start Drawing Jack-o-Lantern Step by Step
In this tutorial we used the following supplies:
- Pencil B
- Colored Pencil
- orange
- green
- yellow
- red
- brown
- dark brown
- black
STEPBYSTEP10

Step 1. We start drawing by marking the future pumpkins with the help of the circles and the middle line. (Pencil B)

Step 2. With the help of the circles, draw the shapes of the pumpkins and outline the movement of the tails. (Pencil B)

Step 3. Remove all unnecessary construction lines and draw the faces of the pumpkins and twigs, also outline the future cats with circles and lines, and also draw a candies.. (Pencil B)

Step 4. Drawing the cats based on the construction line and adding small details. (Pencil B)

Step 5. Remove all unnecessary construction lines and draw all the remaining details of the drawing. (Pencil B)

Step 6. We begin to paint by doing the general tone, orange and yellow pumpkins, green tails, and red patterns on sweets and scarves of cats. (Colored pencils orange, green, yellow, red)

Step 7. We begin to work on the pumpkins. For the shadows, we use red and orange, and for the lighting, we use yellow, on the twigs we make the shadows green and the light yellow. (Colored pencils orange, red, yellow, green)

Step 8. On the pumpkins, work out the shadows on the faces with brown and dark brown, paint over the cats with black, also add orange and red shadows on the candies. (Colored pencils brown, dark brown, black, red, orange)

Step 9. The last step is to add shadows using brown and dark brown on the pumpkin and the ground, we also make the shadows on the candies brown and also paint over the last candy with black. (Colored pencils brown, dark brown, black)
STEPBYSTEP10
 |
Drawing Pencil SetExcellent GIFT IDEA - Non-Toxic and safe, easily portable and made with quality top-notch materials. Basic and innovative drawing supplies come together in NIL Tech set as an exceptional replacement for old-fashioned pencil boxes. The main attraction at any occasion from your drawing enthusiast friends, sketchers, artists to your kids or students boosting their creative projects and enjoy their ear-to-ear smile! |


