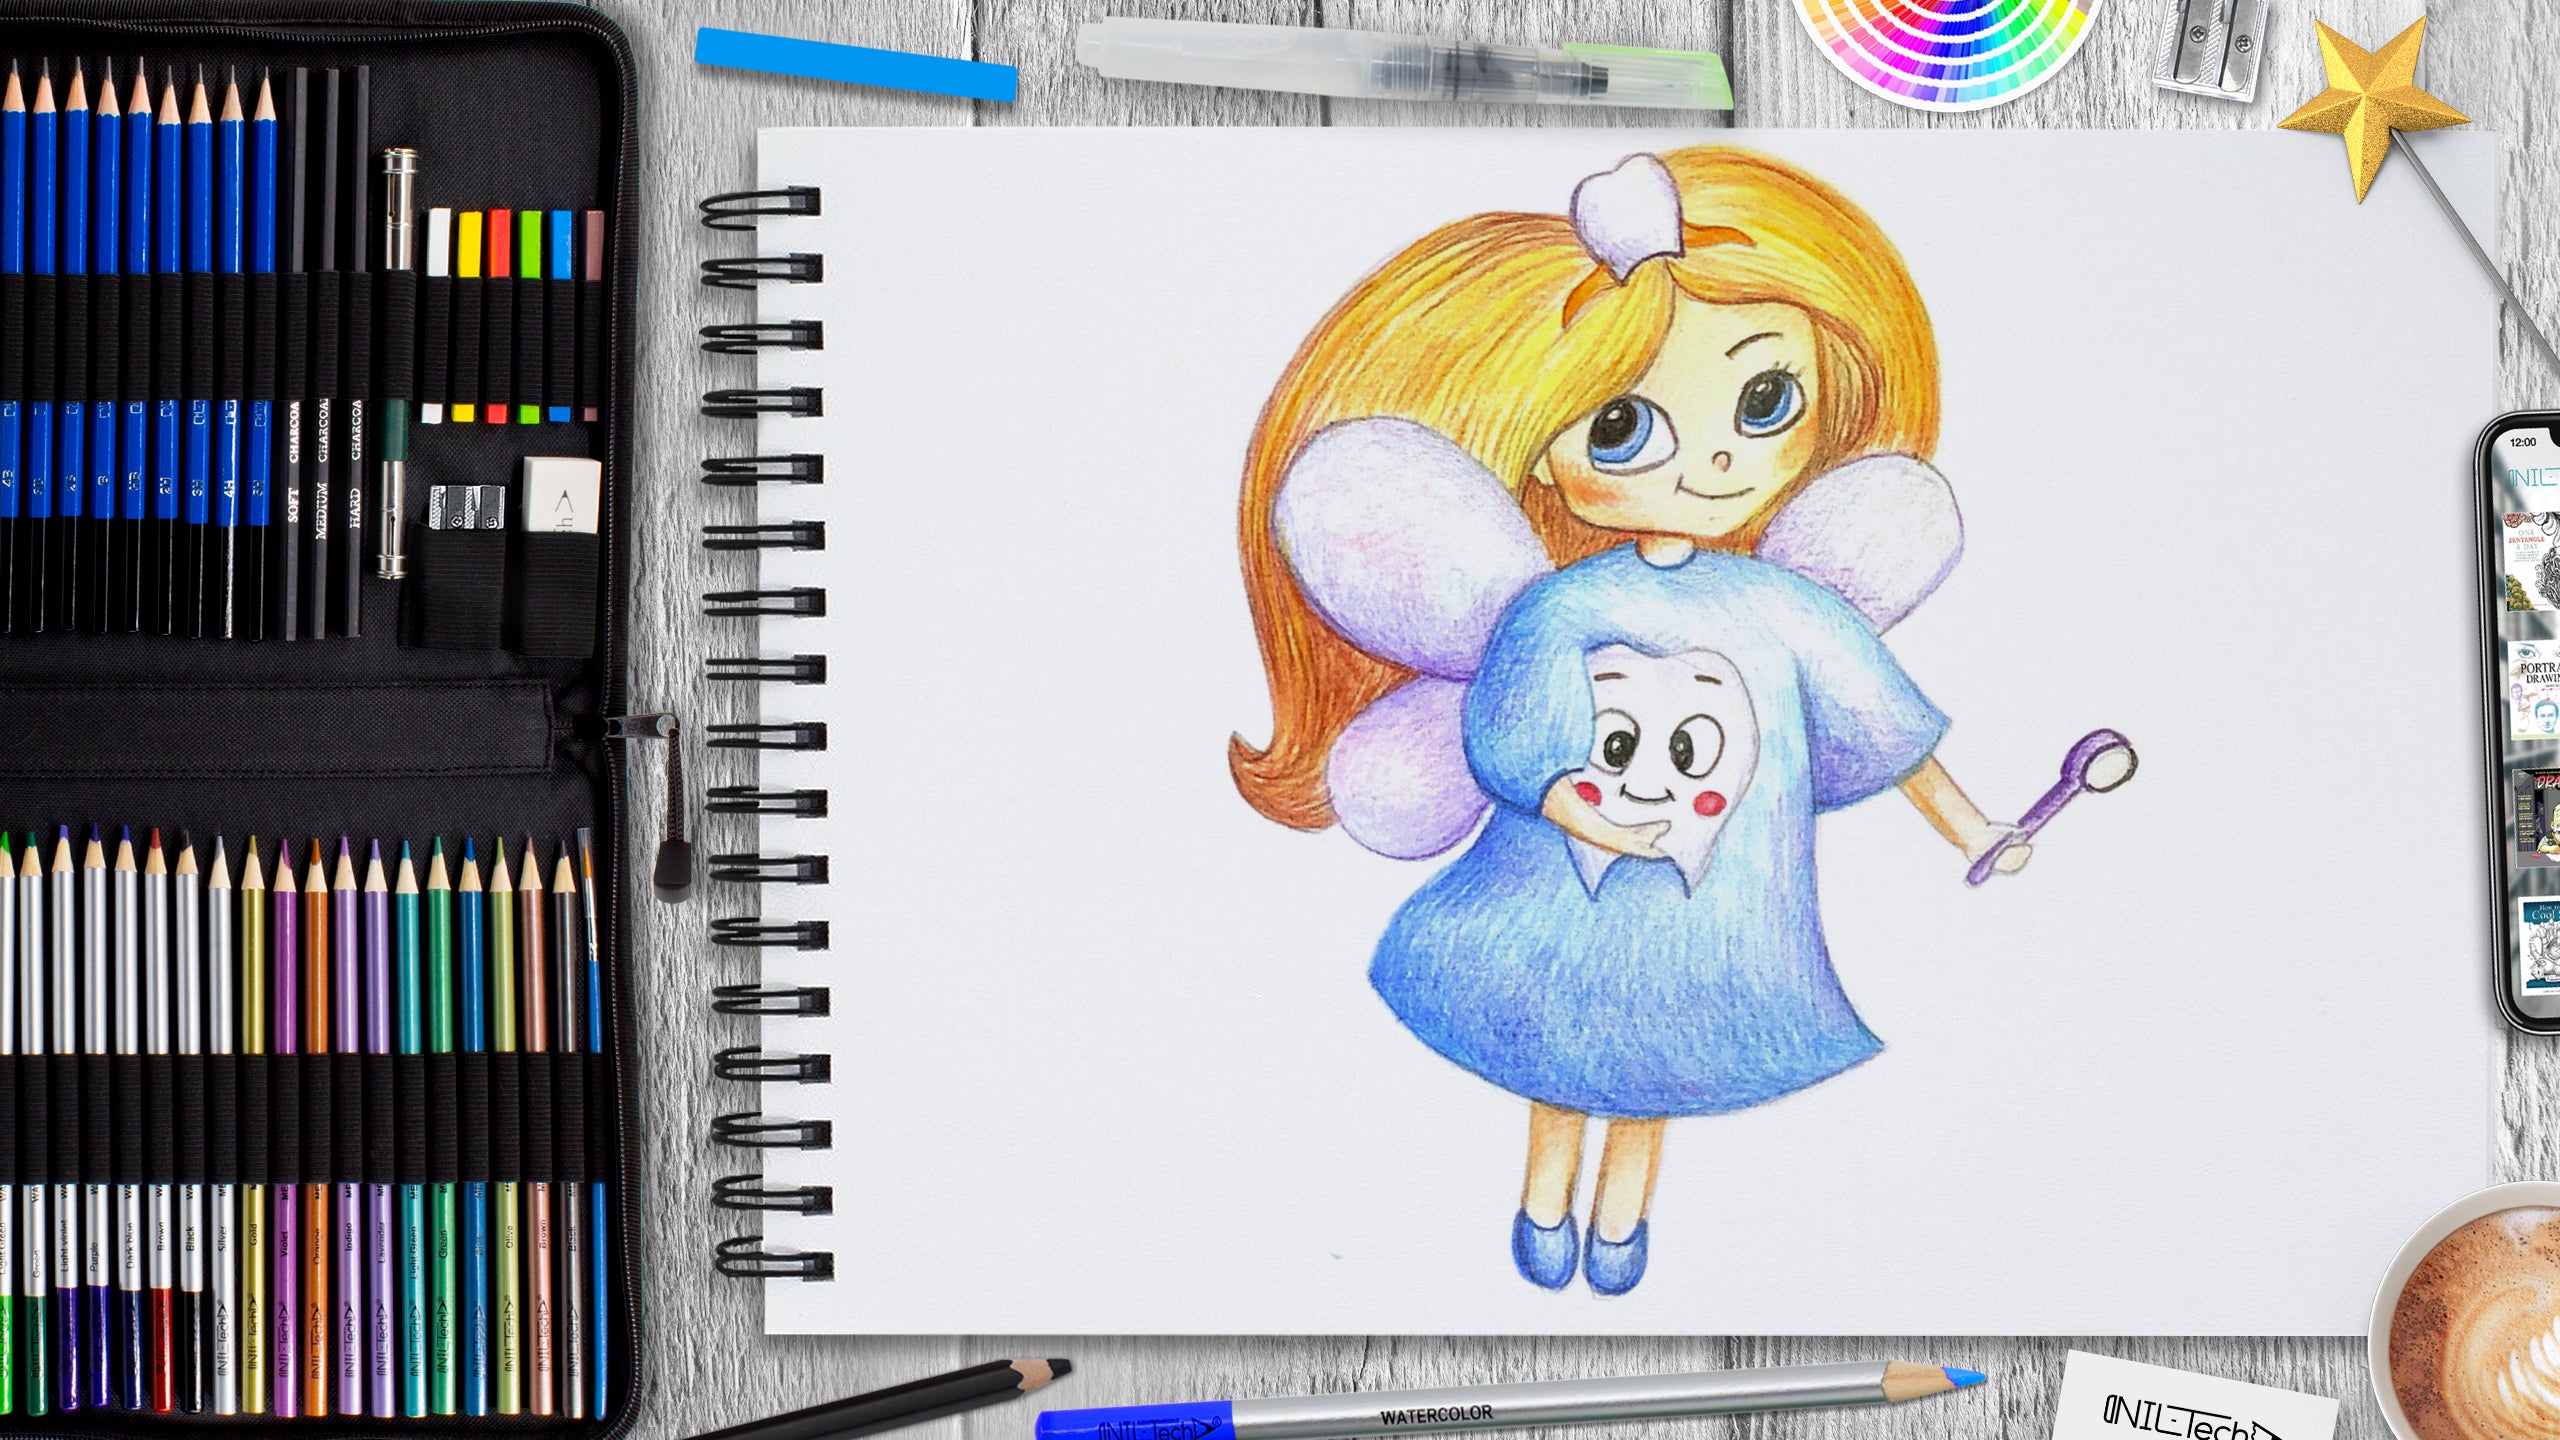
How to Draw a Tooth Fairy
Aug 20 , 2020

Hi everybody, and welcome to a new NIL-Tech drawing tutorial: "Tooth Fairy". When you are a child, losing a tooth is thought a right of passage in many different cultures. Parents throughout history have created rituals to celebrate with their kids. The tale of the Tooth Fairy is one of the most traditional and iconic childhood tales in the world.
Here are some interesting facts about Tooth fairy:
1. She's Not Always a Fairy. Worldwide, the Tooth Fairy varies in appearance. Most of the baby-tooth traditions around the world are connected to rodents. Depending on the culture, the Tooth Fairy can be a squirrel, a mouse, or a rat. Cultural diversity is just one of the crucial things that make the Tooth Fairy so unique. Despite the form she embodies, the Tooth Fairy is one of the most splendid magical creatures all over the world.
2. She's Younger Than You Think. When compared to Santa Claus, who dates back to ancient history, the Tooth Fairy only went back to the early 1900s. She was first discussed in a post in the Chicago Daily Tribune's "Family Hints" column from September 1908. The story was more promoted by Esther Watkins Arnold in the 1927 bet children, The Tooth Fairy.
3. The Tooth Fairy had her museum. Found in a split level home in Deerfield, IL. The Tooth Fairy Museum showcased art, books, dolls, as well as other Tooth Fairy memorabilia.
4. She visits each child around 20 times! Kids have 20 baby teeth that will fall out over a few years. As long as each tooth is left under the pillow, the Tooth Fairy will find it!
5. No Tooth? Not a problem! Sometimes our baby teeth fall out, and we do not even realize it. By the time we discover it's lost, we can not find it! However, even if you can't find your tooth once it falls out, she will still come to you.
In this tutorial, we used the following supplies:
- B pencil
- colored pencils
- blue
- yellow
- purple
- skin-color
- brown (light and dark)
- brick
- carrot
- burgundy
- orange
- black
- White Vinyl Eraser
- Kneaded Eraser
STEPBYSTEP10
Let's draw a "Tooth Fairy" step by step!

Step 1. Draw the skeleton of the figure with a circle and lines (pencil B).

Step 2. Outline the shape of the head, face, and body over the drawn skeleton (pencil B).

Step 3. Draw wings and hair. With circle and a line outline the future tiara (pencil B).

Step 4. Draw a tiara. It includes a tooth and a hoop. Draw legs and outline the tooth that the fairy holds in her hand (pencil B).

Step 5. Draw the remaining elements: a tooth with a face, hands, and a toothbrush in the fairy's hands (pencil B).

Step 6. Erase all the excess the construction lines. Make the contour a little less bright with a wash/nag (pencil B).

Step 7. Start hatching by adding a general tone to the drawing (blue, yellow, and purple colored pencils).

Step 8. Let's add volume to the figure by drawing shadows. For the dress, we take blue and purple colors; for the wings - purple (blue, purple colored pencils). Draw the hair (don't forget about drawing its texture) (brick and dark brown colored pencils). Add an overall tone to the skin (skin-colored pencil).

Step 9. Refine the skin and the face by adding volume and expressiveness (brown colored pencil). Draw the blush (carrot and burgundy colored pencils). Hatch the shoes, a toothbrush, tiara, and eyes (burgundy, blue, orange, purple, and black colored pencils).

Step 10. The last detail is the tooth. Add volume to it and draw the face (purple, burgundy, black colored pencils).

 |
Drawing Pencil SetExcellent GIFT IDEA - Non-Toxic and safe, easily portable and made with quality top-notch materials. Basic and innovative drawing supplies come together in NIL Tech set as an exceptional replacement for old-fashioned pencil boxes. The main attraction at any occasion from your drawing enthusiast friends, sketchers, artists to your kids or students boosting their creative projects and enjoy their ear-to-ear smile! |


