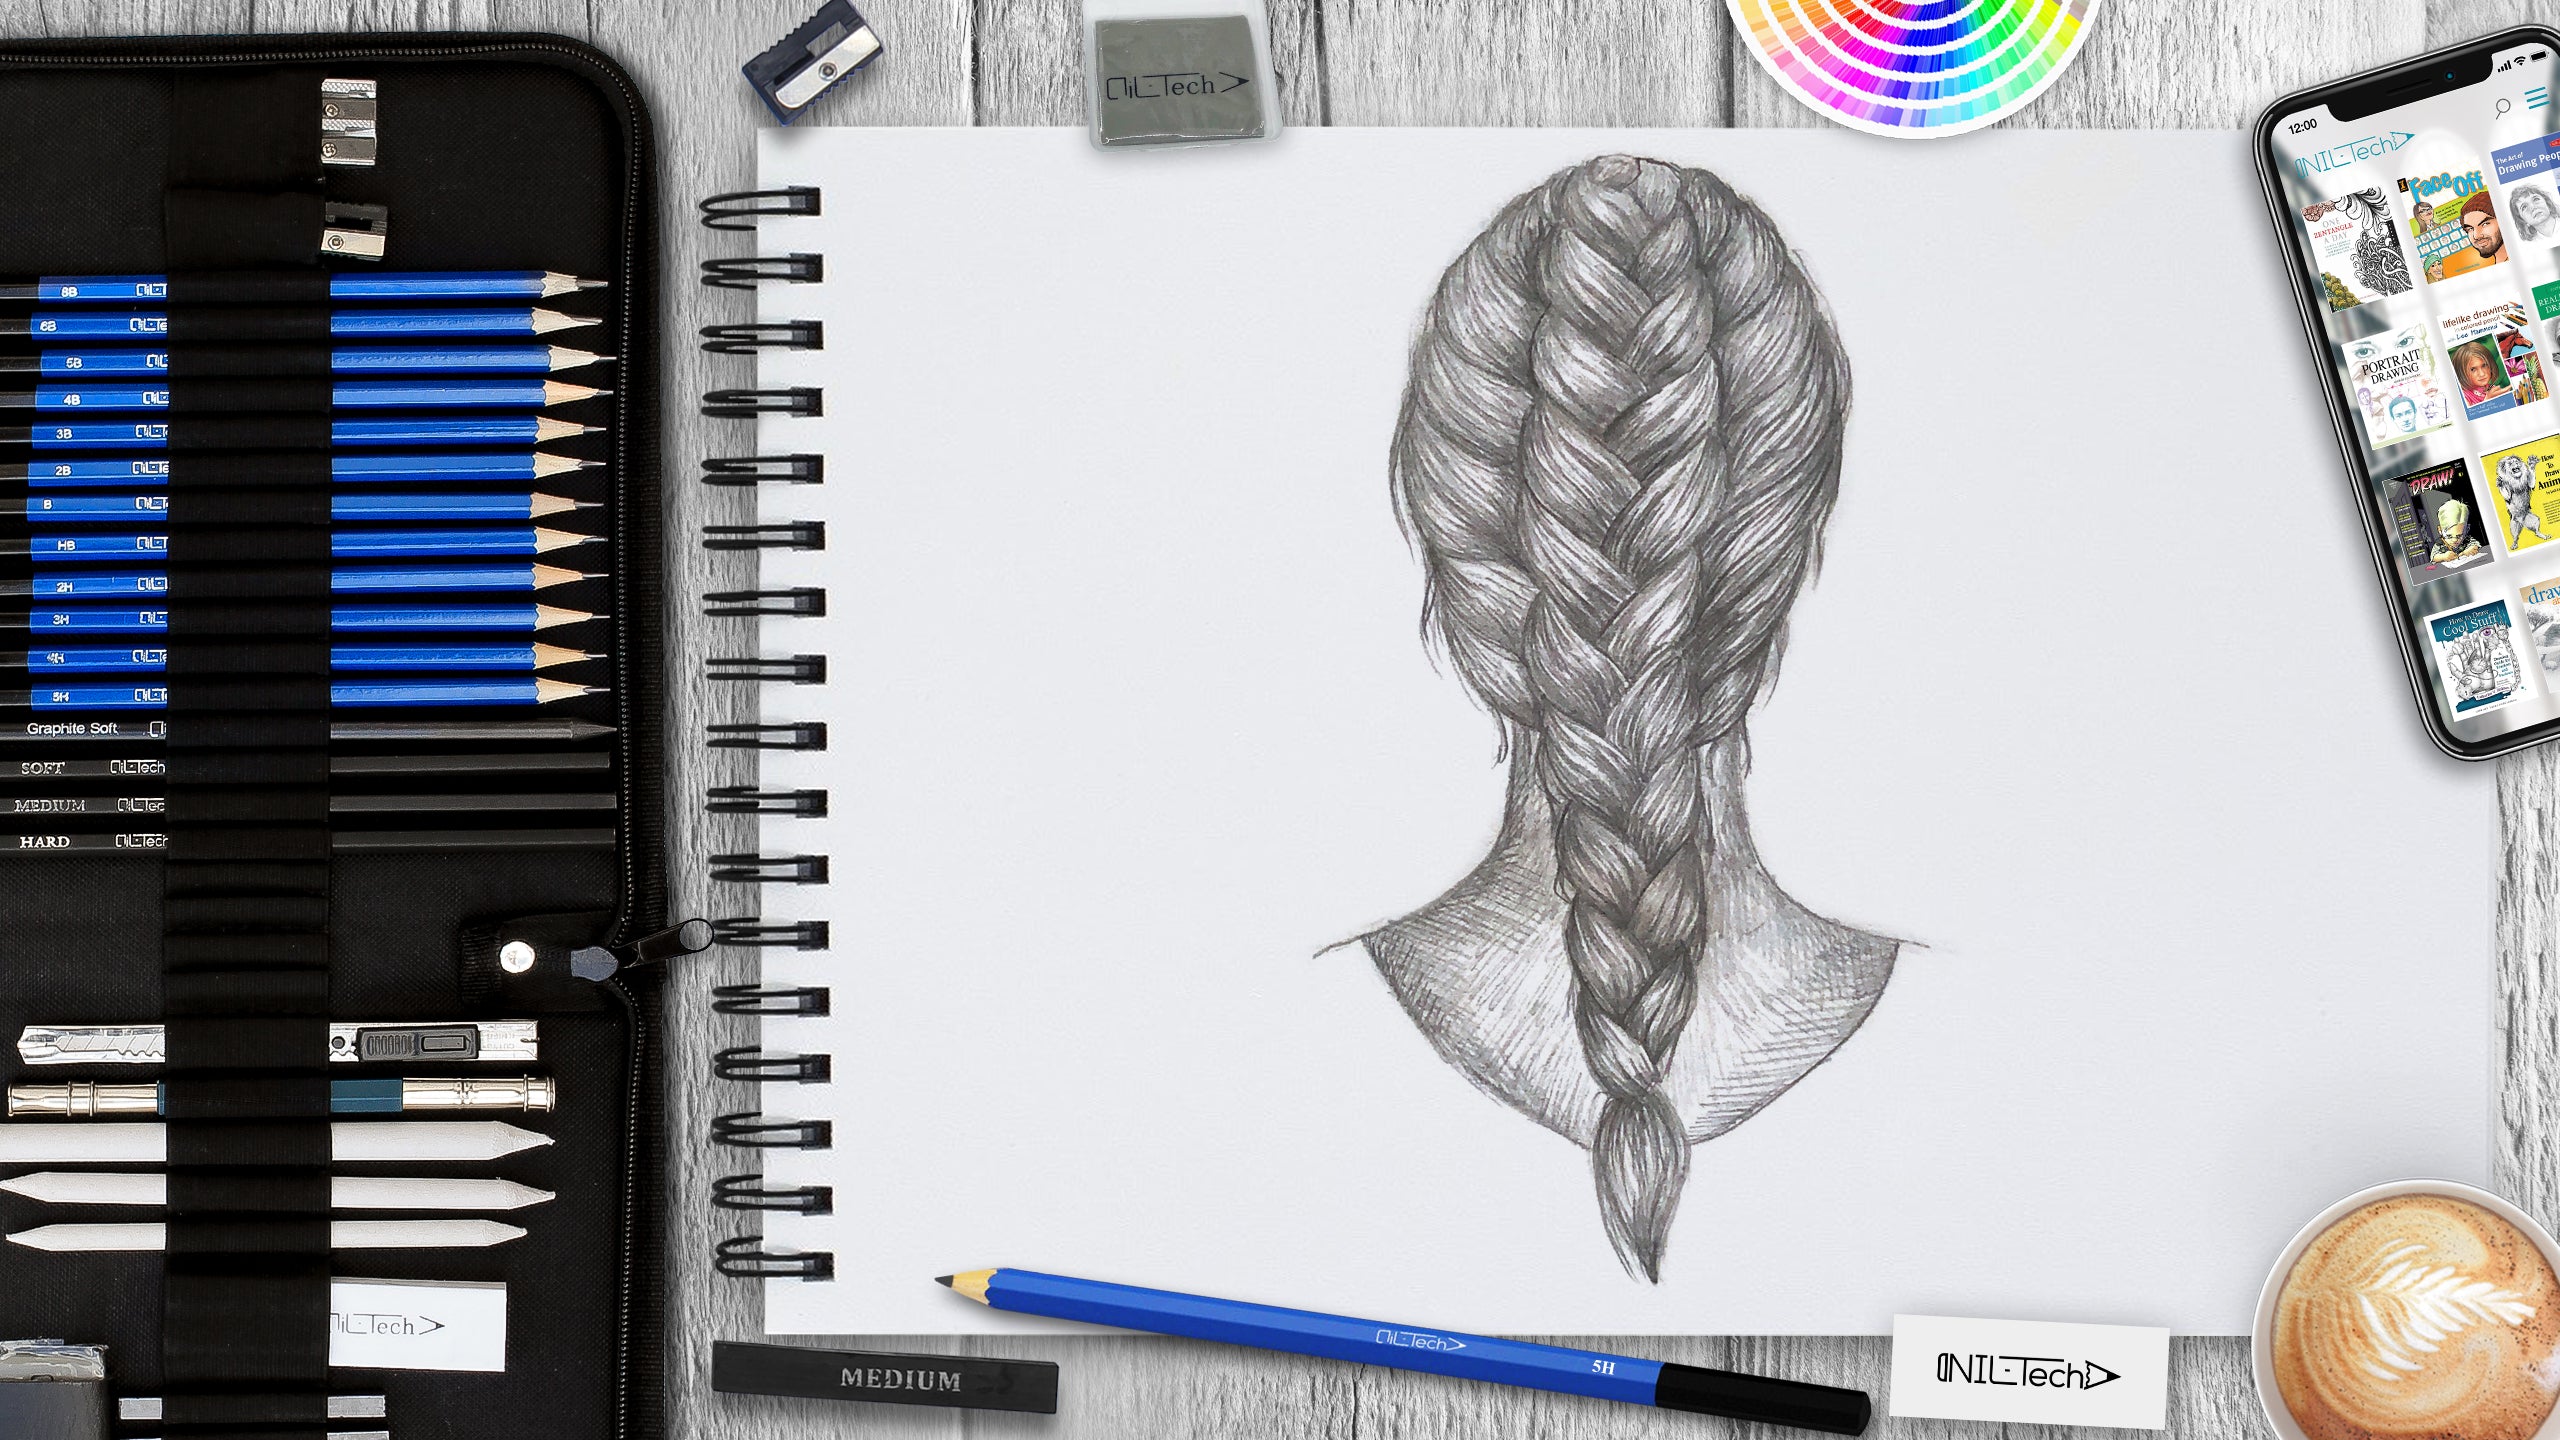
How to Draw Braids
Oct 22 , 2020

Hi everybody, welcome to a new NIL-Tech drawing tutorial: "Braids". Braids are nothing new in terms of hairstyles. However, that certainly hasn't stopped countless stars from wearing them on the red carpet and more designers from having their models rock them in recent path shows. This naturally has inspired more people to wear them daily, yet if you're like a lot of us, we tend to keep it easy when intertwining.
Here are some interesting facts about Braids (and some tips):
1. They're much better on dirty hair. When you're braiding your hair, you require your strands to have a little bit of "grip" to them, so dirty hair works better than clean, soft hair. We're not speaking greasy dirty, but when you get on the last day of your blowout, choose a braid.
2. Use a pomade to get them perfect. If you're battling flyaways and frizz that you don't want there, rub a bit of pomade on the pointers of your fingers to finish off your braid (or use it as you're getting to the end where many times those little frizzes pop up). Plus, you can always use the remaining to smooth any baby hairs around your hairline.
3. Most of the time, celebs have expansions in their braids. Remember that many of the celebrities you see on the red carpet usually have "fake" hair added in, i.e. extensions. If your braid looks a bit limp compared to theirs, and you wish to beef it up, add in a couple of expansions.
4. If you want a "messy" braid, wait until the end to mess it back up. If you're going with the disheveled braid appearance, don't begin by messing it up as you entwine. Always keep your braid tight as you're braiding, and after that wait, until you have finished and secured the braid to return in and rough it up a little bit.
5. If you have layered hair, spray it with a light hairspray before braiding. If you're dealing with multiple layers, spray your hair with a light-hold hairspray before starting your braid. This will help the layers stay put as you braid, so you won't have strands falling out.
In this tutorial, we used the following supplies:
- B pencil
- 3B pencil
- White Vinyl Eraser
- Kneaded Eraser
STEPBYSTEP10
Let's draw "Braids" step by step

Step 1. Start the drawing with the head where the braid will be. Point the middle with a straight line (pencil B).

Step 2. Draw a zigzag in the middle and braid borders on the sides (pencil B).

Step 3. From zigzags, we begin to draw braided strands. Do not go draw over the edges - only adhere to them (pencil B).

Step 4. Draw the strands going to the braid from the side (pencil B).

Step 5. Erase all excess construction lines. With an eraser, make the contour less bright. Draw the shirt line below (pencil B).

Step 6. Start with drawing the overall tone of the braid. Keep in mind that hatching lines are the hair texture (pencil B).

Step 7. Let's work on the hair texture. It will somehow resemble a rounded shape. To make the texture more hair-like, brighten the strands with a softer pencil (pencil 3B).

Step 8. Now add the overall tone of the rest of the hair. Keep in mind that hatching lines are the hair texture (pencil B).

Step 9. Let's add the last details to the drawing. Draw little loose strands on the sides, making it more realistic. Hatch the neck (pencil 3B).

 |
Drawing Pencil SetExcellent GIFT IDEA - Non-Toxic and safe, easily portable and made with quality top-notch materials. Basic and innovative drawing supplies come together in NIL Tech set as an exceptional replacement for old-fashioned pencil boxes. The main attraction at any occasion from your drawing enthusiast friends, sketchers, artists to your kids or students boosting their creative projects and enjoy their ear-to-ear smile! |


