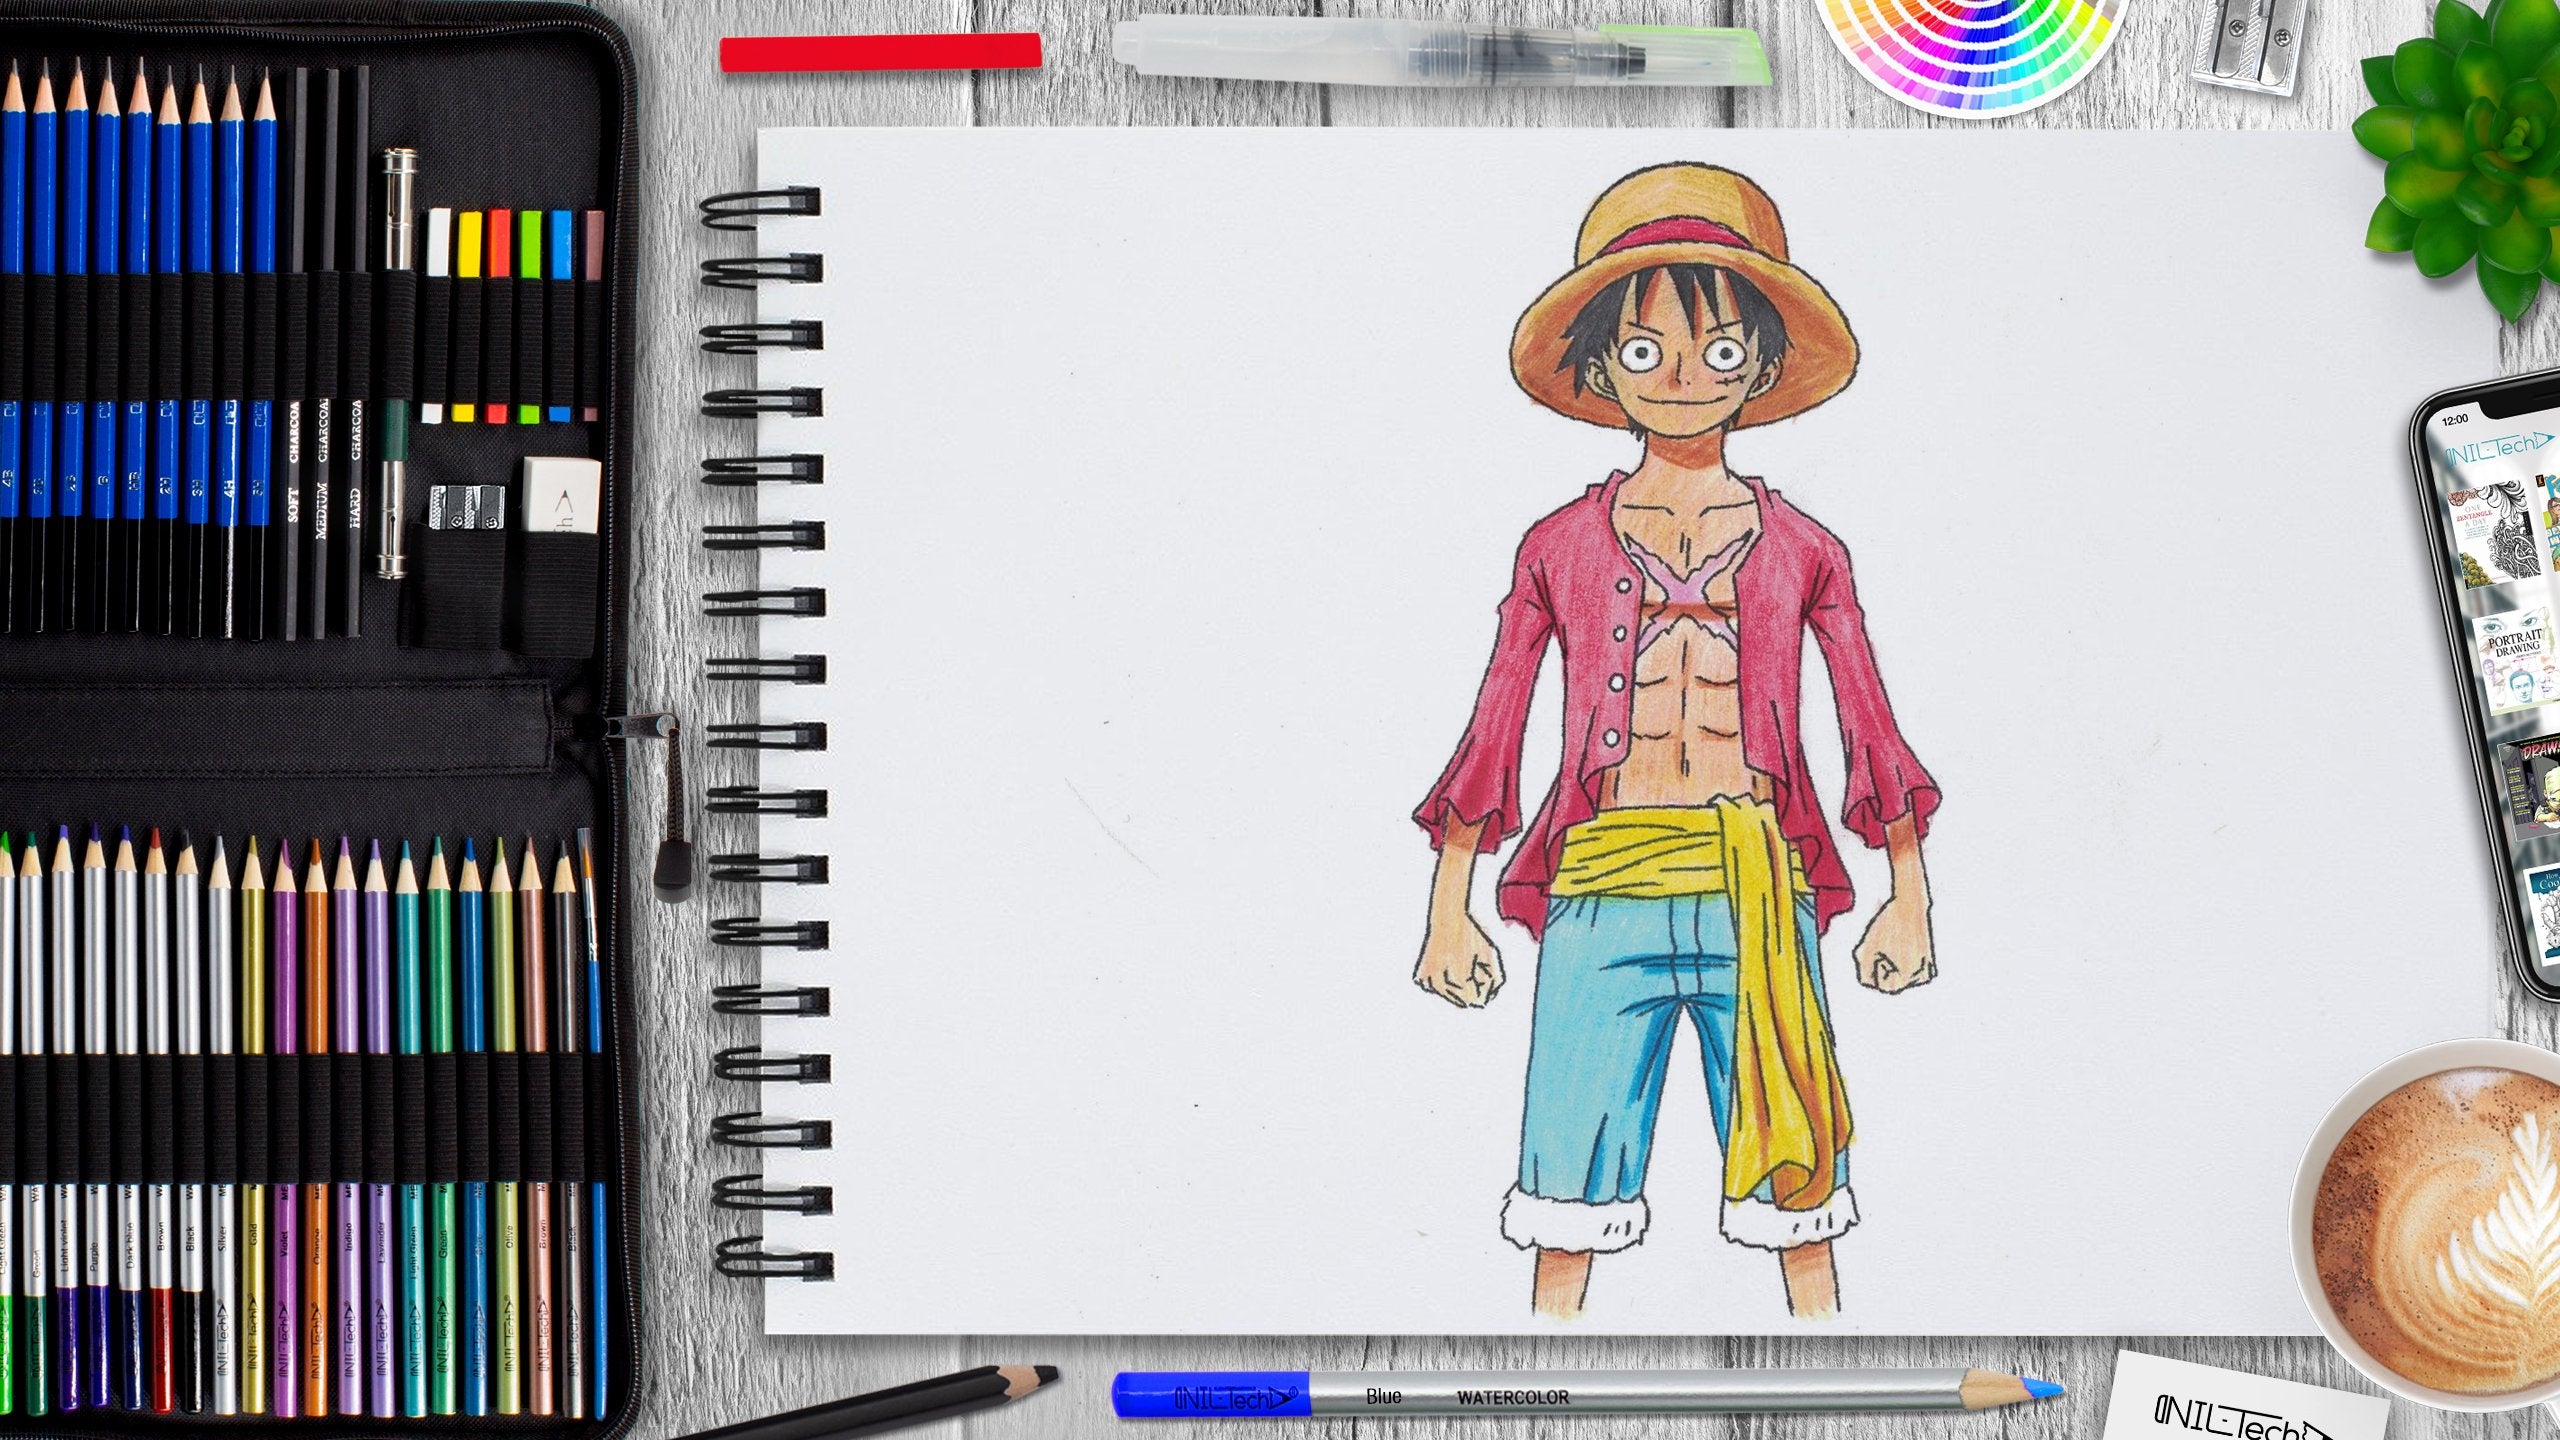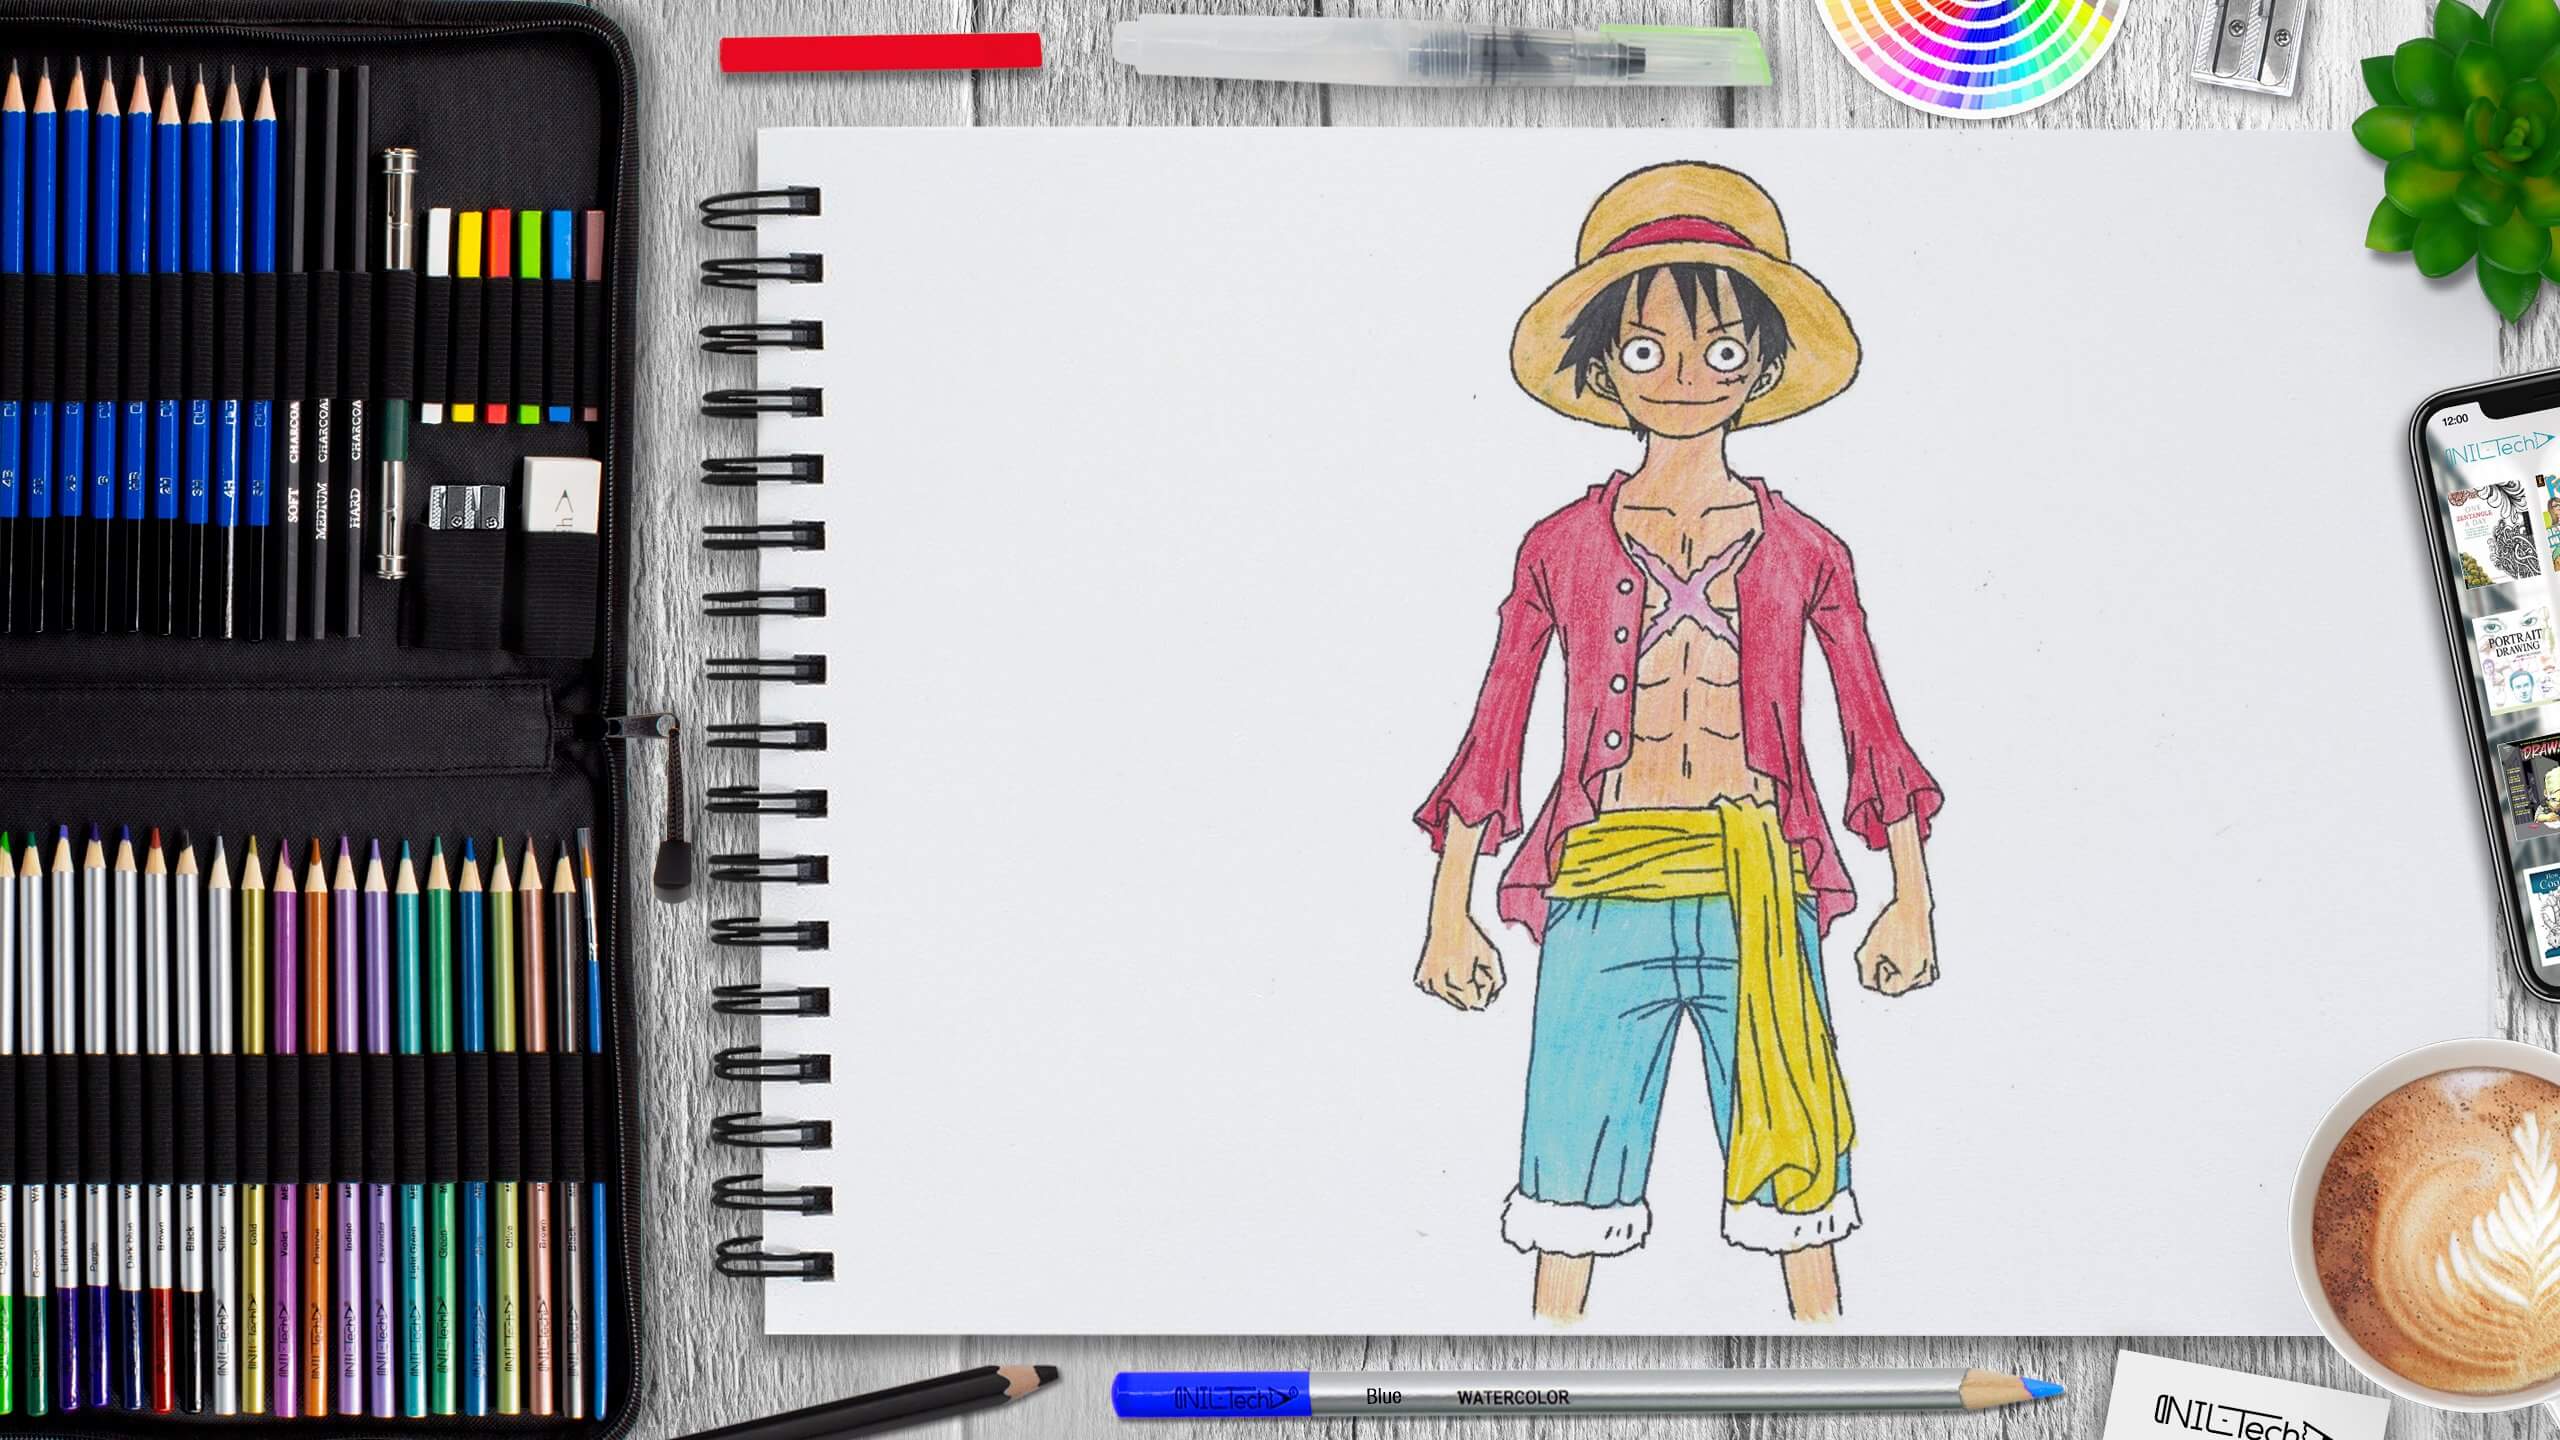
How to Draw Luffy from One Piece
Nov 20 , 2019

Hi everybody, and welcome to a new NIL-Tech drawing tutorial: "Luffy from One Piece". Written by author Eiichiro Oda, the series has spanned over twenty years because of its launch in 1997. Covering the exciting journey of Ape D. Luffy and also the team of the Straw Hat Pirates, Oda has taken his fans on a remarkable trip that is far from ending. Now, the manga series has more than 80 volumes (nearly 840 chapters). When it comes to the anime, which has kept up with mangs, it's currently at almost 800 episodes, eight TV specials, and 13 theatrical movies.
Here are some interesting facts about One Piece anime:
1. Sanji was intended to be named Naruto, but the developer changed it due to the anime Naruto.
2. Luffy hasn't killed a person yet.
3. The Marines utilize Kairouseki under the boats to do through the Calm Belt without attracting the Sea Monsters.
4. Luffy was the first anime character to appear in the fashion magazine, Non-no.
5. According to Oda, the animal that Franky is most alike is a bull, and the color that represents him is light blue.
Let's start drawing Luffy step by step!
In this tutorial, we used the following supplies:
- B pencil
- 2B pencil
- 3B pencil
- 4B pencil
- HB pencil
- 5H pencil
- colored pencils
- Pink
- Yellow
- Brown
- Dark Beige
- Burgundy
- Red
- Golden
- Blue
- Orange
- Mechanical Pencil
- Kneaded Eraser
- White Vinyl Eraser
STEPBYSTEP10
Step 1. Draw the contour of the head (shape of an inverted egg) and the central line of the bod. Draw a horizontal line below (the place where the inner lines of the legs begin), and the lines of the shoulders (pencil 5H).

Step 2. Draw the contours of the hat and the eye socket, lines along the body to the right and left, curved to the centerline (pencil 2B).

Step 3. Draw the contours of the hands and egg-shaped ovals for the fists, neck, ears, and face details - the pupils of the eyes, nose, mouth, scar, and eyebrows (pencil 2B).

Step 4. Draw the contours of clothes (shirt, belt, and shorts) and legs, a ribbon on the hat, and hair (pencil B, 3B - for hair).

Step 5. Draw in detail the contours of the clothes, the hanging edge of the belt, and the outlines of the cuffs on the shorts (mechanical pencil, pencil 4B).

Step 6. Draw the abs on the body, collarbones, and a crosshair in the chest area, buttons, and fists. Draw the direction of the folds of the belt and shorts, as in the above example. They can be different lengths, but in the right direction (HB pencil).

Step 7. Erase the excess lines on which the drawing was built. Correct the lines you could accidentally erase (soft pencil 4B). Be sure to blow off or brush away all the dirt from the eraser with a brush before hatching.

Step 8. Paint the picture with different colors. Draw skin with yellow (low pressure), pink (low pressure), and orange (low pressure). The shirt is red (hatch with vertical strokes), the belt is yellow, the shorts are blue, the hat is golden with a red line. The cross on the chest is pink (also draw with slight pressure).

Step 9. Add volume to the picture by adding shadows. Draw burgundy folds on the shirt, brown on the cap, and skin (on the chest line, neck area, and places under the clothes, on the head between the hair). Draw blue shadows on the shorts and dark beige on the belt.
[[Collection = 37-piece-white-sketchpad, limit: 4]]
STEPBYSTEP10

 |
Drawing Pencil SetExcellent GIFT IDEA - Non-Toxic and safe, easily portable and made with quality top-notch materials. Basic and innovative drawing supplies come together in NIL Tech set as an exceptional replacement for old-fashioned pencil boxes. The main attraction at any occasion from your drawing enthusiast friends, sketchers, artists to your kids or students boosting their creative projects and enjoy their ear-to-ear smile! |


