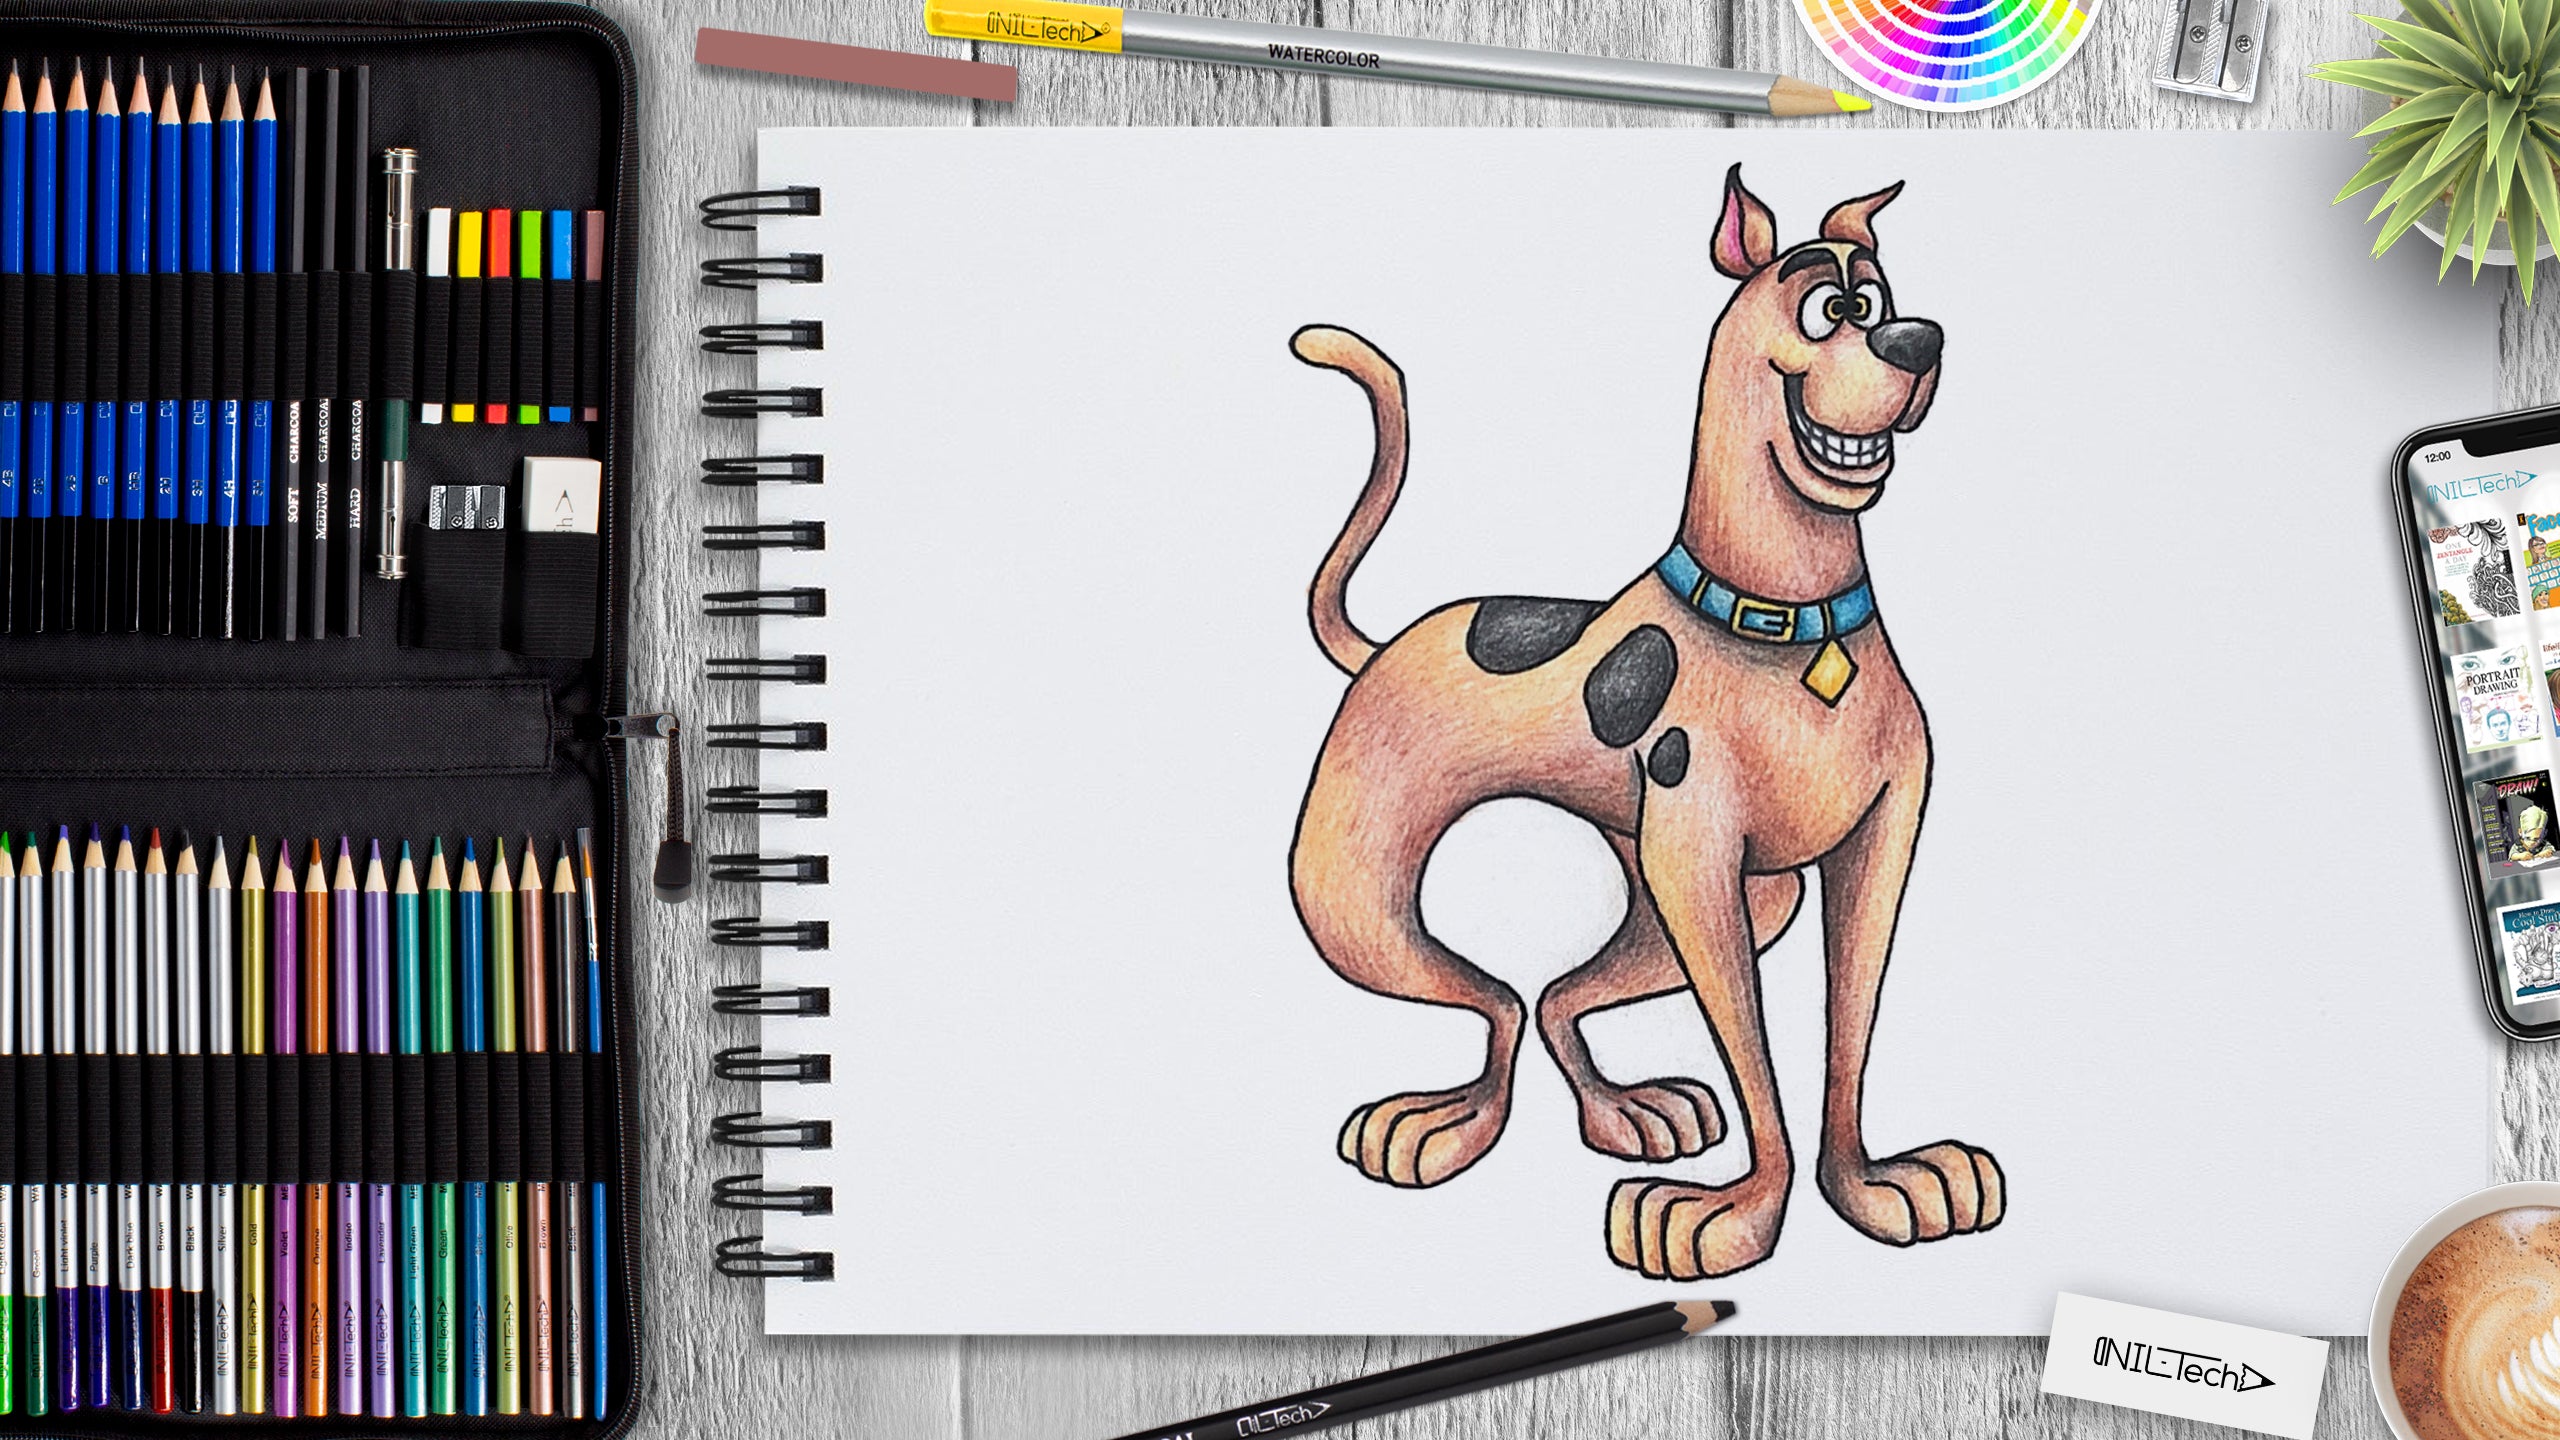
How to Draw Scooby-Doo
Jun 12 , 2020

Hi everybody, and welcome to a new NIL-Tech drawing tutorial: "Scooby-Doo". Since the show was created in 1969, Scooby-Doo became one of, if not the most, famous cartoon of all time. The show has had numerous design and plotline adjustments, there have been films made about the Scooby Gang, and the show has brought a lot of money from merchandise and other paraphernalia sales.
Here are some interesting facts about Scooby-Doo:
1. The show was originally pitched as a group of friends in a rock band with a pet named Too Much who plays the bongos.
2. Scooby-Doo is a triplet with Skippy-Doo and Dooby-Doo. They have 3 other siblings - Howdy-Doo, Yabba-Doo, and also Ruby-Doo.
3. Velma's phrase, "My glasses... I can't see without them!" was firstly said by Velma's voice actor Nicole Jaffe at the first table read. She dropped her glasses and said it. The authors assumed her reaction was adorable and added it to the cartoon.
4. In 2013 TV Guide ranked "Scooby-Doo, Where Are You!" as the 5th Greatest TV Cartoon of All Time.
5. Scooby-Doo's name was inspired by Frank Sinatra's song "Strangers in the Night." During part of the tune, Sinatra scats the phrase "doo-be-doo-be-doo," which is the base of Scooby's full name, Scoobert Doo.
In this tutorial, we used the following supplies:
- B pencil
- 2B pencil
- colored pencils
- yellow
- brown (light and dark)
- orange
- dark blue
- black
- turquoise
- pink
- White Vinyl Eraser
- Kneaded Eraser
STEPBYSTEP10
Let's draw Scooby-Doo step by step!

Step 1. Outline the drawing: draw rounded shapes for the Scooby-Doo's head and body (pencil B).

Step 2. Draw lines and rounded shapes under the shapes from step 1 - sketch for the legs (pencil B).

Step 3. Sketch the base for the tail and the ears (pencil B).

Step 4. Connect circles to get the body shape of the Scooby-Doo (pencil B).

Step 5. Outline the shape of the front legs (pencil B).

Step 6. Outline the shape of the hind legs (pencil B).

Step 7. Use a sketch as a base and outline the tail. Draw ears, nose, and mouth (pencil B).

Step 8. Add details to the lags and mouth; draw eyes, and collar (pencil B).

Step 9. Add the last details like the collar, eyes, and spots of Scooby-Doo, adjust the shape of the paws. Erase the excess lines on which the drawing was built and outline the contour (pencil 2B).

Step 10. Start with hatching light parts of the body (yellow and light brown pencils).

Step 11. Then add shadows on the body (dark brown pencil).

Step 12. Hatch the body with more colors to add contrast and brightness (orange, yellow, and dark blue pencils).

Step 13. The last step is to draw the teeth and color in the details: nose, ears, mouth, spots, and collar (black, turquoise, yellow and pink pencils).

 |
Drawing Pencil SetExcellent GIFT IDEA - Non-Toxic and safe, easily portable and made with quality top-notch materials. Basic and innovative drawing supplies come together in NIL Tech set as an exceptional replacement for old-fashioned pencil boxes. The main attraction at any occasion from your drawing enthusiast friends, sketchers, artists to your kids or students boosting their creative projects and enjoy their ear-to-ear smile! |


1 Comments
Hi there, the whole thing is going fine herte and
ofcourse every one is sharing data, that’s actually good,
keep up writing. https://Vavada.webgarden.com/