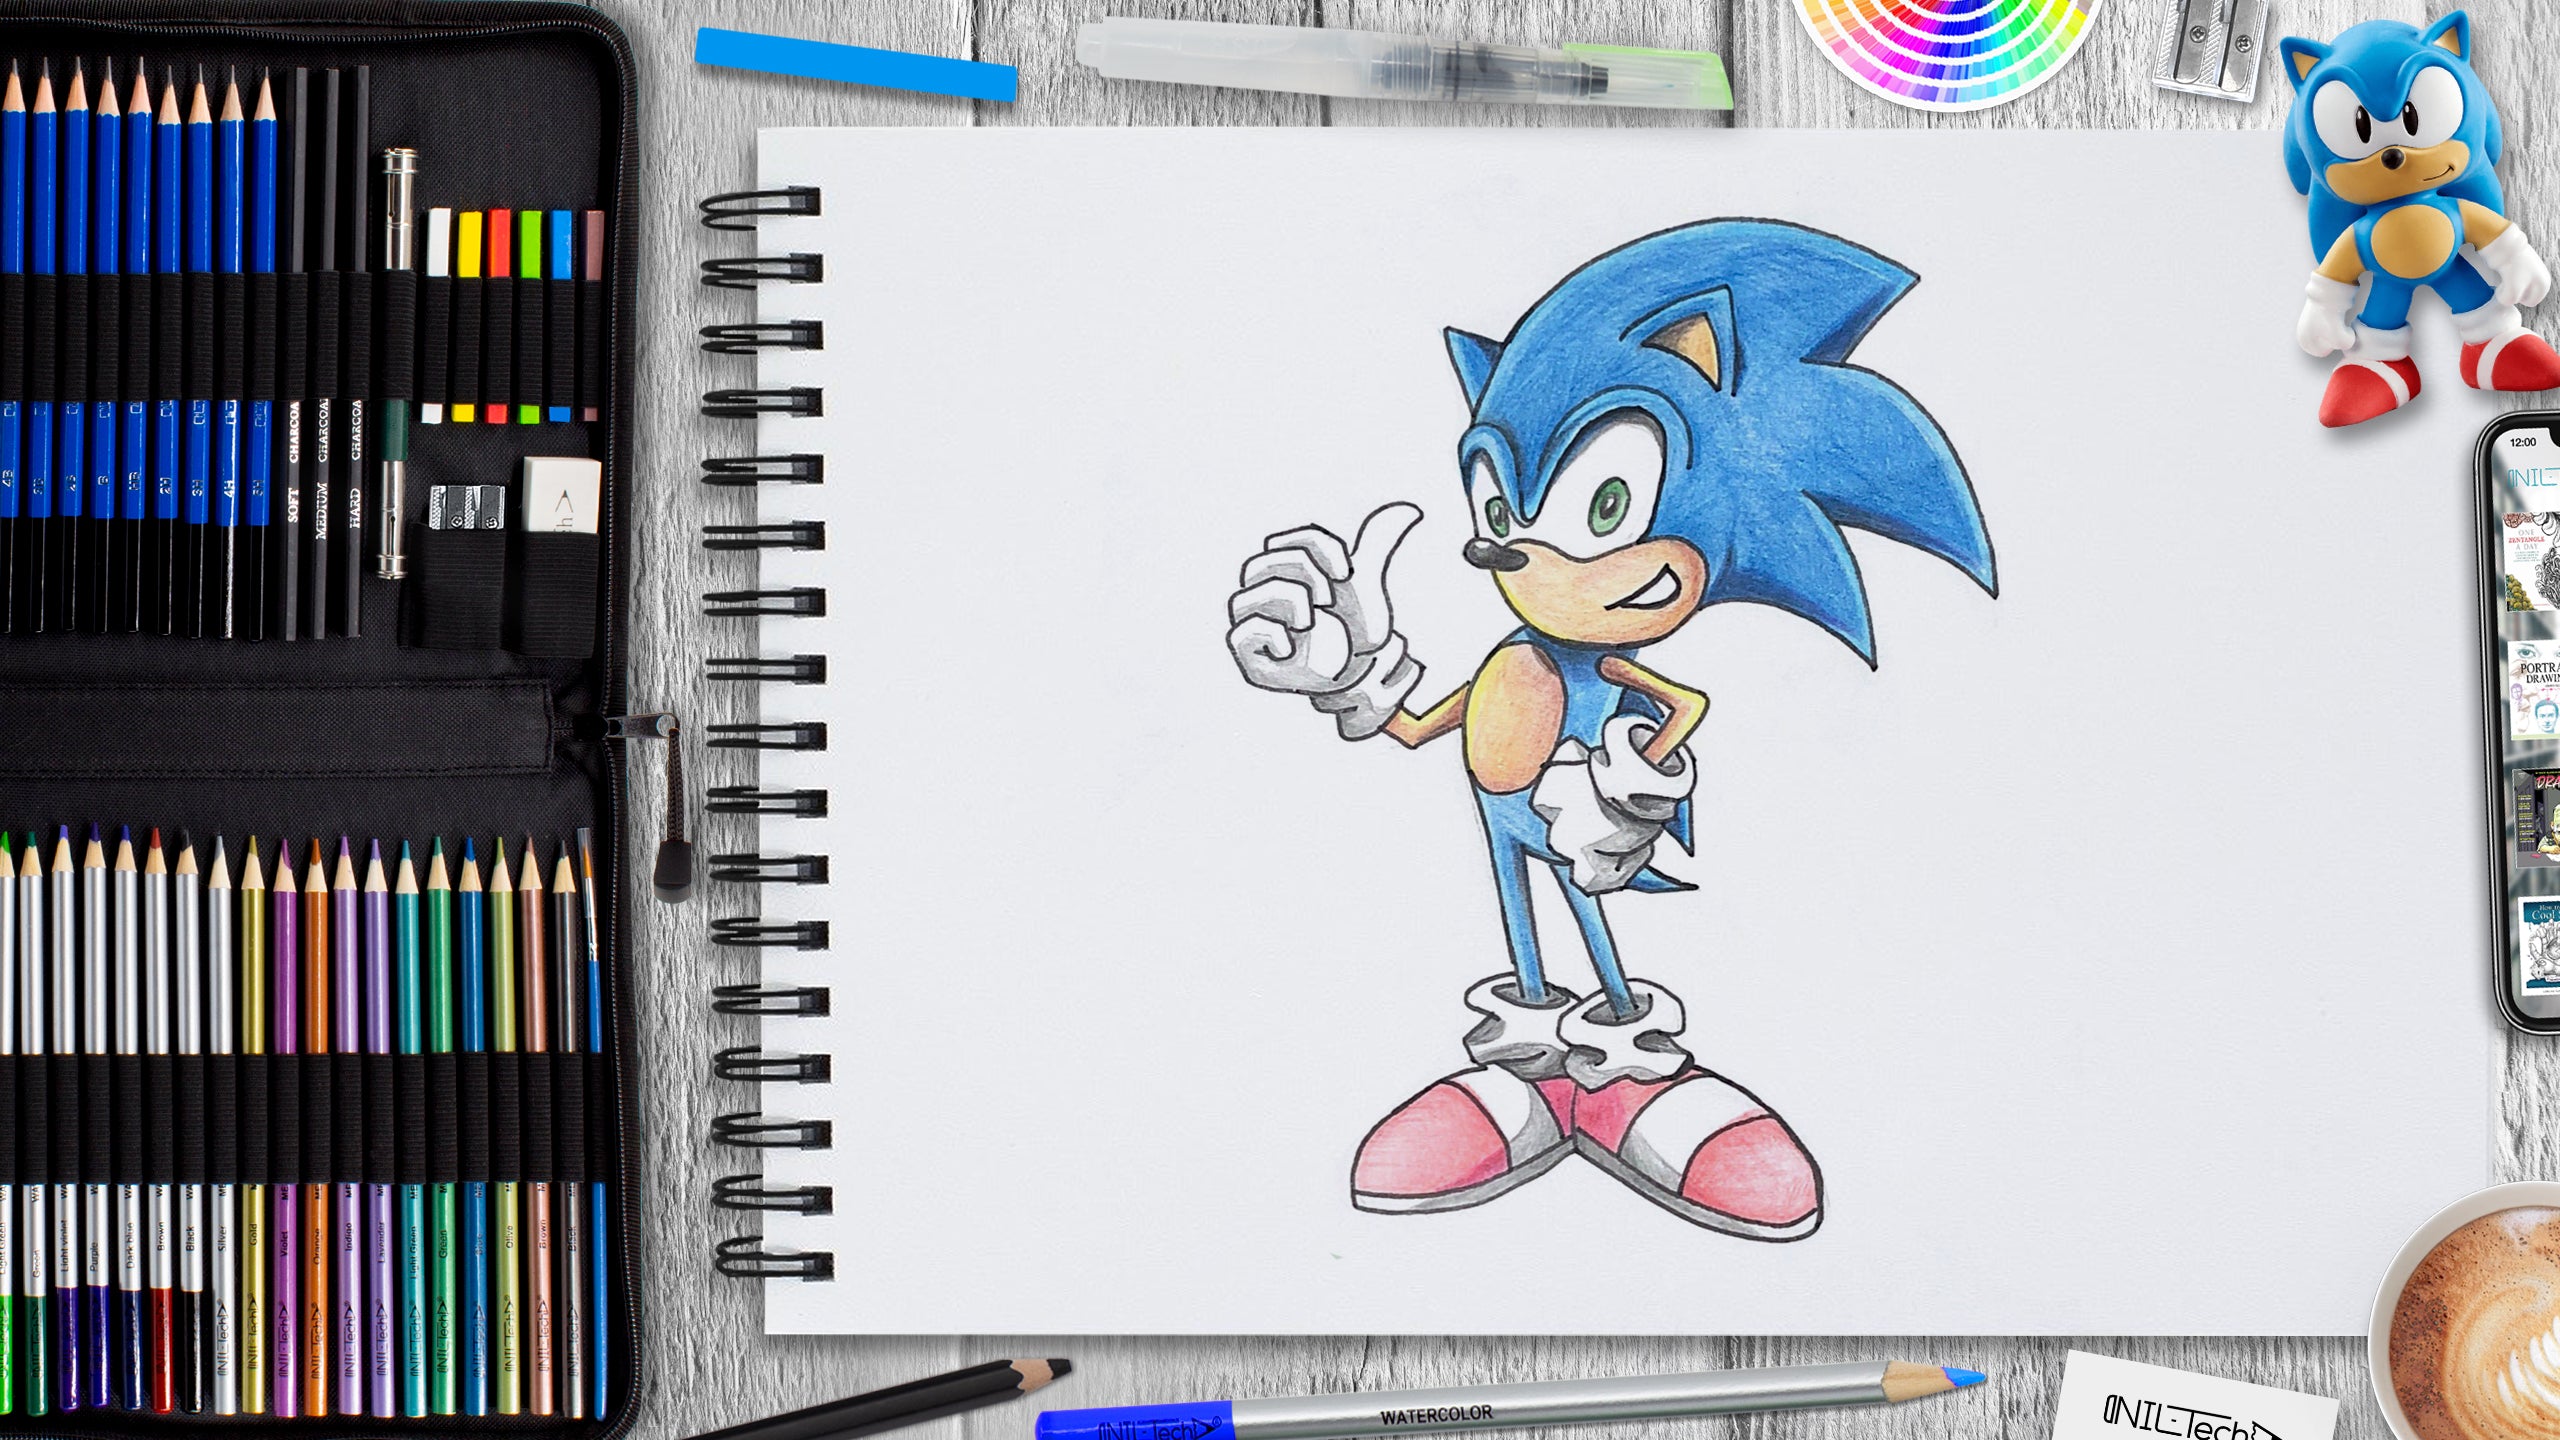
How to Draw Sonic
Jun 18 , 2020

Hi everybody, and welcome to a new NIL-Tech drawing tutorial: "Sonic". Sonic the Hedgehog is an undeniable gaming heavyweight and one of the most iconic game characters of all time. Considering his initial arrival onto the scene, everyone's favored blue hedgehog has dominated consoles and run circles around the competition. The Sonic franchise has created an exceptionally committed fanbase, tons of spinoffs, and forays into every tool you can imagine.
Here are some interesting facts about Socinc:
1. Sonic has initially been a bunny! When Sega decided they needed a new mascot, they held a design competition. Over 200 characters were designed. The team thought about creating a rabbit that would throw objects with its ears. However, they eventually chose to go with the hedgehog as the throwing mechanic slowed down the pace of the game.
2. Sonic's original name was "Mr. Needlemouse". Possibly it was an excellent choice to choose a new one.
3. We all know that hedgehogs aren't blue. The company chose to make Sonic blue to match the famous SEGA logo.
4. Sonic can't swim, even though real hedgehogs can. Yuji Naka, Sonic's creator, assumed that hedgehogs couldn't swim. He later saw a picture of hedgehogs swimming. We can only think that he was shocked.
5. In Sonic film's trailer, Sonic says, "Looks like I'm going to have to save your planet," leading numerous to believe Sonic is an alien. The film's location manager verified this, claiming, "Sonic is a computer game character, who is an alien.
In this tutorial, we used the following supplies:
- B pencil
- 4B pencil
- colored pencils
- yellow
- blue
- dark blue
- beige
- red
- green
- black
- violet
- brown
- burgundy
- White Vinyl Eraser
- Kneaded Eraser
STEPBYSTEP10
Let's draw Sonic step by step!

Step 1. Draw 2 circles one under another - the base for head and body. Sketch the lines - the base for legs and arms (pencil B).

Step 2. Outline the future gloves and boots with ovals and rectangles (pencil B).

Step 3. With a circle, outline the future hair. Also, draw ears and smoothly connect the head with the body (pencil B).

Step 4. Draw the hair, and using baselines from step 1, draw the legs and arms (pencil B).

Step 5. Draw the face, add the nose, eyes, and mouth (pencil B).

Step 6. Draw gloves over outlined ovals and rectangles, add spikes to the back. (pencil B).

Step 7. Draw shoes over outlined ovals and rectangles, draw the ear (pencil B).

Step 8. Add the details like strips on the shoes and a spot on the body (pencil B). Erase the excess lines on which the drawing was built and outline the contour with a softer pencil (pencil 4B).

Step 9. Start coloring the drawing from the light areas (yellow and blue pencils). Divide the shadow and the light parts on the white areas (pencil B).

Step 10. Draw the shadows (dark blue, violet, brown, burgundy pencils). Draw shadows on the white areas (soft graphite pencil).

Step 11. Hatch the massive part of the drawing (blue, beige, and red pencils).

Step 12. Draw the eyes and hatch the nose (green pencil and black pencil). Go through the shadows to make them more saturated and bright (black pencil).

 |
Drawing Pencil SetExcellent GIFT IDEA - Non-Toxic and safe, easily portable and made with quality top-notch materials. Basic and innovative drawing supplies come together in NIL Tech set as an exceptional replacement for old-fashioned pencil boxes. The main attraction at any occasion from your drawing enthusiast friends, sketchers, artists to your kids or students boosting their creative projects and enjoy their ear-to-ear smile! |


