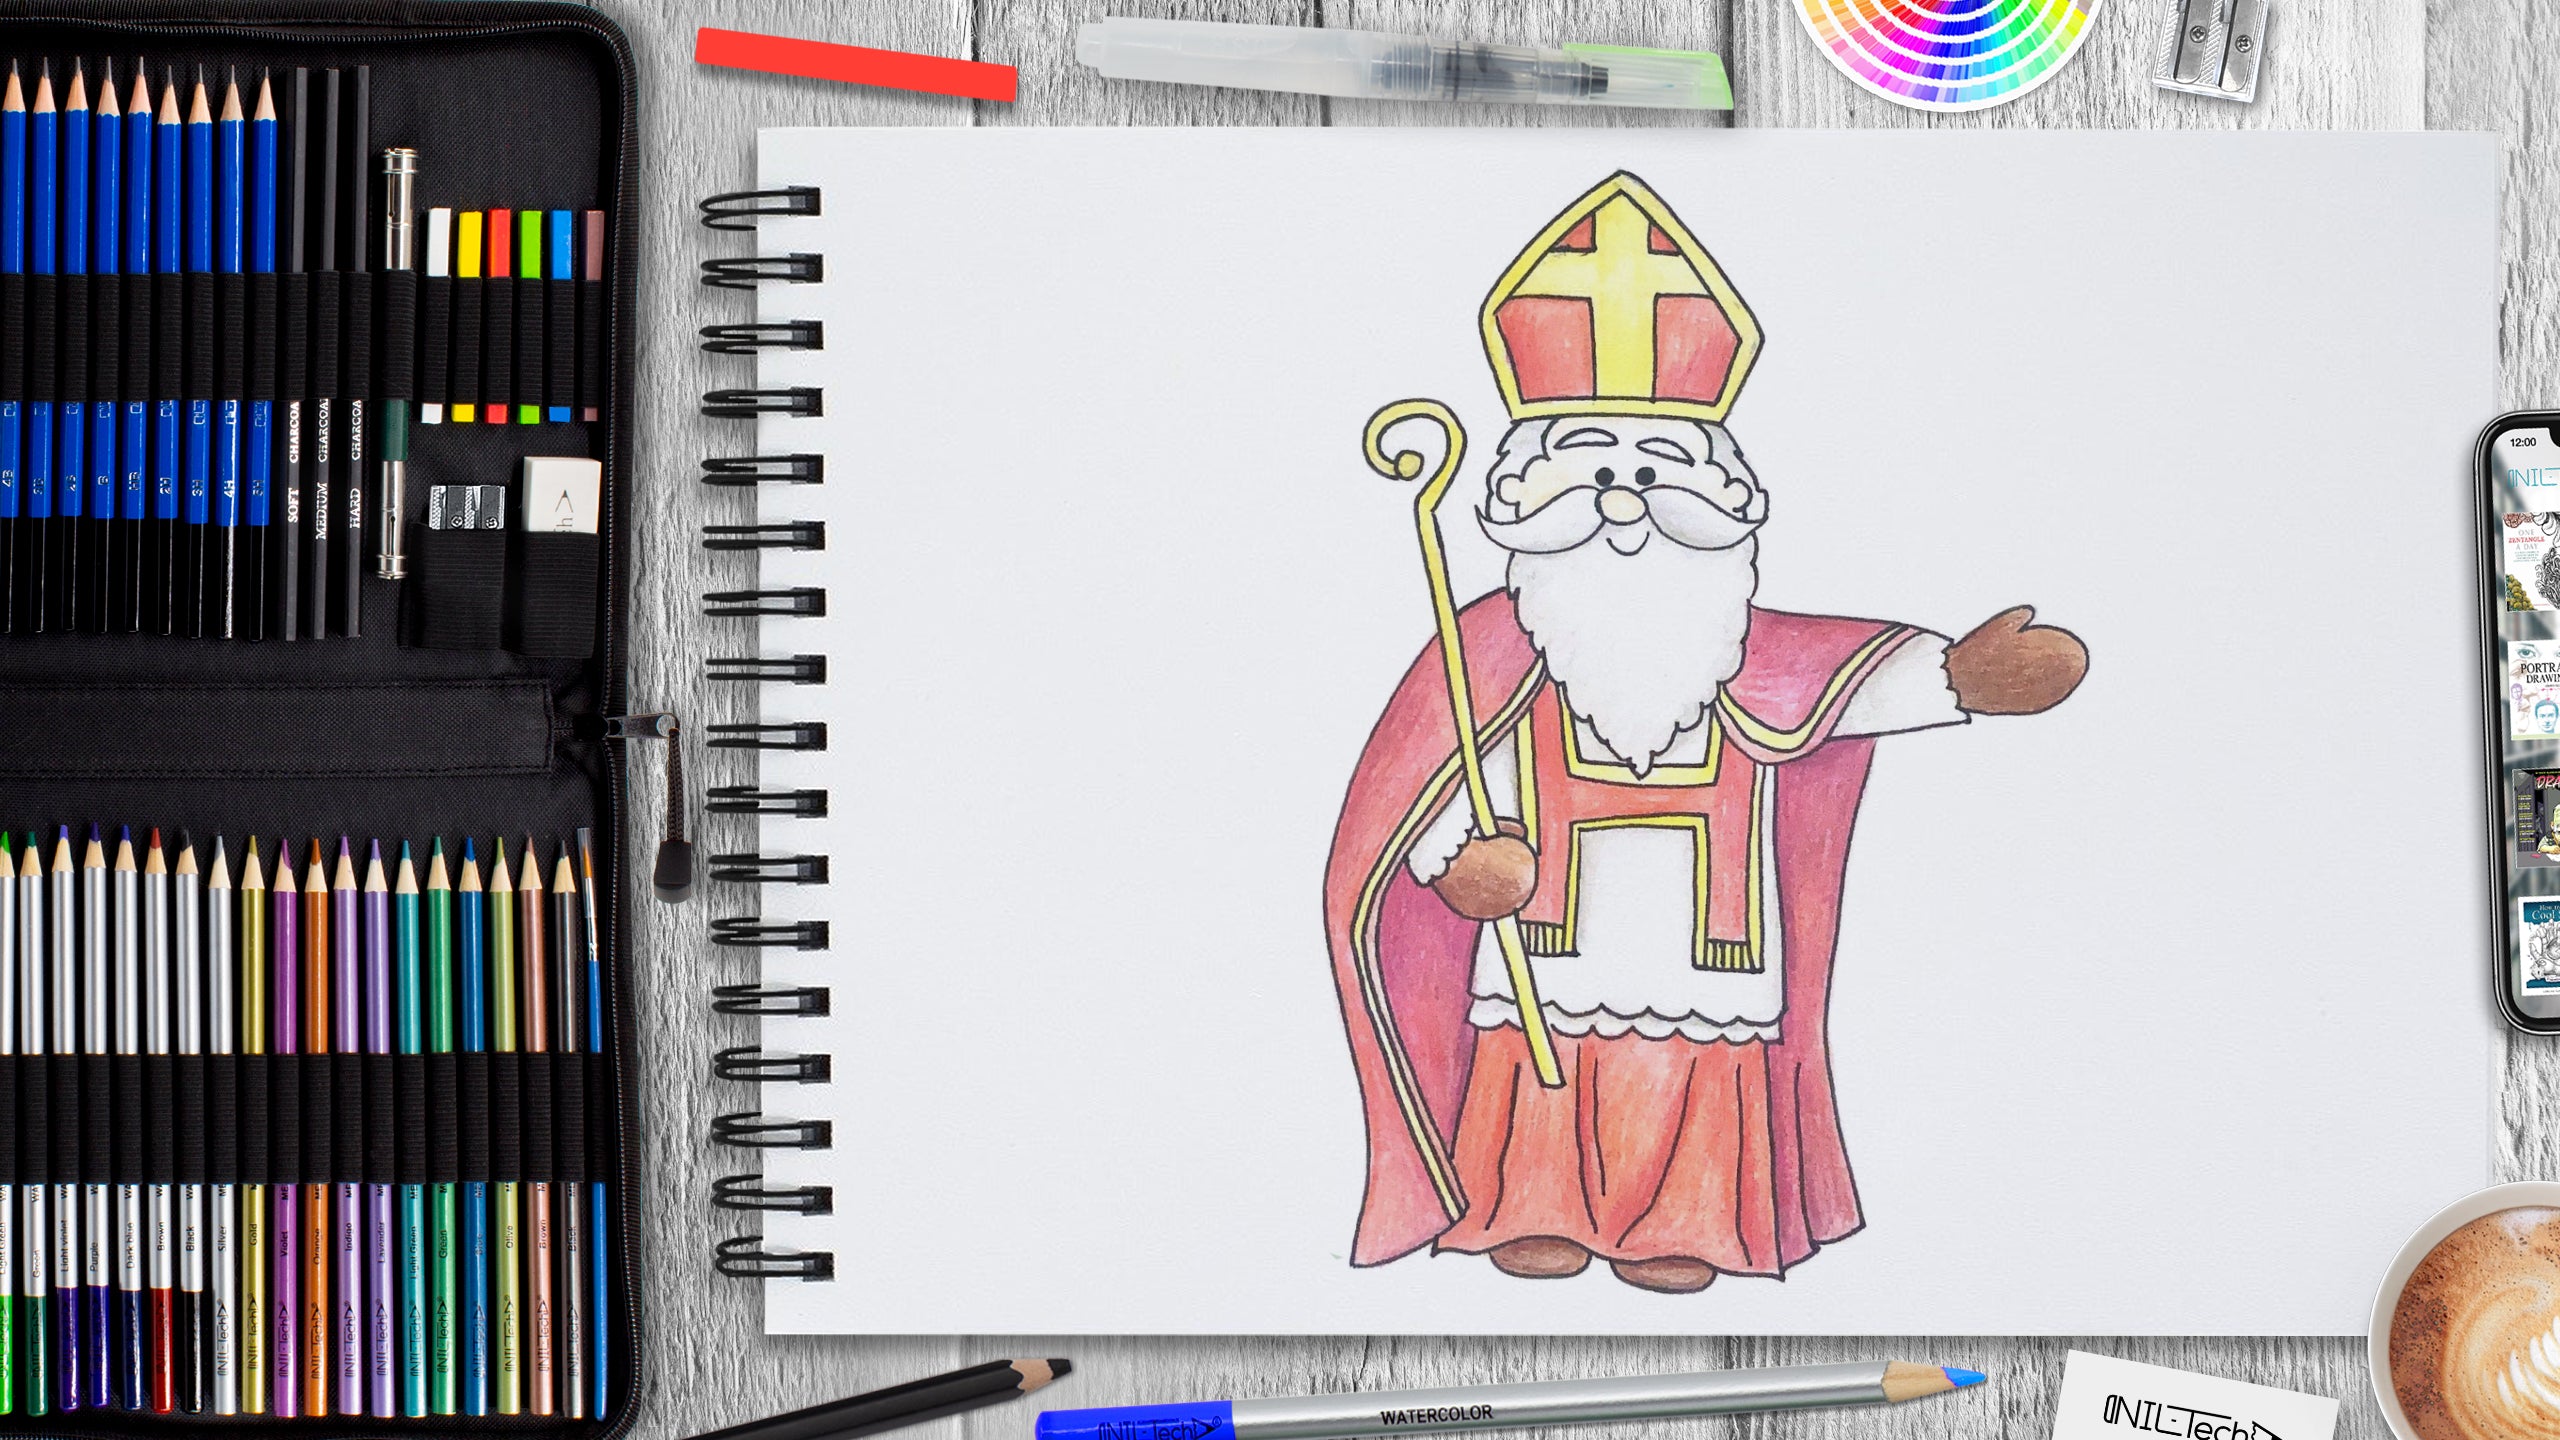
How to Draw St. Nicholas
Nov 26 , 2020

Hi everybody, welcome to a new NIL-Tech drawing tutorial: "St. Nicholas". Saint Nicholas Day or the Feast of Saint Nicholas is a Christian Festival celebrated every December in honor of Saint Nicholas, a saint revered for his generosity to children. St. Nicholas came to be a vital figure in Holland. His influence withstanding the Reformation in the 1500s when honoring saints was avoided. The tale of Santa Claus was based on the life of St. Nicholas.
Here are some interesting facts about Saint Nicholas:
1. St. Nicholas is the patron saint of children, sailors, merchants, thieves, and pawnbrokers.
2. He was of Greek descent and also was born during the 3rd century in the town of Patara. He lived most of his life in the neighboring town of Myra (both of which were part of Lycia, now Turkey).
3. The name "Nicholas" indicates "people's victory" in Greek.
4. He was frequently known as "child bishop". He became a bishop at the age of only thirty years.
5. He was the Roman Catholic Bishop of Myra throughout a time when the Romans persecuted Christians.
In this tutorial, we used the following supplies:
- B pencil
- 5B pencil
- colored pencils
- red
- yellow
- brown (medium and light
- carrot
- burgundy
- purple
- gray
- skin color
- White Vinyl Eraser
- Kneaded Eraser
STEPBYSTEP10
Let's draw 'St. Nicholas' step by step

Step 1. We begin with outlining a skeleton. Mark the head with a circle. With lines to outline the body and the direction of the arms (pencil B).

Step 2. Over the lines, draw circles outlining the arms' volume. Draw the cassock over the baseline (pencil B).

Step 3. In the center of the circle, draw a nose, eyes, and mustache. On top, draw the hat of St. Nicholas. In the middle of the cassock, outline the lines where the cape will end (pencil B).

Step 4. Draw the head. Add hairlines and ears. Draw a beard and a smile at the bottom and the cap's details on top (pencil B).

Step 5. Draw a cloak over the hands. It seems to flow around the figure. Draw the sleeves, palms, the cape's edges, and the dress's edge, giving. The silhouette should look more like fabric (pencil B).

Step 6. Add lines on the cloak, draw folds, and shoes at the bottom. Add staff in hand (pencil B).

Step 7. Erase all excess construction lines. With a softer pencil, sharpen the contour (pencil 5B).

Step 8. Start coloring by hatching the elements of clothing. Remember not to touch the white areas (colored pencils: red, yellow, brown).

Step 9. Let's add some color. For yellow elements - brighten the color. For red parts of the dress, cape, and hat, use carrot and red. For the light areas on the cloak, use red, and for the shadows - burgundy and purple. For mittens, use brown and light brown (colored pencils: red, yellow, carrot, burgundy, purple, brown, and light brown).

Step 10. The last step is to draw the face with skin color. With a gray pencil, add shadows to the white areas of clothing and hair, beard, and mustache (colored pencils: gray, skin color).

 |
Drawing Pencil SetExcellent GIFT IDEA - Non-Toxic and safe, easily portable and made with quality top-notch materials. Basic and innovative drawing supplies come together in NIL Tech set as an exceptional replacement for old-fashioned pencil boxes. The main attraction at any occasion from your drawing enthusiast friends, sketchers, artists to your kids or students boosting their creative projects and enjoy their ear-to-ear smile! |


