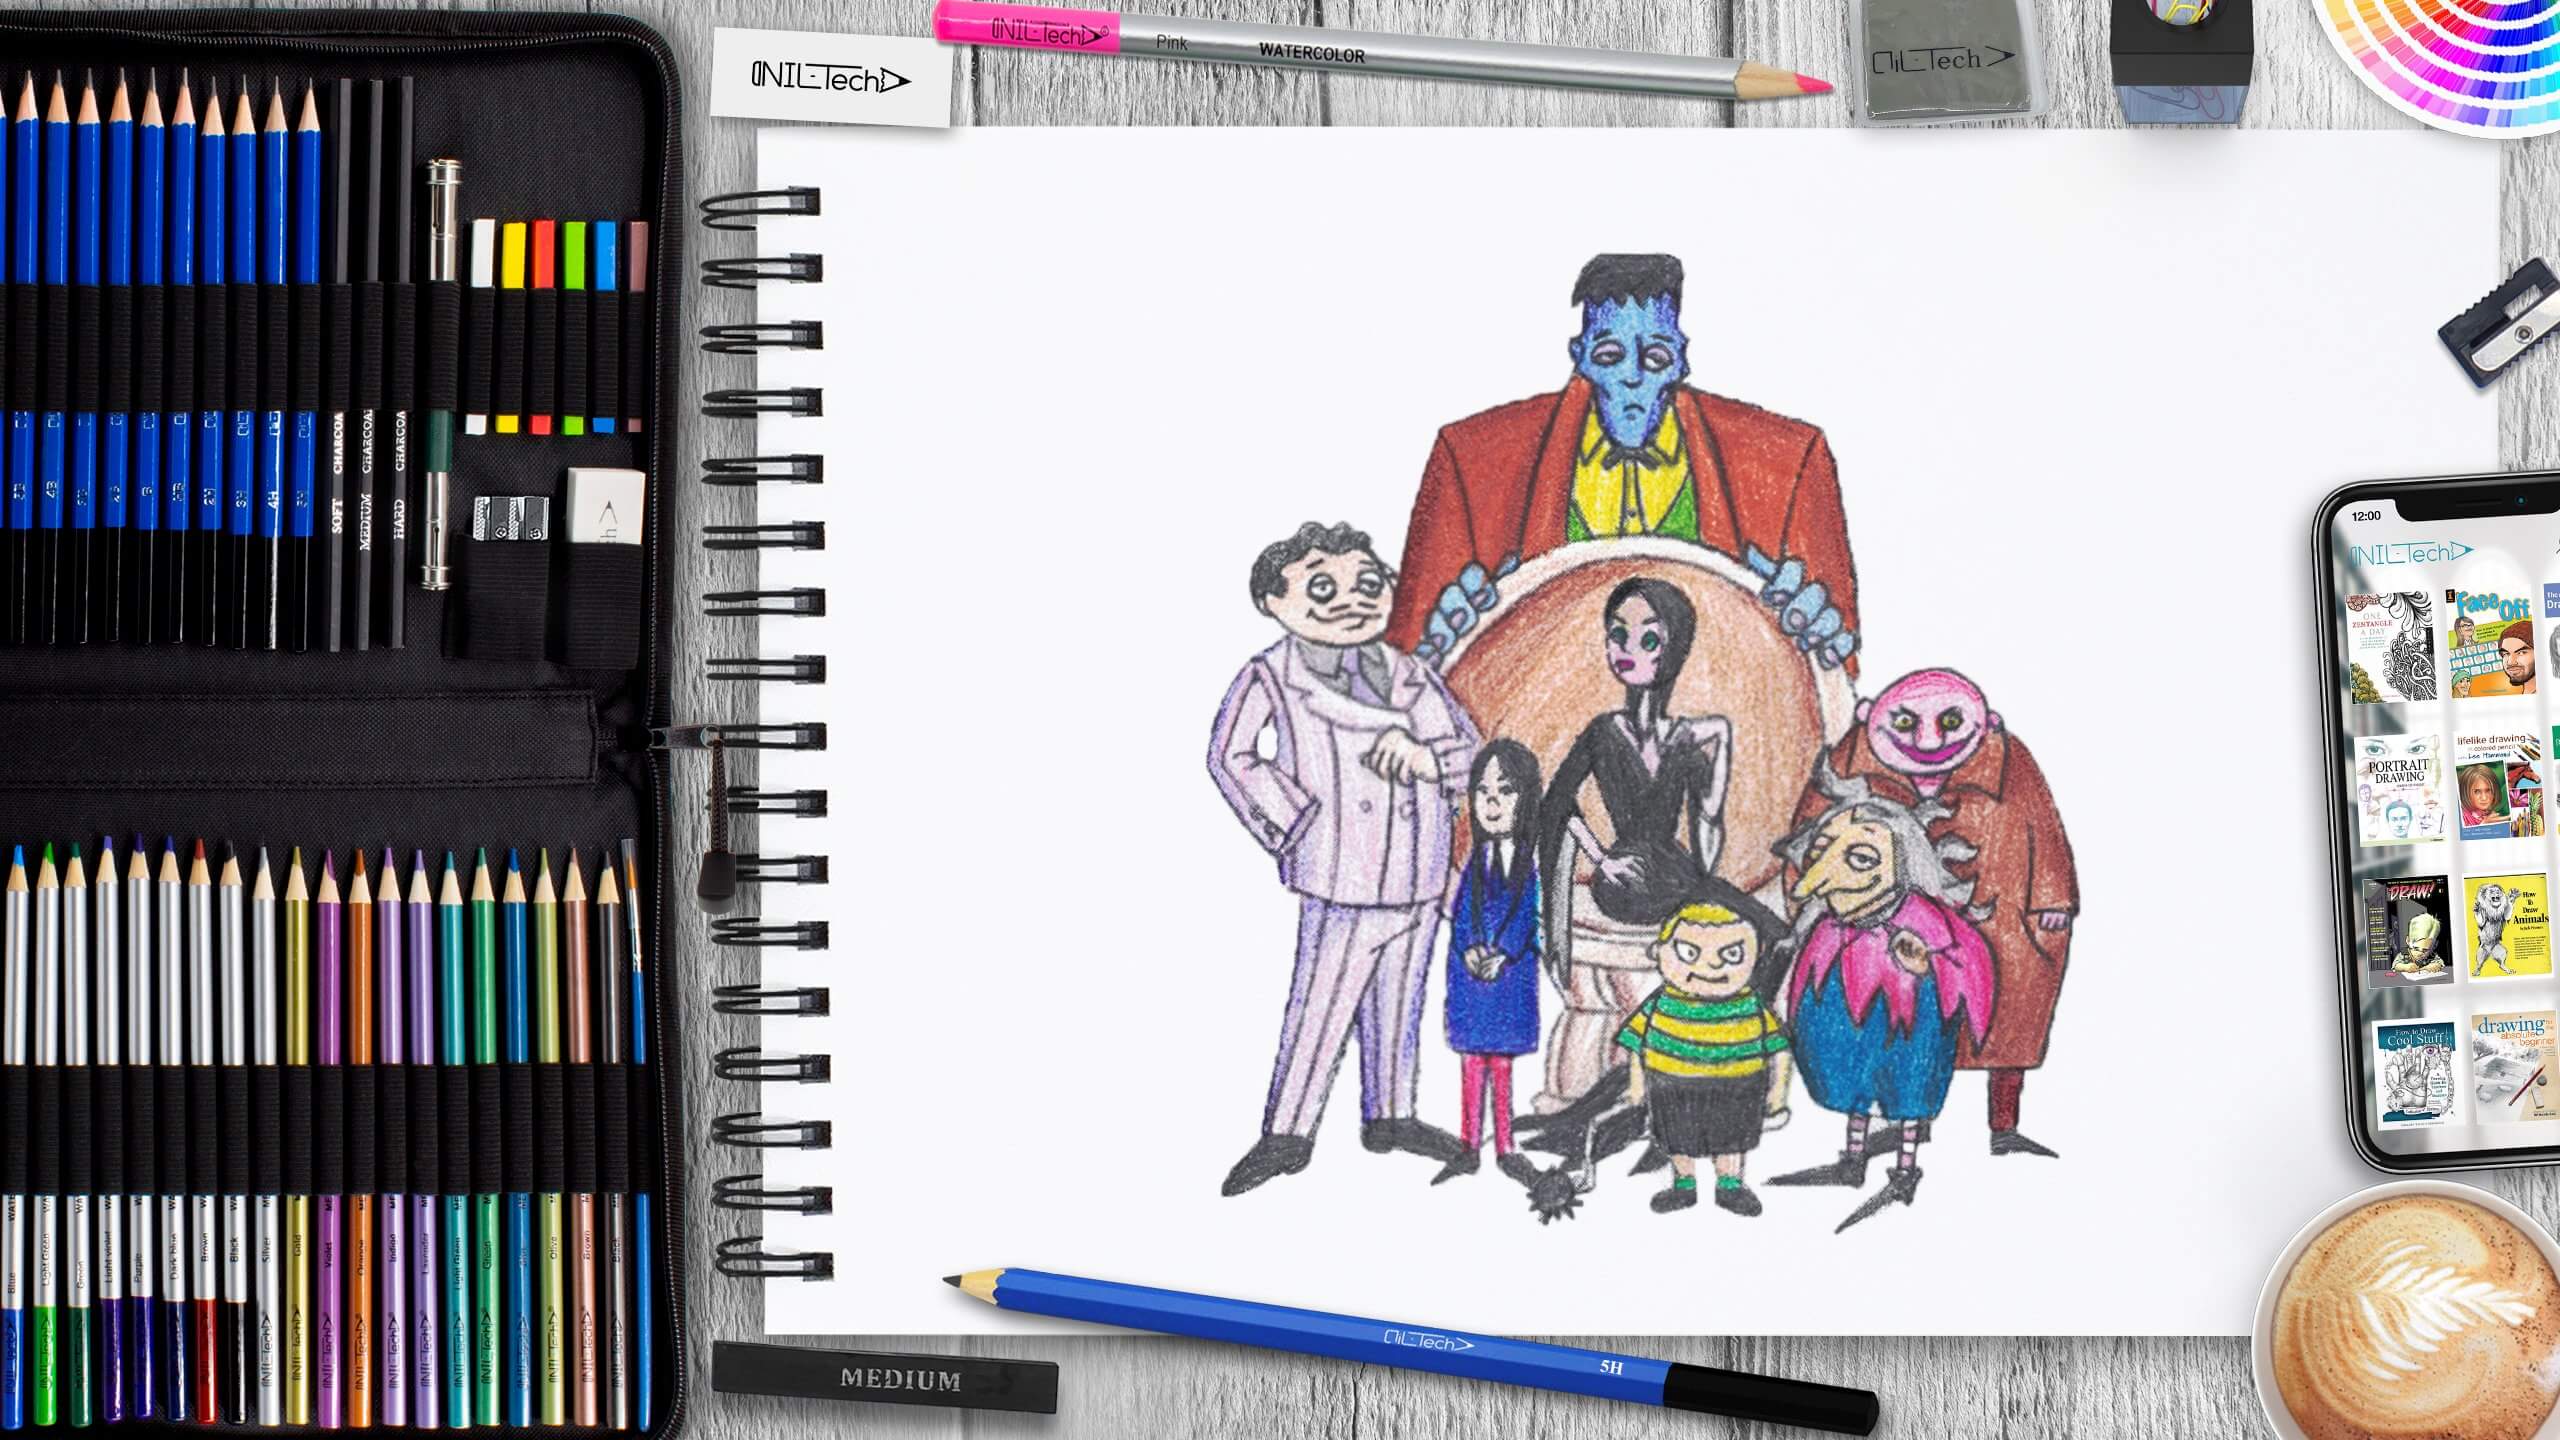
How to Draw The Addams Family
Oct 08 , 2019

Hi everybody and welcome to a new tutorial. NIL-Tech has prepared a new awesome Drawing Tutorial for you: “The Addams Family“. Starting in 1938, Gomez, Morticia, Uncle Fester, Lurch, Grandmama, Wednesday, Pugsley, and Thing appeared in The New Yorker in a series of cartoons by Charles Addams. After two seasons in the mid- '60s as a comedy, then 2 more as a Saturday morning cartoon in the '70s, the experiences of the odd, morbid Addams family seemed predestined to exist in illustration type solely. Then, after Charles Addams' death in 1988, even the animations stopped - but in 1991, The Addams Family movie brought the pale gang to the cinema.
Here are a few things you may not have learned about The Addams Family:
1. Transformation. Christopher Lloyd played Uncle Fester in the Addams Family movies. To make himself look like the character, he shaved his head (Fester was bald). He also crouched down throughout recording to appear shorter than his 6' 1 ″ frame. Crouching also permitted Lloyd to imitate Fester's unsteady walk.
2. High-Speed Gibberish. Cousin Itt typically could not be understood by anybody outside the family and sounded mainly like mumbo jumbo. To develop his voice, one of the producers spoke nonsense into a tape recorder and played it back at high speed.
3. A Nod to the Original. There are several instances in the 1991 Addams Family movie that reference the initial Addams animation. The passenger on Gomez's toy train, the painted octopus on the foot of Wednesday's bed. The initial scene where the family puts oil on the carollers all allude to the Addams Family comics.
4. .Getting the Right Shade. The original Addams Family TV series was shot in black and white. But to make the various tones of black and grey on screen, the sets had to be painted in varying tones of pink and red.
5. A Kooky Spooky House. The home pictured in the opening credits to The Addams Family TV series was genuine. It was located at 21 Chester Place in Los Angeles, and the special effects crew added a 3rd floor with a tower to make it appear even creepier. Regretfully, fans of the program can't go and see, as this home was destroyed at some point between 1968 and 1972.
Let's start Drawing The Addams family step by step!
In this tutorial, we used the following supplies:
- 2B pencil
- 4B pencil
- HB Pencil
- 2H pencil
- mechanical pencil
- colored pencils
- Kneaded Eraser
- White Vinyl Eraser
STEPBYSTEP10

Step 1. Draw the contours of the heads of all family members. (pencil 2H)

Step 2. Draw the contours of the bodies (HB pencil)

Step 3. Draw the contours of the arms and legs (pencil 2B)

Step 4. Draw facial features (mechanical pencil) and hair of characters (pencil 2B)

Step 5. Draw the details of clothes, hands and the back of a round chair (sharpened pencil 4B)

Step 6. Finish the elements of the chair and clothes (sharpened pencil 4B).

Step 7. Erase the excess lines and dirt around the picture with the eraser. Brush away the lumps from the eraser with a brush.

Step 8. Color the characters and their clothes with colored pencils (colored pencils similar to the ones on the picture above).

Step 9. Darken the contours of clothes and faces with darker tones to create volume (colored pencils similar to the ones on the picture above).
STEPBYSTEP10

 |
Drawing Pencil SetExcellent GIFT IDEA - Non-Toxic and safe, easily portable and made with quality top-notch materials. Basic and innovative drawing supplies come together in NIL Tech set as an exceptional replacement for old-fashioned pencil boxes. The main attraction at any occasion from your drawing enthusiast friends, sketchers, artists to your kids or students boosting their creative projects and enjoy their ear-to-ear smile! |


