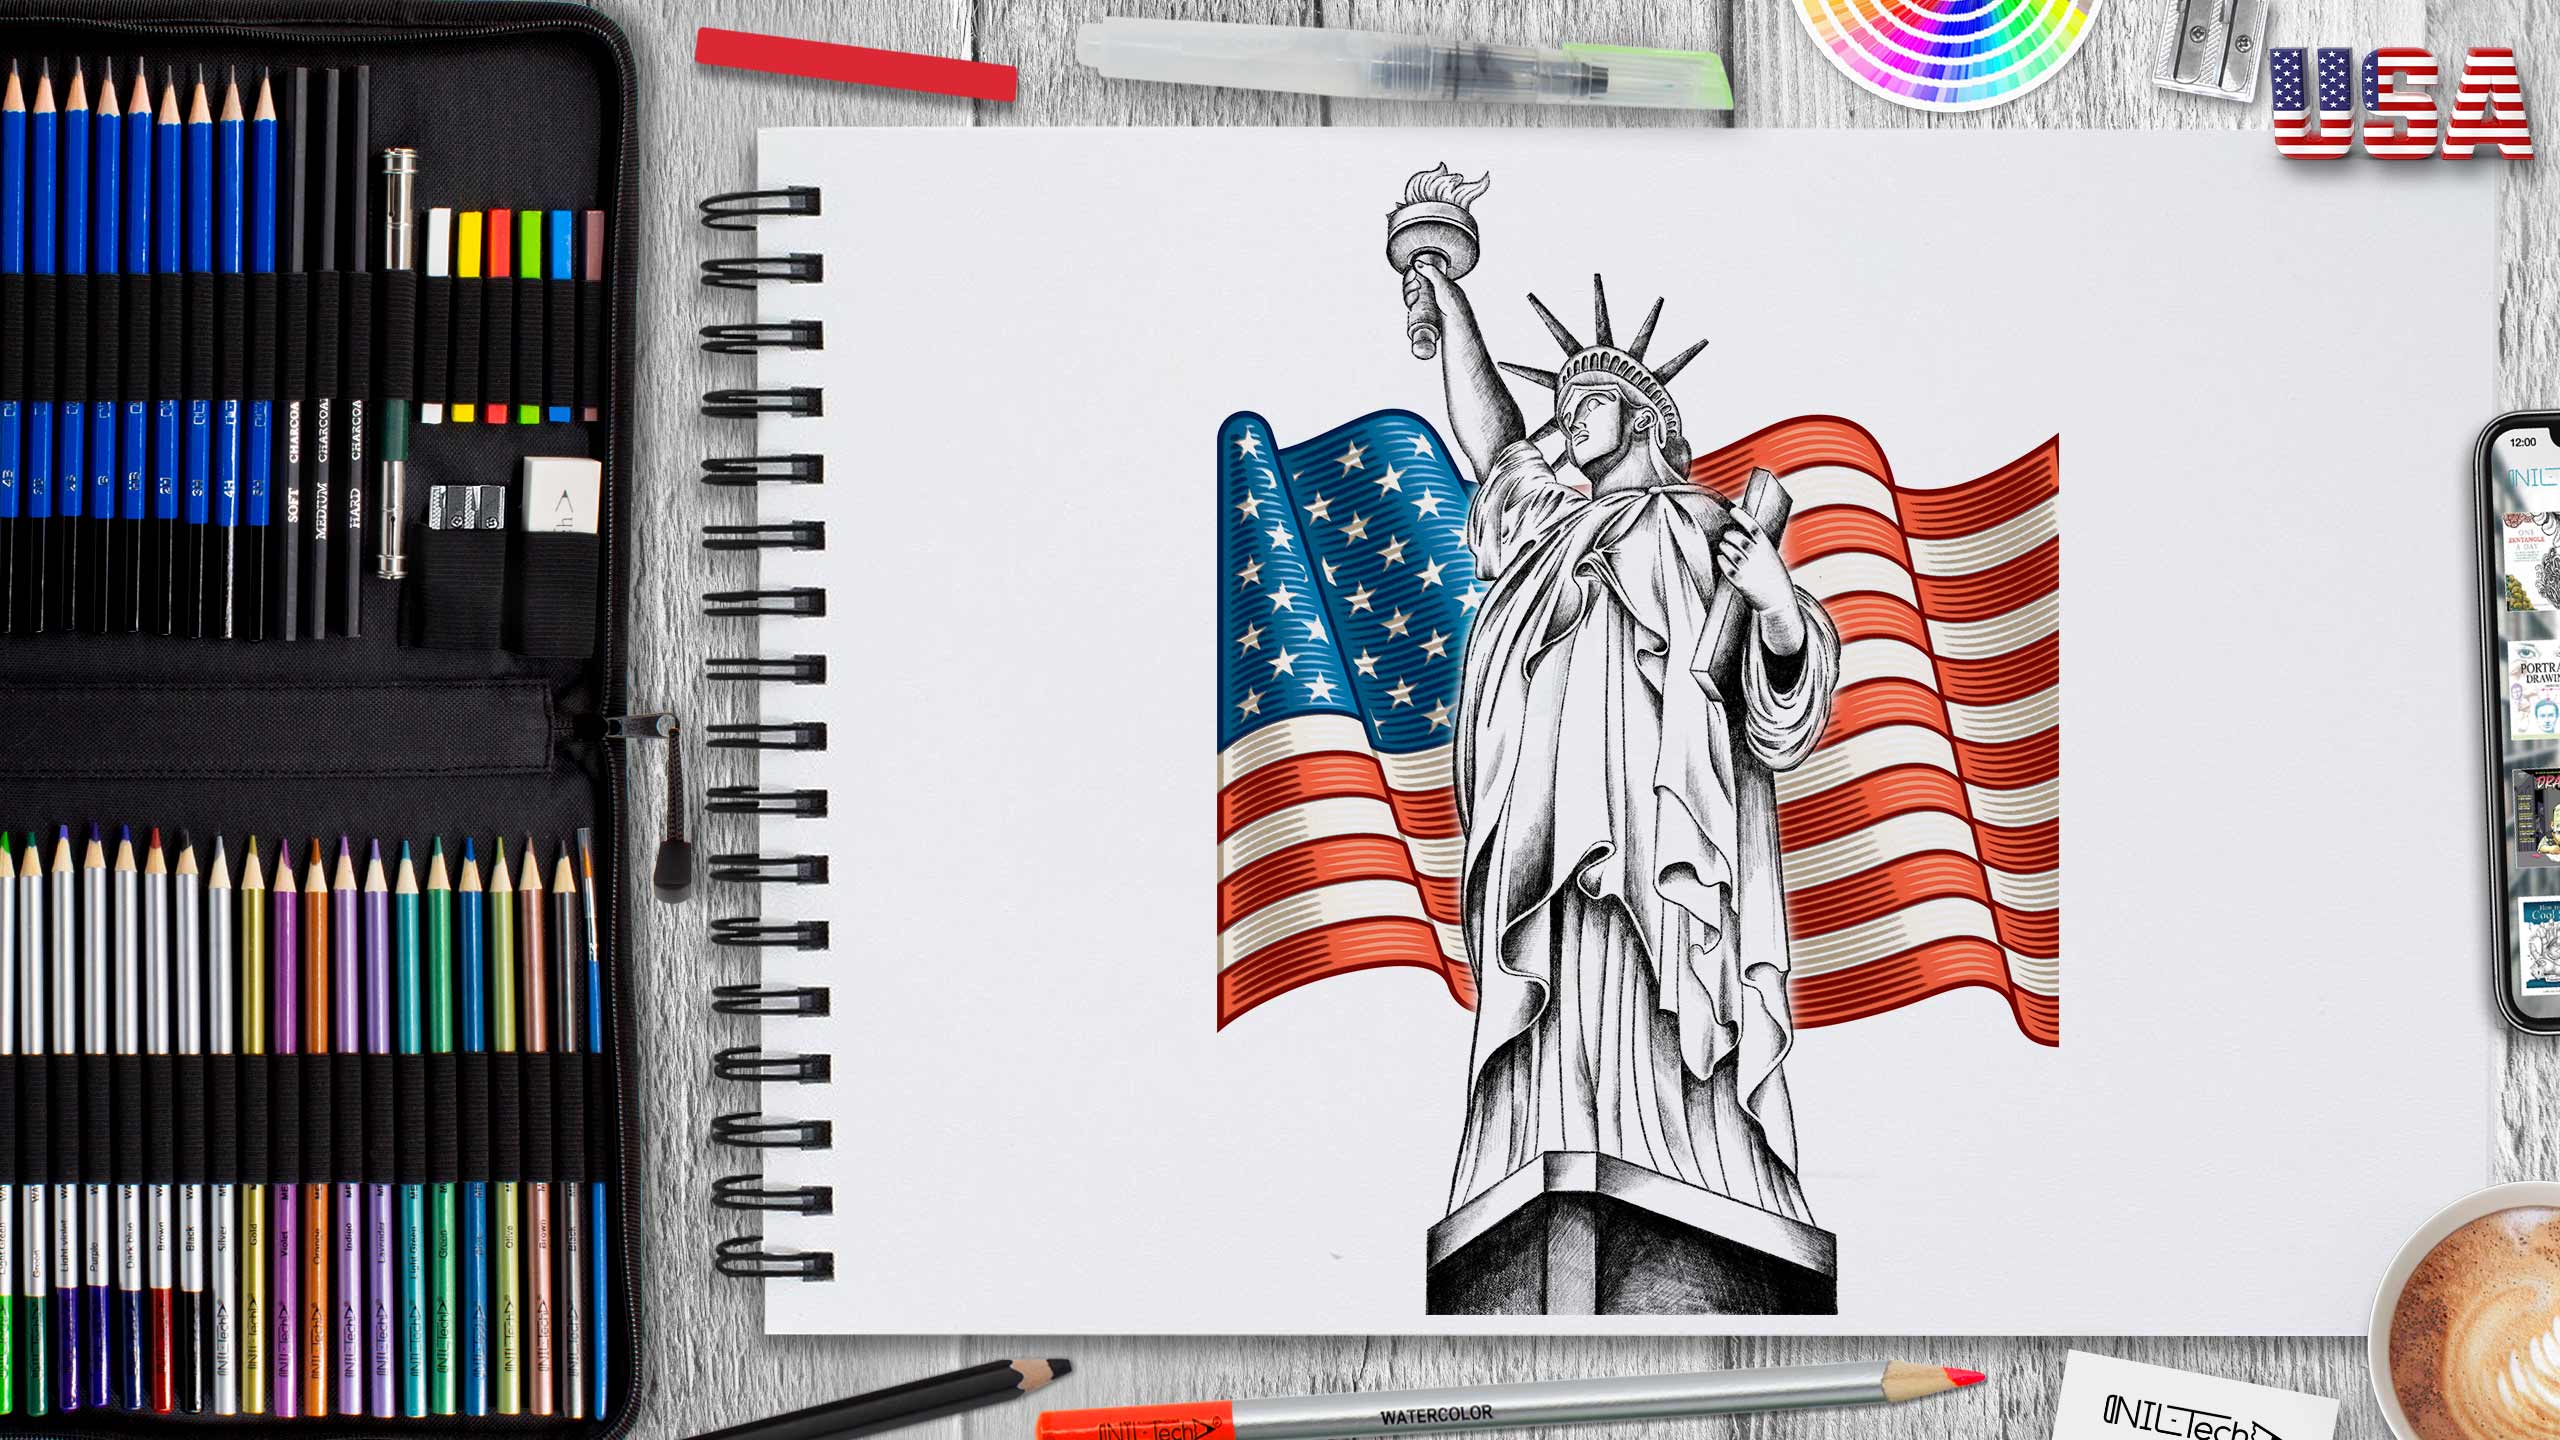
How to Draw The Statue of Liberty for Independence Day
Jul 01 , 2021

The Fourth of July-- also known as Independence Day or July 4th -- has been a federal holiday in the United States. In 1941, the Independence Day celebration tradition went back to the American Revolution in the 18th century. On July 2nd, 1776, the Continental Congress voted in favor of independence, and two days later, delegates from the 13 colonies adopted the Declaration of Independence, a historical document prepared by Thomas Jefferson. From 1776 to the present, July 4th has been commemorated as the birth of American independence, with festivities varying from fireworks, parades, and concerts to more casual household gatherings and barbecues.
Interesting Facts About the 4th of July, Independence Day:
1 - On July 4, 1776, the American colonies were declared free and independent States from Great Britain and its king.
2 - Did you know that it was in fact, on July 2nd, 1776, that the Declaration of Independence began? It started with a letter to Britain's King George to explain why the Continental Congress voted to state America's independence.
3 - It was on July 4 that the final phrasing of the statement was agreed upon.
4 - Thomas Jefferson drafted the Declaration of Independence before he became the president of America.
5 - Jefferson, later on, acting as the third President of America from 1801 to 1809.
Let's Draw The Statue of Liberty Step by Step
In this tutorial we used the following supplies:
- Pencil B
- Pencil 5B
- Colored pencils
- red
- blue
- brown
STEPBYSTEP10

Step 1. We start the construction by drawing the center line to outline the height, and using the circle, we outline the location of the head. (Pencil B)

Step 2. Draw the shape of the head, as well as with the help of circles and lines outline the arms and the size of the mantle. (Pencil B)

Step 3. We draw the shape of the hands and a crown with hair on the head, we also outline a torch in the left hand, and a book in the right. (Pencil B)

Step 4. Draw the shape of the torch and mantle, also add a pedestal at the bottom. (Pencil B)

Step 5. Remove all unnecessary construction lines and add details. Draw the face, folds on the mantle, etc. (Pencil B)

Step 6. We start hatching from the head, torch and book. For this, we use a pencil with great softness. We hatch according to the shape of the object, thereby creating a volume. (Pencil 5B)

Step 7. Then we go down below and move on to the arms and sleeves of the mantle. We also use a pencil with great softness and hatch according to the shape. (Pencil 5B)

Step 8. And finally, we move on to the mantle, there we also use a pencil with softness for the shading of the fabric’s movement. We also shade the pedestal with the help of this pencil. (Pencil 5B)

Step 9. The last step is to draw the back of the American flag using colored pencils. (Colored pencils red, blue, brown)
STEPBYSTEP10
 |
Drawing Pencil SetExcellent GIFT IDEA - Non-Toxic and safe, easily portable and made with quality top-notch materials. Basic and innovative drawing supplies come together in NIL Tech set as an exceptional replacement for old-fashioned pencil boxes. The main attraction at any occasion from your drawing enthusiast friends, sketchers, artists to your kids or students boosting their creative projects and enjoy their ear-to-ear smile! |


