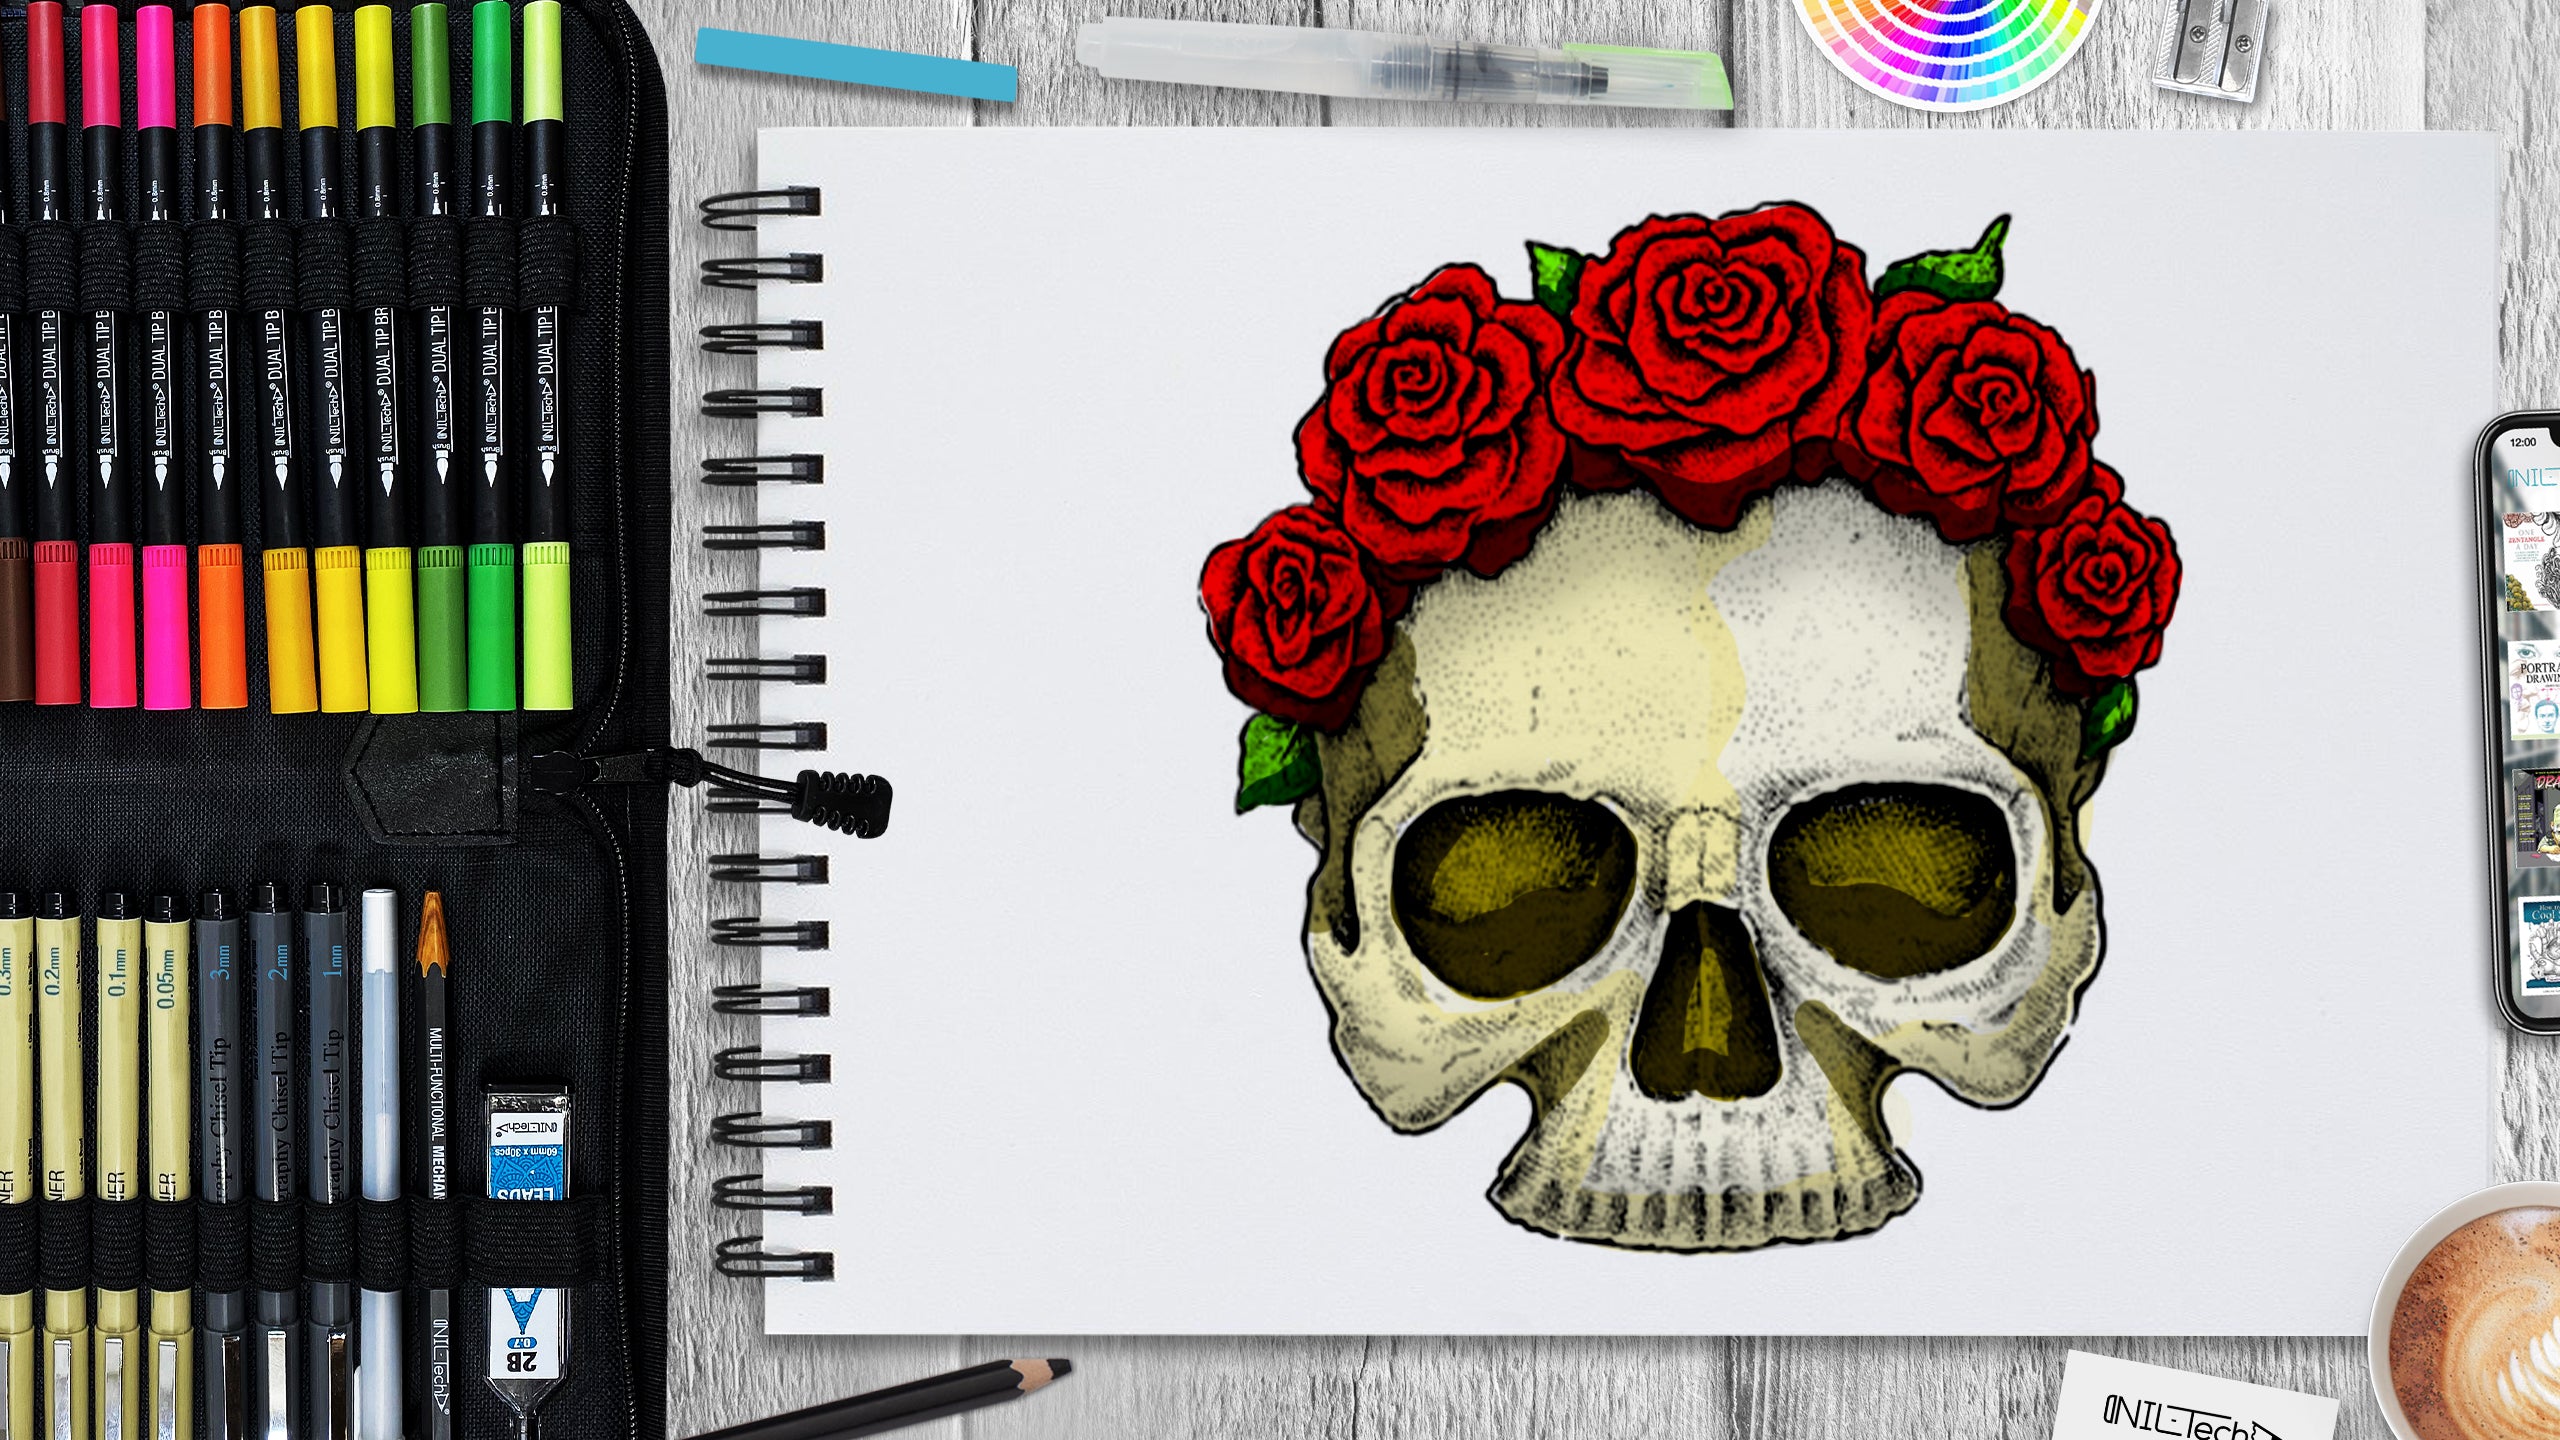
Step-by-Step Skull and Roses Drawing Tutorial: Learn to Create Spooky Art with Fineliners for Halloween
Oct 29 , 2024
In this tutorial, you'll learn how to draw a skull with a crown of roses, perfect for Halloween! We’ll be using mechanical pencils, ink liners, and brush pens to create a detailed and spooky illustration. With step-by-step guidance, you'll master inking techniques like hatching, cross-hatching, and dot work.
Materials You'll Need:
- Mechanical Pencil (F or HB)
- Ink Liners (0.03 to 0.5 mm)
- Brush Pens
- Eraser
-
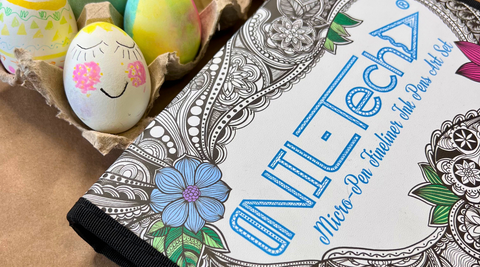
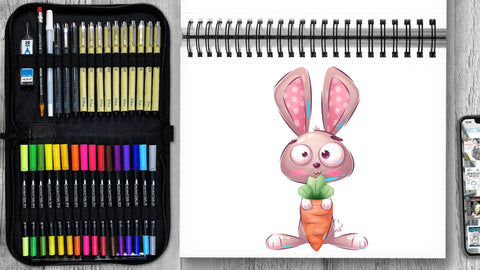
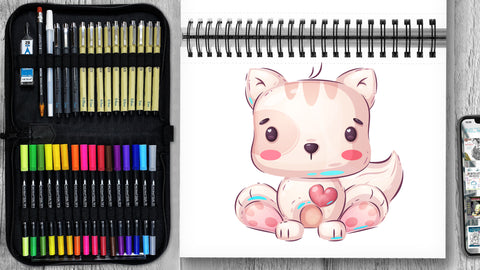
Our All-in-One Artist Pens Set, which includes:
- 16 Dual-Tip Brush Pens
- 3 Calligraphy Pens
- 10 Drawing Pens
- Ruler, White Ink Pen, Mechanical Pencil, and Sketch Pad
Part 1: Sketching the Skull

Step 1: Start with the Basic Shape
- Using a mechanical pencil, lightly sketch the upper portion of the skull. Draw a central vertical line to divide the skull in half, ensuring symmetry.
- Sketch the top and bottom lines for the skull’s dimensions. Remember, skull proportions don’t need to be perfect!
Step 2: Skull Proportions
- The skull’s height (without the lower jaw) should be slightly taller than its width.
- The frontal bone (forehead) takes up about half the skull’s height. Draw two large circles for the eye sockets; their height should match the height of the nasal opening.
Step 3: Refining the Skull
- Begin adding details such as the temporal bones (the side of the skull) and other facial features. Remember, the skull is a natural shape, so it’s okay if it’s slightly uneven.
- Draw the upper jaw without teeth or the lower mandible (jawbone), leaving room for the flower crown.
Part 2: Drawing the Roses for the Crown

Step 1: Start with the Base Shape
- For each rose, draw an oval or circular shape as the base. Add small triangle shapes for leaves around the flowers.
Step 2: Outline the Petals
- Draw rounded lines inside the circles, forming the layers of petals, starting from the center. The petals should appear to wrap around the center of the rose.
- The flowers don't need to be identical; add some variation to make them look more natural.
Step 3: Depth and Shading
- Imagine where the darkest areas between the petals will be. These shaded areas help create depth.
- As you finish the basic sketch, erase unnecessary lines, leaving the outline of the roses.
Step 4: Need more help? Check out dedicated Rose tutorials:
A. Simple Rose
B. Open Rose
C. Dreamy Rose
Part 3: Adding the Roses to the Skull

Step 1: Position the Roses
- Draw circles on the top of the skull where the crown of roses will sit. Decide how many flowers you want to include and how they’ll be positioned.
Step 2: Refine the Details
- Begin refining the flower details—adjust the number of petals, add leaves, and finalize the arrangement.
Step 3: Plan for Shading
- Visualize the light source. For this drawing, the light is coming from the front of the skull, meaning shadows will be placed behind and beneath the roses and skull.
Part 4: Inking the Skull and Roses

Step 1: Inking the Outline
- Use 0.3 mm ink liner to outline the skull and roses. Trace over the pencil sketch carefully, ensuring smooth and even lines.
- Don’t press too hard—allow some areas of the outline to remain lighter for a more dynamic look.
Step 2: Adding Shadows
- Start hatching (drawing parallel lines) with a 0.1 mm liner in the shaded areas. Use cross-hatching (overlapping lines) in places like the eye sockets and under the flowers for depth.
- Use dot work with a 0.05 mm liner to create subtle shading where the shadows blend smoothly.
Step 3: Final Details
- Use 0.5 mm liner for the thick outer contour of the skull and flowers, enhancing the darker areas like the eye sockets and jawline.
- Add cracks, lines, and tiny imperfections to the skull to give it a realistic texture.

Part 5: Final Touches with Brush Pens

Step 1: Adding Color
- If you want to color the skull and roses, now is the time to grab your brush pens. Use lighter colors for the roses, and consider muted tones for the skull to maintain its eerie vibe.
Step 2: Leave it Black & White (Optional)
- Alternatively, leave the artwork in black and white for a classic and bold look, letting the fine ink work stand out.
Bonus Tips:
- Warm Up: Before starting, practice hatching, cross-hatching, and dot work. Warming up your hand will make your lines smoother and more confident.
- Contrast Matters: Make sure to balance light and dark areas using a mix of fine and thick ink lines to add visual interest.
Why Use Ink Liners?
Ink liners provide precision without the mess of traditional ink and nibs. With a variety of widths available, you can easily achieve both detailed and bold effects. Plus, they're convenient for on-the-go drawing!
Now you're ready to create a spooky skull and rose drawing just in time for Halloween! Don’t forget to experiment with different liner sizes and shading techniques to make the drawing uniquely yours.
Conclusion: Share Your Masterpiece!
Congratulations! You’ve successfully drawn a spooky skull with a crown of roses. Whether you're creating this as part of your Halloween festivities or simply enjoy drawing detailed, gothic-inspired art, we hope you had fun following along with this tutorial.
Don’t forget to share your finished Skull and Roses drawing with us! We’d love to see your artwork. Use the hashtag #NILTechDraws on social media, and be sure to tag us @lovetodrawnil so we can feature your work.
Looking for more tutorials? Visit our YouTube channel for step-by-step guides and creative projects designed to help you improve your drawing skills!
 |
Drawing Pencil SetExcellent GIFT IDEA - Non-Toxic and safe, easily portable and made with quality top-notch materials. Basic and innovative drawing supplies come together in NIL Tech set as an exceptional replacement for old-fashioned pencil boxes. The main attraction at any occasion from your drawing enthusiast friends, sketchers, artists to your kids or students boosting their creative projects and enjoy their ear-to-ear smile! |