How to Draw a Capybara: A Step-by-Step Tutorial for Beginners
Oct 13 , 2024
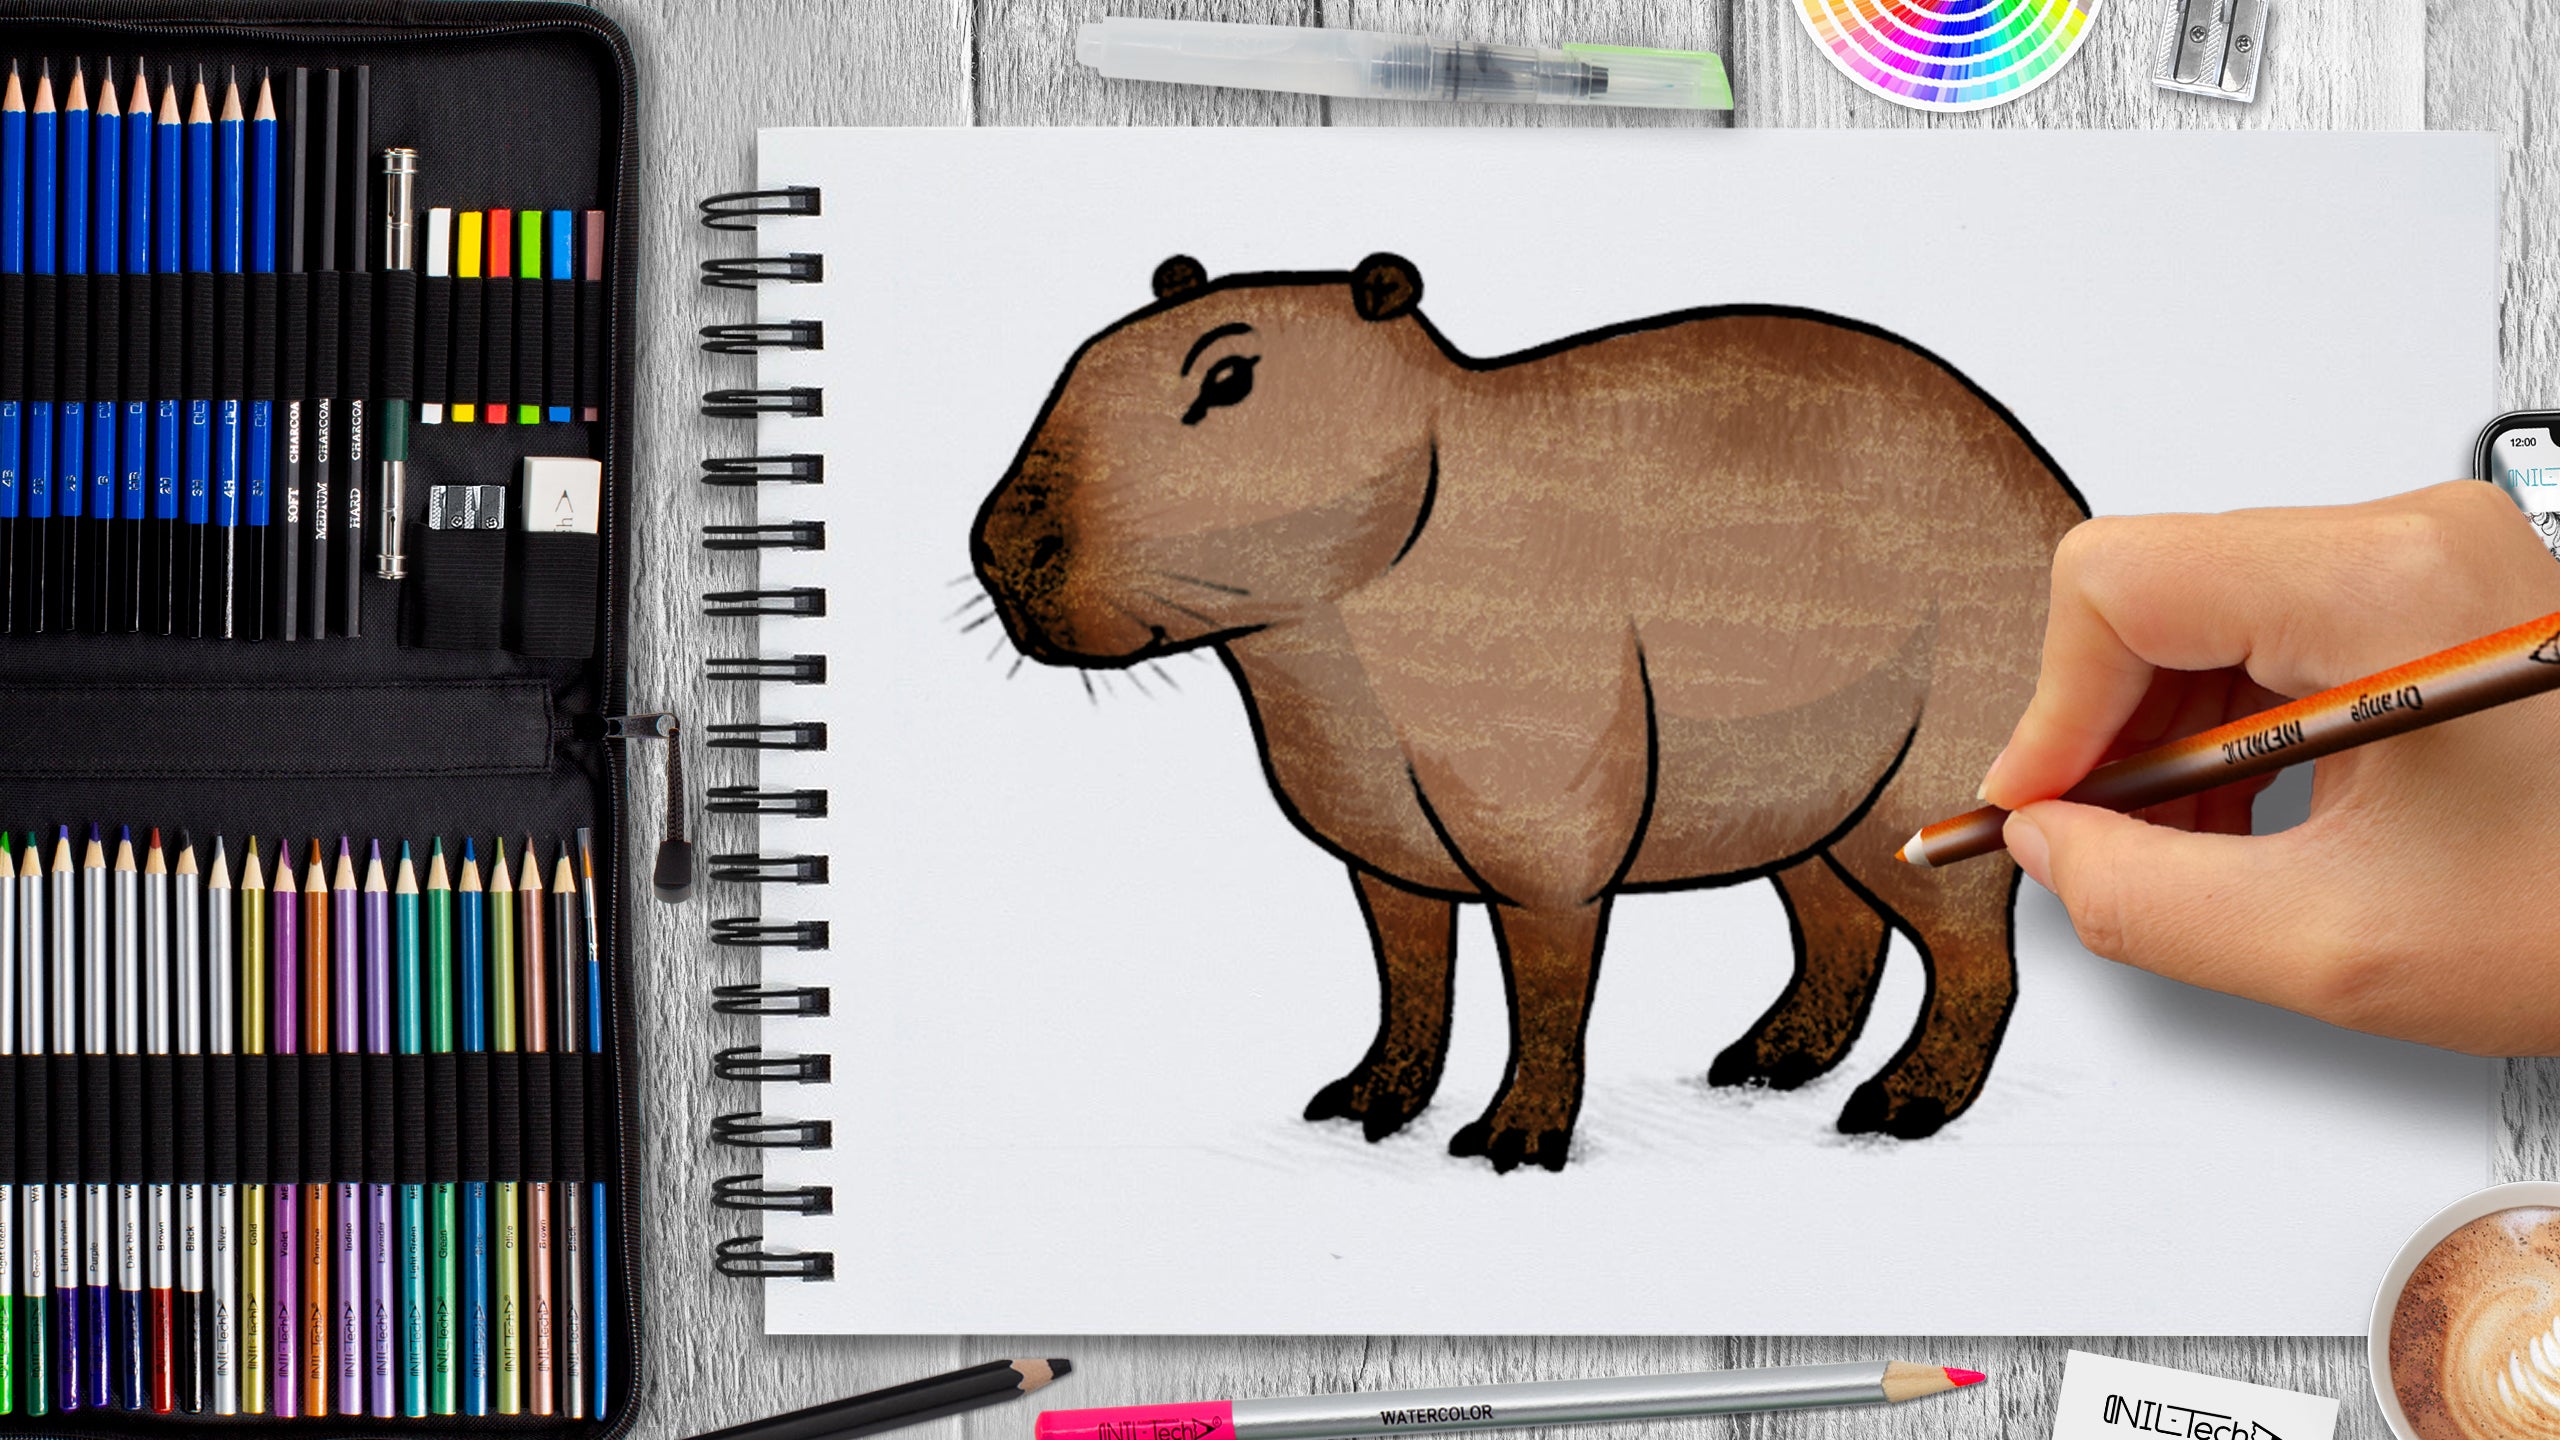
Capybaras are the world’s largest rodents and are known for their gentle and calm nature. In this easy drawing tutorial, we’ll guide you through each step to help you create your very own capybara illustration. Whether you're new to drawing or looking for a fun project, this guide is perfect for all ages and skill levels. Plus, follow along with our YouTube tutorial and see each step with accompanying instructional pictures!

Step 1: Sketch the Basic Shapes
Start by drawing the foundational shapes of the capybara. Use a large circle for the body and a smaller one for the head. Add small circles where the feet will be, and connect the body and feet with straight lines to outline the legs.

Step 2: Add Facial Features and Feet
Draw two small circles on top of the head for the ears. Next, add a small oval for the eye and sketch the nose and mouth. Then, create the shapes for the feet by drawing small ovals or rounded shapes at the ends of the leg lines.

Step 3: Define the Capybara's Body
Go over your lines to give the capybara more definition. Make the ears, eyes, nose, and feet stand out by darkening them. Draw claws on the feet, and add a few curved lines to the legs to give them dimension. Add a small shadow under the body for depth.

Step 4: Refine and Clean Up
Erase any unnecessary or overlapping lines from your sketch to clean up the drawing. Go over the final outline of the capybara and darken it to make your character stand out.

Step 5: Add Shading for Depth
To give your capybara a more 3D appearance, add shadows to the nose, under the legs, and around the body. Darken the claws and draw whiskers for a realistic touch.

Step 6: Bring It to Life with Color
Finally, color in your capybara! You can use shades of brown for the fur and add darker tones for the shadows. Don’t forget to color the eyes, nose, and claws to complete your drawing.

Watch the Full Tutorial
For a more detailed guide, check out our YouTube video where we walk you through each step in real time! With video and instructional pictures, you’ll have everything you need to create a fantastic capybara drawing.
Share Your Artwork!
Once you’ve finished your drawing, we’d love to see it! Share your capybara with us using the hashtag #NILTechDraws and tag us on social media @lovetodrawnil for a chance to be featured.
 |
Drawing Pencil SetExcellent GIFT IDEA - Non-Toxic and safe, easily portable and made with quality top-notch materials. Basic and innovative drawing supplies come together in NIL Tech set as an exceptional replacement for old-fashioned pencil boxes. The main attraction at any occasion from your drawing enthusiast friends, sketchers, artists to your kids or students boosting their creative projects and enjoy their ear-to-ear smile! |


2 Comments
I tried it and it was a bit hard for me but over all the work you put in was great
what the sigma