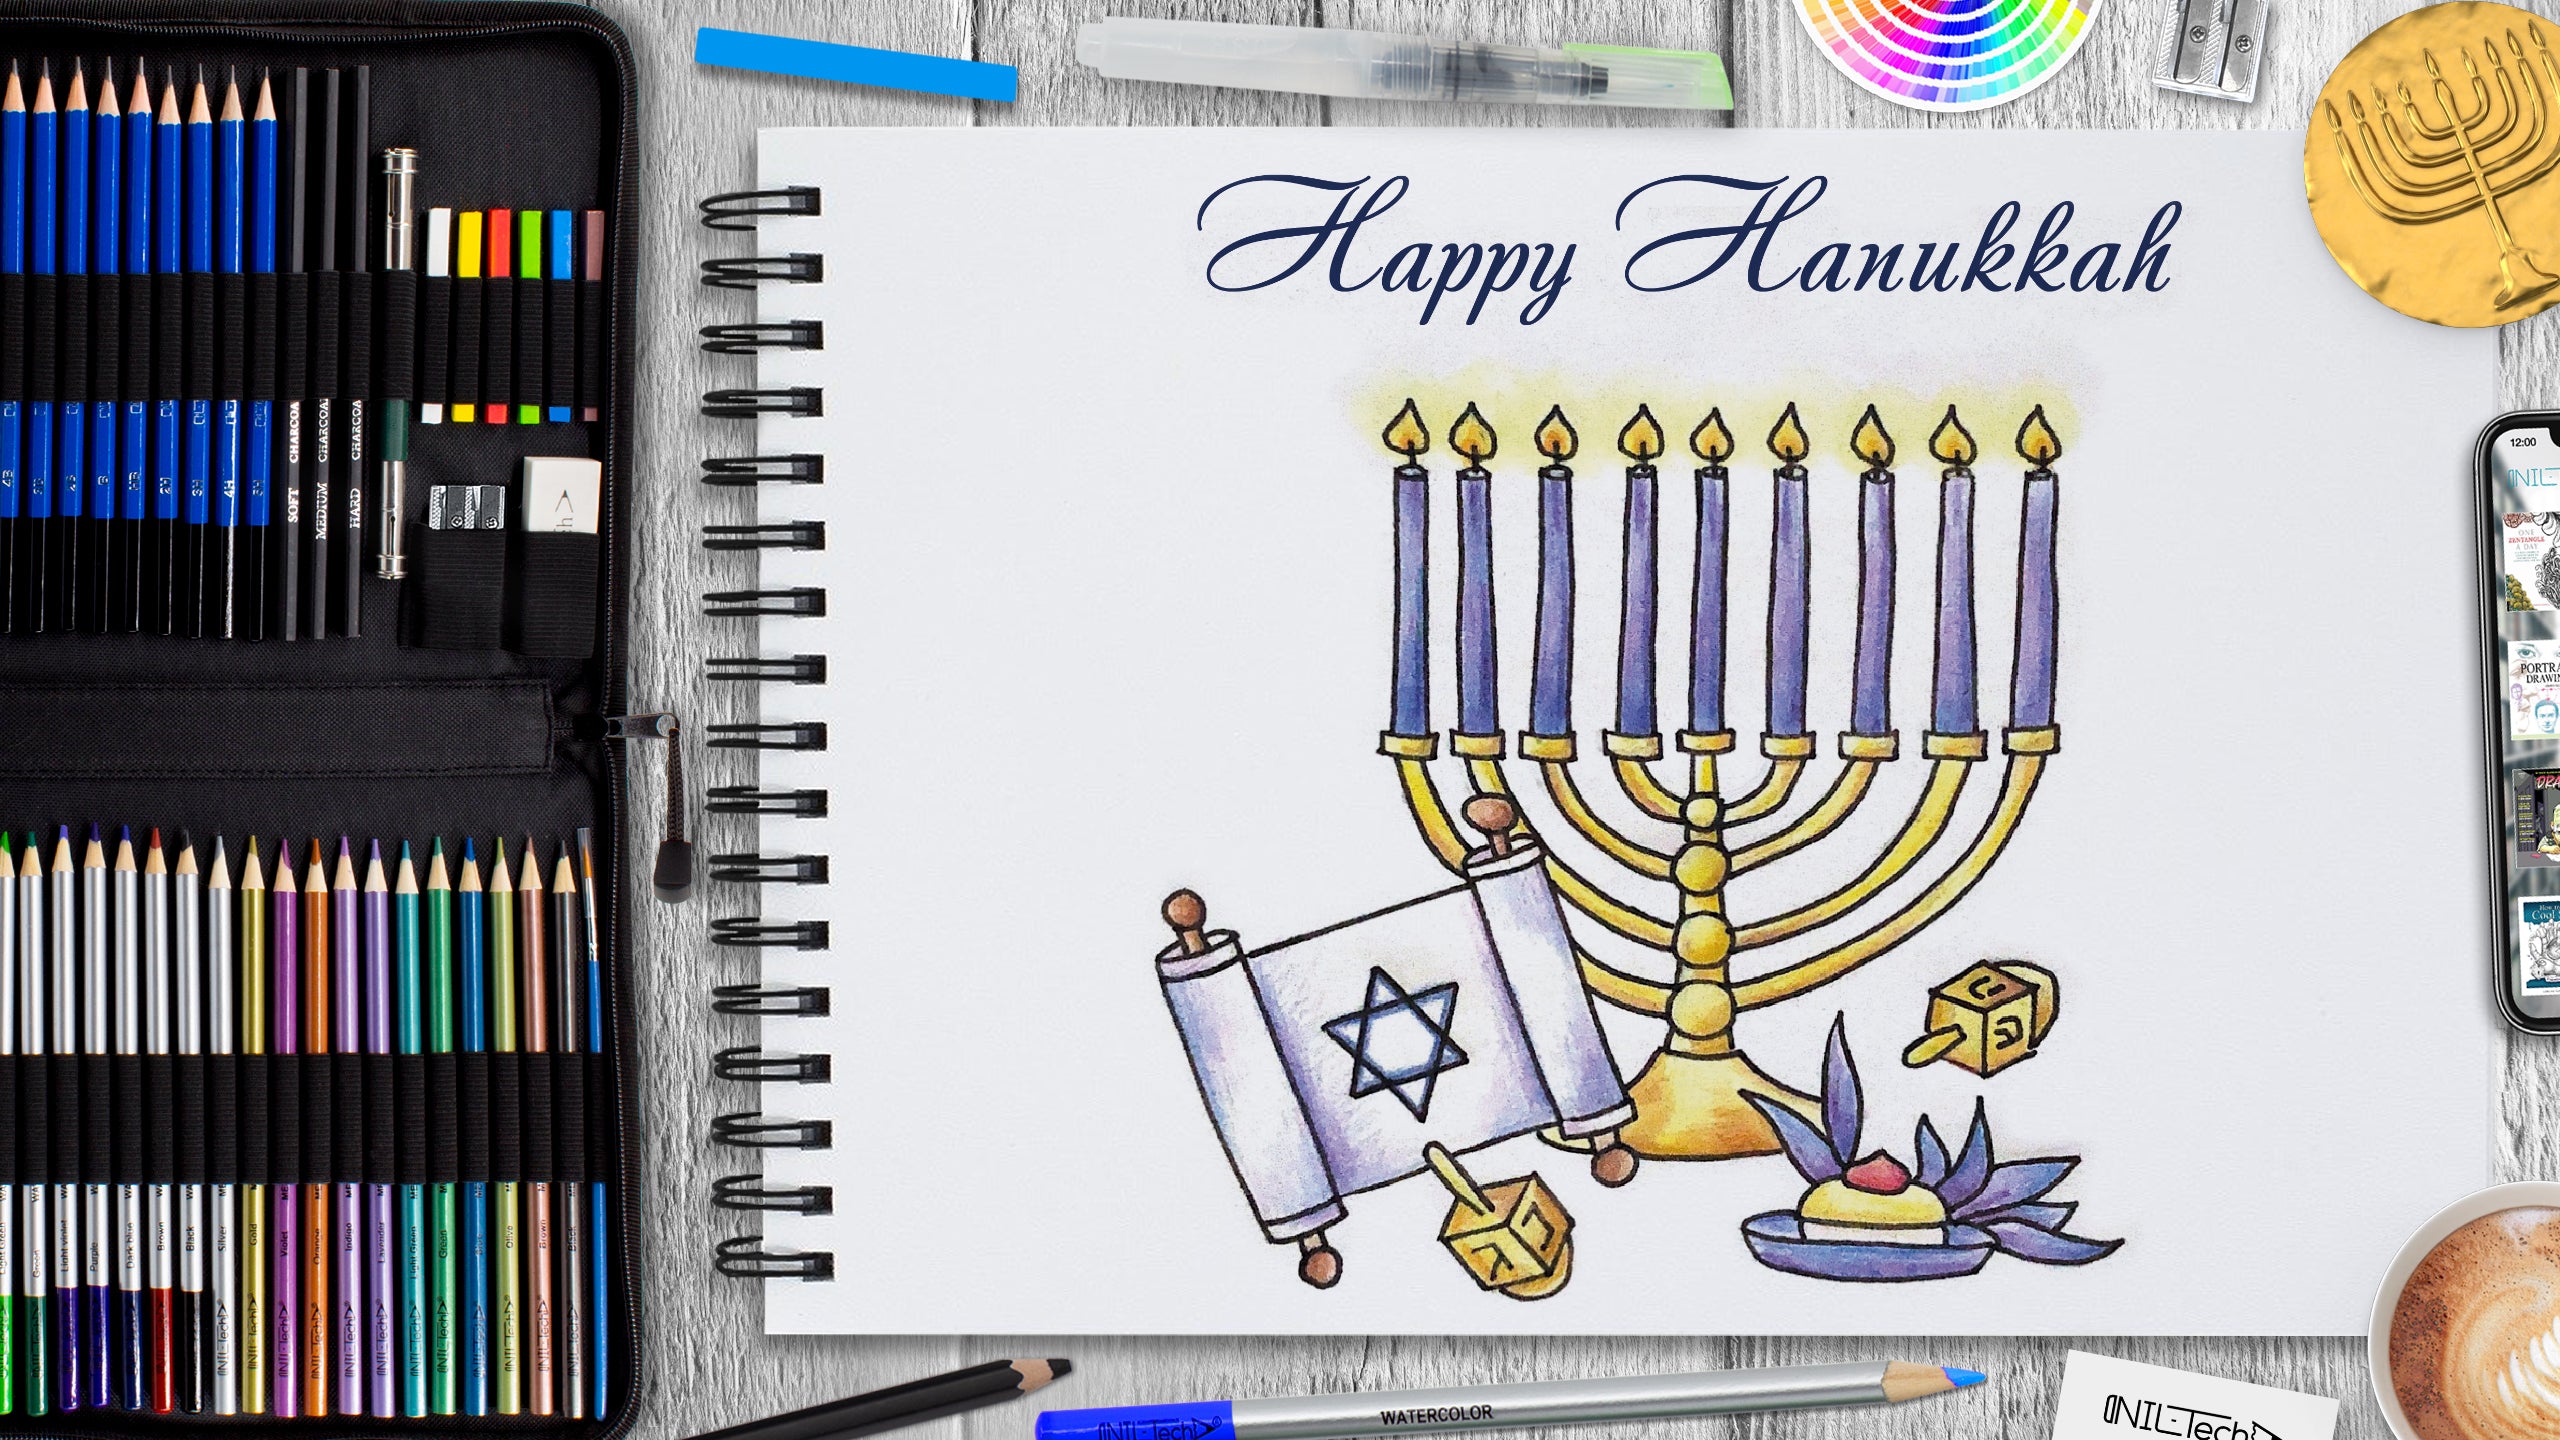
Hanukkah Drawing
Dec 03 , 2020

Hi everybody, welcome to a new NIL-Tech drawing tutorial: "Hanukkah". The Jewish holiday of Hanukkah, also known as the Festival of Lights, celebrates the victory of a small group of Jewish rebels over an enormous Greek army to protect their heritage and a miraculously long-lasting fire that remains to function as a symbol of hope and also perseverance.
Here are some interesting facts about Hanukkah:
1. What is Hanukkah? The word Hanukkah means "dedication". The holiday celebrates the triumph of rebel Jews known as the Maccabees in reclaiming their temple from the Greek-Syrians.
2. Hanukkah lasts for eight nights to commemorate how much time the holy light burned. The temple required a divine light to burn inside at all times, yet the Jews had only enough oil for one evening. Incredibly, the light shed for eight days.
3. A Menorah is lit each night of the holiday. A Menorah is a candlestick with nine candles. It has four on each side, and a candle in the center intended to light all the others. This is known as the shamash, and it sits higher than (or somehow apart from) the other candles.
4. Gifts were not always given for Hanukkah. It used to be traditional for individuals to give money to one another for Hanukkah. Yet as Christmas became more popular, more Jewish people started giving gifts instead.
5. Hanukkah dishes are fried for a reason. Latkes, sufganiyot (jelly doughnuts), apple fritters, and kugel- when you think of the food served at Hanukkah, most of them are fried. This isn't a coincidence. Individuals fry their food in oil for Hanukkah as a symbol of the miracle oil that was burning for eight nights.
In this tutorial, we used the following supplies:
- B pencil
- 5B pencil
- colored pencils
- lemon yellow
- yellow
- blue (medium and dark)
- brown (medium and light)
- burgundy
- ocher
- purple
- orange
- White Vinyl Eraser
- Kneaded Eraser
Let's make a Hanukkah drawing step by step

Step 1. We begin the drawing by constructing the most complex element - a candlestick with candles. Draw a rectangle and draw a middle line in it (pencil B).

Step 2. Next, draw a horizontal line in the middle where the middle candlestick will be. On the middle line, draw four circles of different diameters. Draw arcs from these circles — these will be the middle lines of the candle holders. Rejecting each of the arcs, draw straight lines upward — these will be the midlines of the candles themselves (pencil B).

Step 3. Start a detailed drawing using the lines you draw earlier. We draw holders, candles, narrowed lights, and the base of the candlestick. The base will expand towards the bottom (pencil B).

Step 4. Erase all excess lines for constructing the candlestick. Then, on top of it, outline the future scroll on the left, a plate with a donut and leaves on the bottom right, and a dreidel on the top right (pencil B).

Step 5. With auxiliary lines, draw a scroll - on the sides of the coil. Draw the Star of David in the middle of the paper. Below, near the scroll, we outline another dreidel with a middle line. Draw the same line on the second one and draw a plate in the selected area (pencil B).

Step 6. In the selected areas, draw dreidels (their base will be cube-shaped). Draw a donut on the plate, and add leaves behind (pencil B).

Step 7. Erase all excess lines. With a harder pencil, make the contour brighter (pencil 5B).

Step 8. Start working with color by making the slightly hatching all the elements. Use lemon yellow for the candlestick, blue for the candles, and yellow for the lights. Also, make dreidels for them. Draw the plate and leaves in blue. With ocher and burgundy, color in the donut, and the roll holders on the scroll with brown (colored pencils: lemon yellow, yellow, blue, brown, burgundy, ocher).

Step 9. Start working on the elements. For the shadow part of the candles, use dark blue and purple. Use the same colors for a plate and leaves. Draw shadows on the candlestick with ocher and light brown, and brighten the color with yellow. Do the same with dreidels. Add orange to the center of the lights and make a small glow around with lemon yellow. On the donut, draw shadows using light brown and brighten the color of the jam with burgundy. Color in holders of the rolls on the scroll with brown and light brown (colored pencils: yellow, dark blue, brown, burgundy, purple, light brown, orange, lemon yellow).

Step 10. Finish drawing the white scroll. With shadows, use purple and blue. Draw a blue circle around David's bite (colored pencils: blue, purple).

Step 11. The last step is to add the words "Happy Hanukkah" (blue colored pencil).

 |
Drawing Pencil SetExcellent GIFT IDEA - Non-Toxic and safe, easily portable and made with quality top-notch materials. Basic and innovative drawing supplies come together in NIL Tech set as an exceptional replacement for old-fashioned pencil boxes. The main attraction at any occasion from your drawing enthusiast friends, sketchers, artists to your kids or students boosting their creative projects and enjoy their ear-to-ear smile! |


