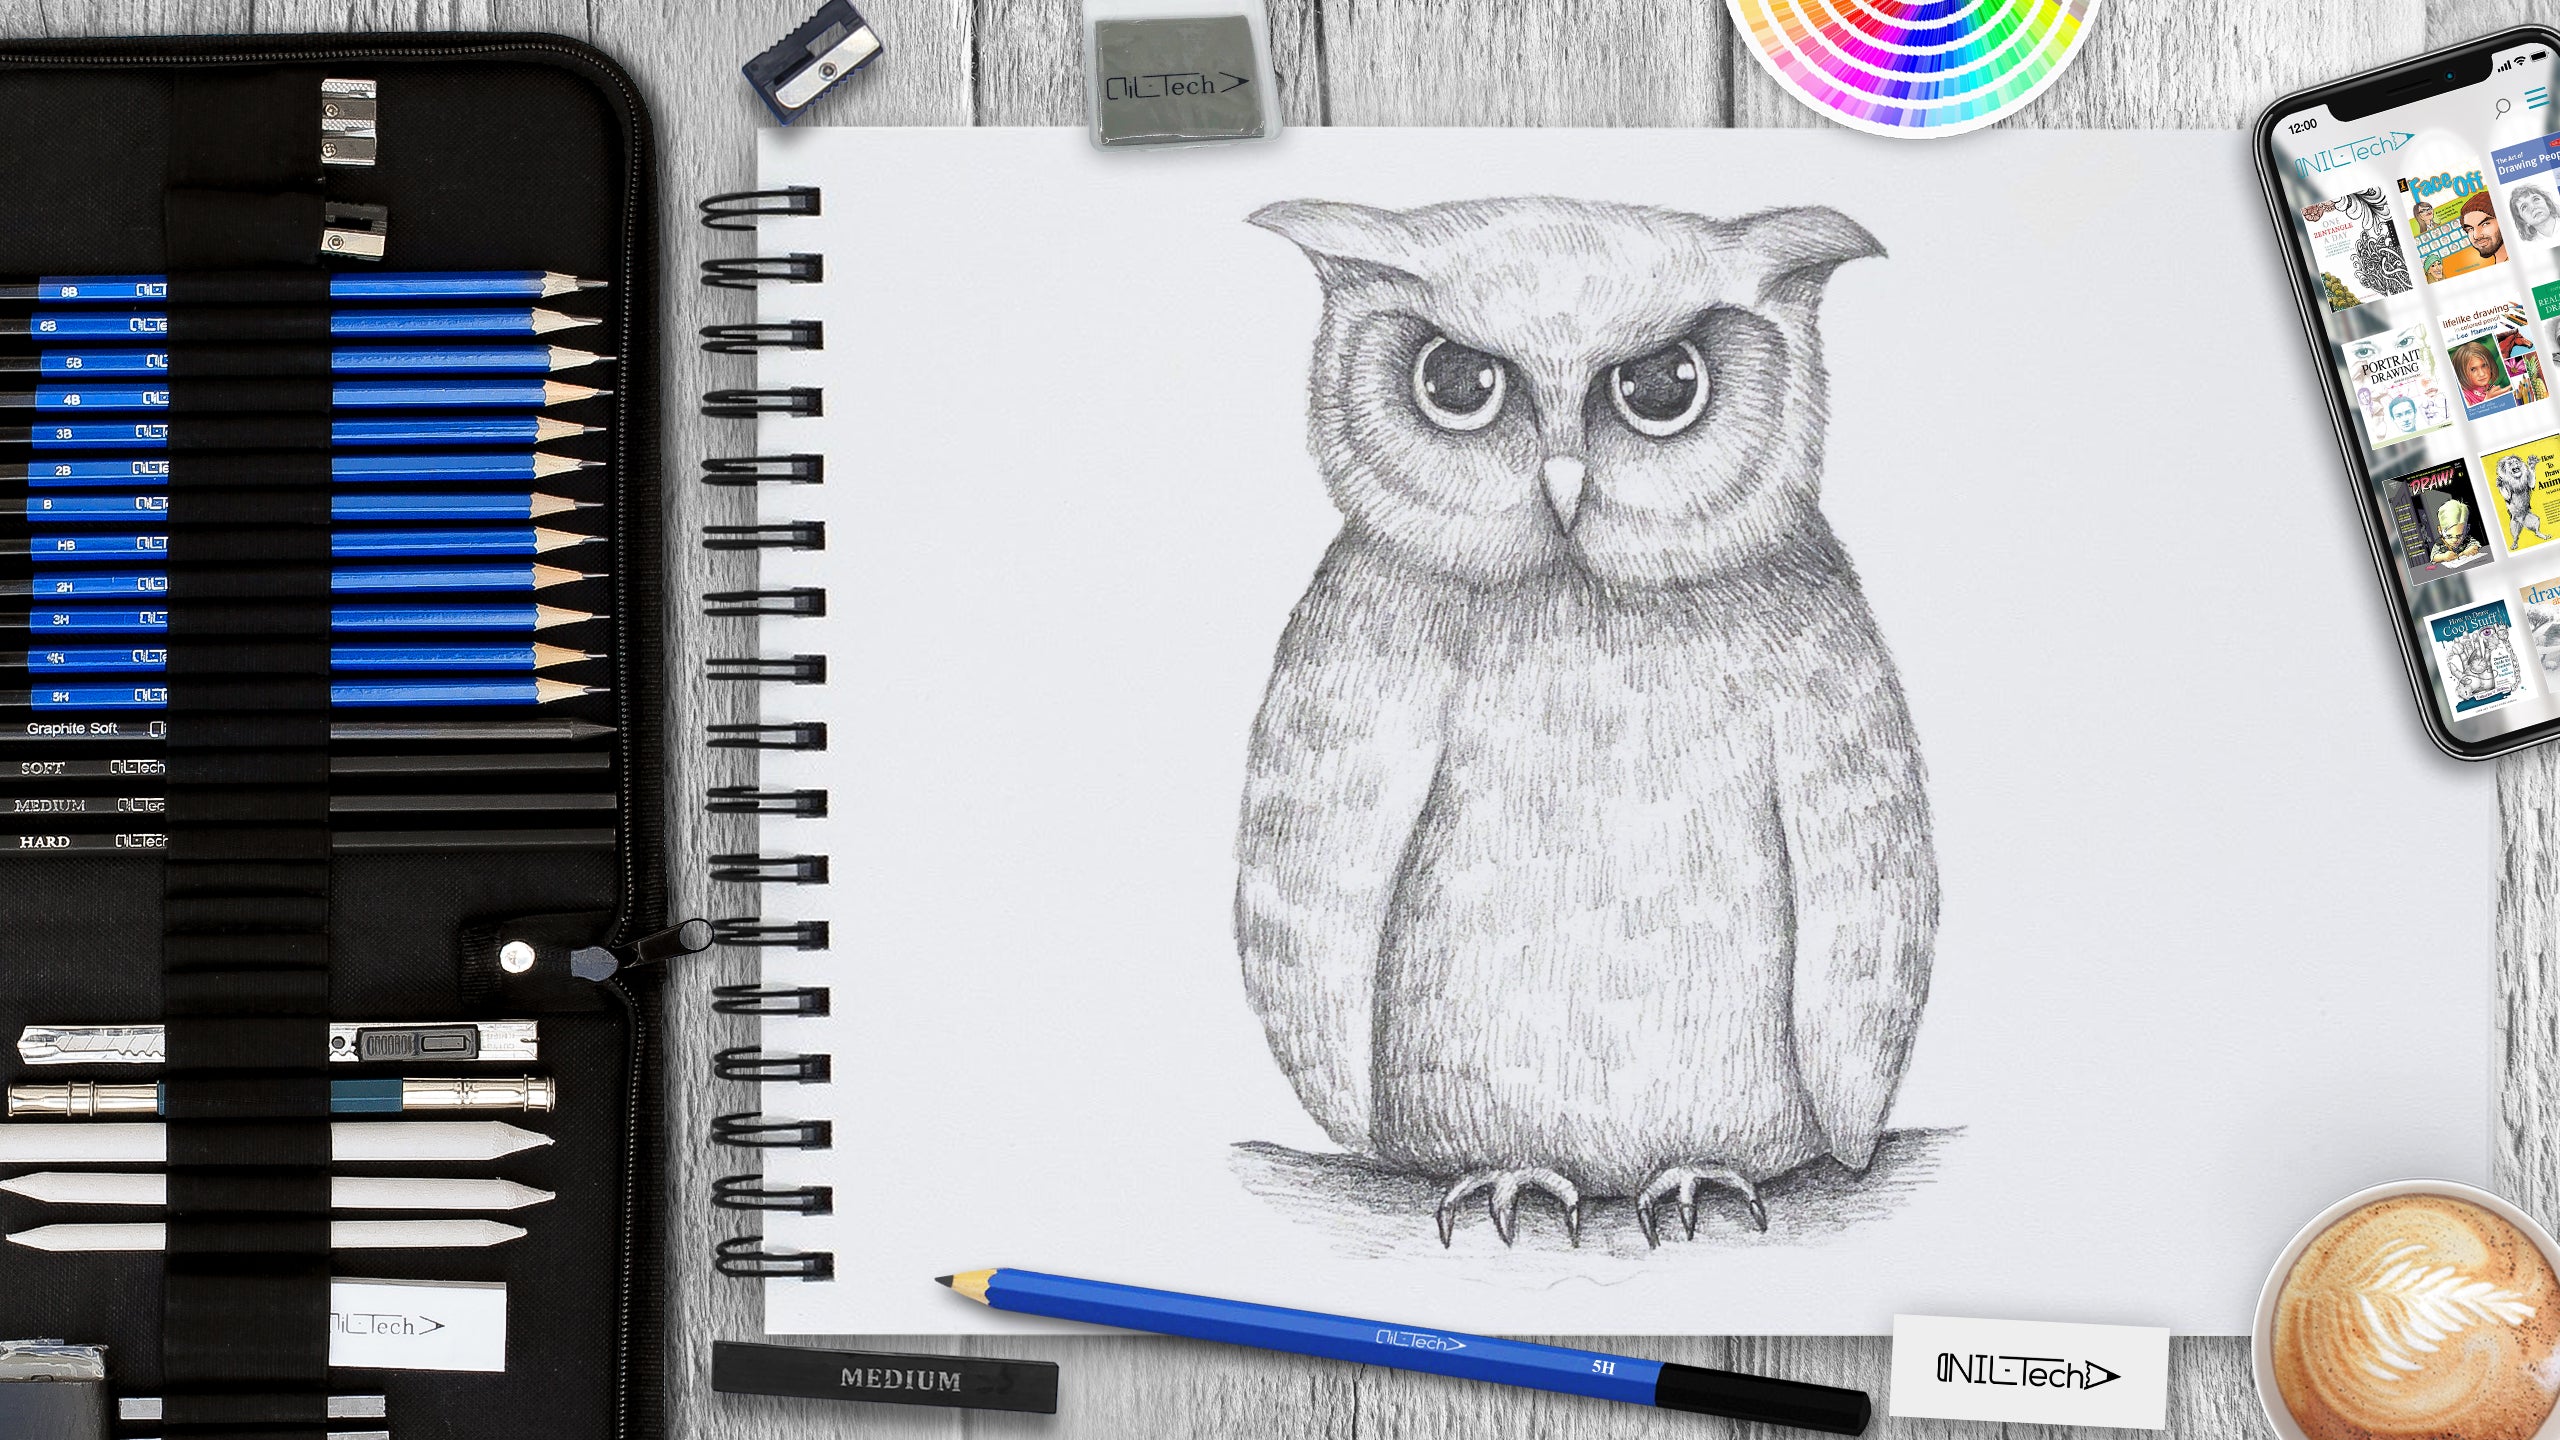
How to Draw an Owl
Sep 10 , 2020

Hi everybody, welcome to a new NIL-Tech drawing tutorial: "Owl". Owls are mysterious birds, by turns mystical, charming, or spooky, depending upon who you ask. With over 200 species living on every continent except Antarctica, owls have super-tuned senses to hunt targets worldwide. They're pretty darn adorable, as well.
Here are some interesting facts about owls:
1. The eyes of an owl are not actual "eyeballs". Their tube-shaped eyes are completely motionless. They provide binocular vision, which entirely concentrates on their victim and also boosts depth perception.
2. Not all owls hoot! Barn Owls make hissing sounds, the Eastern Screech-Owl whinnies like a horse, and Saw-whet Owls sound like, well, an old whetstone sharpening a saw. Thus the name.
3. Owls are zygodactyl. This means their feet have two forward-facing toes and two backward-facing toes. Unlike many other zygodactyl birds, owls can pivot one of their back toes forward to help them grip and stroll.
4. Many owl species have asymmetrical ears. When located at different heights on the owl's head, their ears can identify sounds in multiple dimensions. Ready, aim, strike.
5. Owls can rotate their necks 270 degrees. A blood-pooling system accumulates blood to power their brains and eyes when neck movement cuts off blood circulation.
In this tutorial, we used the following supplies:
- B pencil
- 5B pencil
- White Vinyl Eraser
- Kneaded Eraser
STEPBYSTEP10
Let's draw an "Owl" step by step!

Step 1. With circles, outline the owl's head and body (pencil B).

Step 2. With circles, outline the eyes. Draw the beak of the owl (pencil B).

Step 3. Start adding details on the head. Draw ears and outline the head's shape (pencil B).

Step 4. Draw a smoother transition from the head to the body. Add wings and draw the legs (pencil B).

Step 5. Erase all excess construction lines. Make the contour more transparent (pencil B).

Step 6. Start hatching from the head. Add an overall tone by hatching based on the direction of feather growth (pencil B). Draw the eyes, use a softer pencil to draw them (pencil 5B).

Step 7. Let's add more details to the head. Draw shadows under the eyes and make a plumage-like texture with darker strokes (pencil 5B).

Step 8. Add an overall tone of the body and wings by hatching in the direction of feather growth (pencil B).

Step 9. Let's add more details to the torso. Draw shadows under the feathers. Add a plumage-like texture with darker strokes (pencil 5B).

Step 10. Let's add the remaining details, such as drawing the legs and beak. Add a small shadow under the owl to make it look like it is sitting (pencil 5B).

 |
Drawing Pencil SetExcellent GIFT IDEA - Non-Toxic and safe, easily portable and made with quality top-notch materials. Basic and innovative drawing supplies come together in NIL Tech set as an exceptional replacement for old-fashioned pencil boxes. The main attraction at any occasion from your drawing enthusiast friends, sketchers, artists to your kids or students boosting their creative projects and enjoy their ear-to-ear smile! |


