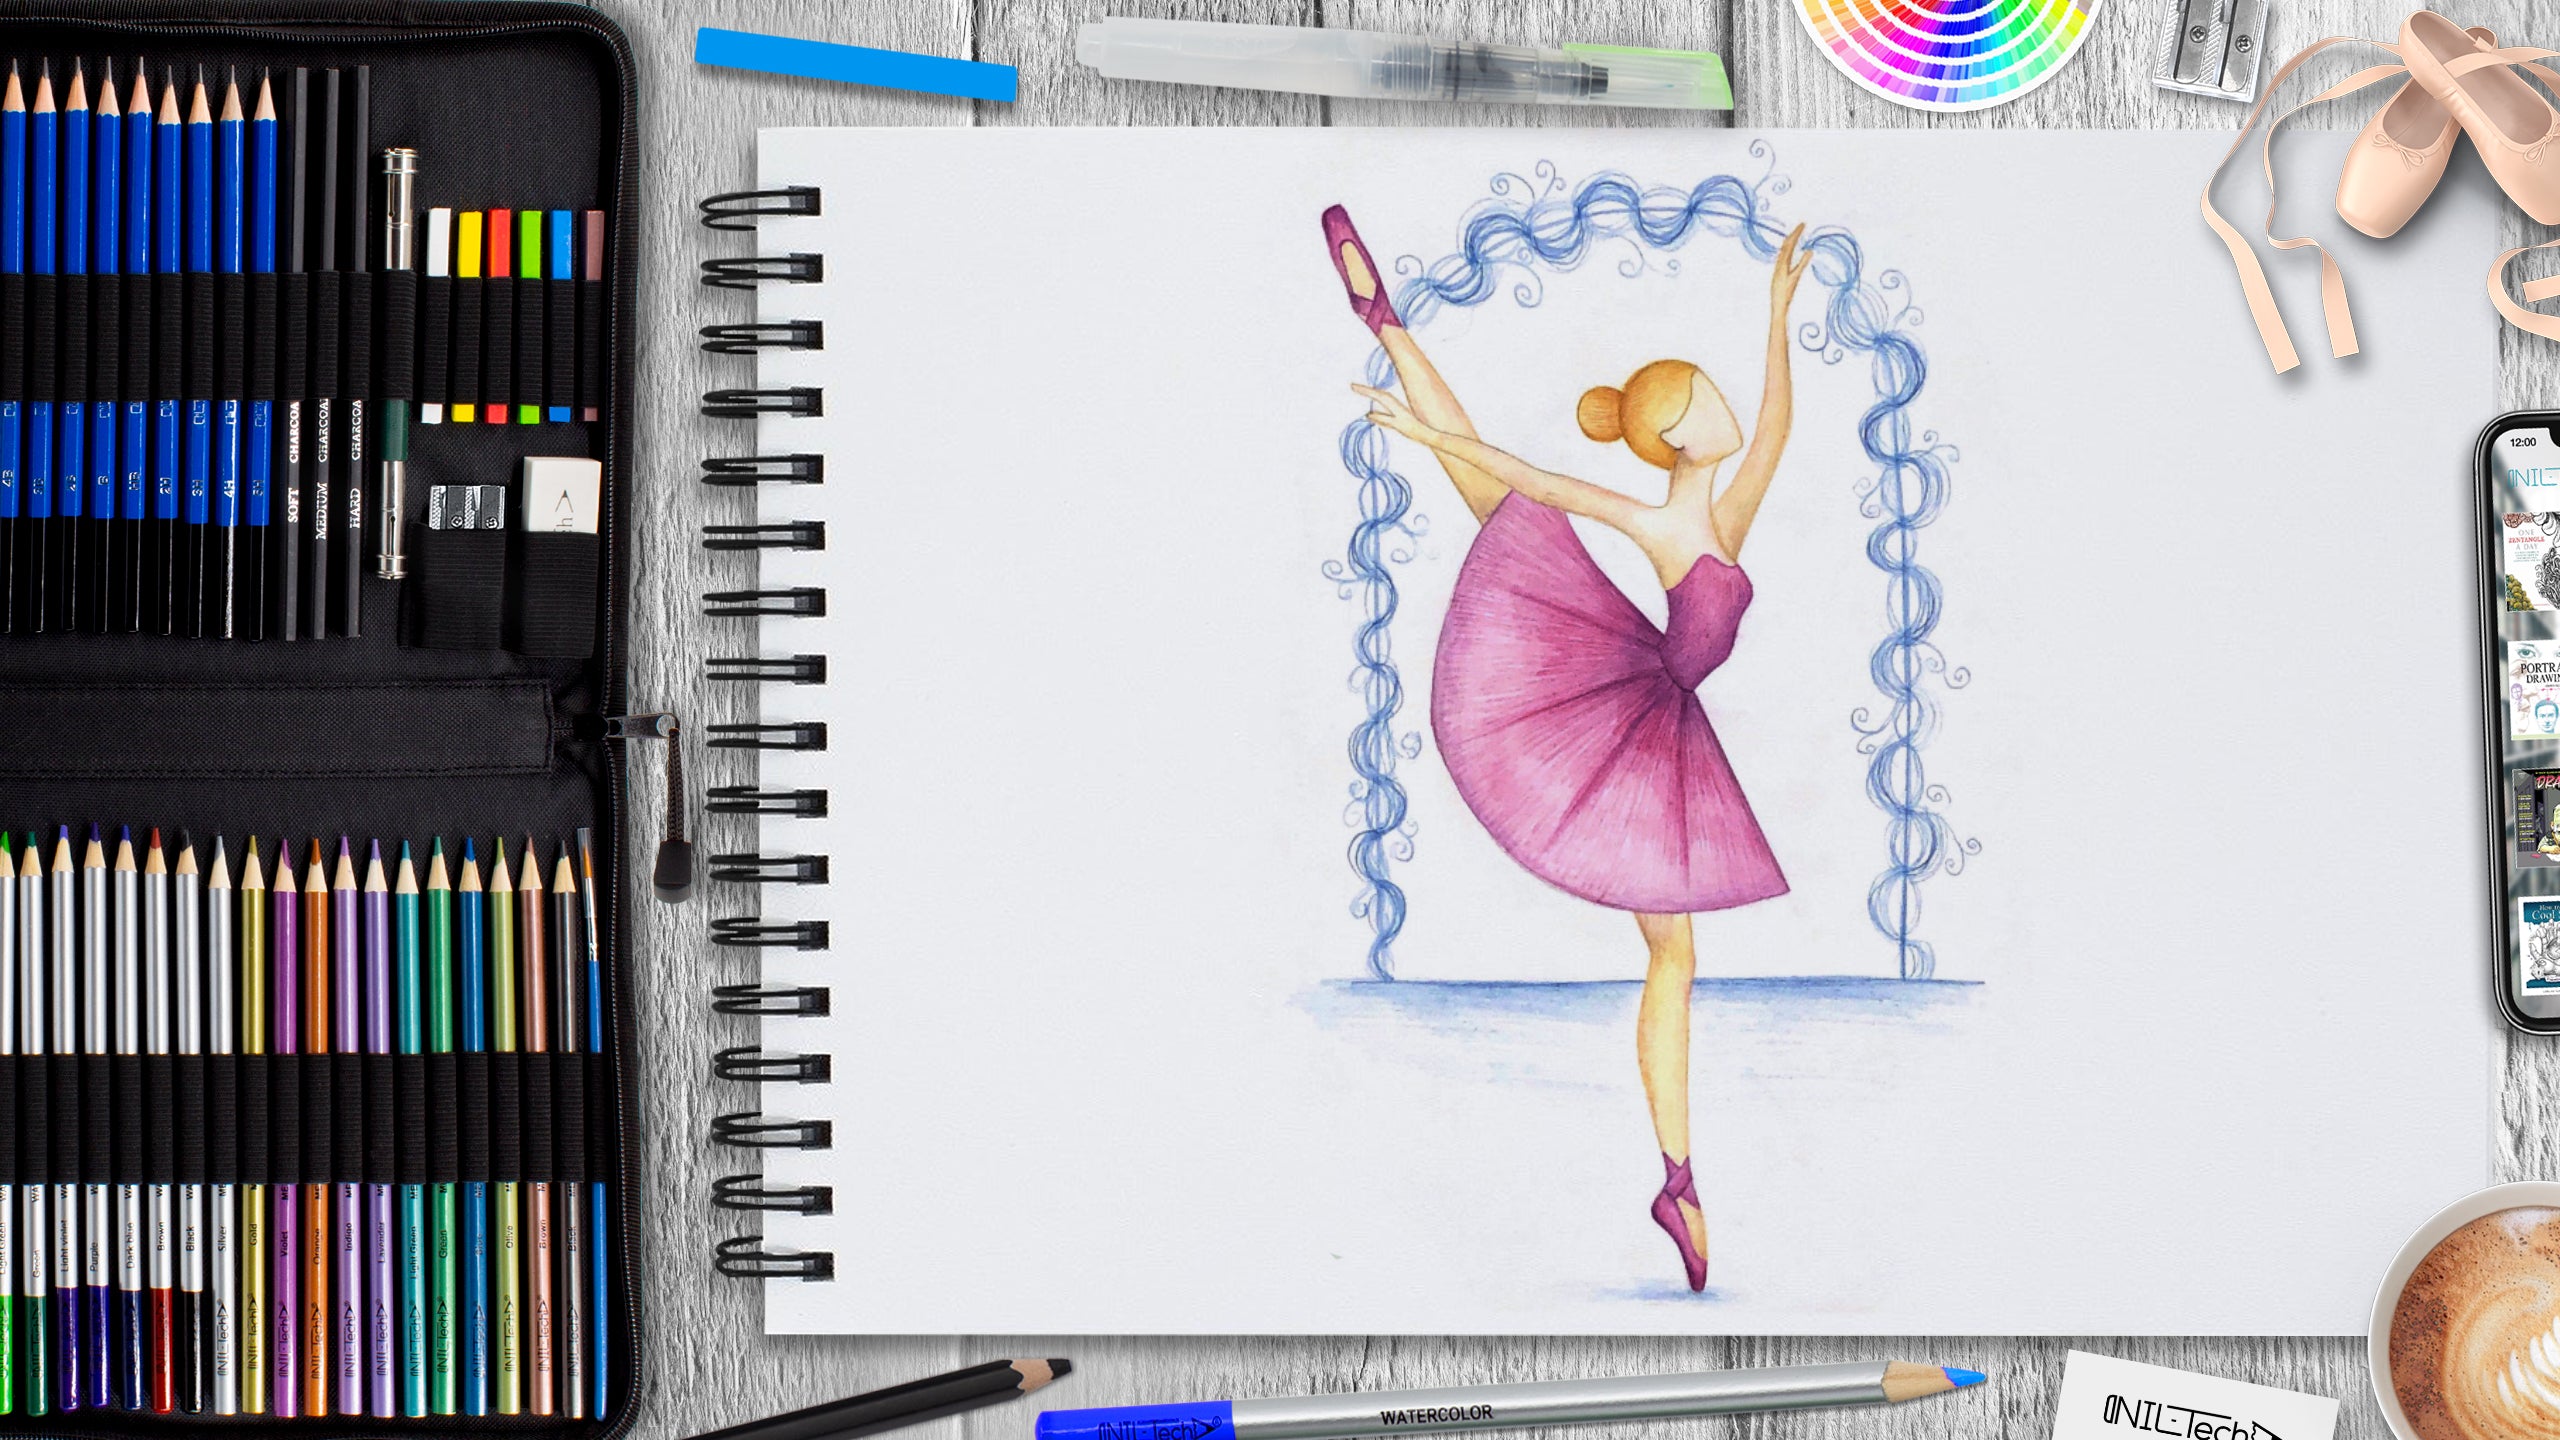
How to Draw Ballerina: International Dance Day
Apr 28 , 2021
In 1982 the Dance Committee of ITI founded International Dance Day to be commemorated every year on the 29th April, Jean-Georges Noverre (1727-1810), creator of modern-day ballet. The International Dance Day Message intends to celebrate dance, enjoy the universality of this art kind, cross all political, cultural, and ethnic barriers, and bring people together with a typical language - dance.
Every year a message from an impressive choreographer or dancer is circulated throughout the world. The author of the message is chosen by the International Dance Committee of ITI and the Executive Council of ITI. The message is translated into many languages and spread globally.
INTERNATIONAL DANCE DAY FACTS
There are various exciting realities and aspects of International Dance Day. Here are the following facts about the day:
- When they perform under Egyptian law, the belly dancers must have their navel covered.
- In the state of Washington, Marathon dance contests are prohibited.
- The 119,986 Miami people set a world record for the longest conga dance line.
- Tupac Shakur used to ballet and ended up being a member of the 127th Street Ensemble, a Harlem-based Theater Company.
- Archeological evidence of dance comes from the 9000 old cave paintings in India.
- Unesco gave capoeira special safeguarded status as an "intangible cultural heritage in 2014.
- Break dancing began in the 1970s in New York as a non-lethal type of street fighting between street gangs.
- St Vitus is the tutelary saint of dancers, and it is a neurological condition identified by rapid, involuntary movements.
- In 1923, Kalamazoo, Michigan, passed a law prohibiting dancers from gazing into each other's eyes.
I hope you loved reading International Dance Day History and Facts.
[[Product = white-paper-9x12-inches-sketch-pad-100-pages, code: YOUR10%OFF]]
Let's Draw ‘Ballerina: International Dance Day’ Step by Step
In this tutorial we used the following supplies:
- Pencil B
- Pencil 5B
- Colored Pencil
- Beige
- Pink
- Ocher
- Purple
- Raspberry
- Dark Brown
- Crimson
- Blue
STEPBYSTEP10

Step 1. We begin constructing by drawing a vertical line for the height of the ballerina and using a circle to outline the head on top of the line created. (Pencil B)

Step 2. Using the lines, outline the line of the body, arms and legs, and outline the pelvis with a circle. (Pencil B)

Step 3. Focusing on the direction line, draw the shape of the body, and use the circles to outline the shape of the legs. (Pencil B)
 Step 4. We draw a fan shape for the ballerina’s dress and from it we draw legs, and on the head a line of hair and a bun. (Pencil B)

Step 5. Remove all unnecessary construction lines and draw the arms, top of the dress and pointe shoes. (Pencil B)

Step 6. Remove all unnecessary lines and make the outline clear. (Pencil B)

Step 7. Color the outline with colored pencils. For the skin and hair we use beige, and for the dress we use pink and the same applies to the pointed shoes (Colored pencils beige, pink)

Step 8. Enhance the overall tone of the whole figure. We take beige for the skin, ocher for the hair and pink for the dress and pointe. (Colored pencils beige, ocher, pink)

Step 9. We begin to work out the dress and pointy shoes. For dark areas, use raspberry and purple, and for light areas, enhance pink. (Colored pencils purple, raspberry, pink)

Step 10. Working on the skin. Using a dark brown color, add shadows and add a little blush on the skin with a raspberry color. (Colored pencils dark brown, crimson)

Step 11. The last step is to add the background. To do this, use blue and draw an arch and a horizon line at the back. (Colored pencils blue)
STEPBYSTEP10
Go ahead and share this tutorial to your friends! Click the social media links below 👇
 |
Drawing Pencil SetExcellent GIFT IDEA - Non-Toxic and safe, easily portable and made with quality top-notch materials. Basic and innovative drawing supplies come together in NIL Tech set as an exceptional replacement for old-fashioned pencil boxes. The main attraction at any occasion from your drawing enthusiast friends, sketchers, artists to your kids or students boosting their creative projects and enjoy their ear-to-ear smile! |


